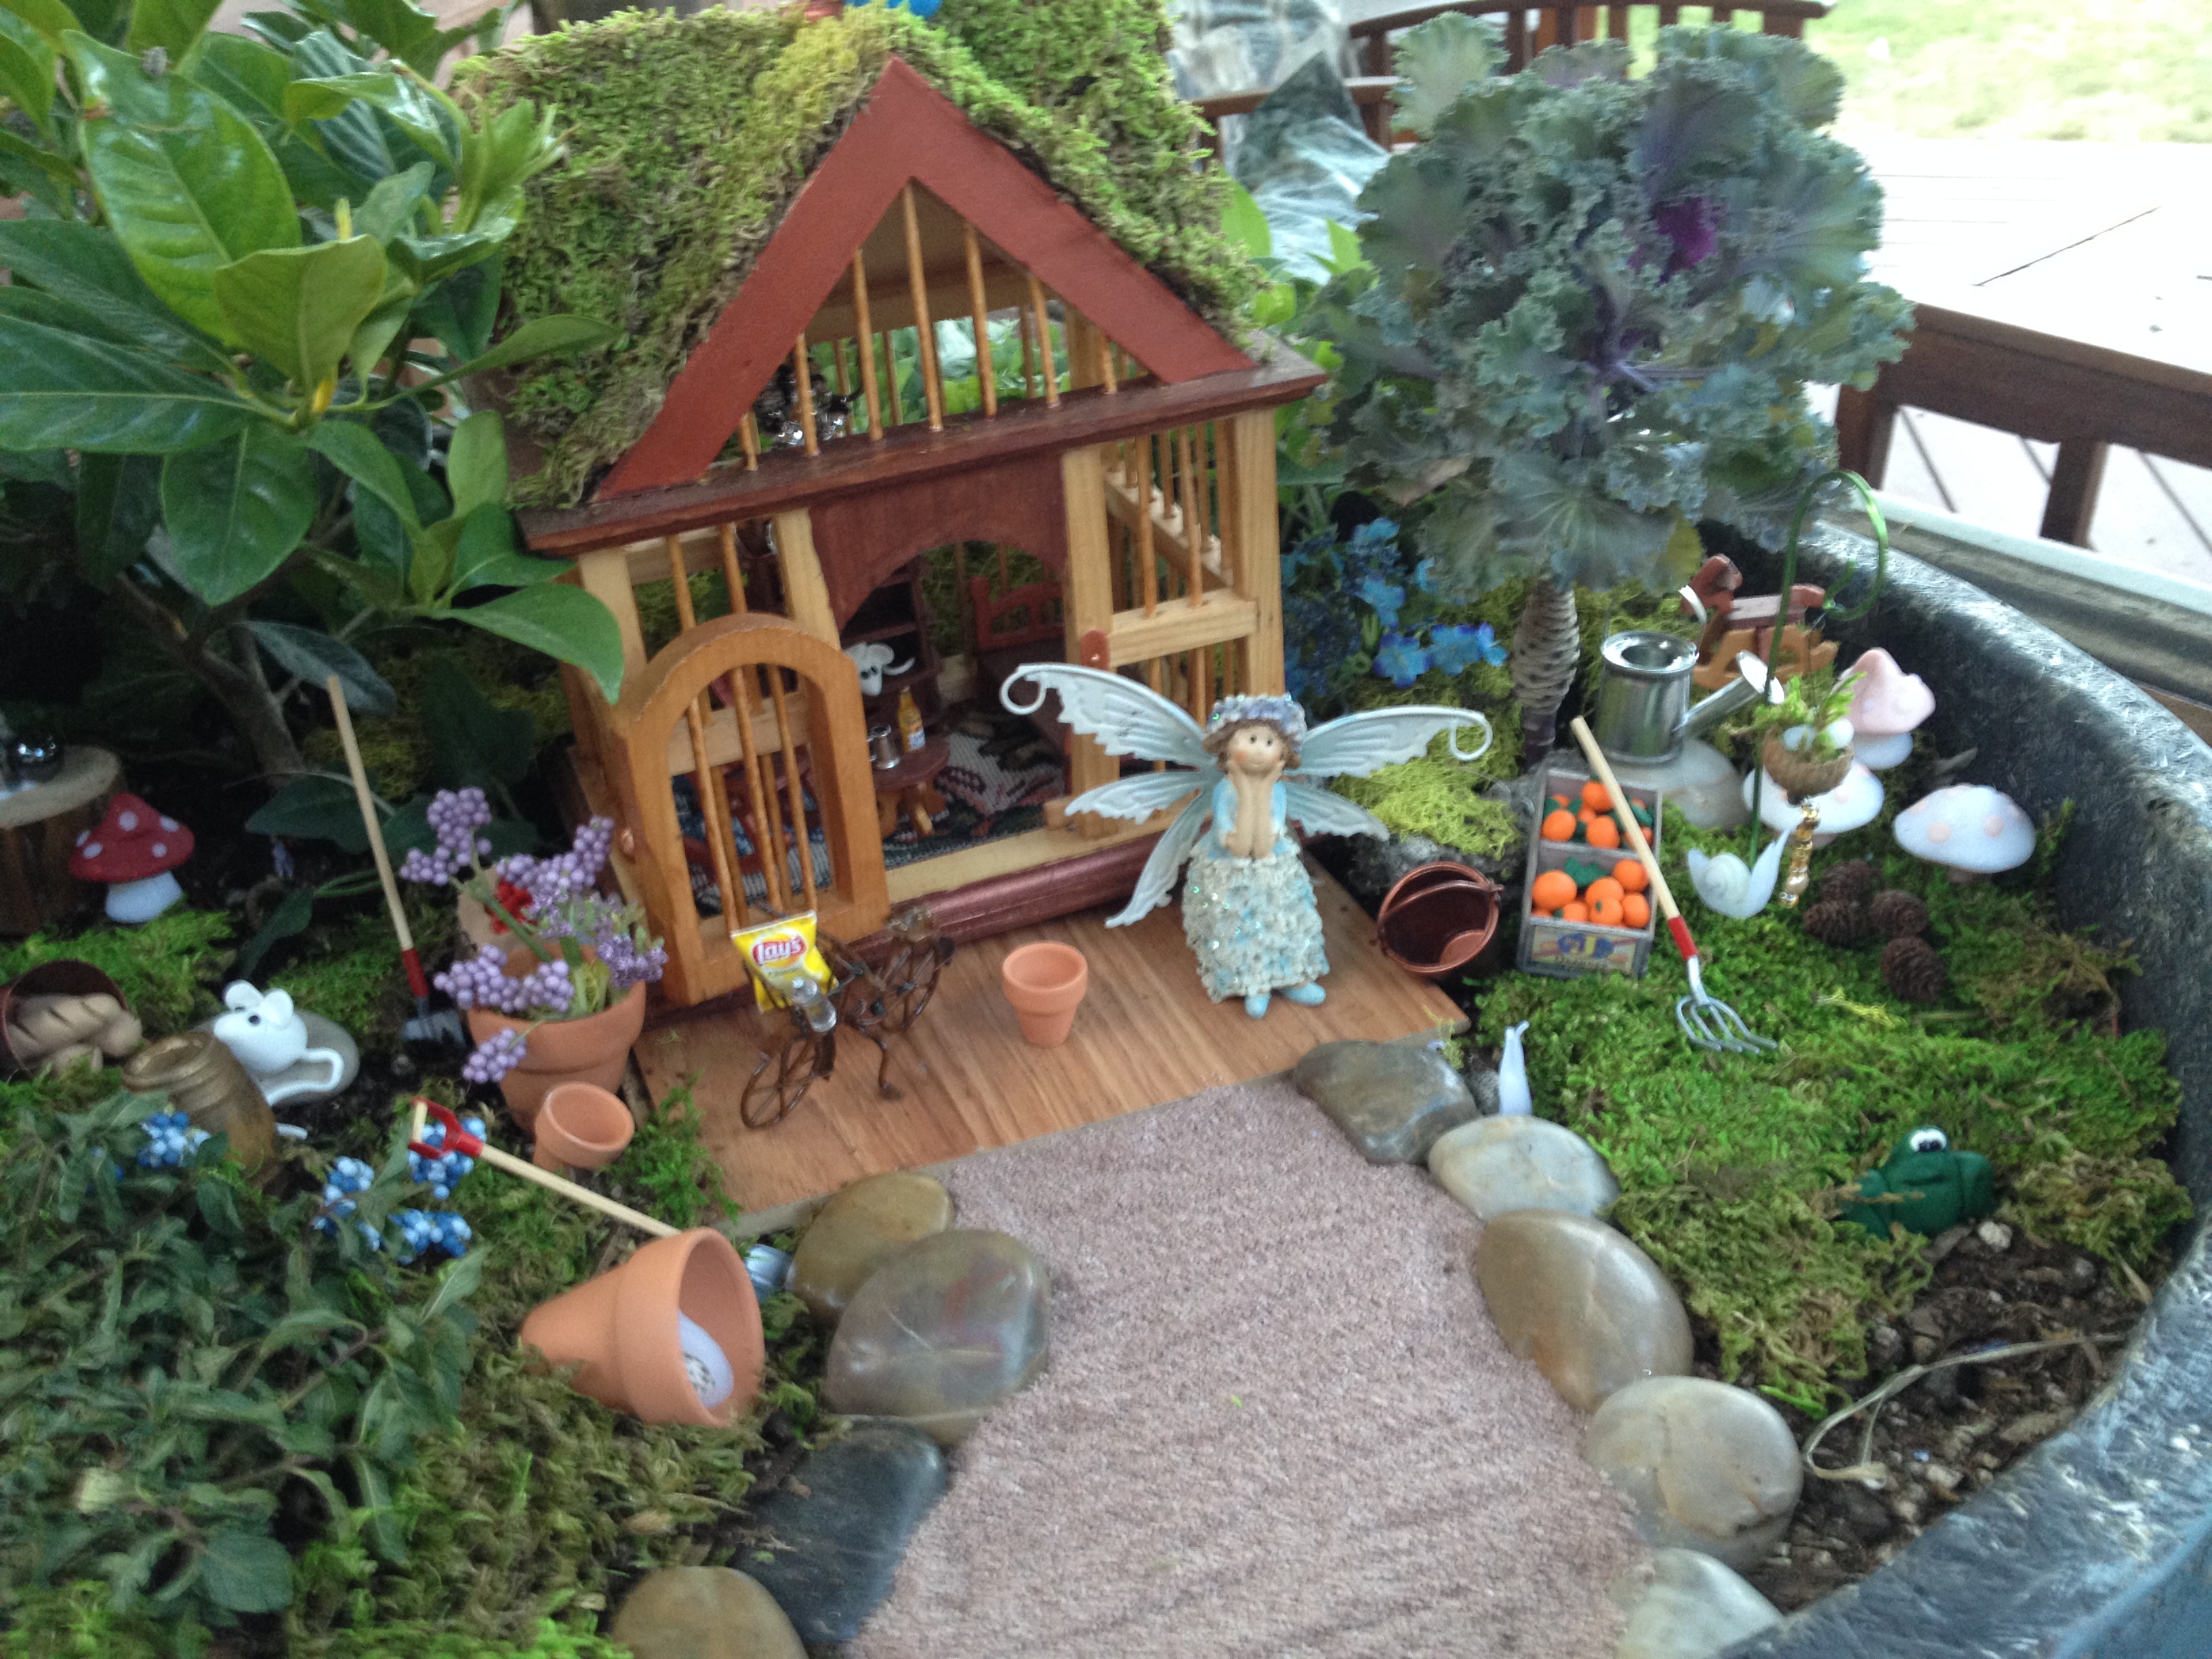
Well. I almost hate to admit how much fun I’ve had making this miniature fairy garden. As a grown adult, playing with teeny tiny miniatures has been soooo relaxing. I started with one for the house, see previous post, and now I’ve moved outdoors. This is Giselle’s sister Genovese. She has just moved in her new place on my deck. I had an old unused half wine barrel, already lined and filled with dirt. Since gardening really isn’t my calling, crafting is….so in the spirit of magic, lets take a tour!

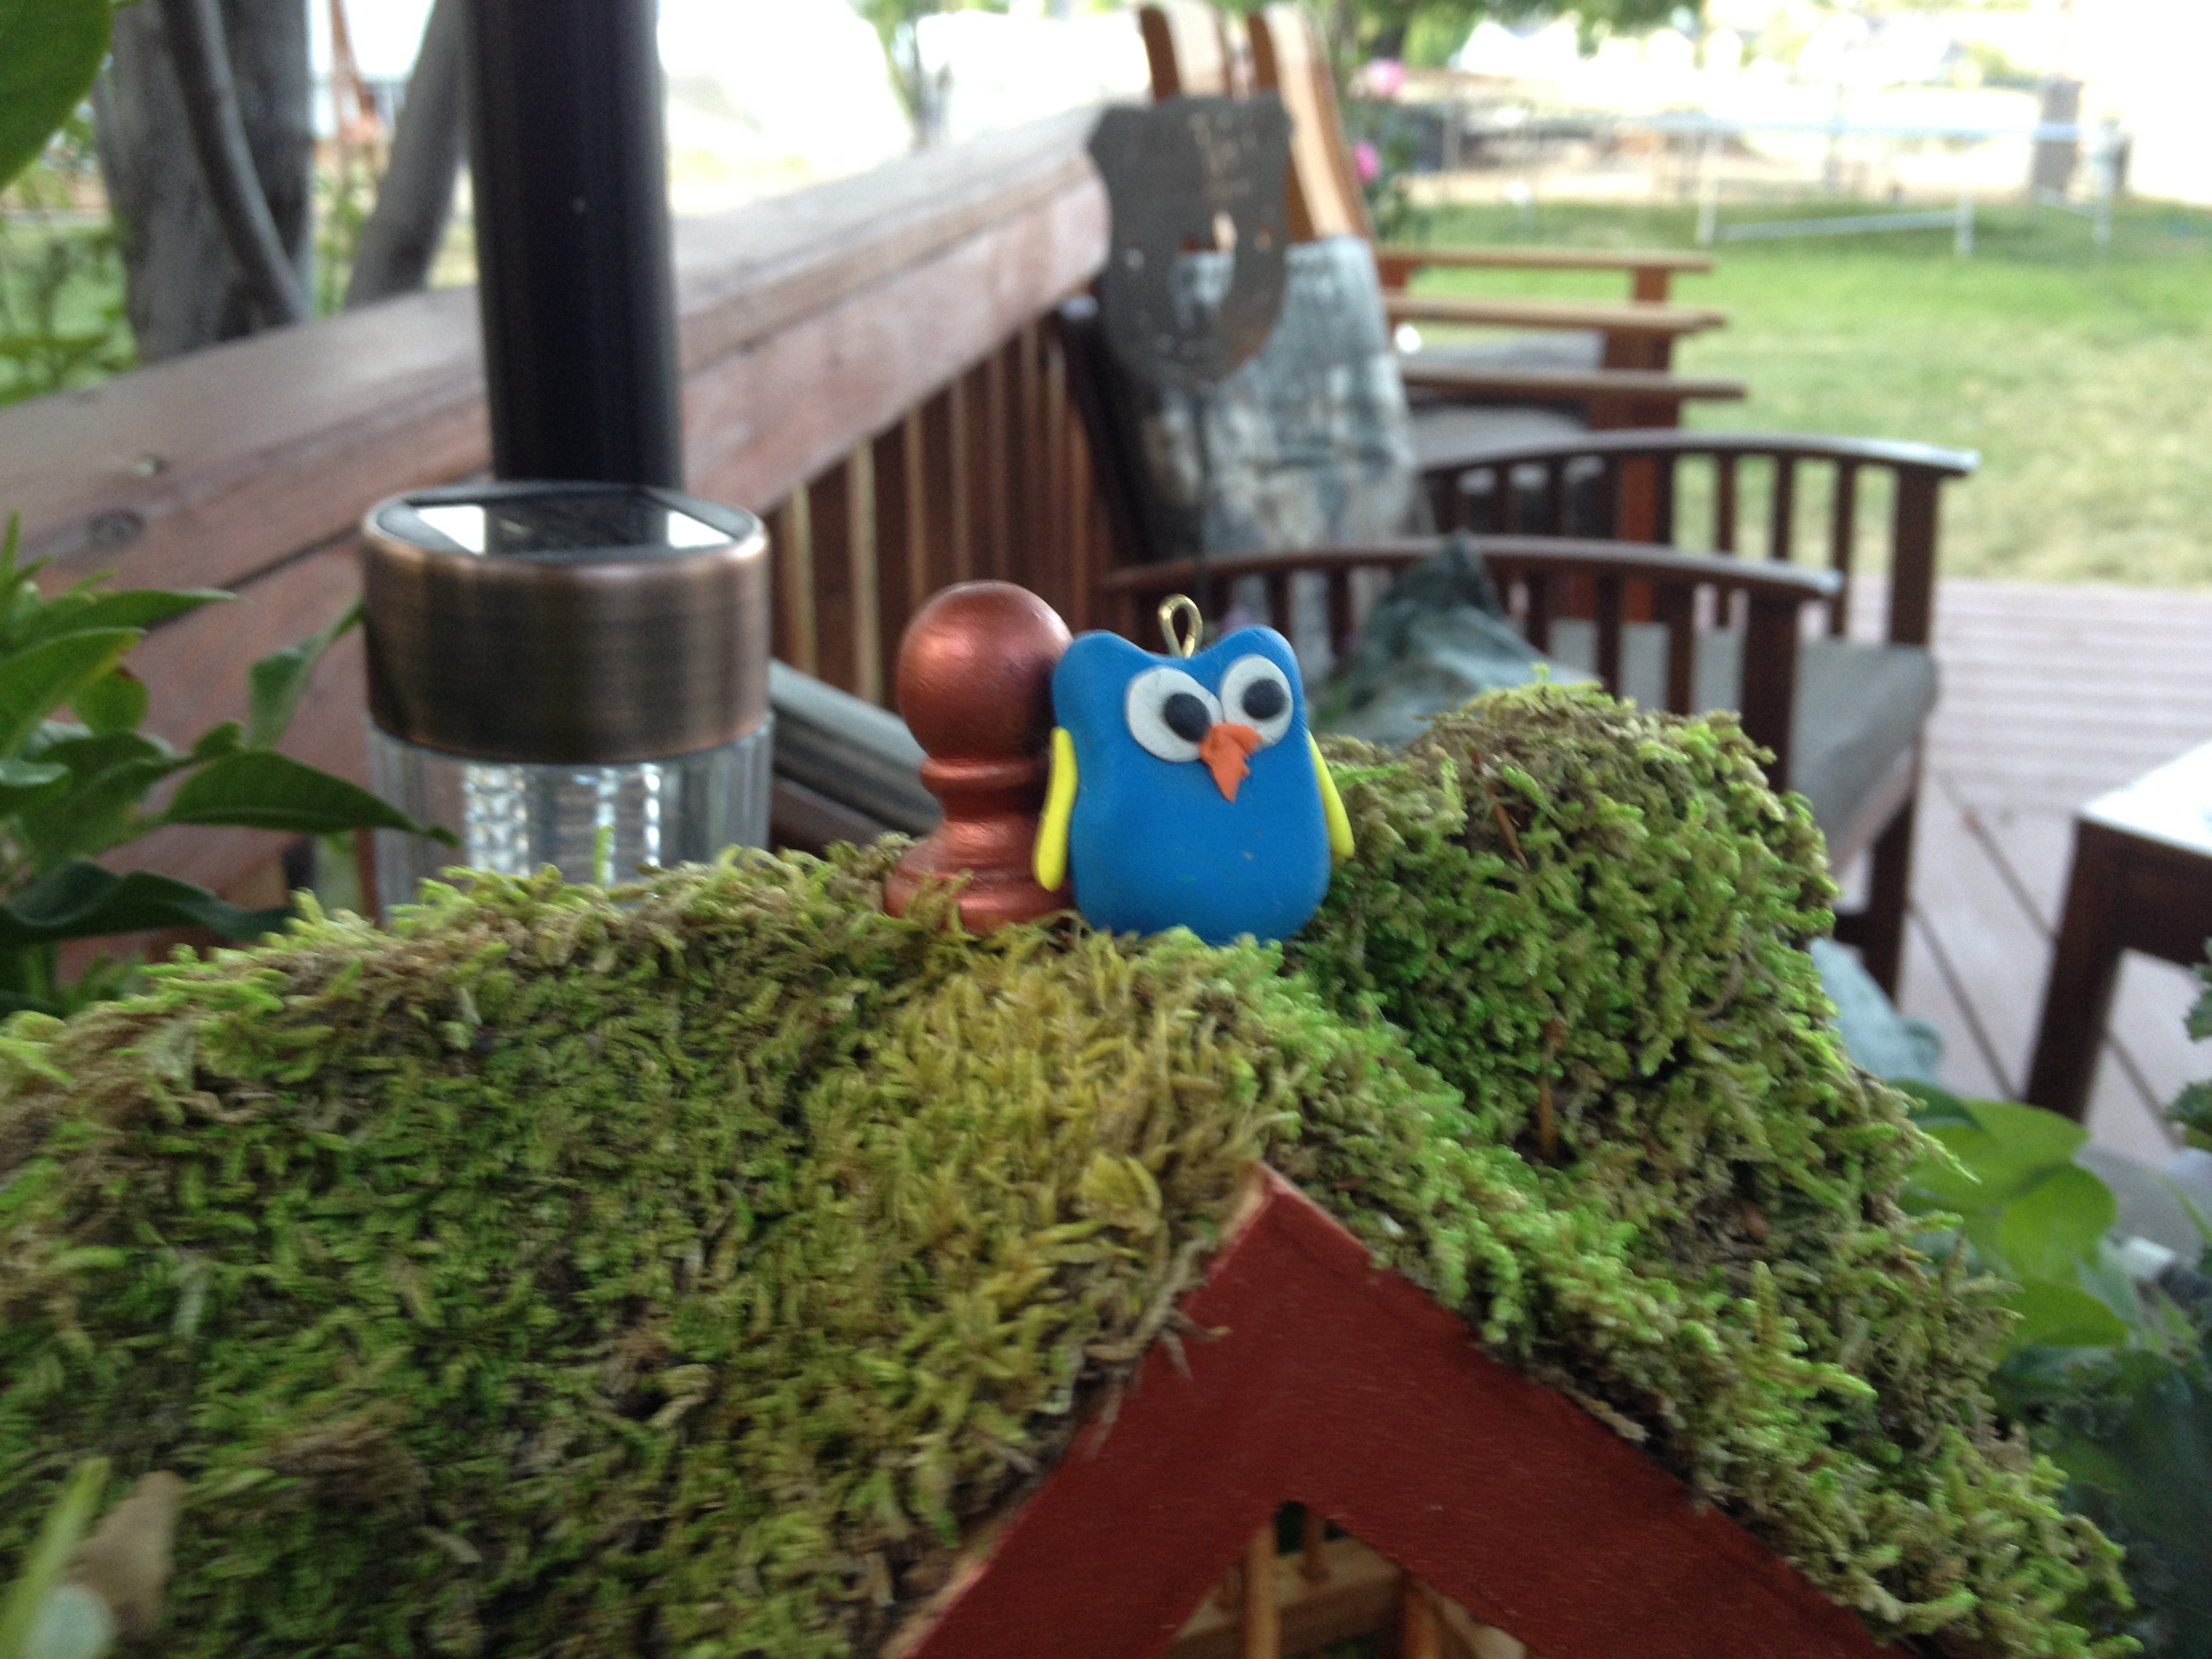
I cannot totally recall the order of things, I’ve been making and remaking items for a couple of months now. The house was the biggest part. I purchased a wooden birdcage style house from the craft store. decided to paint it copper, bronze and antique gold. The roof seemed to need more “nature” so I glued sheet moss to it. And a super cute owl from a friend.

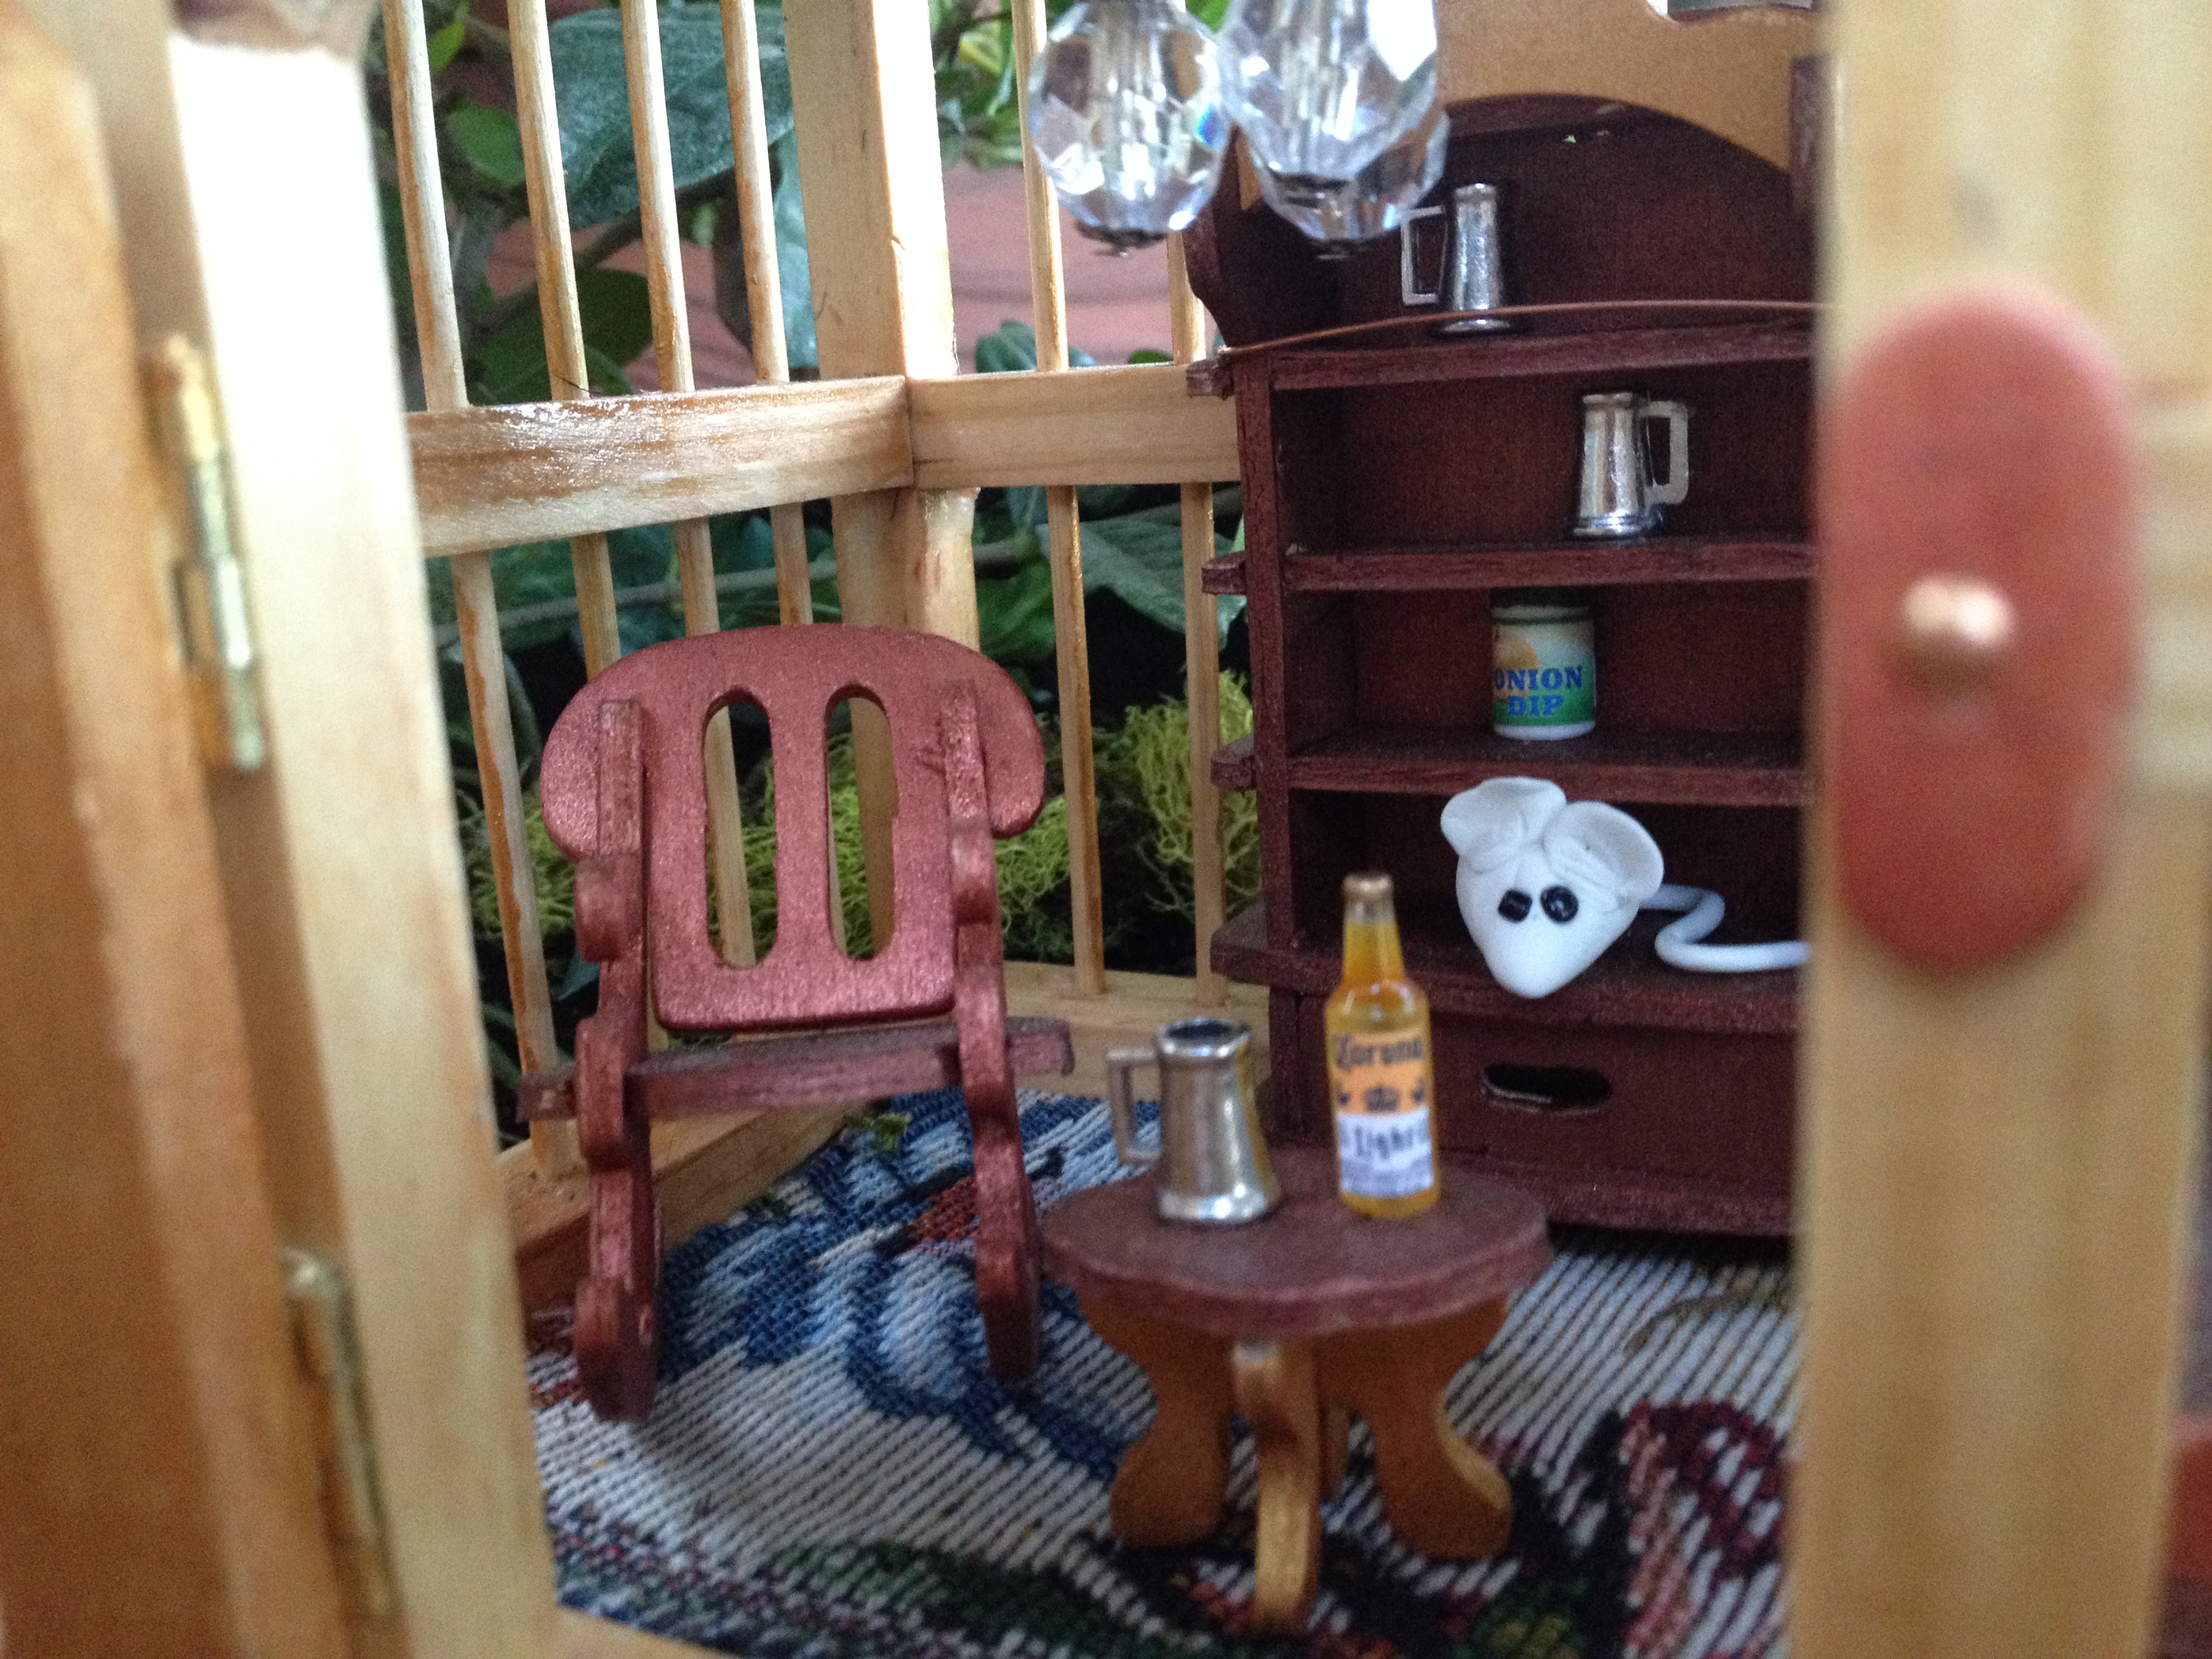
Might be hard to see, but she hung a chandelier made from a fishhook from the center beam. Nearly made the kind clerk at the sporting goods store cry when I told him what I was buying it for.


Added a few beads, kept the barbs exposed, and decided to lose the shiny lure in exchange for more beads.

I made some super inexpensive furniture from a wooden puzzle, and stained them to match the house. A small bed, table, rocking chair and a cabinet with open shelves. (I bought the mugs, beer, chips and dip online). Made the mice from polymer clay (super easy) and cut a piece of tapestry fabric for a carpet.

So Homey!! I’d move in, all the comforts of a cabin in the woods. I decided to raise the floor level above the dirt in the barrel because I have a mix of real plants and artificial and will need to water them and don’t want to flood her nice place. I used rounds of wood in back and sides. Took advantage of the area to place a mousey.

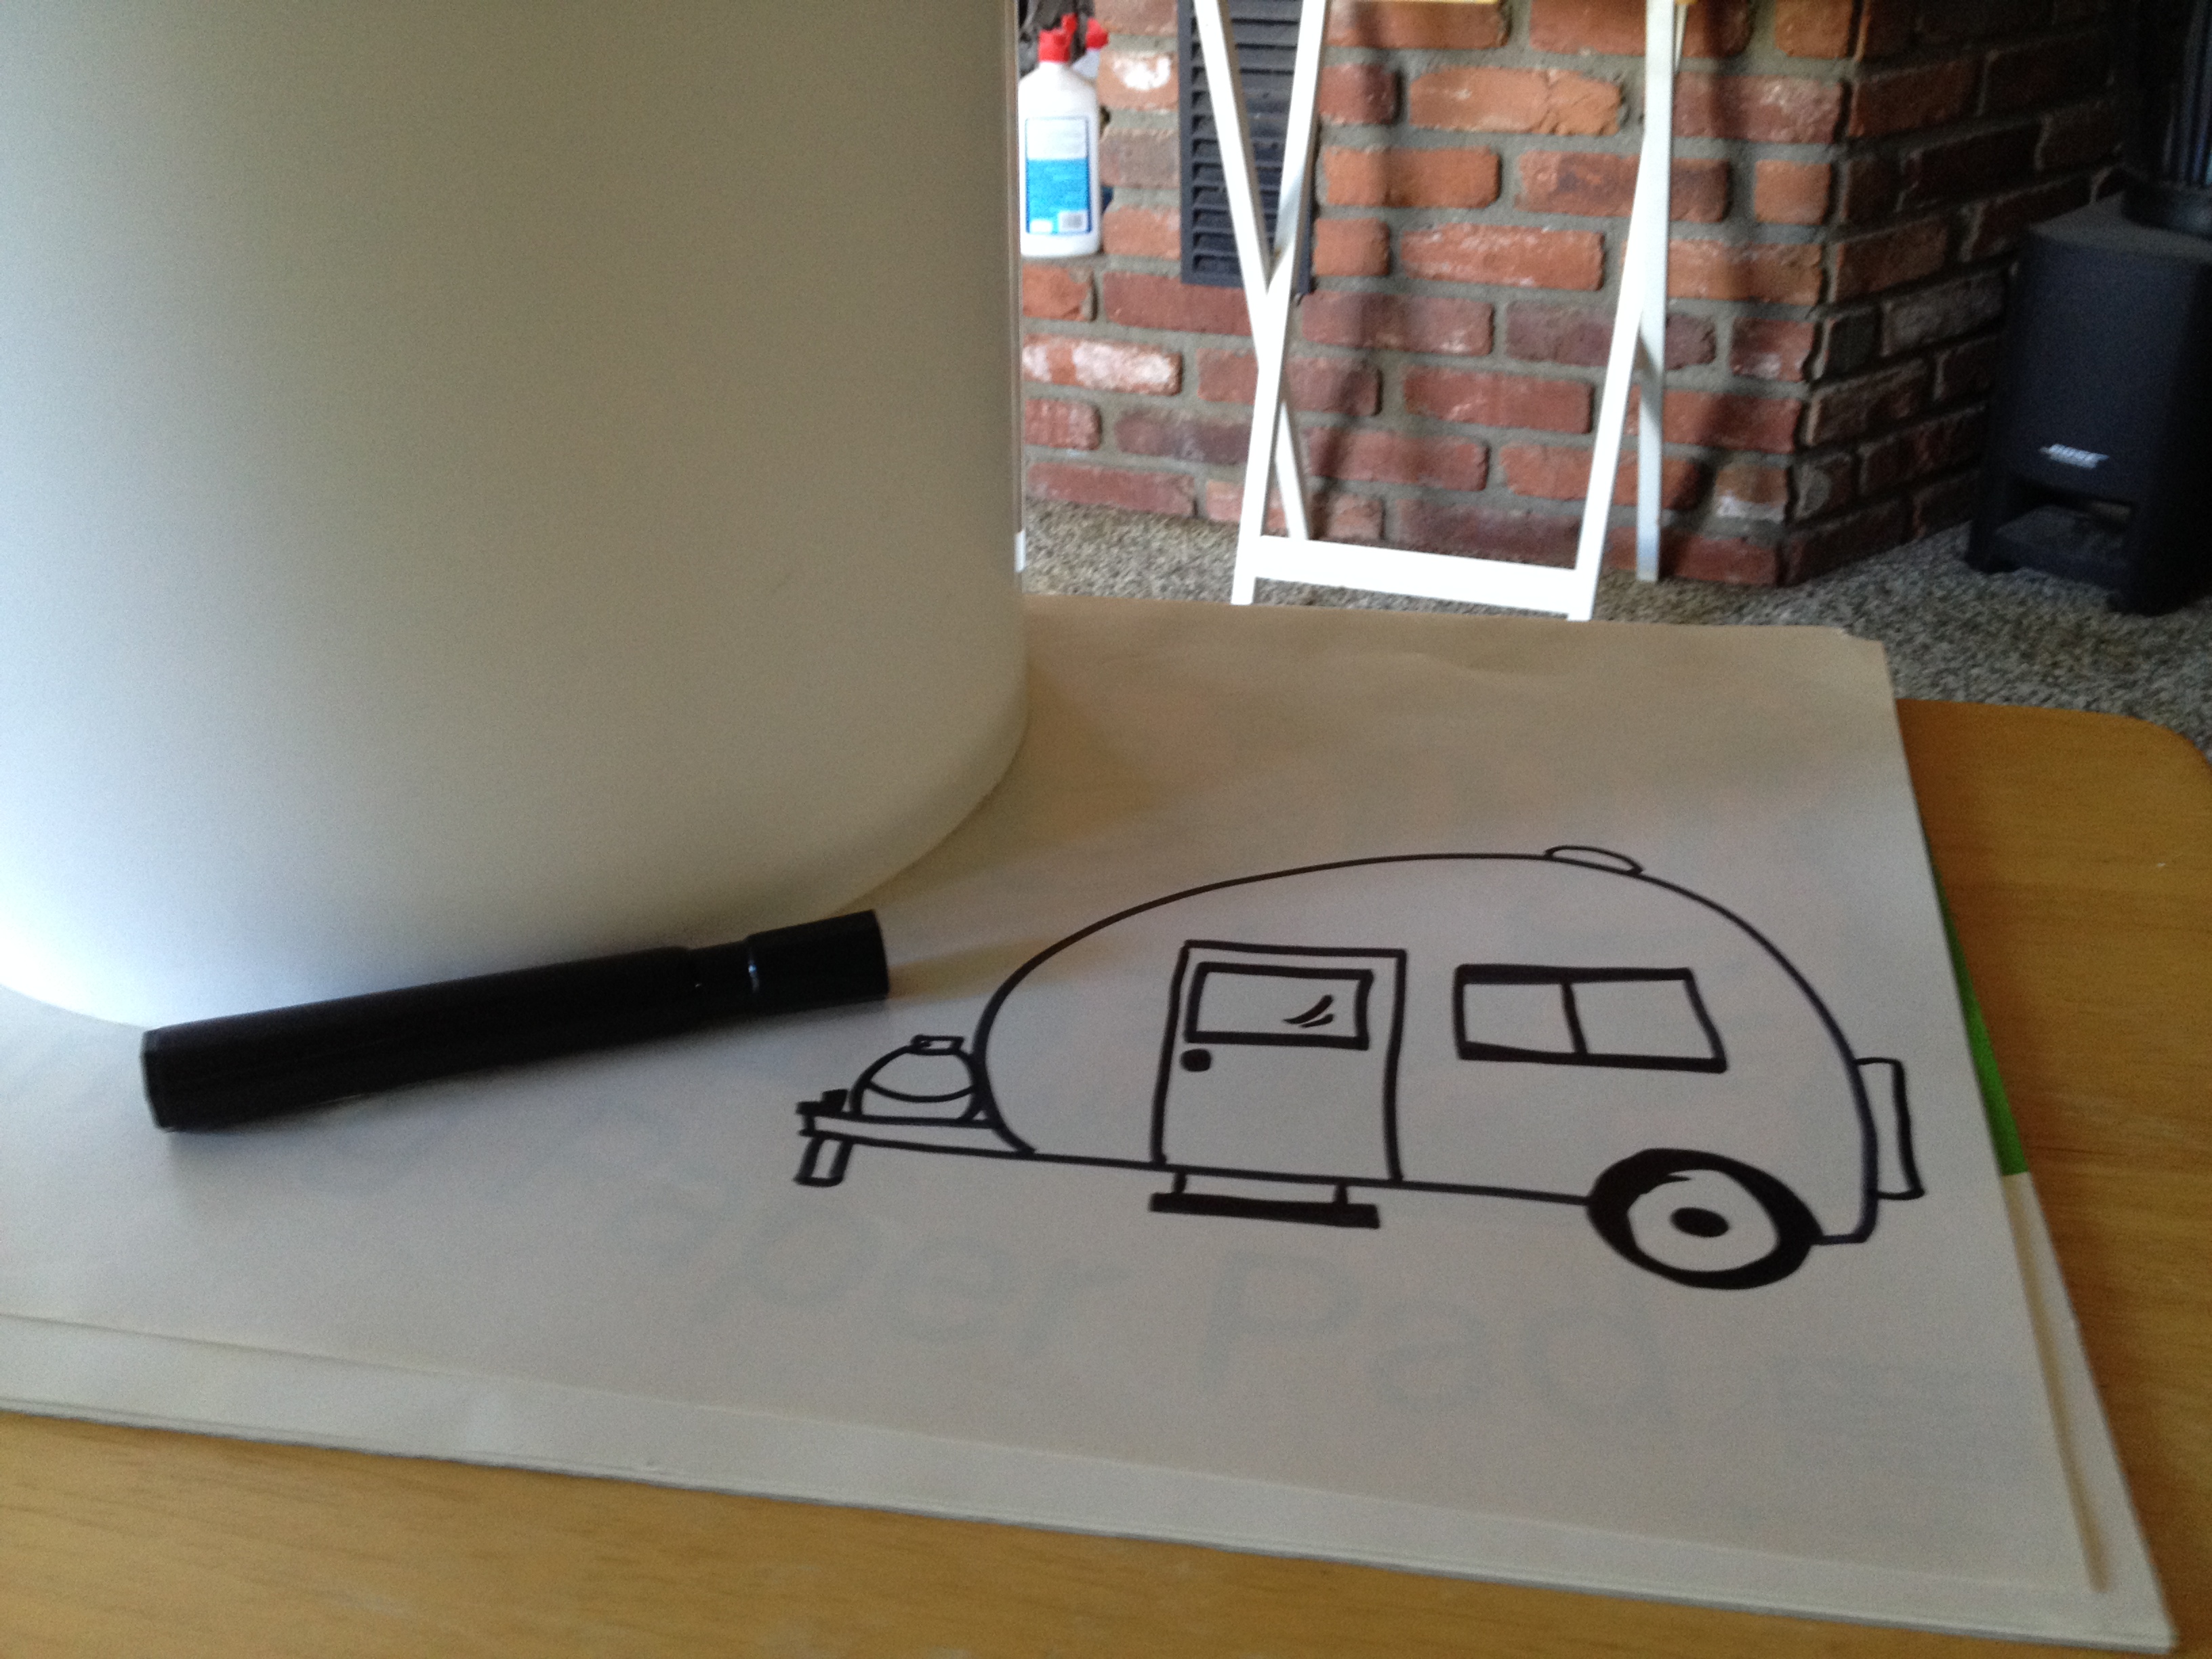
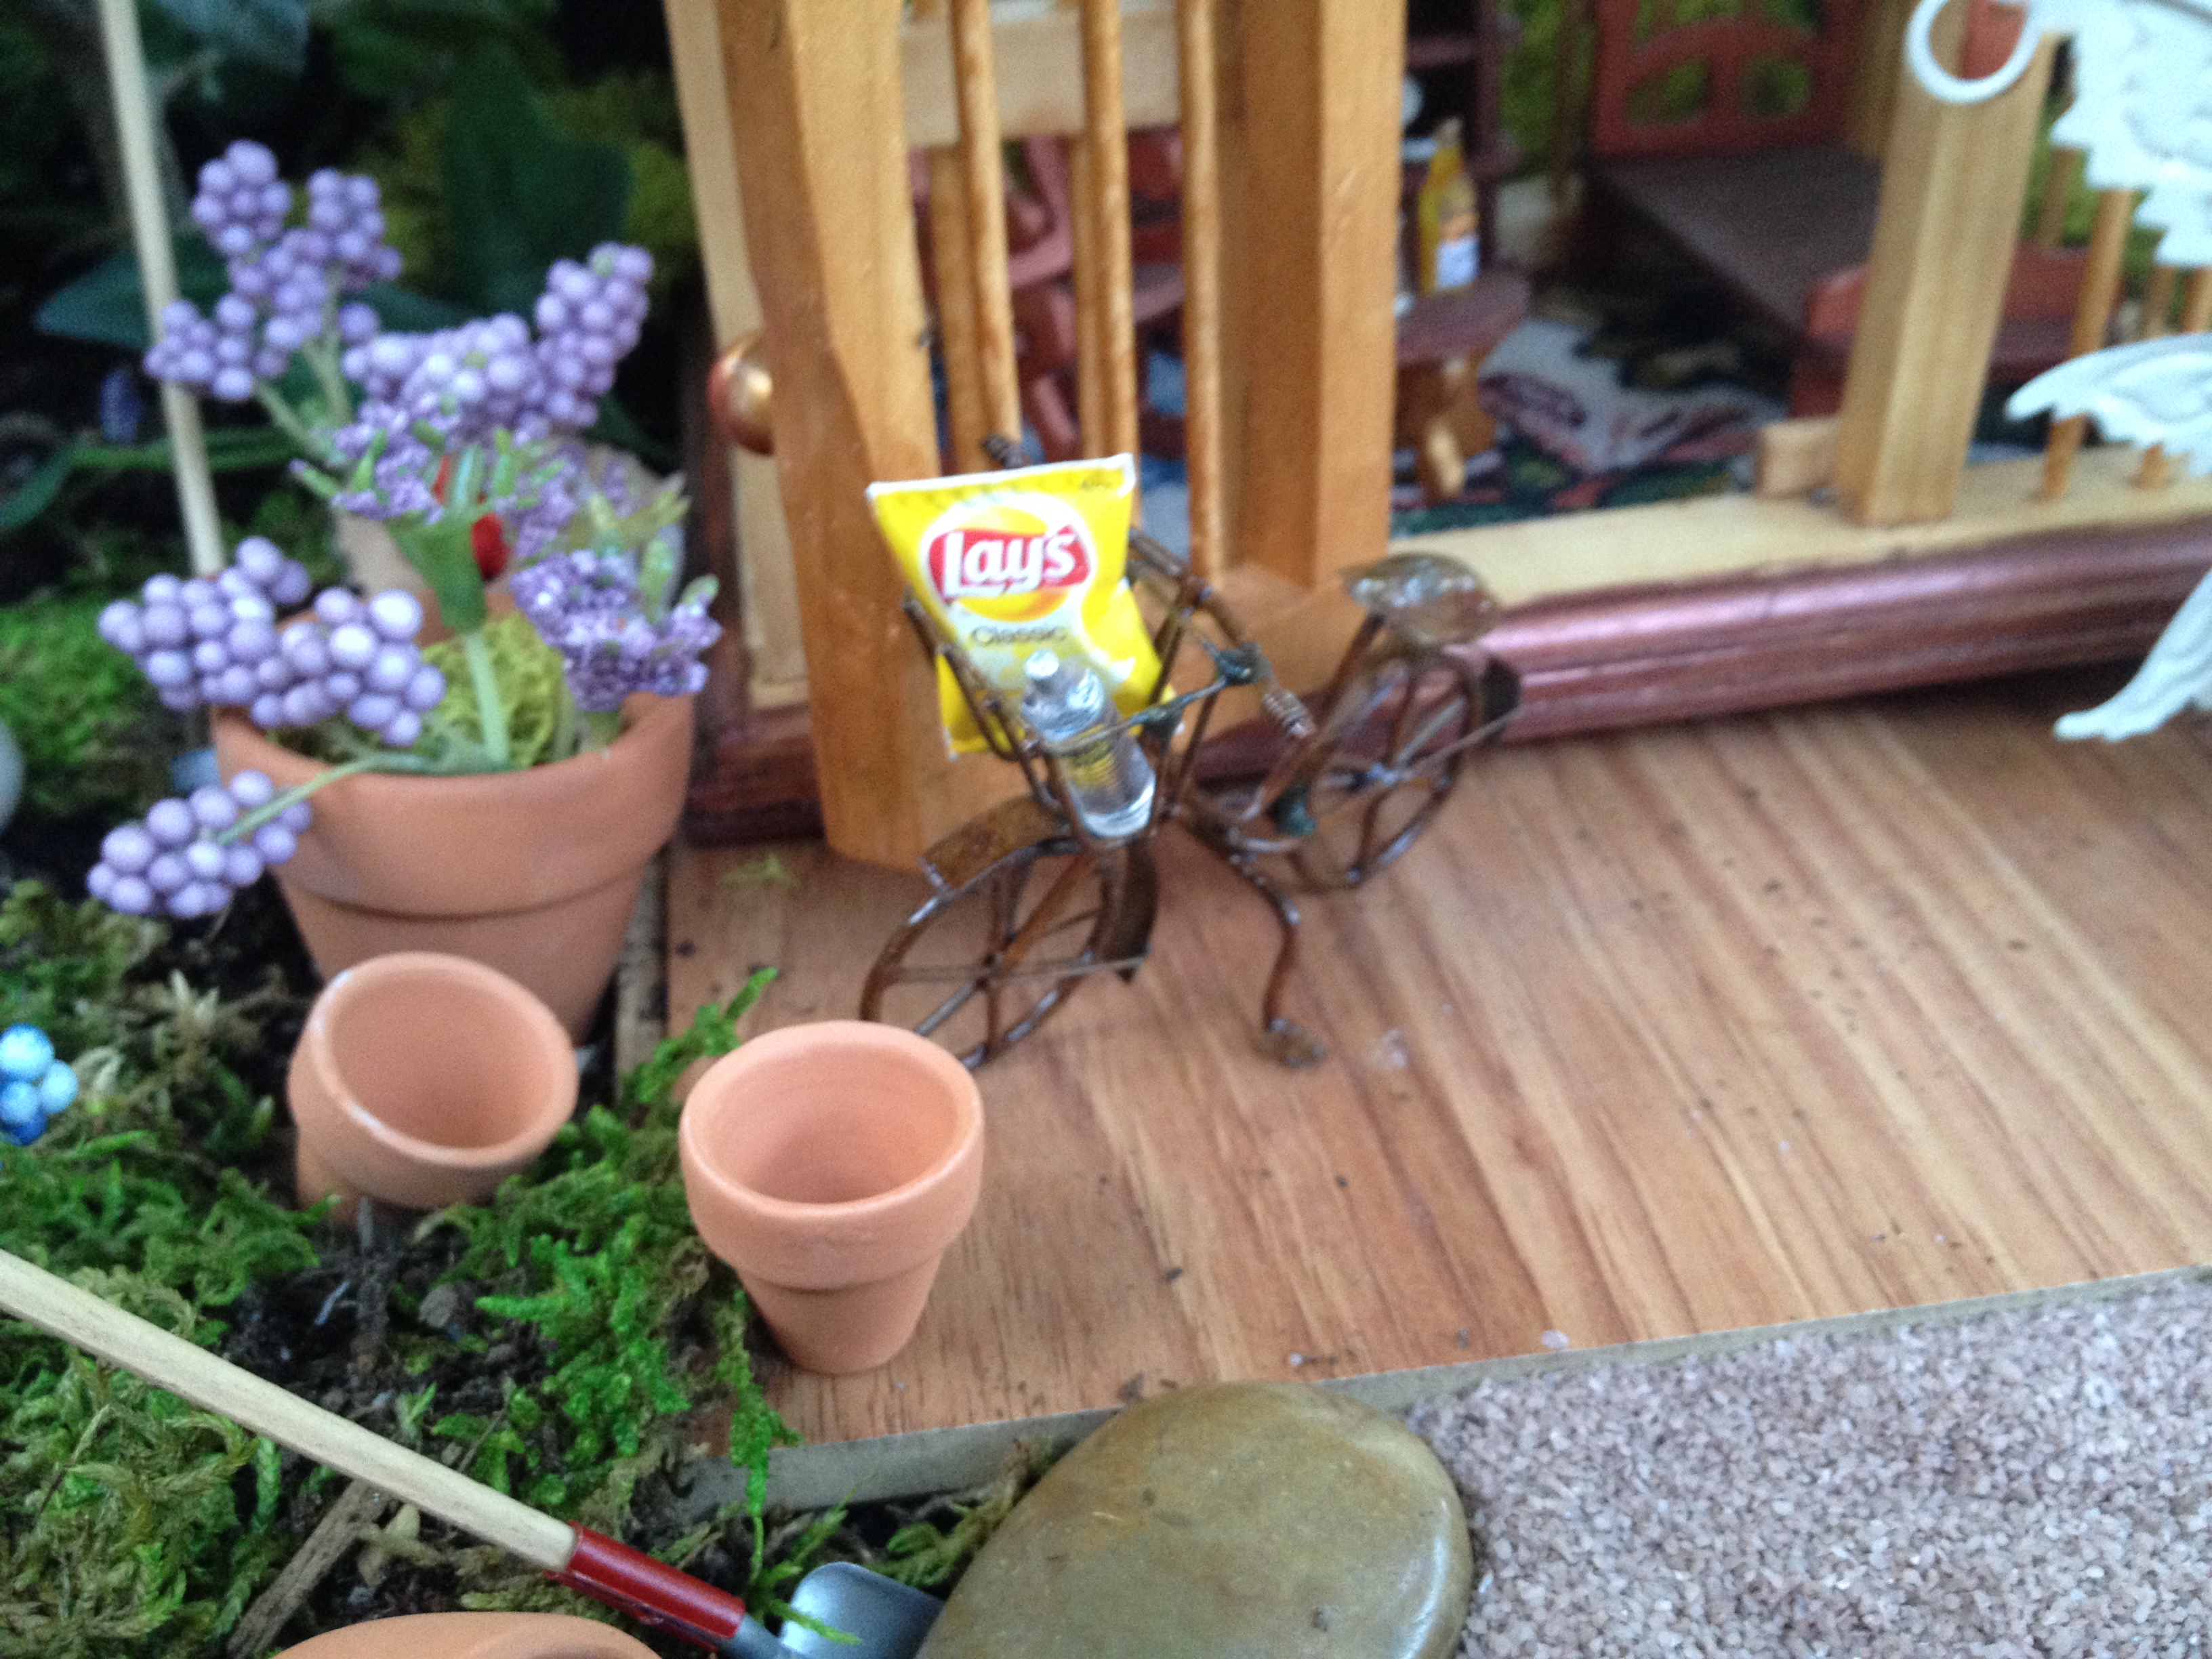
I used a sample piece of flooring to make a porch for her and her bicycle to rest on. I also serves to lift the front of the cabin as well. You can get sample pieces free, as well as carpet for your house.

I did pre-plan the placement of the house first. Centered and slightly backed up in the space. I put a solar light behind her house to light it at night. Then planted the Gardenia tree, a Kale tree, and a couple low, slow growing herbs. peppermint and pineapple sage. *This was in honor of Grandma Marino, every year when we’d visit her garden she would take the kids out, crush the leaves and make them smell them. I wanted to have some items in my garden that would be interactive also.

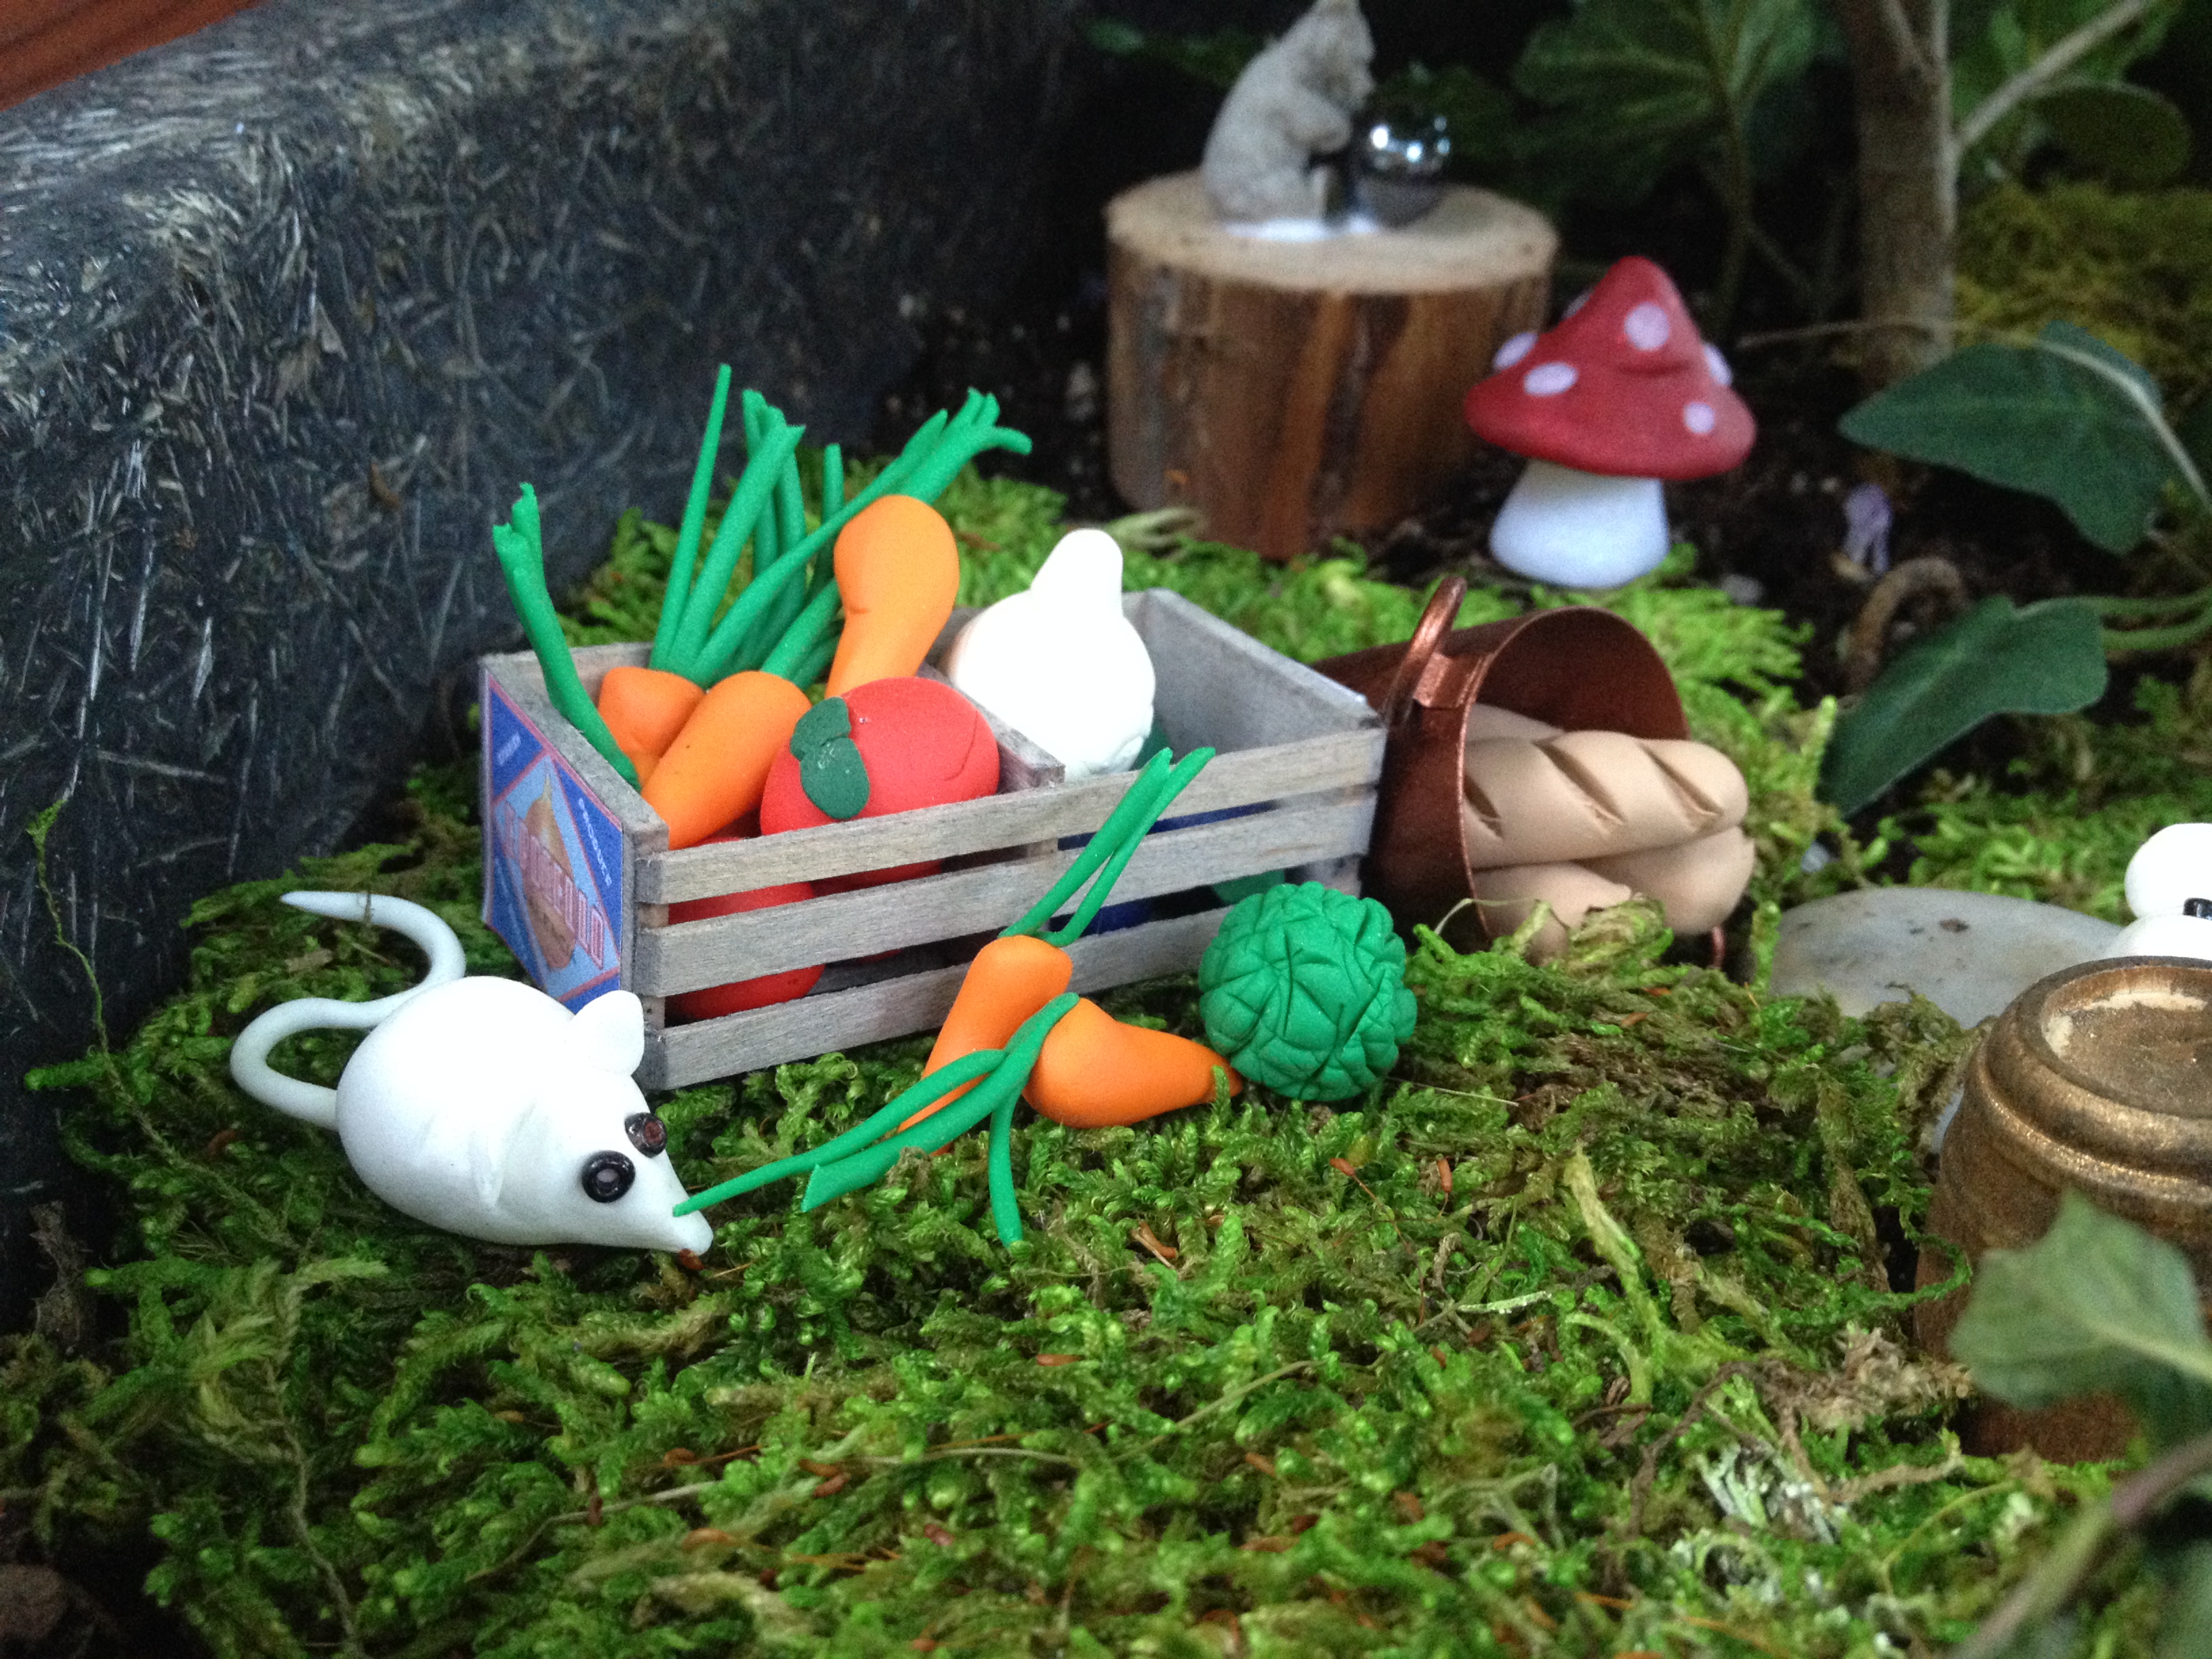
Last years kale plant, (on clearance) became this years tree for fairies! The Shepard’s hook was wire from the craft room, made a bird’s nest in an acorn cap, added some beads and polymer clay eggs. The toadstools were crafted out of polymer clay, as were the snails. The tiny seashell came from a lake nearby and a crafty friend dyed them pretty blue and purple. I purchased the crates online, and make the fruits and vegis from polymer clay.

Tiny buckets from the craft store, filled with polymer clay loaves of bread, more clay mice (She loves all of Gods creatures) and a miniature bear with gazing ball on top of a wood round. The sheet moss is a good ground cover, if kept wet, will stay in place easily, I did tack it down with a couple of garden staples.

Teeny Tiny baked pies in bottle caps cool in the shade. Garden tools made of clay and wooden dowels. Terra cotta pots planed with berries, and flowers.

Sand from the dollar store, makes a nice path, with the teeny rake its a teeny zen garden to rake into swirls and lines too. A seashell slug has hidden himself in a pot.

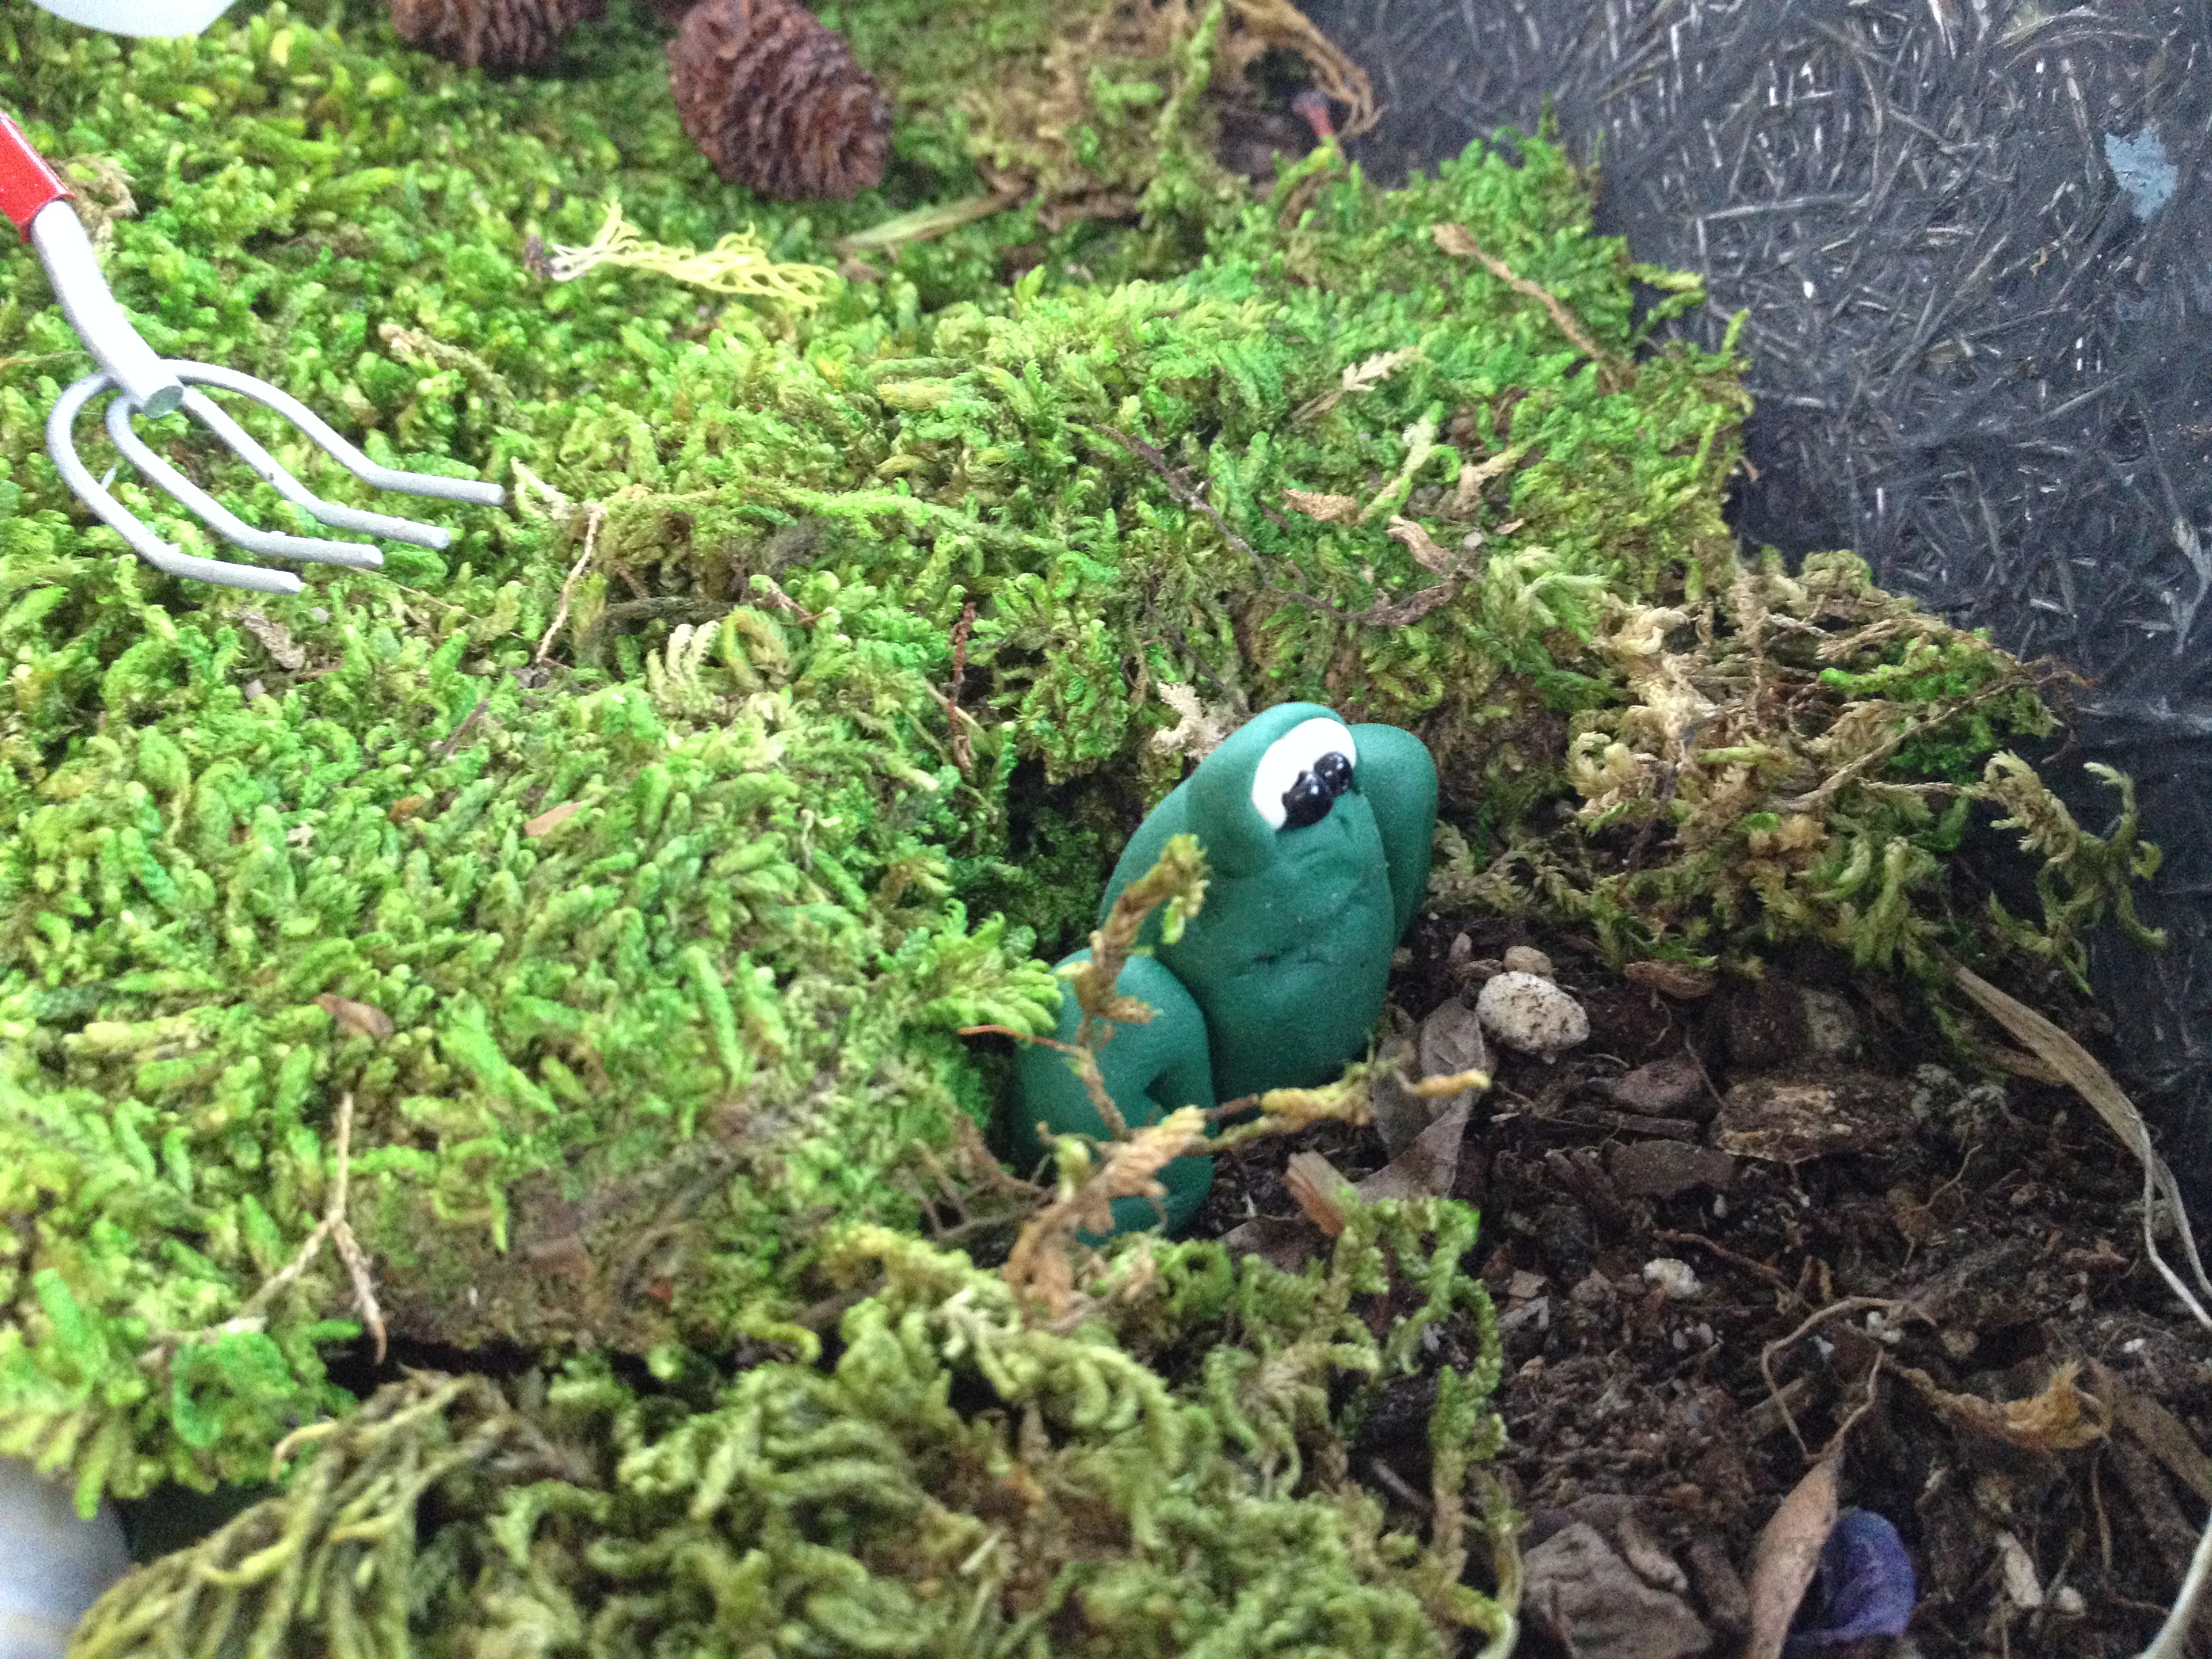
Not quite finished, there will be a pond in an abalone shell, once I mange to make it over to pick it up from my BFF. The Frog seems depressed that I haven’t get his area done yet.

So come on in, stay a while, relax……
And as always, Enjoy,
Debbie