Faux Milkglass Trays

So we all know how cheap I am. Why buy it, when you can craft it right?

That is why you’re looking at this post in the first place, we’re alike.

This is the initial mock-up for the dessert table.

Chalkboard, vintage black, white and silver. It will be redone about a hundred times, and until I place the last cake pop, is subject to change.

IMG_2070 The wedding colors will be accents (Sea glass blue and blush) flowers in delicate pastel, pretty beachy shades.

Cupcakes, cake pops, and baked goodies will be the final touch!

So lets focus on the base of this arrangement.

To make the faux milk glass serving platters:

Supplies needed:

Assorted plates, platters, candlesticks, dessert bowls, vases and glasses.

White gloss spray paint

Waterproof, outdoor glue

IMG_2011

After a hasty trip to the dollar store, I purchased several platters, candle sticks, dessert bowls and glasses.

Spent about $20. but should come out with 10 serving pieces, and three vases for fresh flowers.

IMG_2015

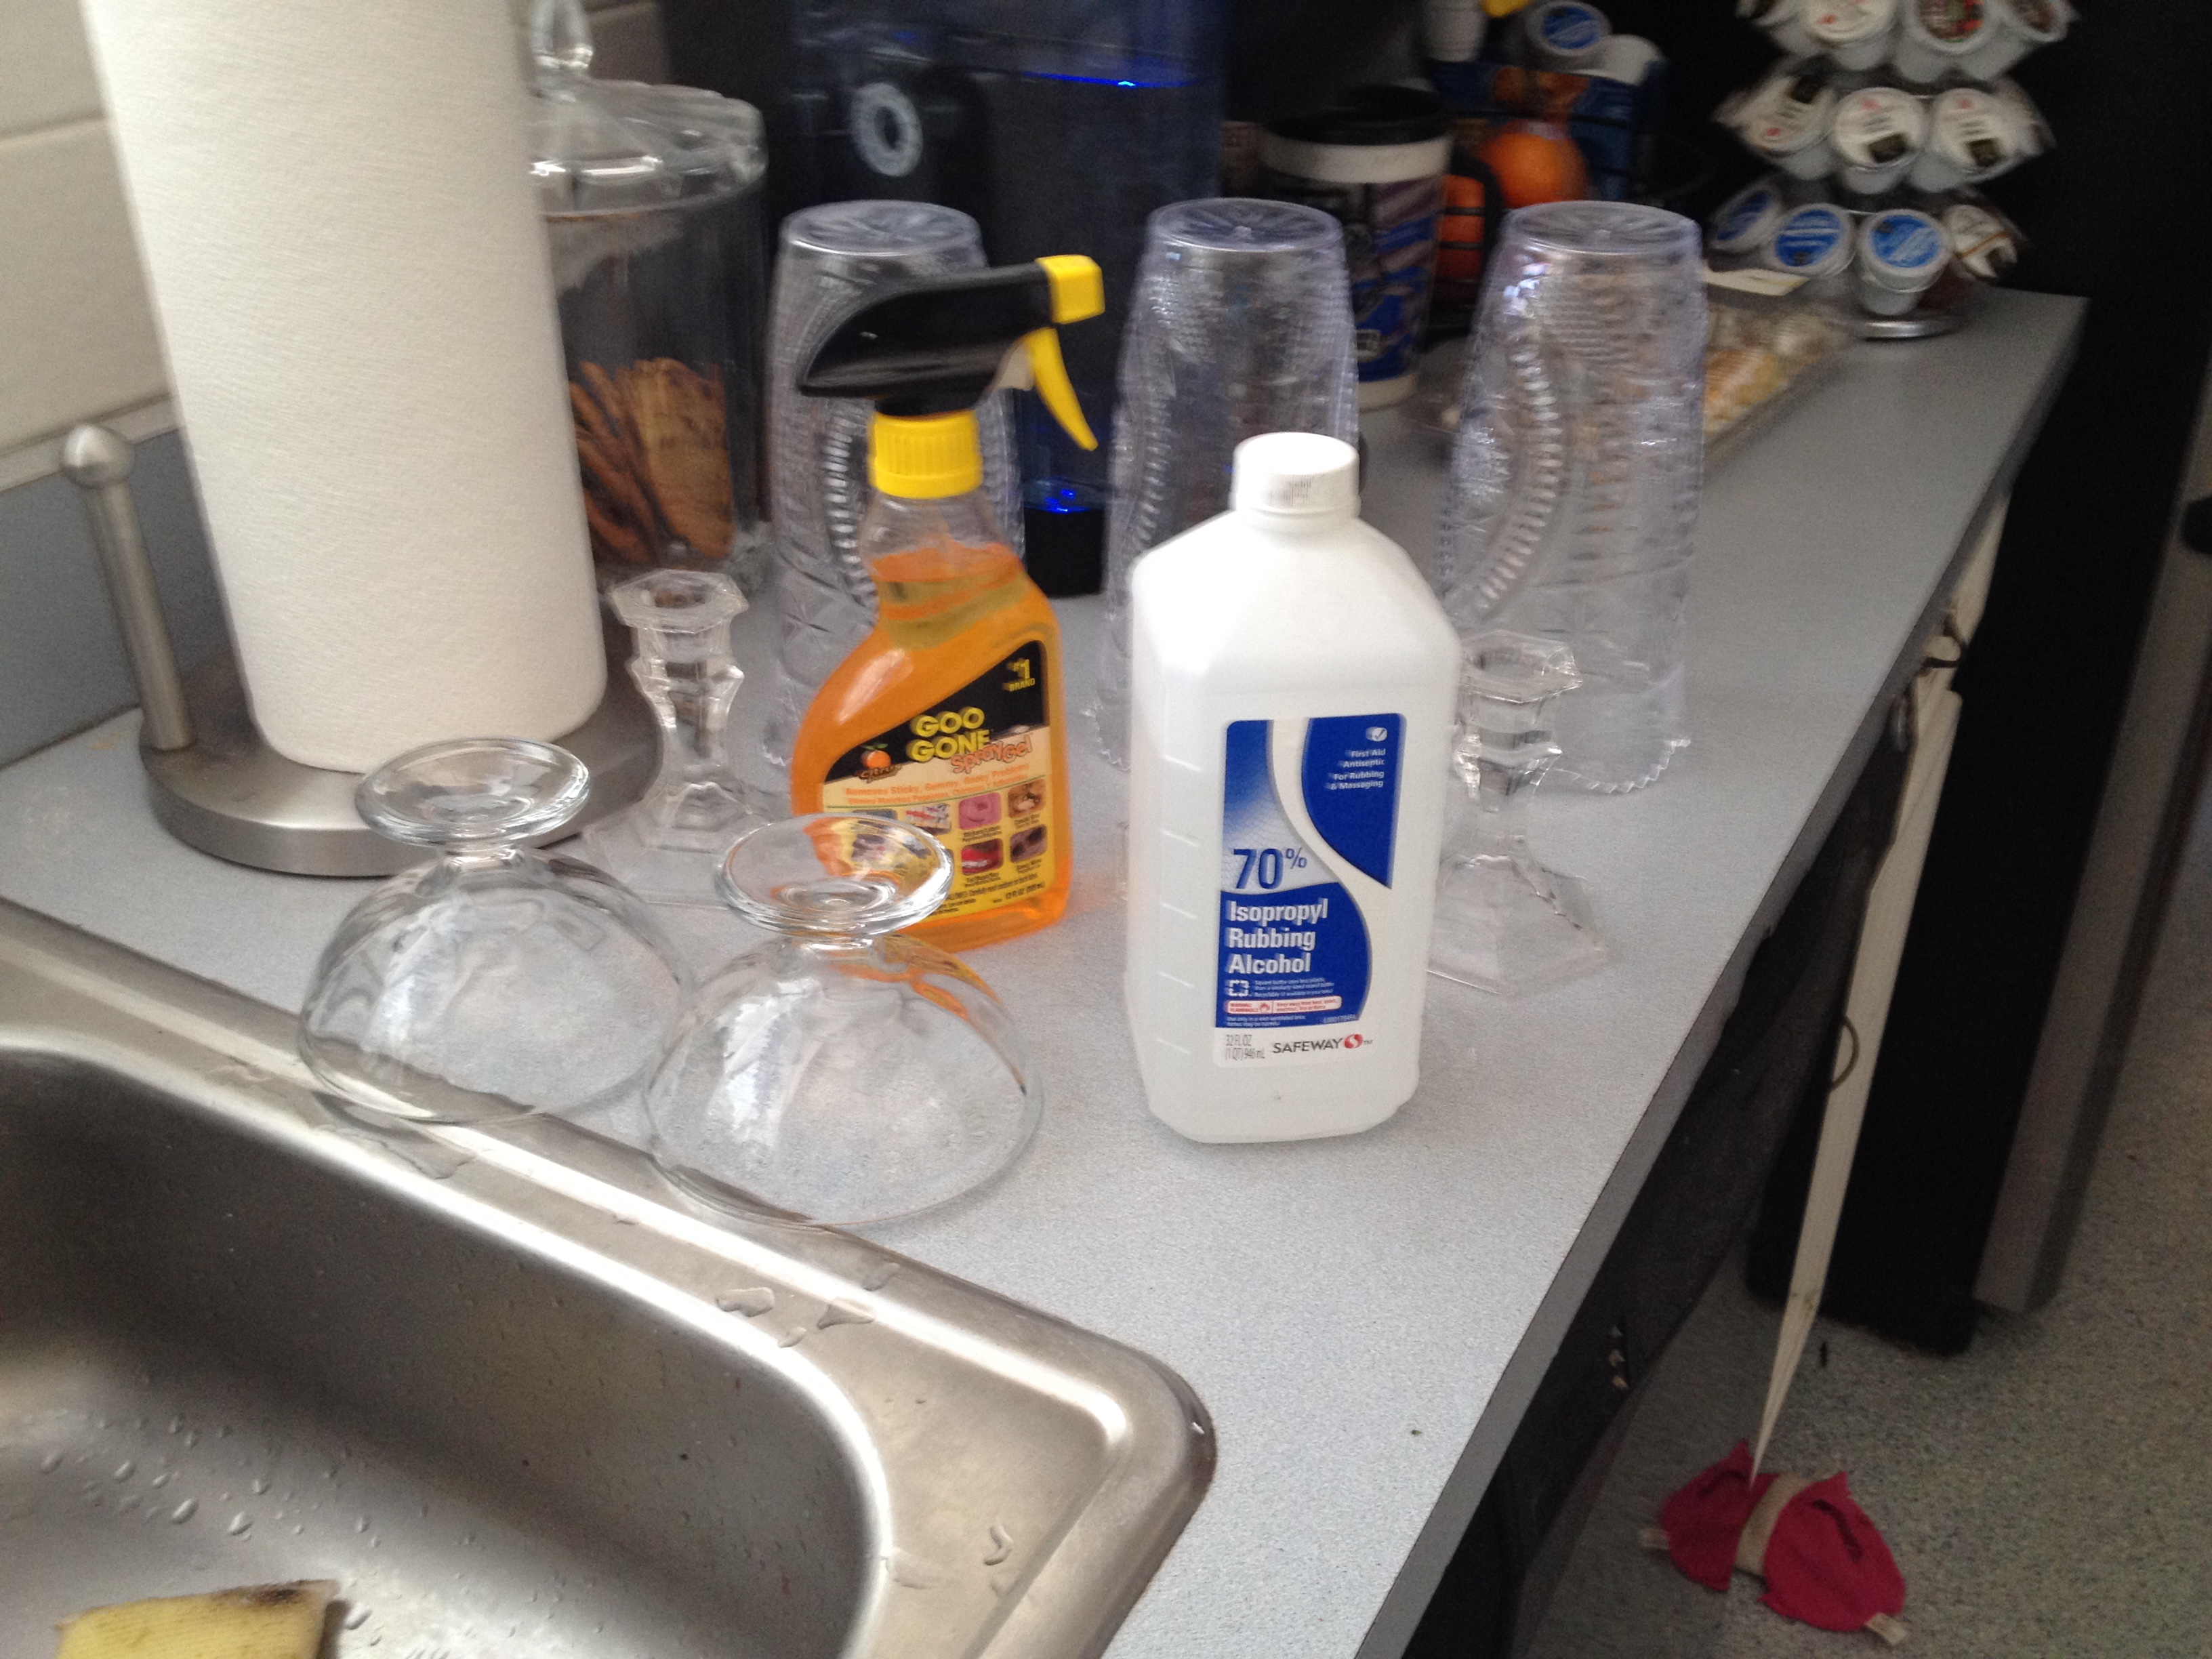
First step is to wash and remove all stickers, oily film and prep your glass items.

I use the Goo-gone to remove stickers and ink, then rubbing alcohol to remove the goo gone. (Its oily and the glue won’t stick well).

IMG_2016IMG_2017

Attach the candle sticks to the candle plates, the dessert bowls to the oval platters…you get the idea, using the glue.

Center them so they will balance when turned over. Allow to dry overnight, since you’re going to paint it, it could dissolve the glue if it’s not set well.

IMG_2021

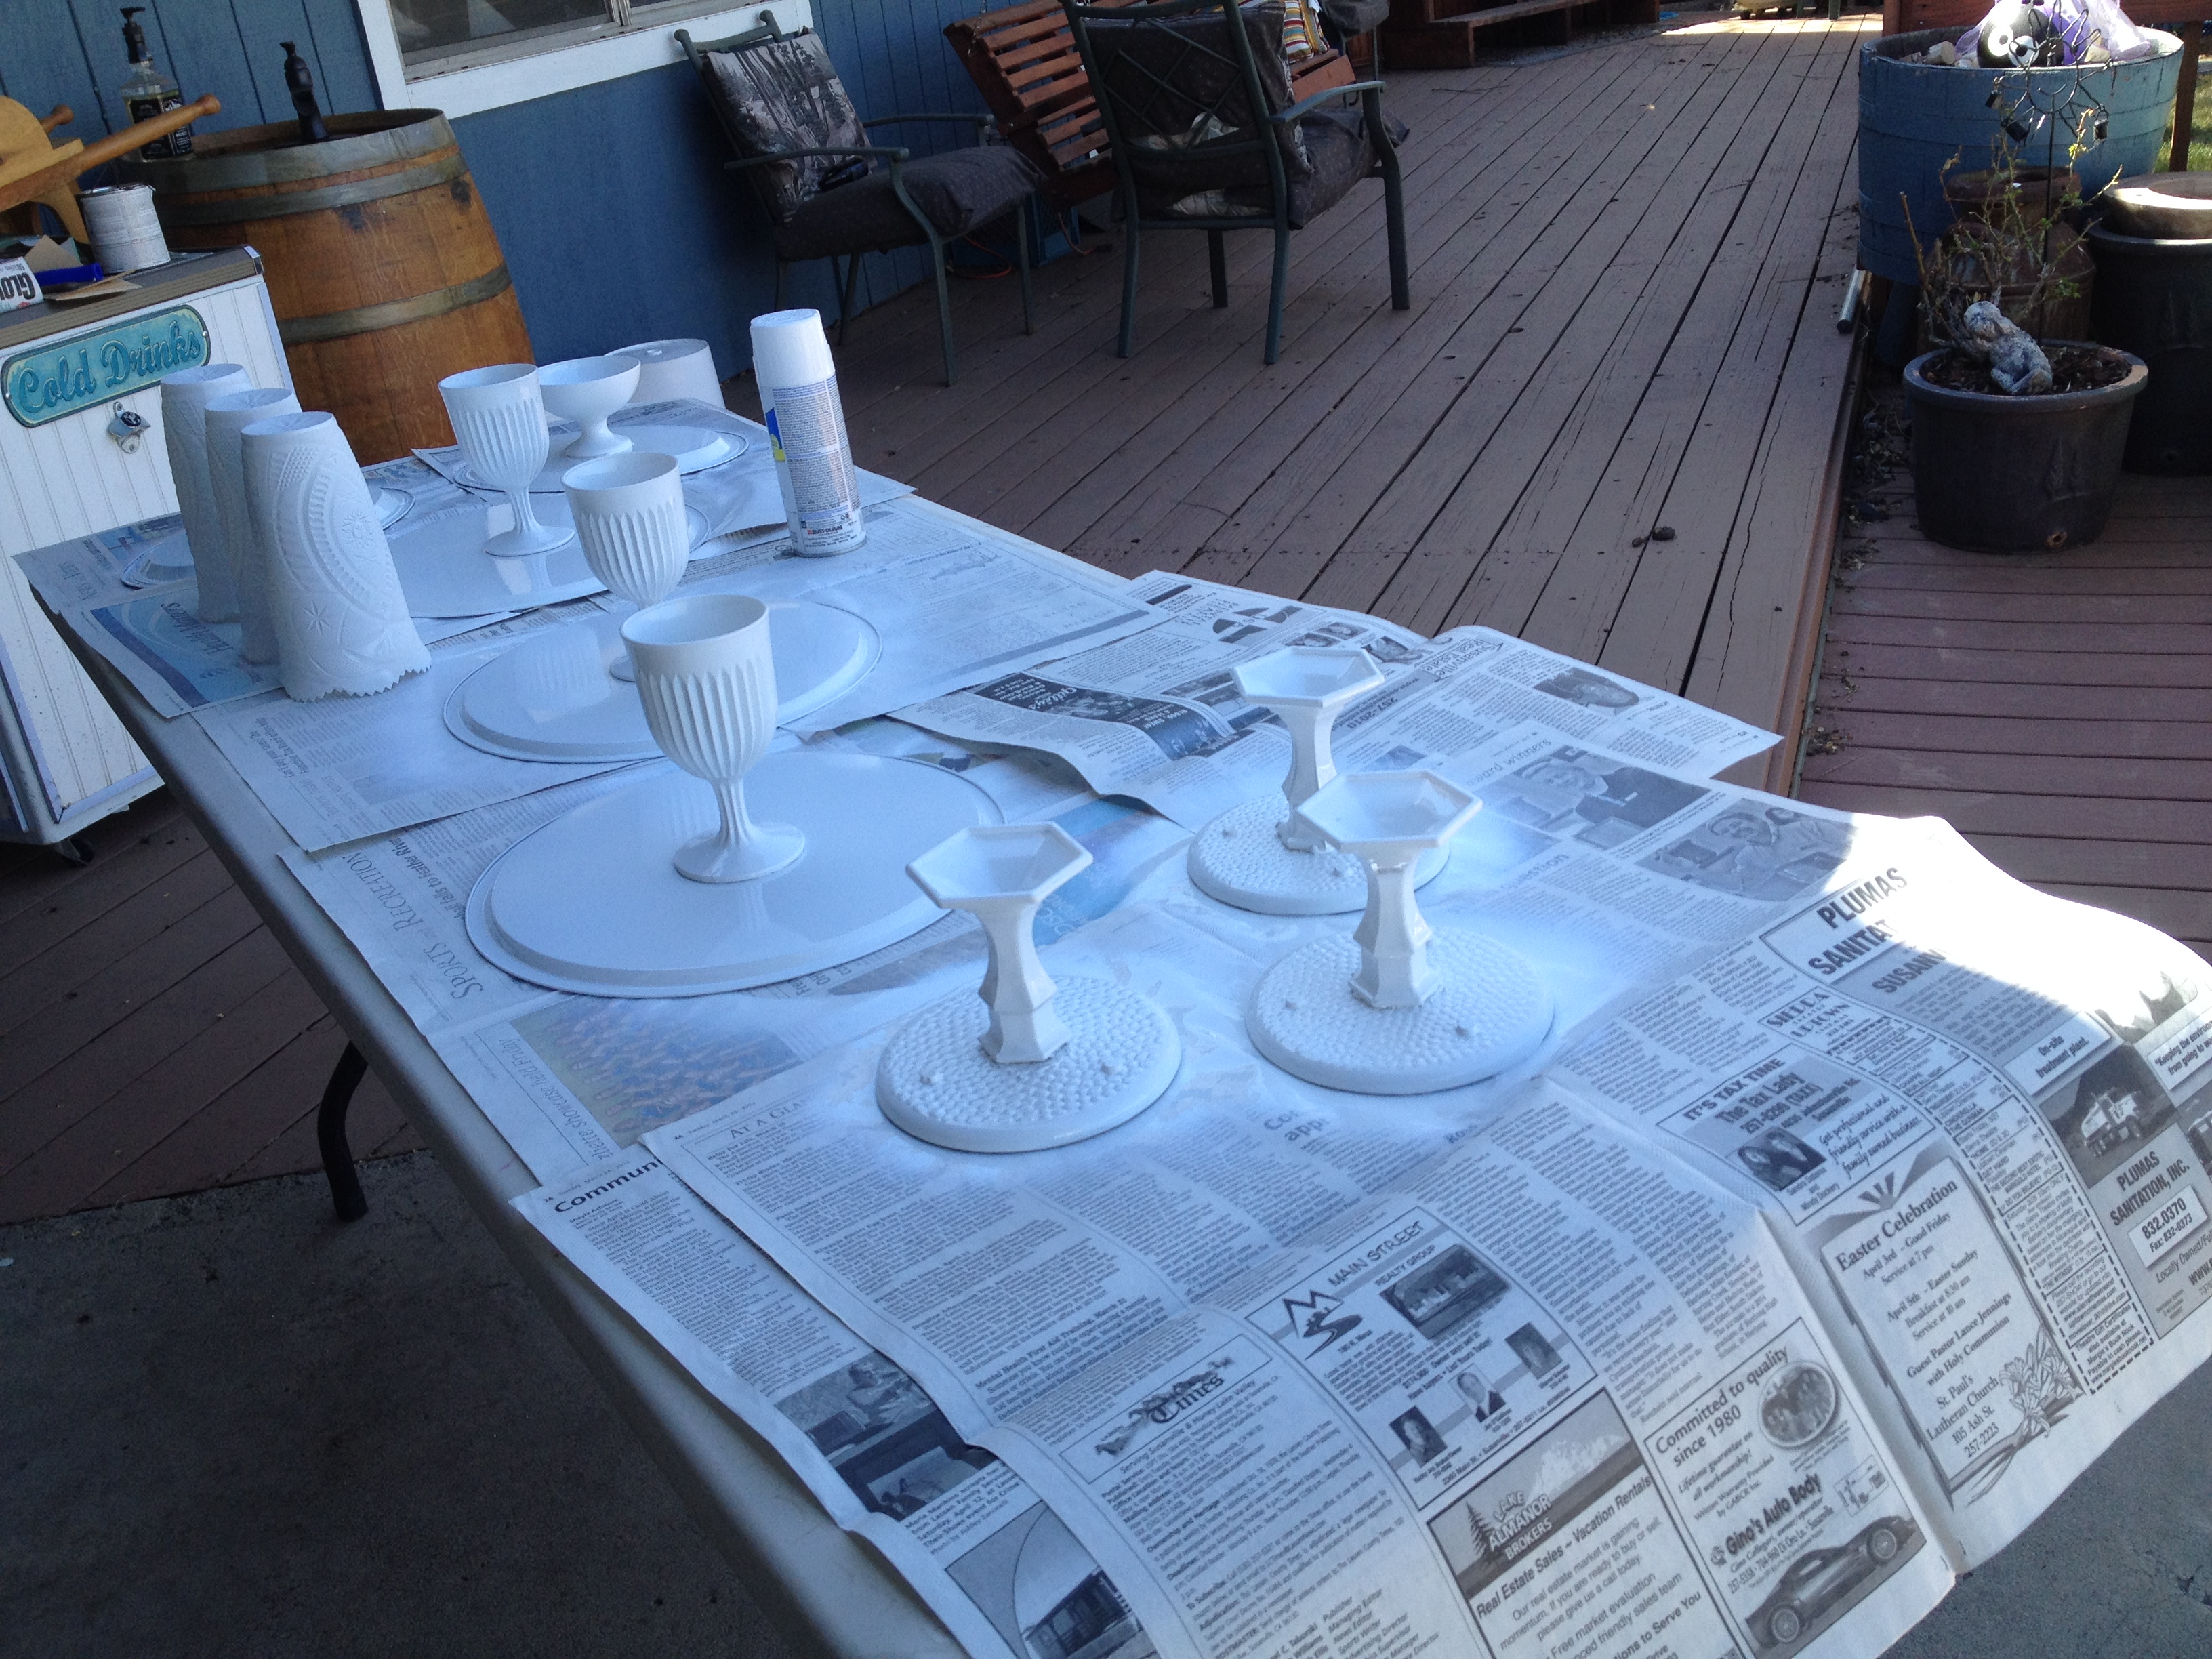
Be sure to cover your work area well, and spray away!!! I did two coats on most, some needed touch-up after I turned them over.

Allow to completely dry or you will risk fingerprints in the paint. (No, I didn’t learn that the hard way)

IMG_2059

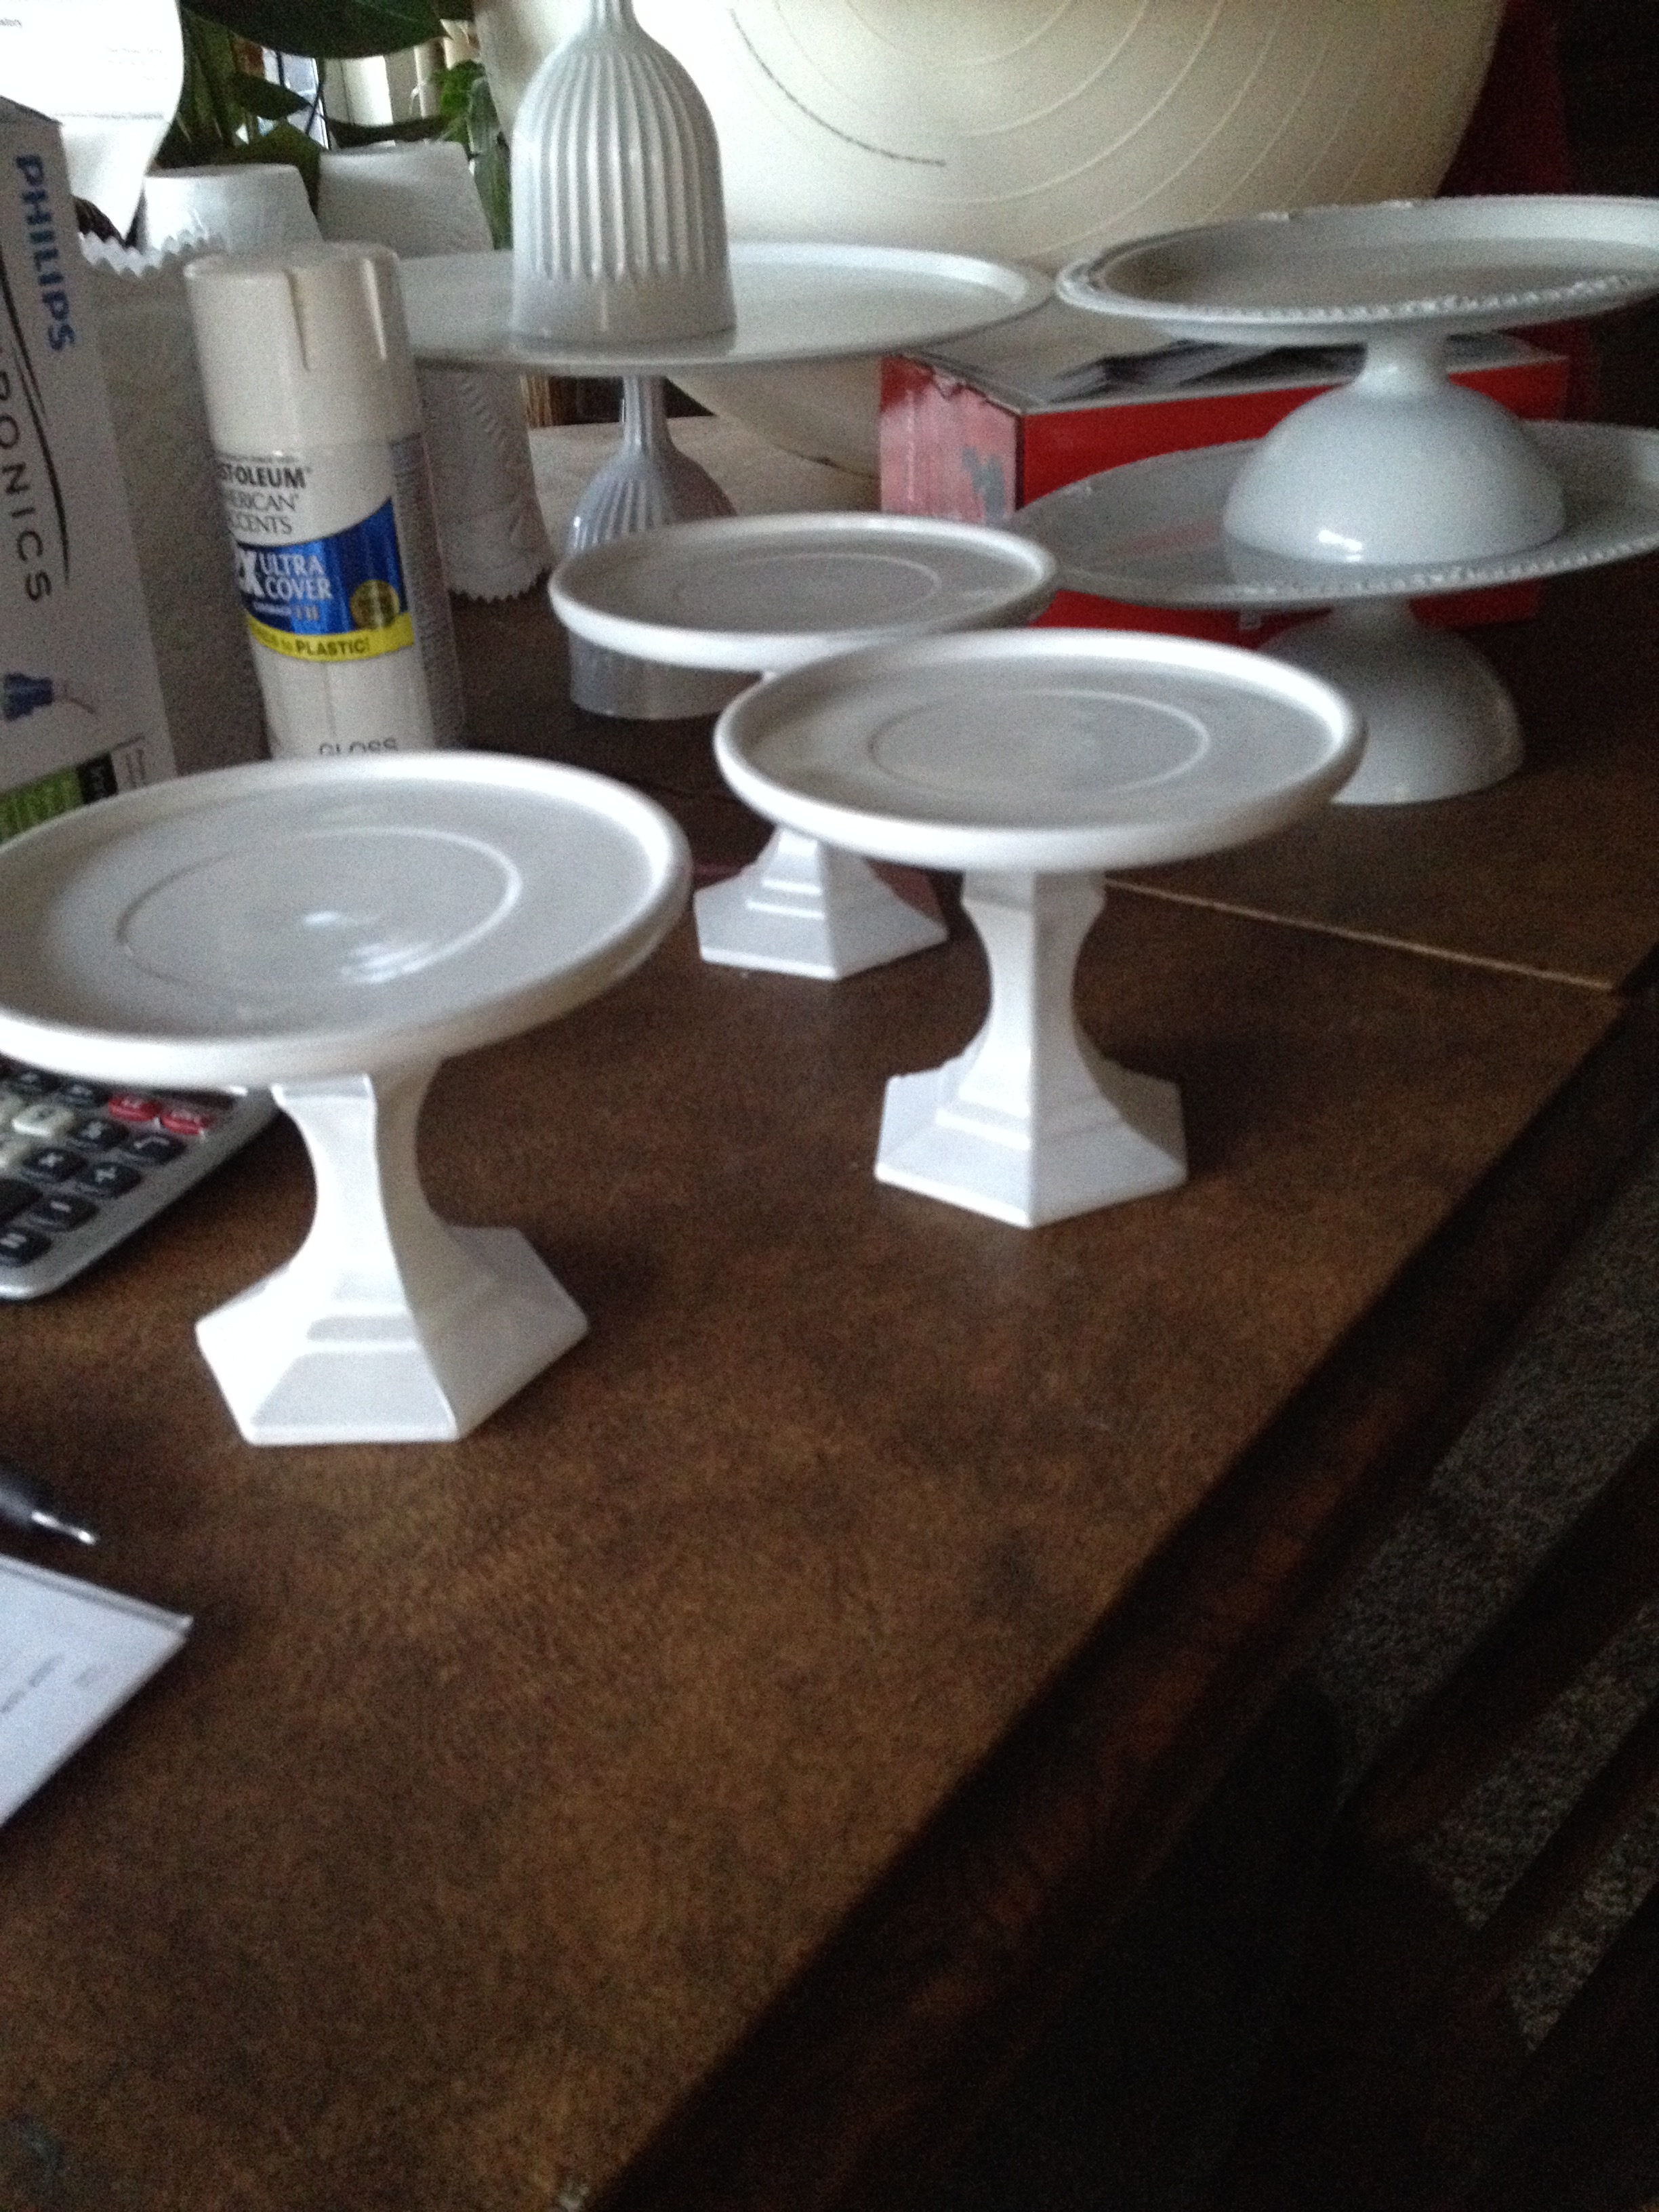
These were my favorite, candlesticks and a candle base. The glass was heavy and they turned out nice.

I’ll be putting cake pops, cupcakes, and assorted baked goodies on all of them!

Rehearsal Dinner is my chance to impress my son’s future family, and introduce them to ours.

 I come from a long line of crafty ladies, who would rather spend $75.00 in supplies and make something with LOVE, than allow anyone else to cater or design for me.

Enjoy!

Debbie

Margarita Bar Towel

Ok, so I’m going to blame Frank for this. Was it his fault? No, I never said that, I just said I was going to blame him.

IMG_2125

So, you ask how was this his fault? I bought him a shirt for the rehearsal dinner. (In case you didn’t know, youngest son is getting hitched in June) and I asked him to try it on. Several times I asked him to try it on…. I got an XL because I loved the shirt, and they didn’t have a large. I’m pretty handy with the sewing machine, and I figured I could just take it in some. Problem was, he wouldn’t try it on while I was available to mark it. Long Story short, he tried it on alone, told me it was really big, and I took it upon myself to take it in, sans measurements. Needless to say I took it in too much! Ugh! A perfectly good, Jimmy Buffett Margaritaville Shirt, too small!!

After blaming him relentlessly, and a good nights sleep. INSPIRATION!! Bar towels for the Margarita bar at the rehearsal dinner. GENUIS….

Supplies needed:

One super cool Magaritaville Shirt (made too small) or any other print you’re fond of

Colored bar towels to match fabric (mine were 16″x19″)

Simplicity pattern #1483 (make sure you get these on sale)

Sewing machine and some time to kill

IMG_2131

So early this morning, scissors in hand, I chopped up what was left of the shirt, removed the super cool buttons (they say Margaritaville on them) and began redeeming my sewing confidence. I did use a pattern, Simplicity #1483, since I really didn’t want to screw this up. This pattern retails for $17.95, but if you watch for your local fabric/craft store sales, they will go on sale for 5/$5.00.

I picked this one up months ago during one of those sales, and finally used it on this project.

IMG_2128

I may have spent a little too much time attempting to get the coolest parts of the fabric strategically  placed. Could of probably gotten another set of tops, but I tend to fuss over details.

Worked out OK, I got five tops, and the package of bar towels came with five!

The tissue pattern made it easy to see placement over the prints.

You could totally do this without a pattern, in fact next time I will improvise the front flap into a curved or squared shape instead of the point.

Just make a newspaper square about 8 1/2″ X 4 1/2″ for the base, a 5″ wide middle piece, and 6 1/2 x 4″ flap.

The overall size approx 9″ x 9″.

IMG_2127

When cutting them out, I did utilize the sleeves (the already hemmed edge) for the bottoms of a couple of the towel tops.

IMG_2129

If you are using an obvious one way print, be sure to cut one side upside down. Because after you sew them together, the “flap” needs to be upside down so its right side up when finished.

Sew according to directions, right sides together. leaving the bottom open. Turn and press a hem along the bottom edge (some were already done) and stitch that down.

IMG_2130

The pattern calls for velcro on the flap to attach, but I opted for a button/buttonhole option. The buttons from the shirt were cool, and since my “Opal” does them automatically, why not?

Next step, I removed the hem from one of the short sides of the bar towel. (to reduce bulk) and gathered along that edge.

IMG_2134IMG_2132

Another of Opal’s super cool attachments, is this automatic ruffler. Made gathering the towels super easy and fast.

Next, I just put the gathered edge of the towel inside the top, the pattern calls for it to be sewn along the bottom edge, but my towels seemed long (I didn’t trim to 13″) so I put them all the way into the square portion. Pinned the corners and across the top, then topstitched across and down each side to secure the towel inside.

IMG_2136

Final step, I sewed the buttons on, going through the front and the towel, but not the back of the topper. (that made it pucker, and I didn’t like how that looked)

IMG_2137

There they are… Margaritaville Bar towels, ready for the Margarita Bar at the Rehearsal Dinner!

So when you screw up, pretend like you meant to, and look for inspiration to cover it up!

Enjoy,

Debbie