Playtime in the Car II

Another quick way to entertain that back seat driver. This one took literally minutes to assemble, but days to collect the teeny tiny items for inside.

img_0336

Yep, why spend over $20 bucks on the store eye spy jars when you can do your own.

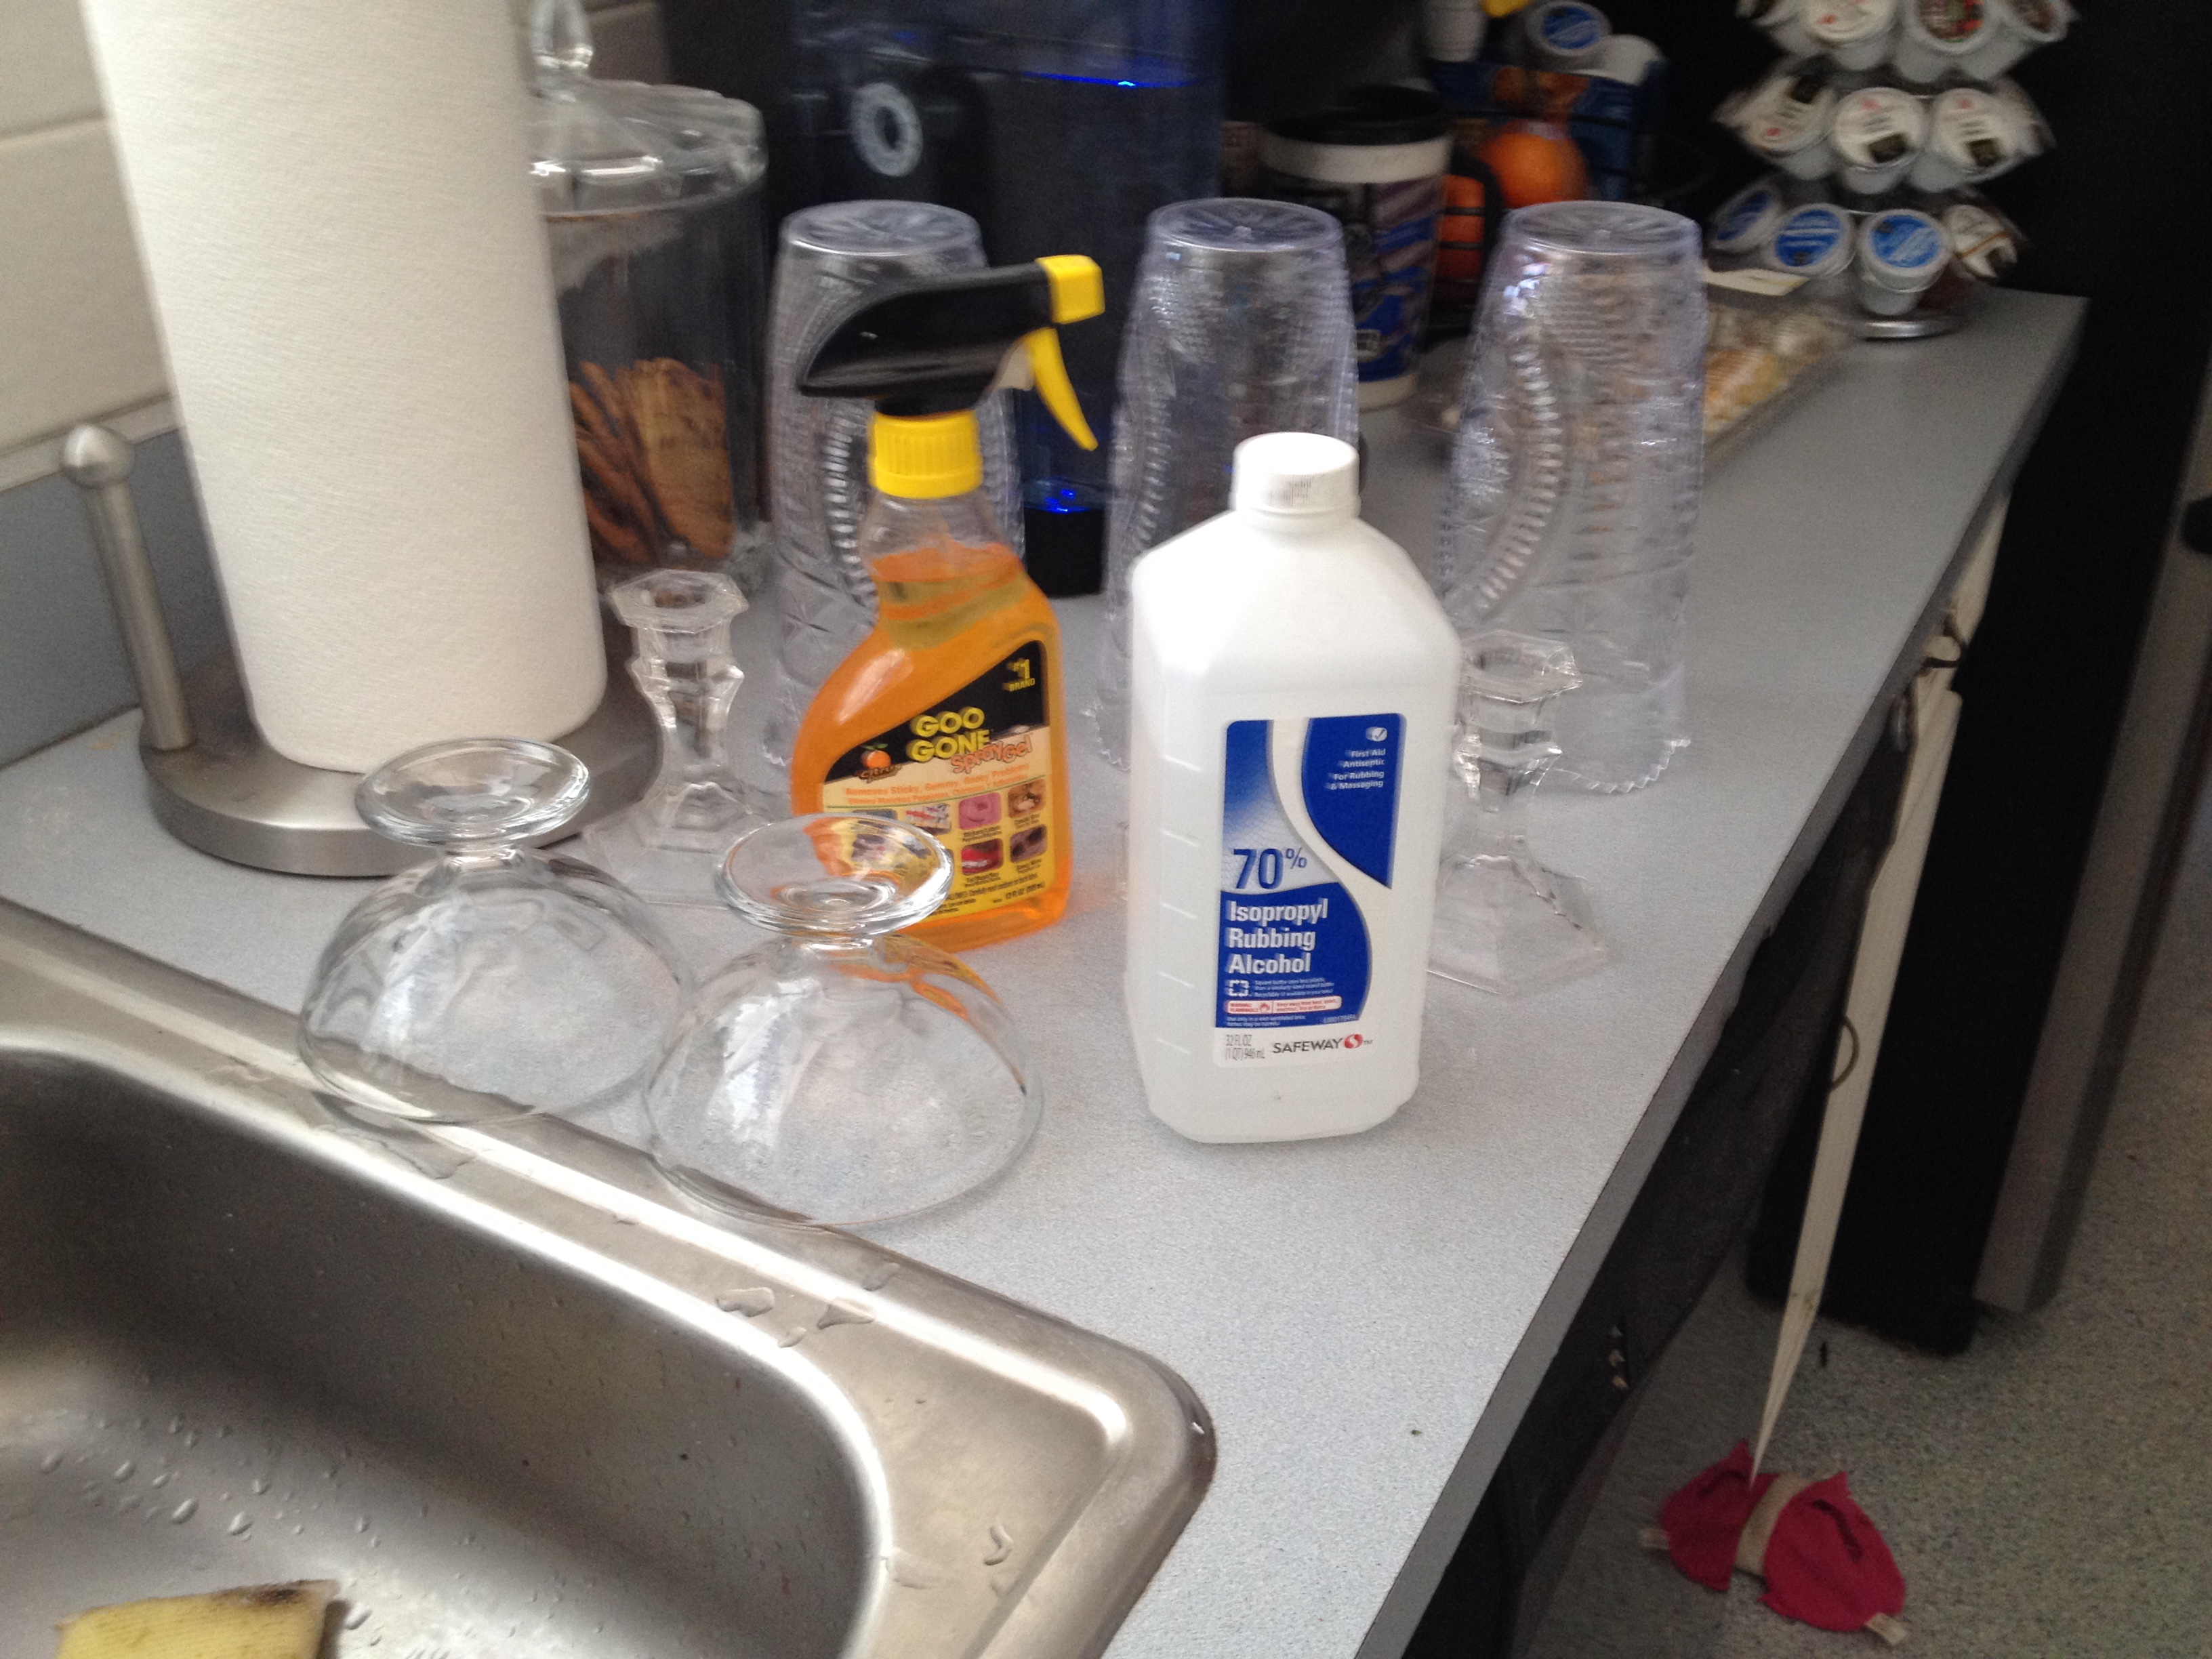
Hardest part was cleaning the labels off the Voss water jars. I found mine at Burlington for under five bucks each. The plastic ones have sticker labels on them and are lighter for little hands to shake. The glass ones have painted labels and are heavier. I did both, plastic for Dolly and glass for Gma’s camper. You can use any empty, clean, clear and dry bottle you might already have. The Voss bottles do have a larger opening then the water bottles so we could add slightly bigger items to them.

img_0335

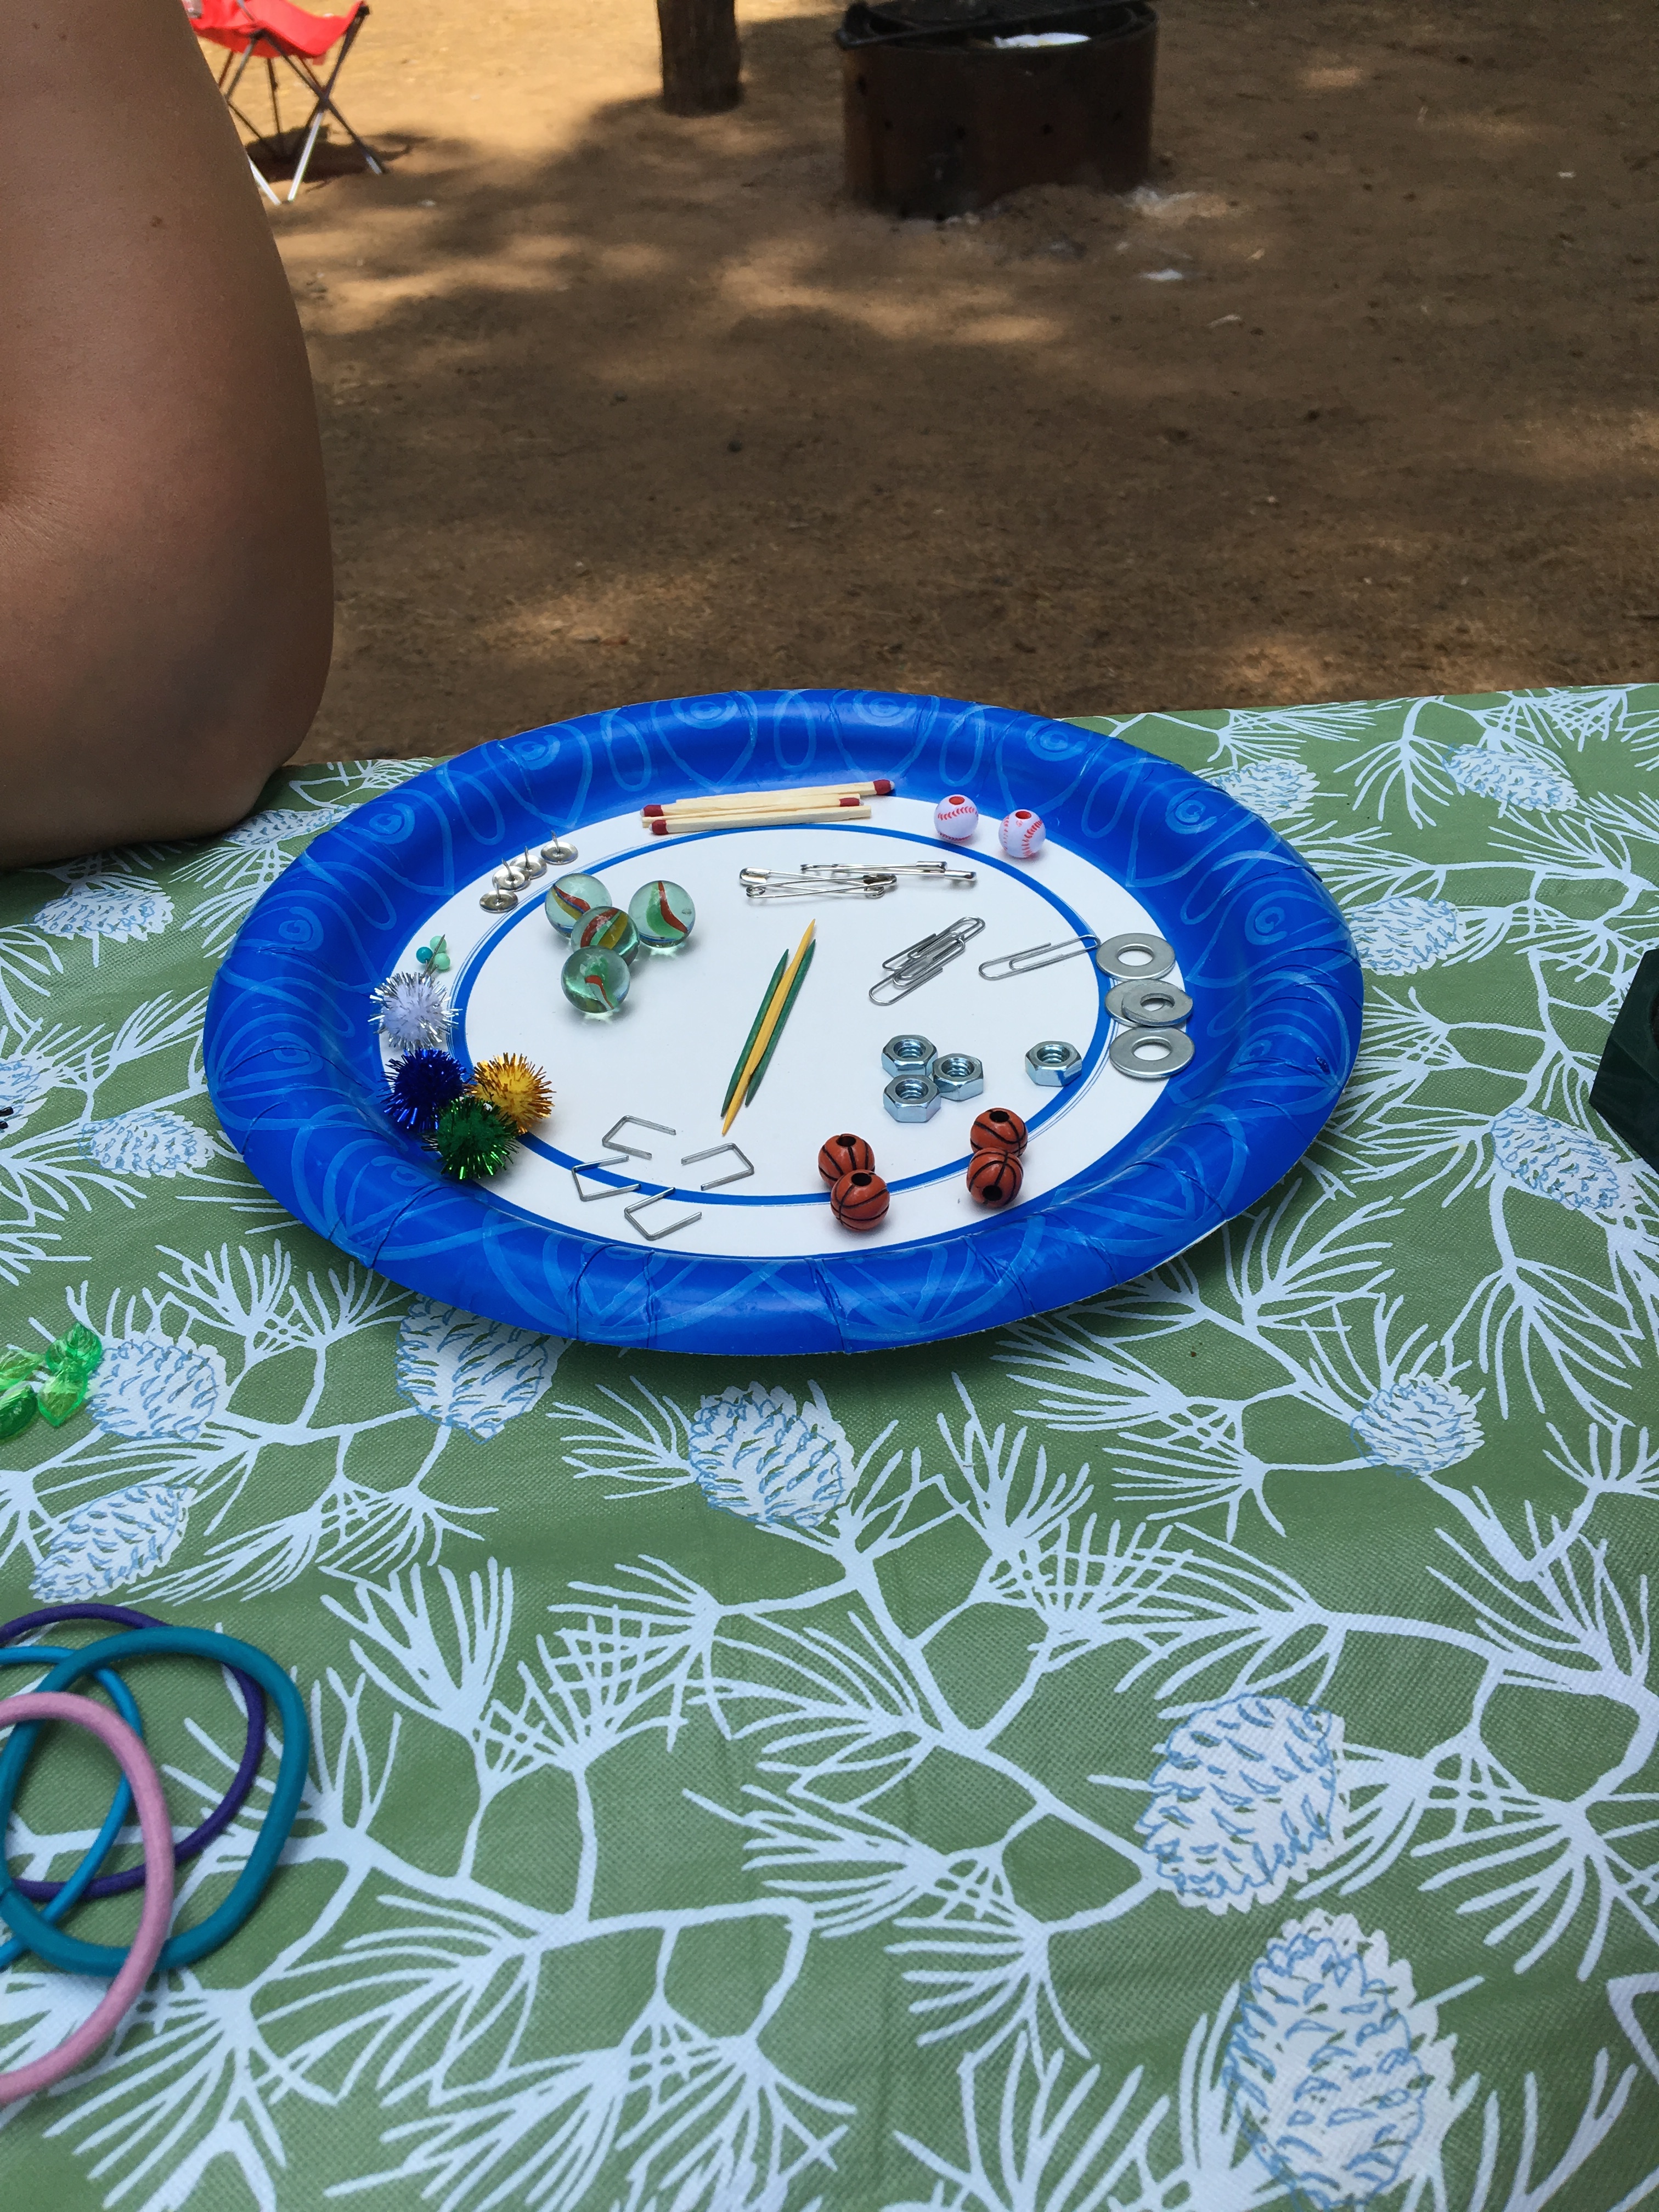
All you need is an empty water bottle, lots of teeny tiny items for them to search for, and some rice to hide them in. I think I put over 50 different items in each jar, I also kept track of what I added so I could print out a checklist later on the computer.

Finding items was like a grown up scavenger hunt, Even Papa got helpful once I showed him the project. I’ll give you my list at the end.

Just use a funnel to pour the rice in, and drop in your bits and pieces as you go.

Be sure to leave some room at the top for shaking around, And be sure to super glue the lid on. You don’t want this spilling out all over the backseat!

img_0337

We did ours during a camping trip and the “helpers” played with them all weekend. Think we offered a prize for the person who found the peppercorn.

img_0336


All in all a fun project, I still find things I want to add, but the lids are glued and I think 50 plus is enough to find. I did print a checklist of items inside. Think the adults are more competitive about finding the harder items but it gives the kiddos what to look for.

ENJOY!

DEBBIE


Items in my bottles included: Lots of Bead and Buttons, Items from Papa’s garage, and a few minis I purchased.

BASEBALL 

LADY BUG

BASKETBALL 

LEAF

SPARKLY BEAD

LEGO BLOCK

BEE BUTTON

LIGHT BULB

BIRTHDAY CANDLE

LOCK

BOLT

MATCHSTICK

BOTTLE CAP

NAIL

BREAD TAG

NUT

BULLET

OWL

BUTTON

BARBIE SHOE

CHENILLE

PEARL

DOG

PEPPERCORN

DR SUESS ERASER

POMPOM

FISH

POPCORN KERNEL

FLOWER

PUMPKIN

FOOTBALL

QTIP

FEATHER

ROCK

FUSE

SCREW

SEASHELL

SMOOSHED PENNY

TOY CAR

SPOOL

“H” for HAILEY

SPRING

HAIR CLIP

STAPLE

HAIR TIE

STAR

HEART

SPIDER

JELLY BEAN

TACK

JINGLE BELL

TEDDY BEAR

KEY

WASHER

KITTY

WIGGLY EYE


Faux Milkglass Trays

So we all know how cheap I am. Why buy it, when you can craft it right?

That is why you’re looking at this post in the first place, we’re alike.

This is the initial mock-up for the dessert table.

Chalkboard, vintage black, white and silver. It will be redone about a hundred times, and until I place the last cake pop, is subject to change.

IMG_2070 The wedding colors will be accents (Sea glass blue and blush) flowers in delicate pastel, pretty beachy shades.

Cupcakes, cake pops, and baked goodies will be the final touch!

So lets focus on the base of this arrangement.

To make the faux milk glass serving platters:

Supplies needed:

Assorted plates, platters, candlesticks, dessert bowls, vases and glasses.

White gloss spray paint

Waterproof, outdoor glue

IMG_2011

After a hasty trip to the dollar store, I purchased several platters, candle sticks, dessert bowls and glasses.

Spent about $20. but should come out with 10 serving pieces, and three vases for fresh flowers.

IMG_2015

First step is to wash and remove all stickers, oily film and prep your glass items.

I use the Goo-gone to remove stickers and ink, then rubbing alcohol to remove the goo gone. (Its oily and the glue won’t stick well).

IMG_2016IMG_2017

Attach the candle sticks to the candle plates, the dessert bowls to the oval platters…you get the idea, using the glue.

Center them so they will balance when turned over. Allow to dry overnight, since you’re going to paint it, it could dissolve the glue if it’s not set well.

IMG_2021

Be sure to cover your work area well, and spray away!!! I did two coats on most, some needed touch-up after I turned them over.

Allow to completely dry or you will risk fingerprints in the paint. (No, I didn’t learn that the hard way)

IMG_2059

These were my favorite, candlesticks and a candle base. The glass was heavy and they turned out nice.

I’ll be putting cake pops, cupcakes, and assorted baked goodies on all of them!

Rehearsal Dinner is my chance to impress my son’s future family, and introduce them to ours.

 I come from a long line of crafty ladies, who would rather spend $75.00 in supplies and make something with LOVE, than allow anyone else to cater or design for me.

Enjoy!

Debbie

Margarita Bar Towel

Ok, so I’m going to blame Frank for this. Was it his fault? No, I never said that, I just said I was going to blame him.

IMG_2125

So, you ask how was this his fault? I bought him a shirt for the rehearsal dinner. (In case you didn’t know, youngest son is getting hitched in June) and I asked him to try it on. Several times I asked him to try it on…. I got an XL because I loved the shirt, and they didn’t have a large. I’m pretty handy with the sewing machine, and I figured I could just take it in some. Problem was, he wouldn’t try it on while I was available to mark it. Long Story short, he tried it on alone, told me it was really big, and I took it upon myself to take it in, sans measurements. Needless to say I took it in too much! Ugh! A perfectly good, Jimmy Buffett Margaritaville Shirt, too small!!

After blaming him relentlessly, and a good nights sleep. INSPIRATION!! Bar towels for the Margarita bar at the rehearsal dinner. GENUIS….

Supplies needed:

One super cool Magaritaville Shirt (made too small) or any other print you’re fond of

Colored bar towels to match fabric (mine were 16″x19″)

Simplicity pattern #1483 (make sure you get these on sale)

Sewing machine and some time to kill

IMG_2131

So early this morning, scissors in hand, I chopped up what was left of the shirt, removed the super cool buttons (they say Margaritaville on them) and began redeeming my sewing confidence. I did use a pattern, Simplicity #1483, since I really didn’t want to screw this up. This pattern retails for $17.95, but if you watch for your local fabric/craft store sales, they will go on sale for 5/$5.00.

I picked this one up months ago during one of those sales, and finally used it on this project.

IMG_2128

I may have spent a little too much time attempting to get the coolest parts of the fabric strategically  placed. Could of probably gotten another set of tops, but I tend to fuss over details.

Worked out OK, I got five tops, and the package of bar towels came with five!

The tissue pattern made it easy to see placement over the prints.

You could totally do this without a pattern, in fact next time I will improvise the front flap into a curved or squared shape instead of the point.

Just make a newspaper square about 8 1/2″ X 4 1/2″ for the base, a 5″ wide middle piece, and 6 1/2 x 4″ flap.

The overall size approx 9″ x 9″.

IMG_2127

When cutting them out, I did utilize the sleeves (the already hemmed edge) for the bottoms of a couple of the towel tops.

IMG_2129

If you are using an obvious one way print, be sure to cut one side upside down. Because after you sew them together, the “flap” needs to be upside down so its right side up when finished.

Sew according to directions, right sides together. leaving the bottom open. Turn and press a hem along the bottom edge (some were already done) and stitch that down.

IMG_2130

The pattern calls for velcro on the flap to attach, but I opted for a button/buttonhole option. The buttons from the shirt were cool, and since my “Opal” does them automatically, why not?

Next step, I removed the hem from one of the short sides of the bar towel. (to reduce bulk) and gathered along that edge.

IMG_2134IMG_2132

Another of Opal’s super cool attachments, is this automatic ruffler. Made gathering the towels super easy and fast.

Next, I just put the gathered edge of the towel inside the top, the pattern calls for it to be sewn along the bottom edge, but my towels seemed long (I didn’t trim to 13″) so I put them all the way into the square portion. Pinned the corners and across the top, then topstitched across and down each side to secure the towel inside.

IMG_2136

Final step, I sewed the buttons on, going through the front and the towel, but not the back of the topper. (that made it pucker, and I didn’t like how that looked)

IMG_2137

There they are… Margaritaville Bar towels, ready for the Margarita Bar at the Rehearsal Dinner!

So when you screw up, pretend like you meant to, and look for inspiration to cover it up!

Enjoy,

Debbie

Too Cool Pool Stools

IMG_1353

I think I fell asleep watching Flea Market Flip or Junk Gypsies… and the next morning I spotted a couple of plain, wooden stools on our local “needs” Facebook page, and felt the need to “fix “them up. Besides she only wanted $10 for the pair, how bad could they come out?

IMG_1344

They came as basic as you could get, still had a little lunch spilled on the tops. So sanding commenced once the food was removed. These have a particularly tough shiny coating on them that if you don’t get it all off, the new paint won’t stick or will be different sheen. It’s a really good upper body workout, and by the time I was done, I gave myself 60 mins activity on my fitbit!

IMG_1345

Started with the legs, taped the bottom to keep a clean edge. Not sure why because its underneath the top, but seemed like the right thing to do?

IMG_1346

Think the gloss black was the perfect choice for the legs, classic style.

IMG_1347

The red on top is the same color as the accent wall in the game room. Wish I had extra, but alas, had to ask the hardware store to mix another batch. Its called rhubarb and dries much darker. You can use any color combination that matches or compliments your room.

IMG_1348

I used a couple 3″ wooden circles to outline the pool balls. I base painted them with pearl sheen white and used a quarter to draw the number circles.

IMG_1350

I thought they look good, but not great? It seemed like something was missing? Oh yeah, gold! since we have a loosely based 49er color scheme in the game room, I needed to add some gold.

So I painted the band around with metallic gold. Sparky!!

IMG_1353

Viola!! Red, Gold and black, Pool table inspired, too cool pool stools, for the Game room!!

You never know where inspiration and opportunity will combine….keep your creative eye out!!

Enjoy!

Debbie

Teeny Tiny Baked Pies

IMG_0943

If only baking pies were this easy, my hubby would be a happy camper for sure. I spent the afternoon making these for the infamous fairy garden I haven’t completed yet. Saw some inspiration on Pinterest, and decided she should have a picnic in her future forest home. You know me well enough by now, I can never make just one, that would be a sin.

IMG_0934

Items needed:

polymer clay, I used tan, medium brown, cherry red, blueberry, lemon yellow, and white

bottle caps

fondant roller and a sharp knife

IMG_0935

So I started with the crust, just like the edible kind, knead the clay until its soft, and roll with the fondant roller to 1/8″ thick. Using the bottle caps to cut, press into the clay and turn them over.

IMG_0937

I pushed the clay up the sides and into the bottom. Then pinched off tiny amounts of red clay and rolled into tiny balls (for the cherries and blue for the blueberries) and filled each “pie” to a heaping amount.

IMG_0939

They almost look real, right? Next, the top crust. You can roll out traditional lattice, or use a small cutout. One of the ‘pies” I rolled the edges of the crust and applied to the edge.

IMG_0942

Pop them in the oven according to package directions. (265 degrees for 30 mins) They don’t smell as good as real pies, but they look good!!  I also did a couple of Lemon Meringue pies, Just use a darker color for the crust, fill the middle with yellow, and top with white “meringue”. I cut a slice out so you could see the middle of these ones.

Enjoy!

Debbie