Playtime in the Car

Here’s a quickie I made for my Grandniece Dolly’s car trip to Disneyland. They’re driving down, and I remember those days of trying to keep an excited

5-year-old entertained in the backseat. I made her a travel box with stuff to hopefully make the ride smoother.

img_0364

First up was a travel tic tac toe tin. I found a small metal tin in the dollar bin at Target and it was already red! So I added some cute washi tape around the bottom and painted her a Minnie Mouse on the top.

img_0365

I used a small ruler and permanent marker to put the grid on the inside of the lid.

img_0363

Collected some bottle caps from Papa, he was happy to help. You need 10 total, 5 of each color. Some button magnets and outdoor glue, attached to the back.

I painted mine black and red, and put a mouse outline on top. You can do whatever shape, or theme suits your kiddo.

img_0367

I also made a backup set of caps, using a punch and putting the images inside the cap and the magnet on the back. (I’m sure some of these will end up under the seats! Sorry Mom and Dad…

Enjoy!

Debbie


Too Cool Pool Stools

IMG_1353

I think I fell asleep watching Flea Market Flip or Junk Gypsies… and the next morning I spotted a couple of plain, wooden stools on our local “needs” Facebook page, and felt the need to “fix “them up. Besides she only wanted $10 for the pair, how bad could they come out?

IMG_1344

They came as basic as you could get, still had a little lunch spilled on the tops. So sanding commenced once the food was removed. These have a particularly tough shiny coating on them that if you don’t get it all off, the new paint won’t stick or will be different sheen. It’s a really good upper body workout, and by the time I was done, I gave myself 60 mins activity on my fitbit!

IMG_1345

Started with the legs, taped the bottom to keep a clean edge. Not sure why because its underneath the top, but seemed like the right thing to do?

IMG_1346

Think the gloss black was the perfect choice for the legs, classic style.

IMG_1347

The red on top is the same color as the accent wall in the game room. Wish I had extra, but alas, had to ask the hardware store to mix another batch. Its called rhubarb and dries much darker. You can use any color combination that matches or compliments your room.

IMG_1348

I used a couple 3″ wooden circles to outline the pool balls. I base painted them with pearl sheen white and used a quarter to draw the number circles.

IMG_1350

I thought they look good, but not great? It seemed like something was missing? Oh yeah, gold! since we have a loosely based 49er color scheme in the game room, I needed to add some gold.

So I painted the band around with metallic gold. Sparky!!

IMG_1353

Viola!! Red, Gold and black, Pool table inspired, too cool pool stools, for the Game room!!

You never know where inspiration and opportunity will combine….keep your creative eye out!!

Enjoy!

Debbie

Angel for your Office

IMG_0680

I know we’ve all had a bad day at work, so here’s a little quickie to ward off those bad days. I made these a few years ago, for my co-workers and to sell at a local craft fair. Next thing you know, I started getting bulk orders for custom colors and quantities.  Once you get the hang of it, they go together quickly.

I found the ideal clamps in two sizes, large and regular as well as two finishes, silver and gold, at the Office Supply store.  Then took one of each size to the craft store to figure out what size head bead would look proportionate. Measurement for the large size is listed first, the smaller size ones (in parenthesis)

IMG_0673

For each Angel you will need:

Ideal Clamps Large (regular) body of Angel

12mm Pearl bead (8mm) head of Angel

10mm Jump ring (6mm) for the halo

1/4″ ribbon, various colors

Small silk flowers

hot glue gun or quick dry glue

scissors

Charms, miniature tokens, embellishments

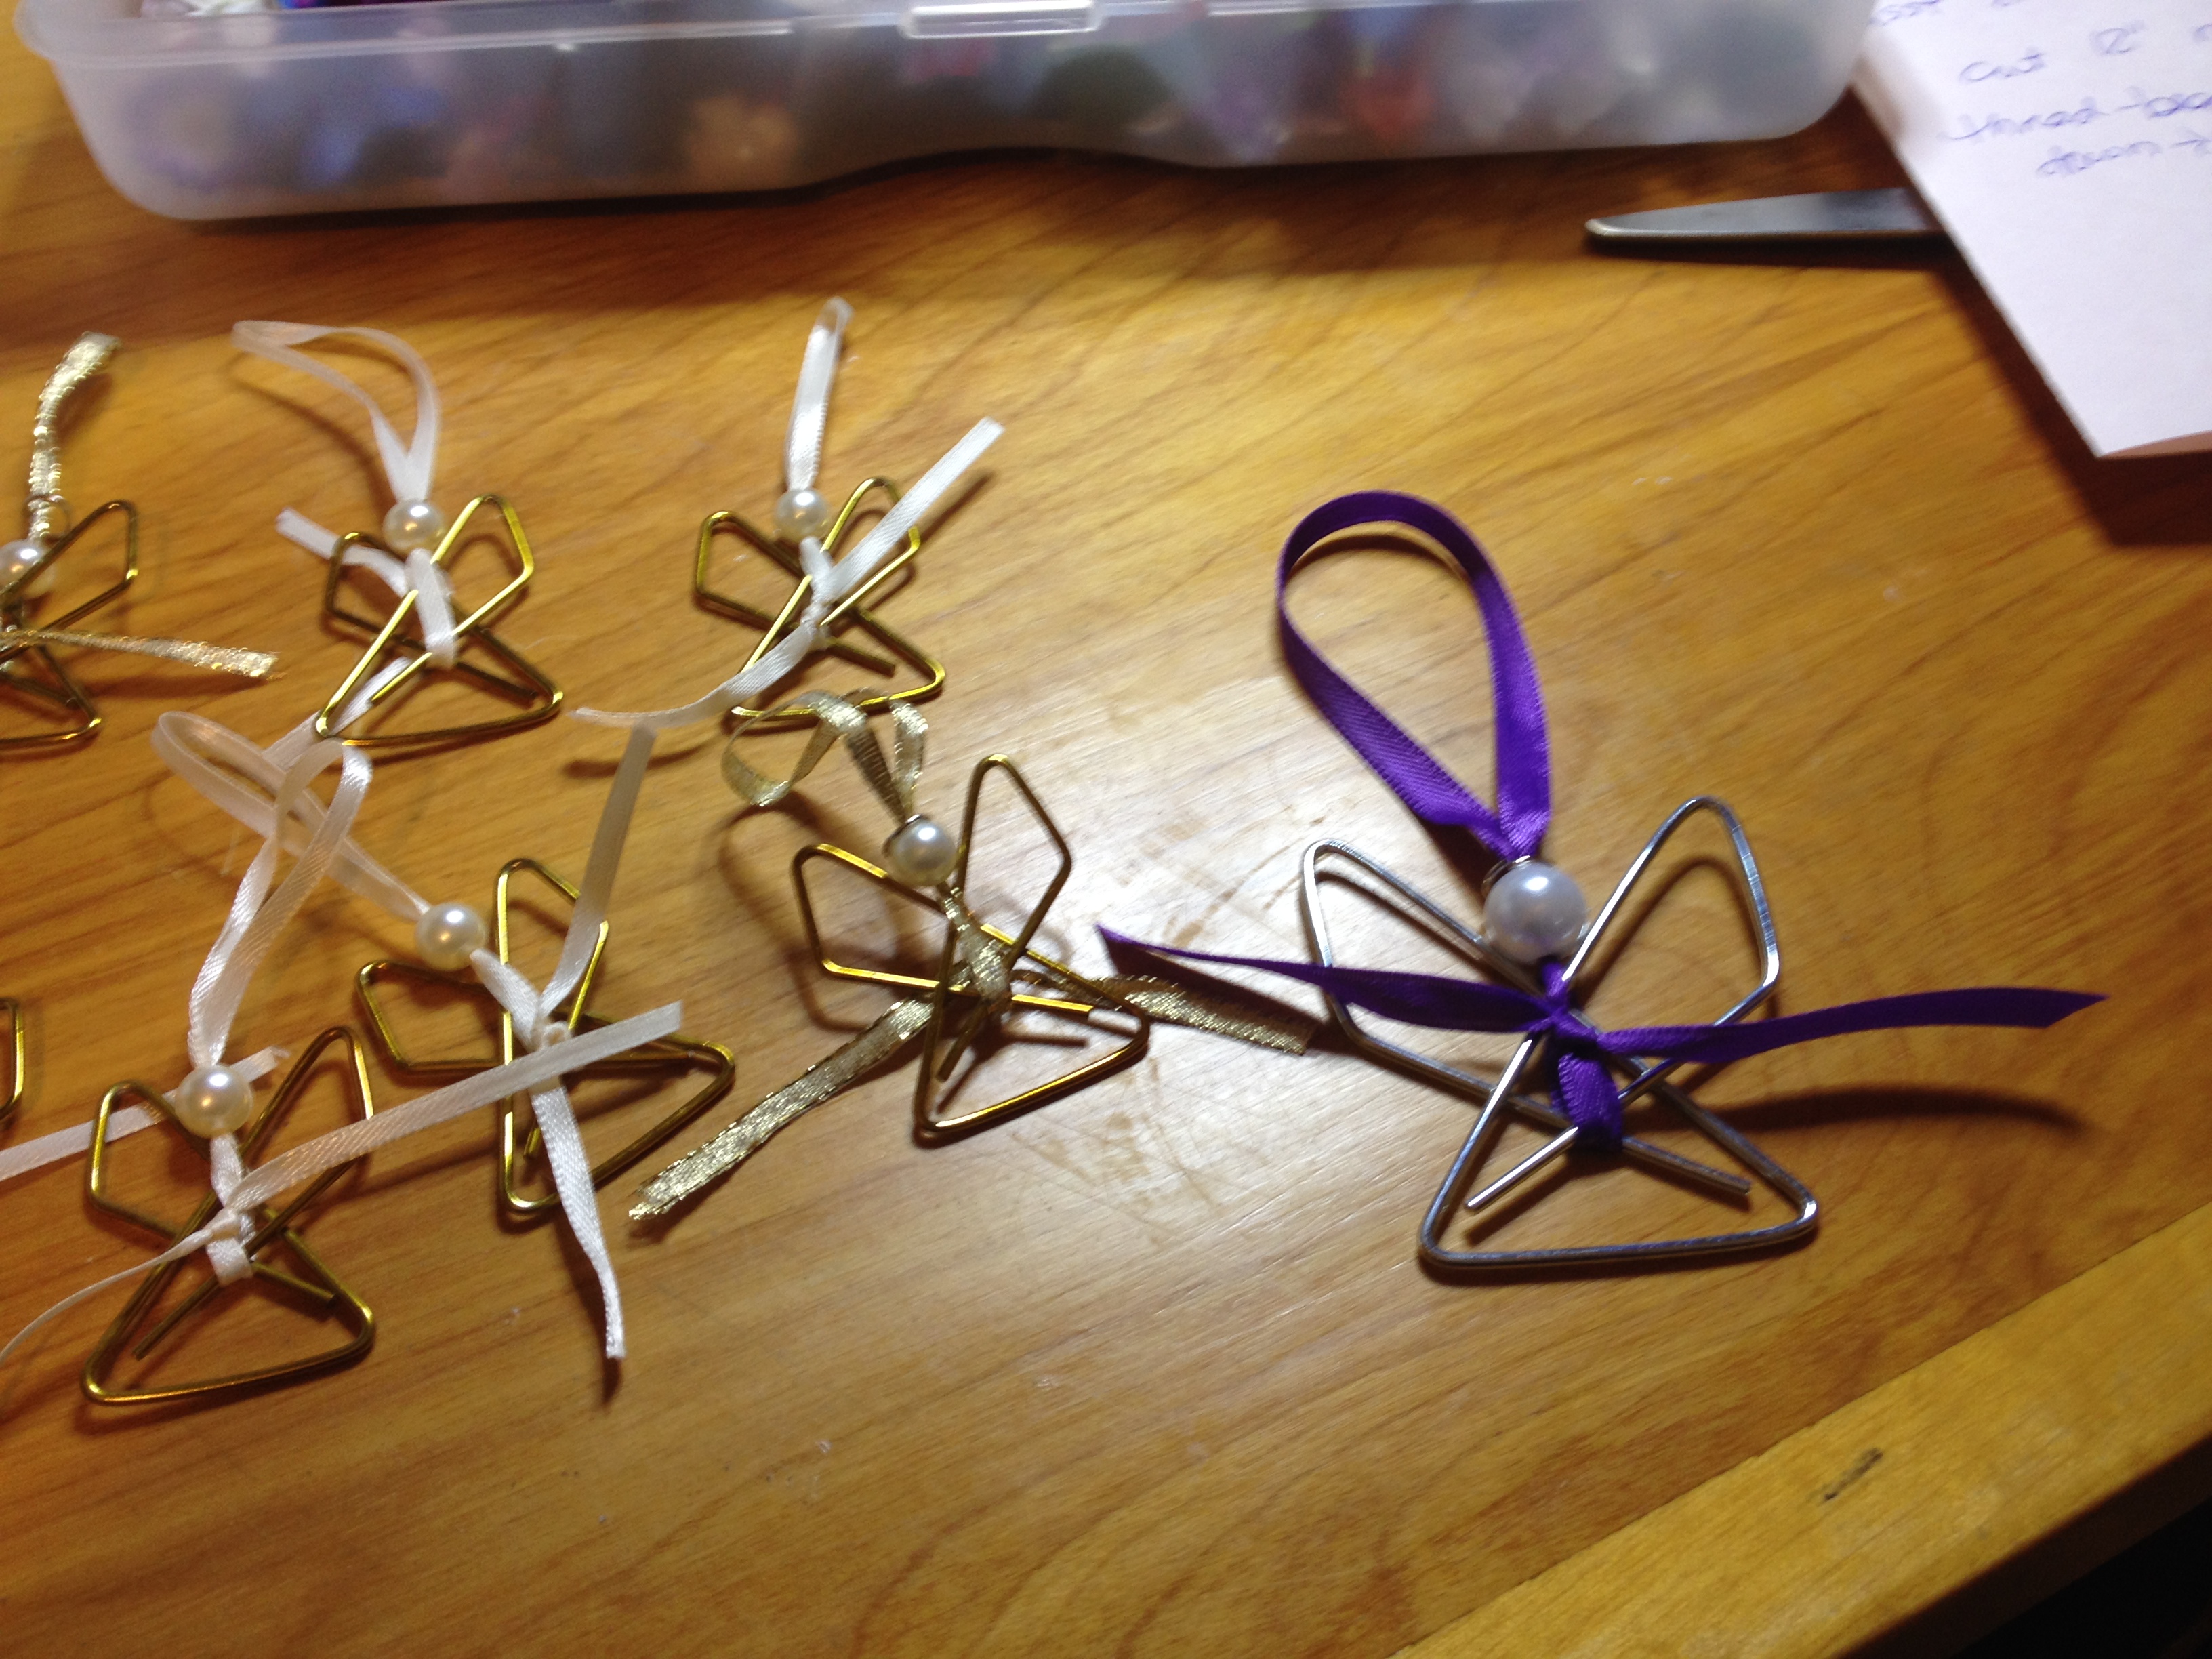
I purchased both pearl beads and wooden beads for the heads. It seemed to me that the pearl and silver ones looked “city”,  and the wooden heads more “country”.  Make sure the jump rings are a size smaller than the head bead, you wouldn’t want her halo falling off, or slipping down.

IMG_0674

I started by cutting several lengths of ribbon into 12″ pieces.  Next, separating the flowers and leafs from the stems. I set up bowls of each item and worked on these assembly line style. Start by threading a head bead onto the ribbon.  Leave a hanging loop 1-1/2″ long, and go back through the bead again. Tie the ribbon around the middle of the clamp and cut ends on a diagonal. Slip the jump ring for the halo, over the hanging loop.  A little dab of glue will hold it, but I kinda like it to move around a little bit.

IMG_0678

Now all that’s left is to embellish her “dress”. I put a leaf as a base, then add some tiny flowers. You can add them with the hot glue gun, or quick drying glue. If I’m feeling extra fancy, I add a charm. You can do them in pinks and blues, they were quite popular for baby’s first Christmas Ornaments. Sports team colors, School colors, holiday flowers and my favorite purple and white!! Be sure to embellish both sides of the dress, she’ll spin when hanging.

IMG_0682

I hope these bring you joy, and end all those pesky bad days at work. A quick and easy craft, that is pretty and thoughtful.

Enjoy,

Debbie