Too Cool Pool Stools

IMG_1353

I think I fell asleep watching Flea Market Flip or Junk Gypsies… and the next morning I spotted a couple of plain, wooden stools on our local “needs” Facebook page, and felt the need to “fix “them up. Besides she only wanted $10 for the pair, how bad could they come out?

IMG_1344

They came as basic as you could get, still had a little lunch spilled on the tops. So sanding commenced once the food was removed. These have a particularly tough shiny coating on them that if you don’t get it all off, the new paint won’t stick or will be different sheen. It’s a really good upper body workout, and by the time I was done, I gave myself 60 mins activity on my fitbit!

IMG_1345

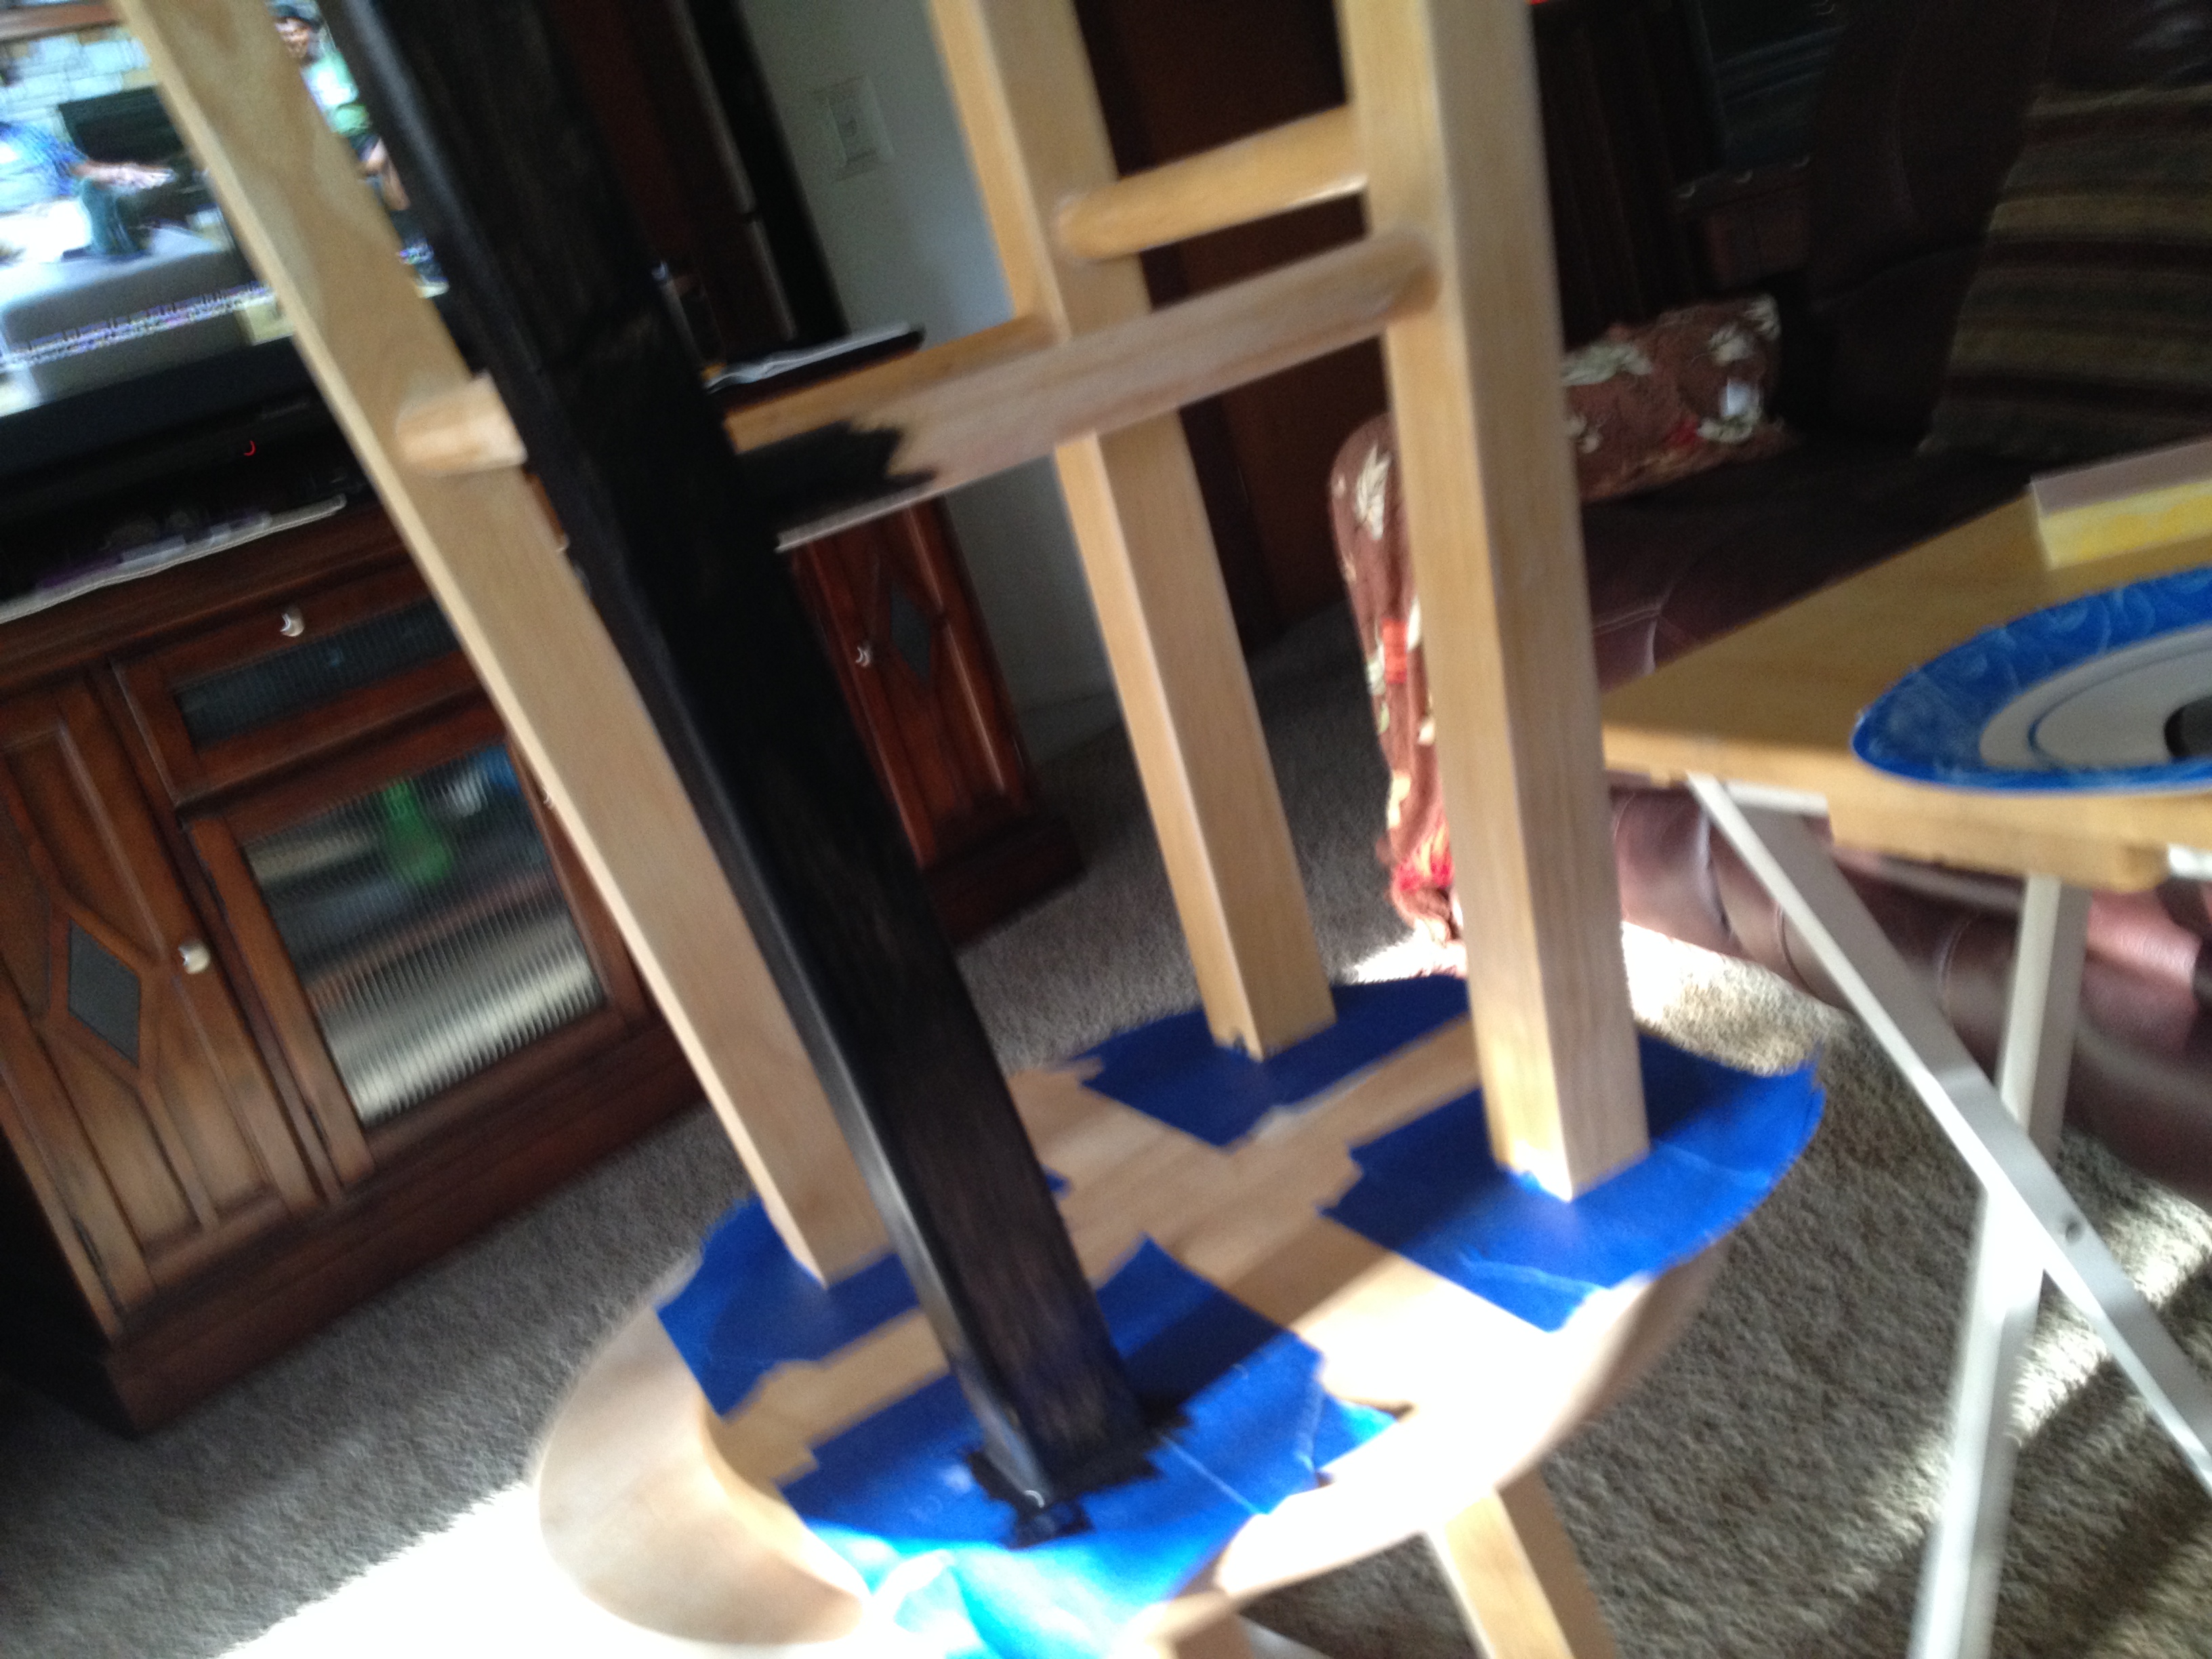
Started with the legs, taped the bottom to keep a clean edge. Not sure why because its underneath the top, but seemed like the right thing to do?

IMG_1346

Think the gloss black was the perfect choice for the legs, classic style.

IMG_1347

The red on top is the same color as the accent wall in the game room. Wish I had extra, but alas, had to ask the hardware store to mix another batch. Its called rhubarb and dries much darker. You can use any color combination that matches or compliments your room.

IMG_1348

I used a couple 3″ wooden circles to outline the pool balls. I base painted them with pearl sheen white and used a quarter to draw the number circles.

IMG_1350

I thought they look good, but not great? It seemed like something was missing? Oh yeah, gold! since we have a loosely based 49er color scheme in the game room, I needed to add some gold.

So I painted the band around with metallic gold. Sparky!!

IMG_1353

Viola!! Red, Gold and black, Pool table inspired, too cool pool stools, for the Game room!!

You never know where inspiration and opportunity will combine….keep your creative eye out!!

Enjoy!

Debbie

Twenty Dollar Whiskey Bottle Lamp

IMG_0927

What game room isn’t complete without a whiskey bottle lamp, I ask you? And if you could make it for under twenty bucks, even better! So last week at work, (I work in a major grocery store) I was holding a rather large bottle of whiskey for a customer, and while admiring the size, shape and price, thought to myself; self, you could make a nice lamp out of that. But since I’m more of a vodka drinker, and hubby is a beer chugger, I had to find a willing whiskey drinker to go halfsies on that bottle. No shortage there, in fact, he had a smaller one empty to boot! You could certainly use any bottle, once you’ve emptied it. Perhaps a favorite wine, spirit, or reminder from the trip to Vegas?

IMG_0903

Items you will need:

Empty bottle, washed and dry

Bottle lamp kit

Lampshade (if you’re still not wearing it)

electrical tape

screwdriver

IMG_0902

You can see by my receipt, I paid about 15 bucks total on the shade and bottle kit. (no drilling necessary if you use one of these) and the bottle could be from the trash. I’m sure if you ask around there’s a whiskey drinker in every circle of friends, as well as the local pub.

IMG_0910 IMG_0912

Follow the directions in the package to assemble the socket. Pull the cord through the bottom hole, separate it and tie a knot so it won’t pull back down. Attach to the side screws and tighten with a screwdriver.

IMG_0914 IMG_0915

Place the socket into the casing and tighten the fittings so they’re secure. I used the pour spout to hold it in place, just snipped the bottom out so the screw would fit all the way down. Most of the kits come with different size stoppers, but the neck on this bottle was too big for them.

IMG_0923

I decided to tape around the connection, for two reasons. First, to make the socket super stable, and secondly to continue the black up like the original bottle neck was sealed. Since my lampshade wasn’t going to cover it entirely, seemed like the best way to “finish” it off.

IMG_0924

The shade had a harp inside that just rests on the socket, snugged it down, put in a lightbulb, plugged it in……..

IMG_0927

Taa Daa!!! instant Man Cave worthy lighting!! I think I’m going to do a solar version for the patio, and I guess you noticed the soap/lotion dispenser too. Well that took about 30 seconds to make. Just wash out the bottle, and insert a pump. The screw threads are universal, and I found the black pumps online at about a dollar a piece.

IMG_1008

So, I’ved added a solar option, gotta take one camping right? Solar light, $5 bucks, bottle free, and some small river stones from the dollar store a buck! Think it’ll get a lot of use this year!

As always never let your imagination go stale, keep on creating.

Enjoy,

Debbie