The Fixer Upper


So, my followers,  its been a while since we last spoke. The back is doing extremely well following surgery, and I went back to work. Then suddenly, in December, BAMMM, work injury to my knee. Fell like a wounded water buffalo, and injured the PCL. So needless to say Gma found herself sentenced to 8 weeks house arrest, and a huge amount of bored. So while visiting our somewhat local Habitat for Humanity Restore, I found this darling little 1 bedroom 1 bath fixer upper. It came fully furnished, but was in bad shape.

(no amount of peptol bismol pink from the previous owners could save it)

But the price was right $25.00 bucks!

img_0310img_0354

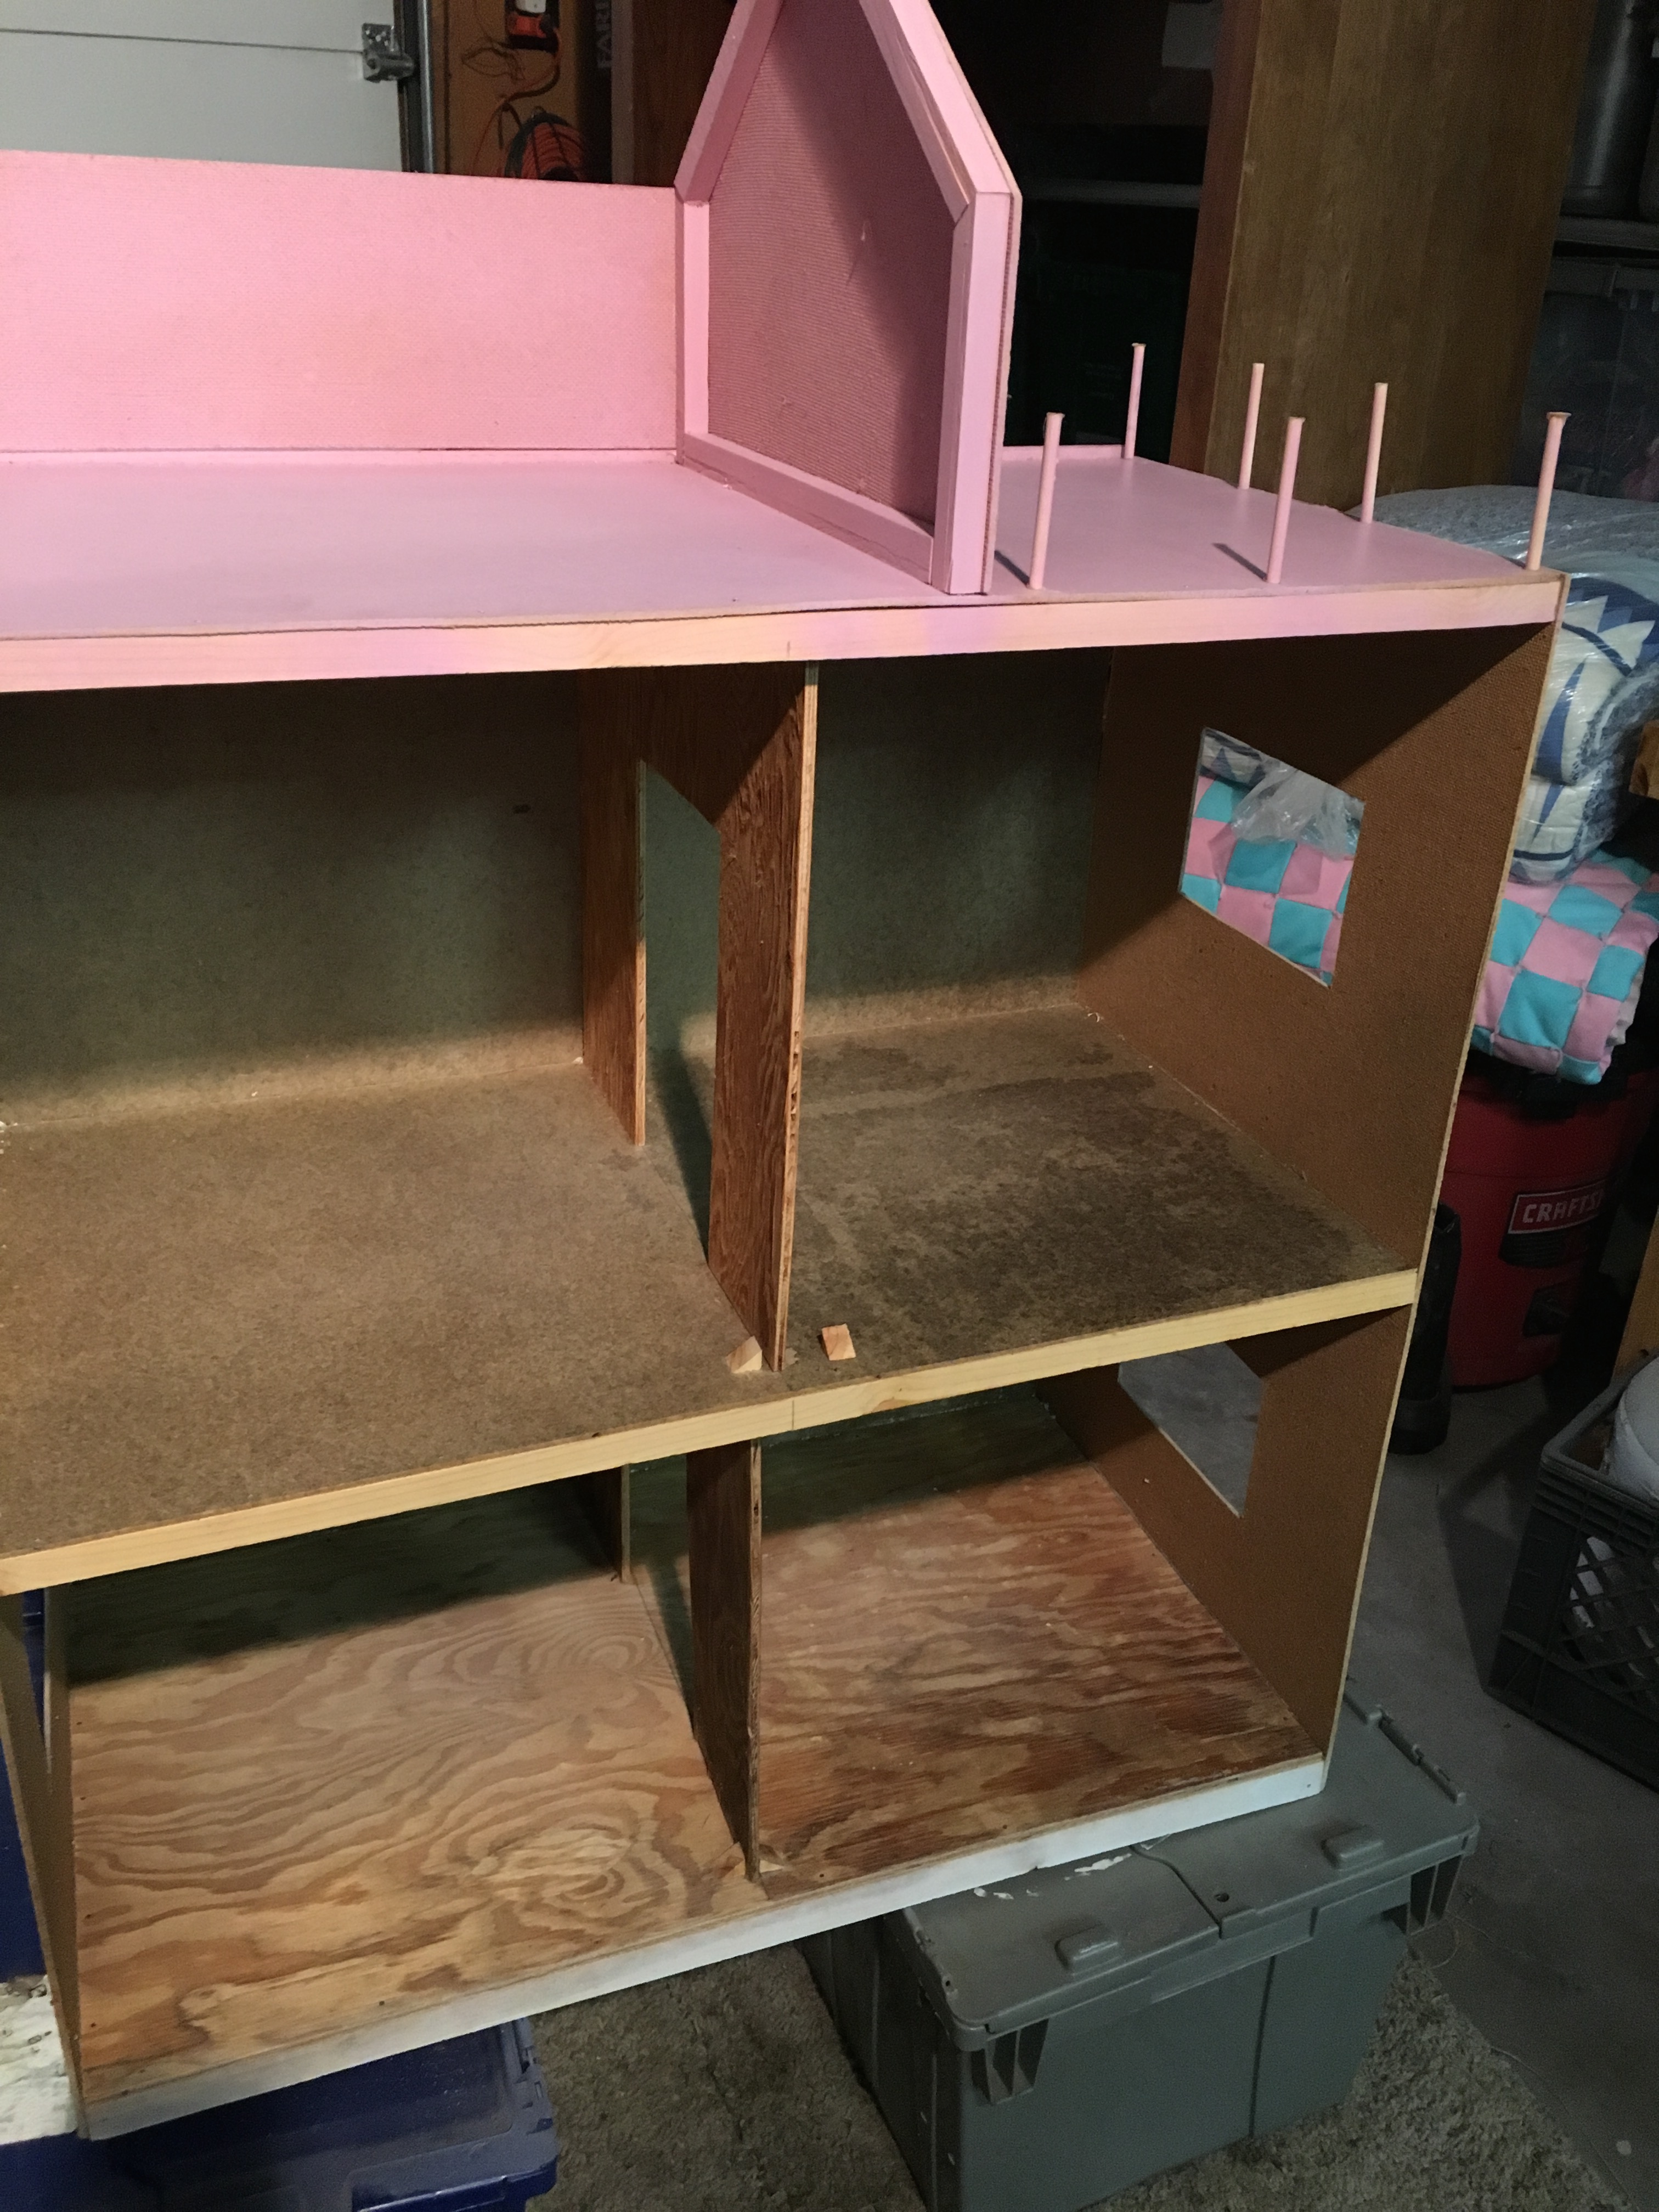
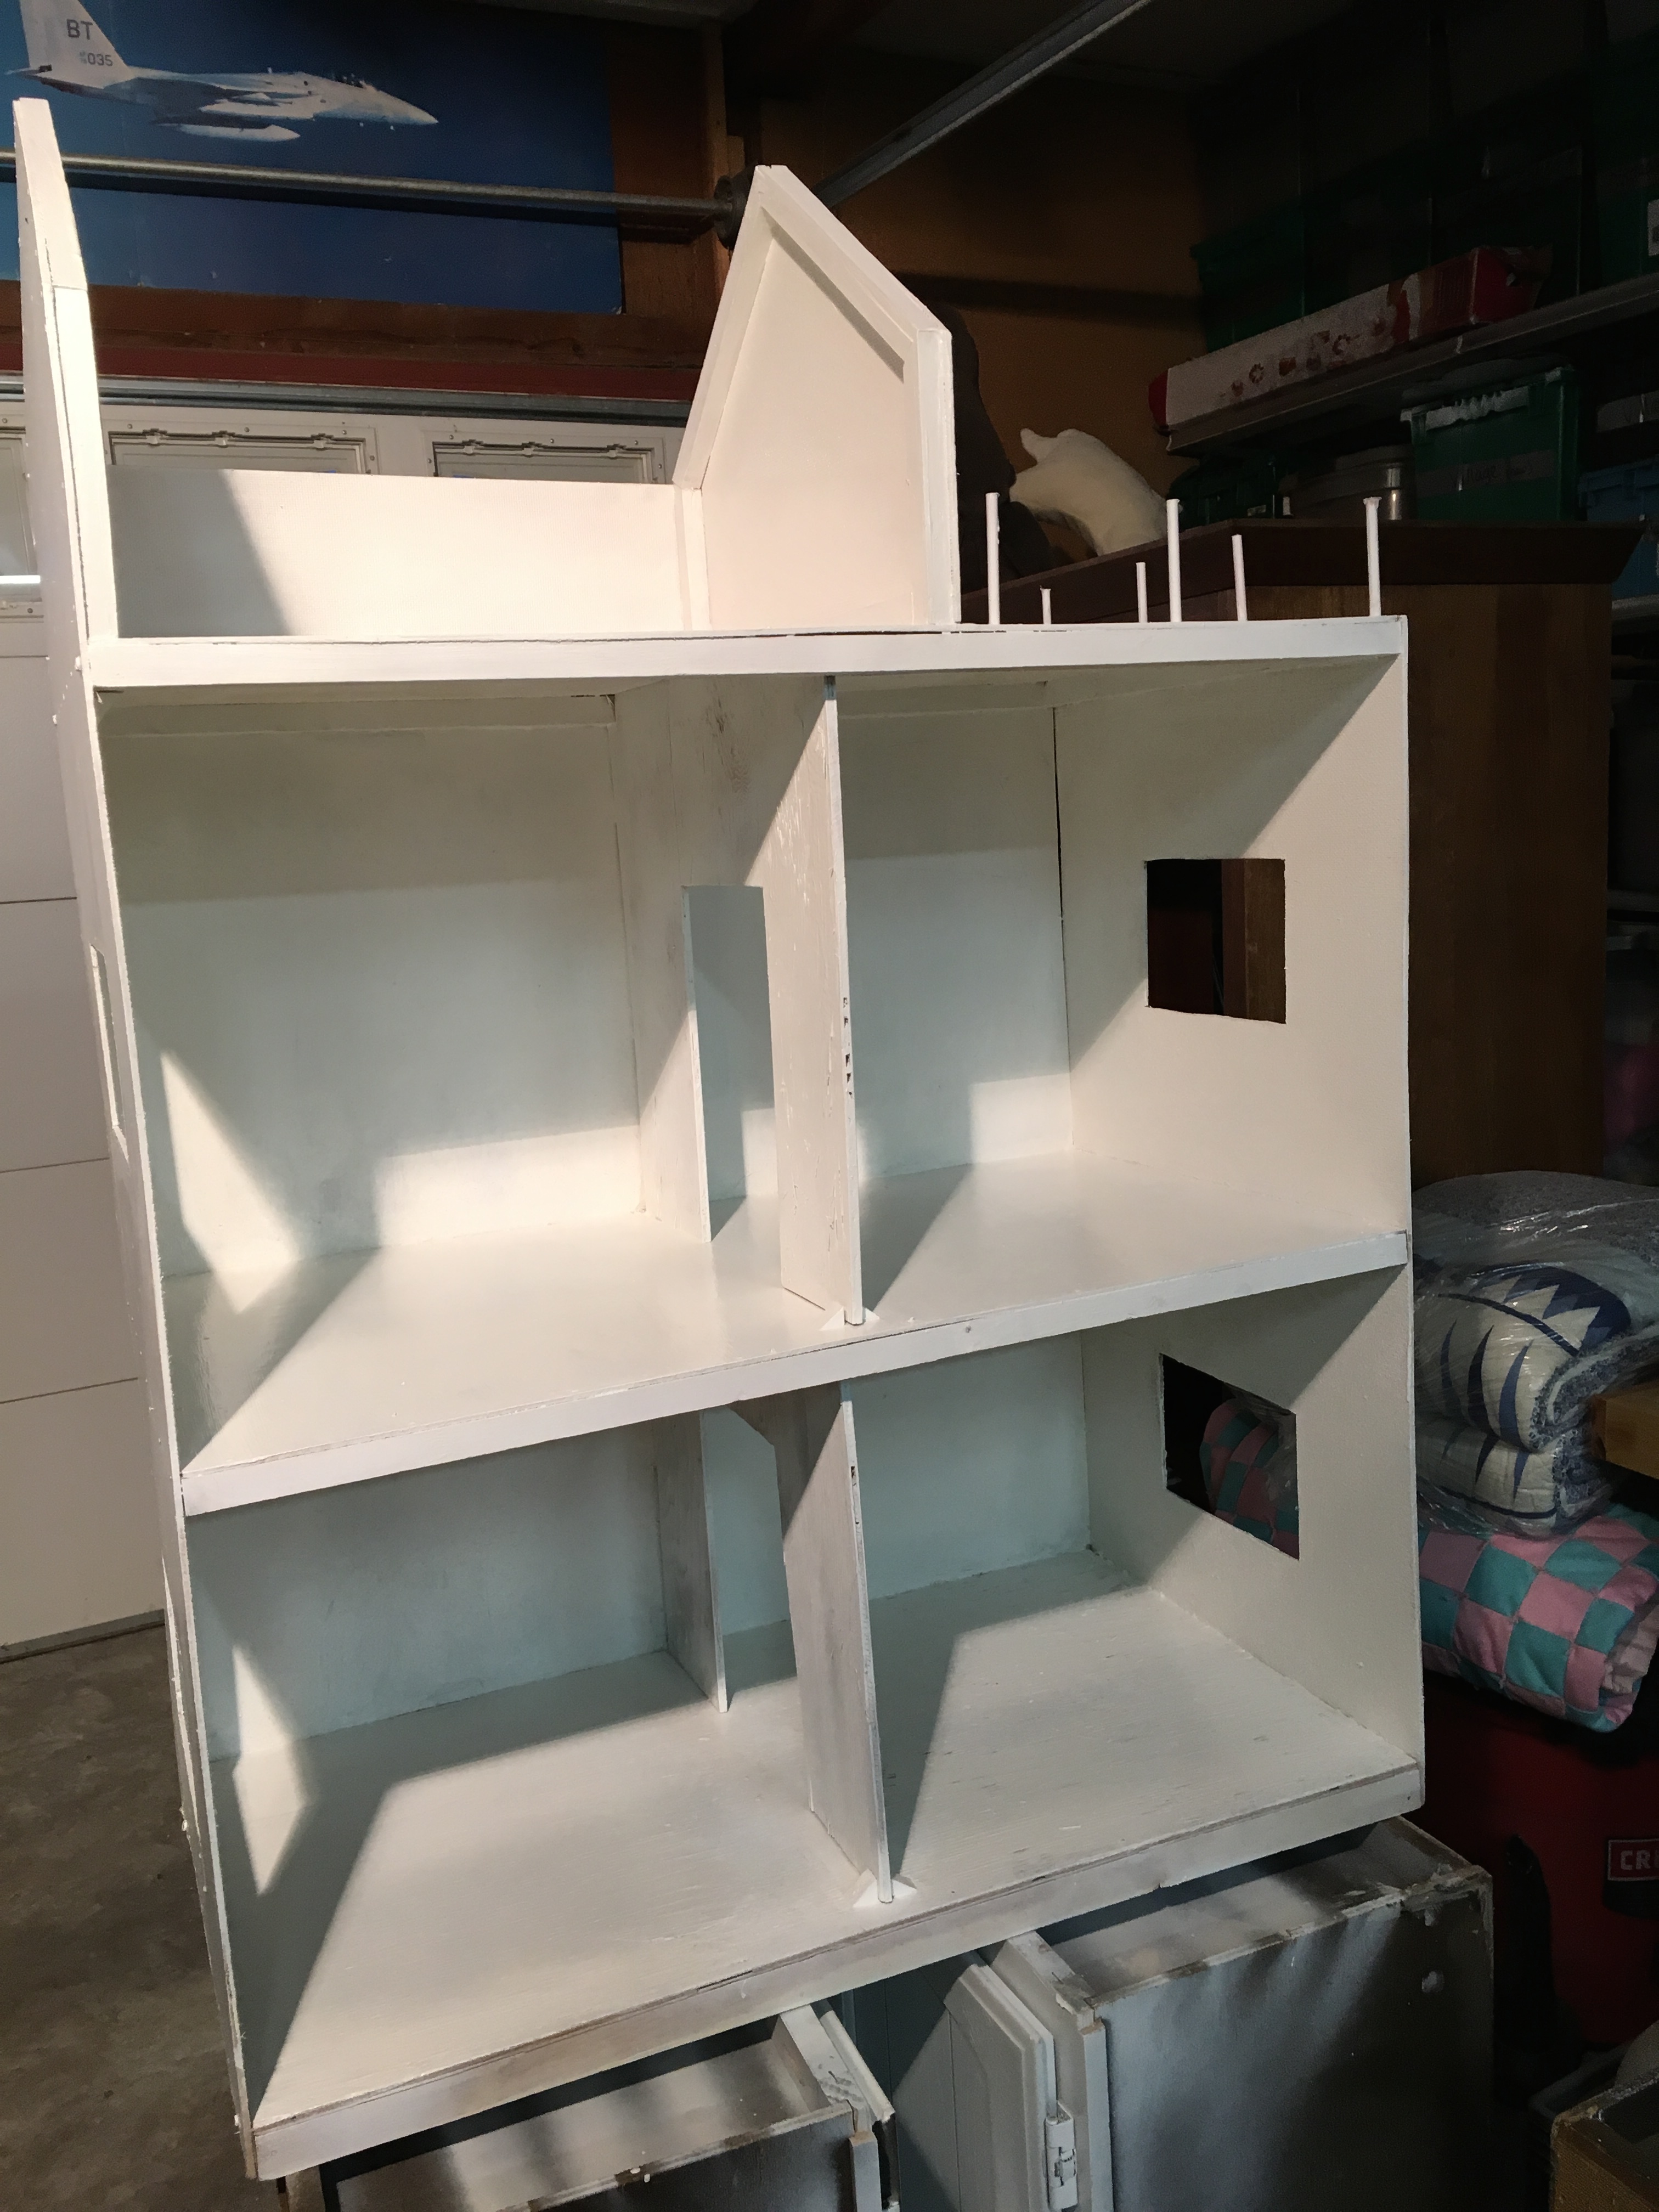
So, the first step in any fixer upper, (after closing escrow) is demolition! Stripped the wall paper off, peeled up the vinyl flooring, removed the windows, and unsafe railing on the upper deck.

Made a couple structural improvements, to the base and back wall.

img_0321img_0327

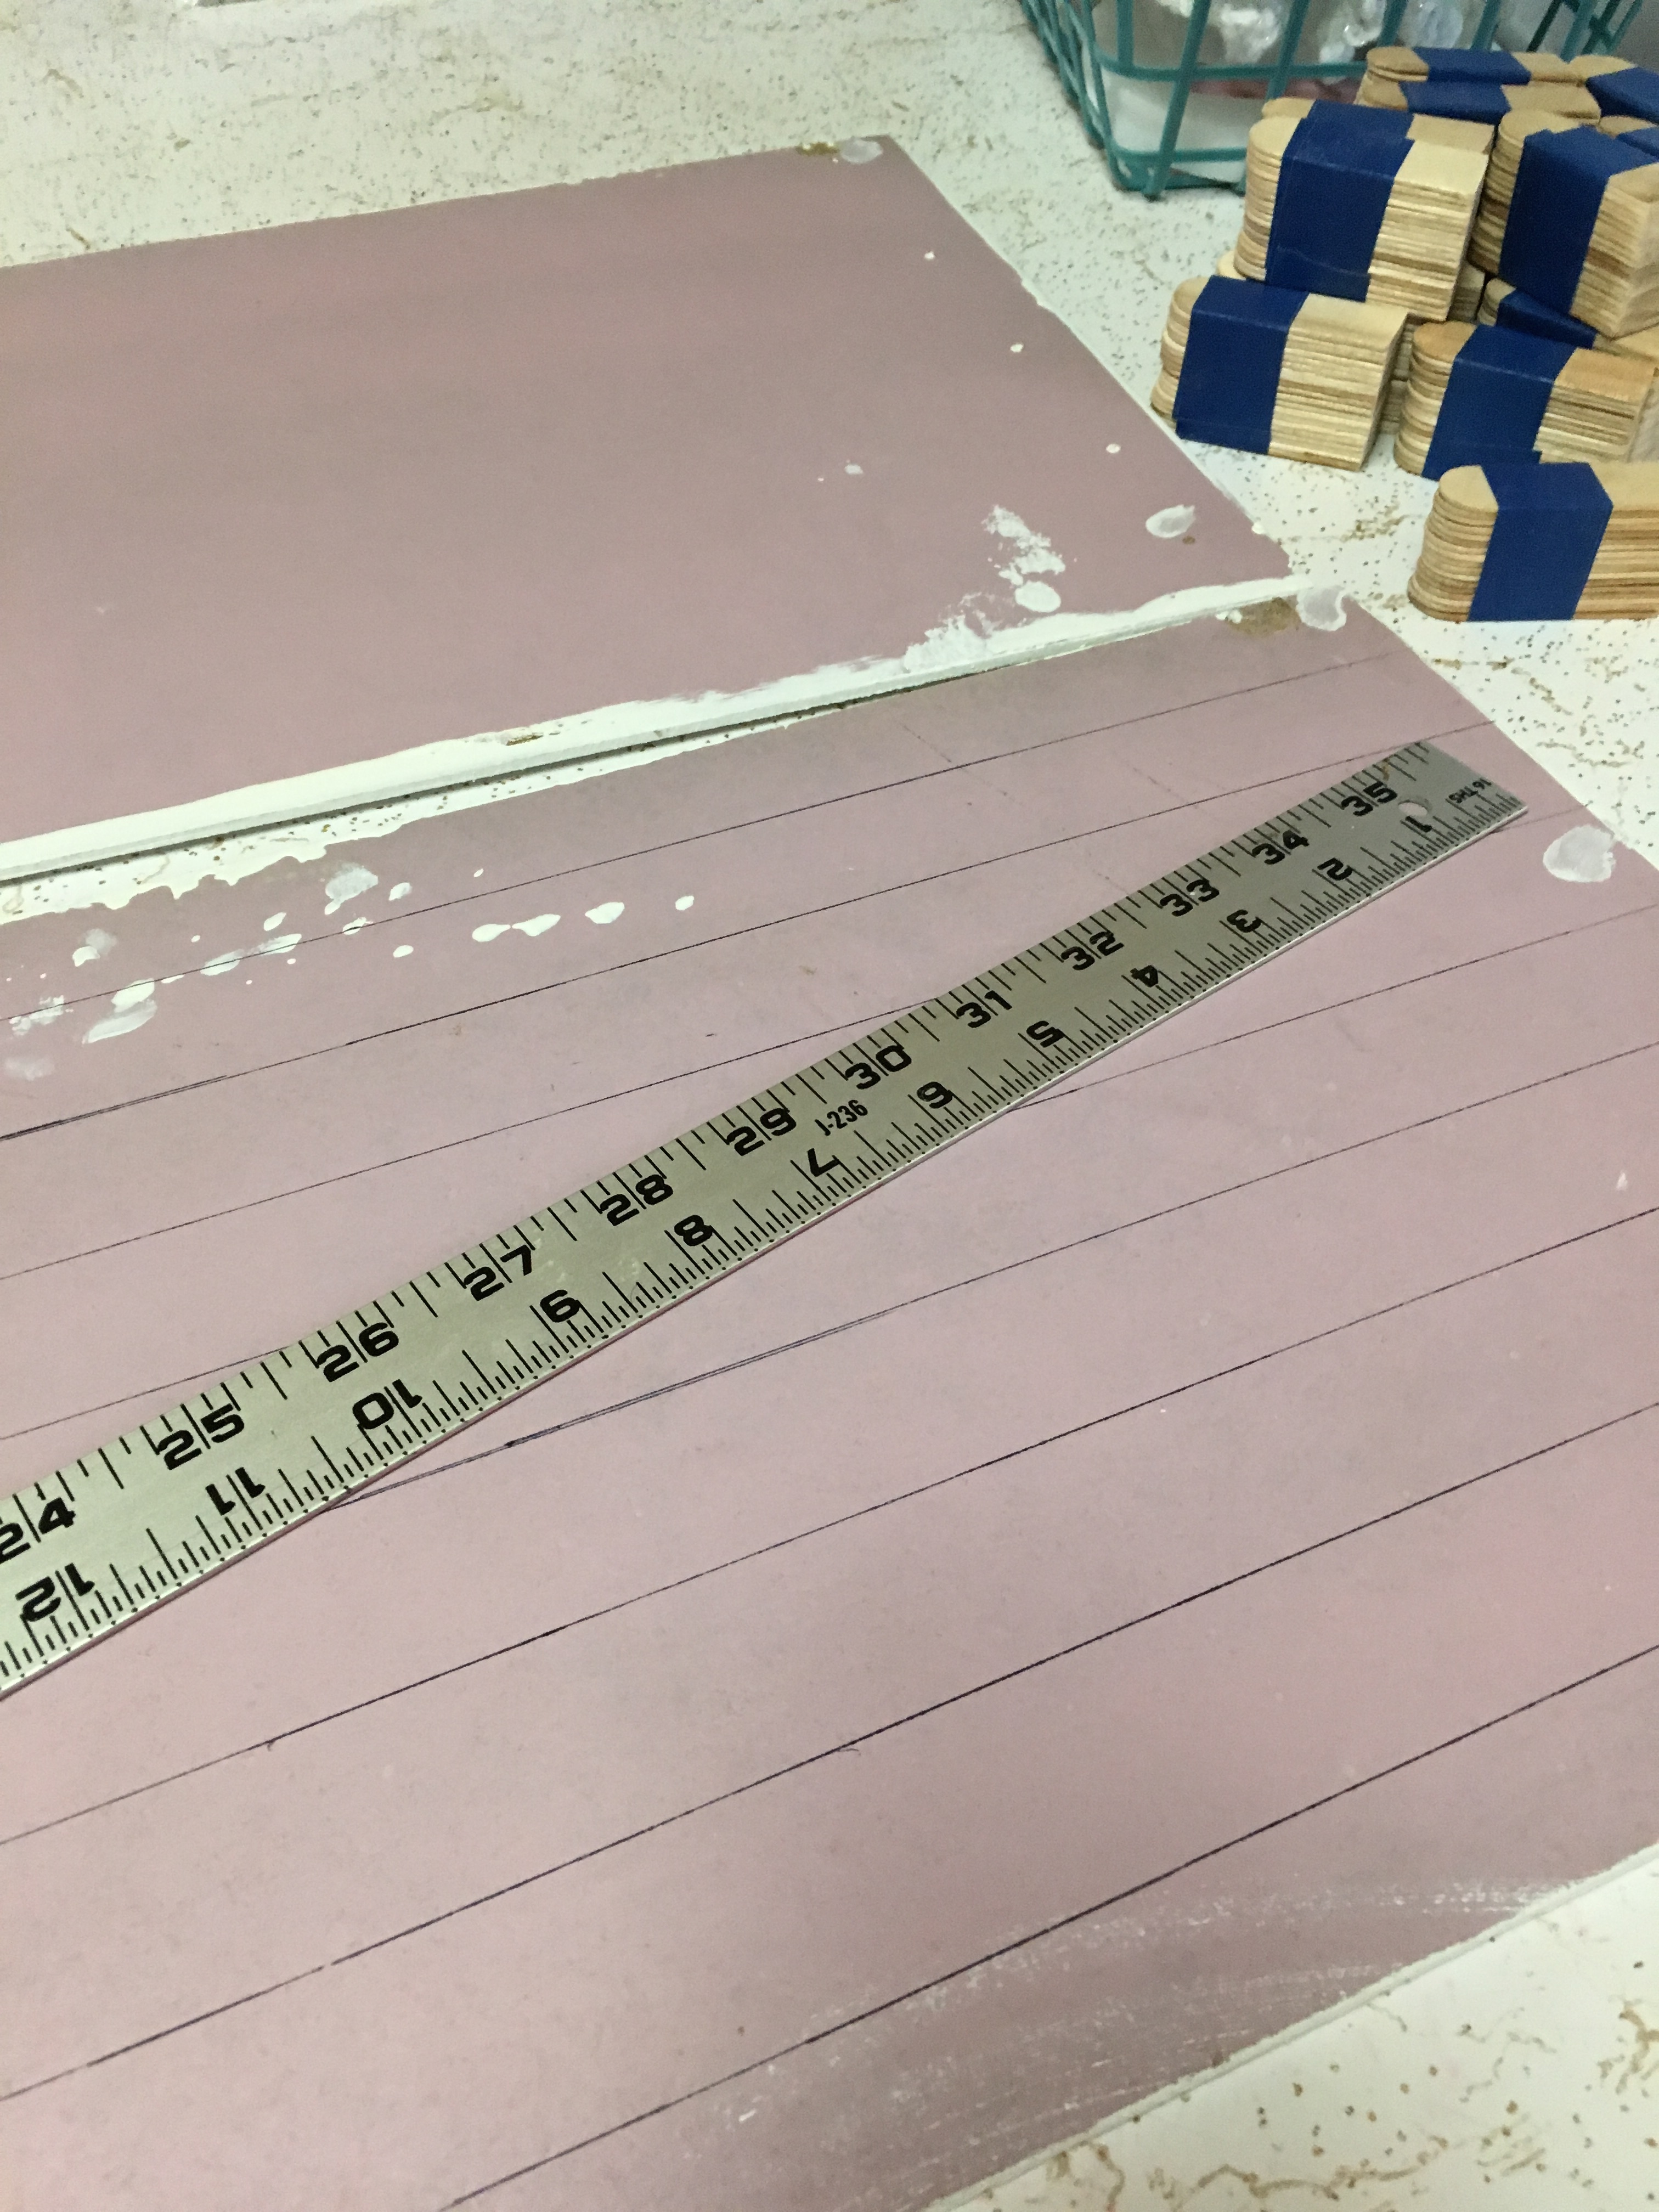
We removed the hinged roof and decided to give it a shake roof. unfortunately, the cost of dollhouse shingles is over $20 bucks a square foot, Luckily, I found craft sticks at the dollar store and bought 2 packages for $2 bucks! Taped them together in bundles of 20, cut them to 2″ shakes. Used the yardstick to make straight lines,  and glued them on with wood glue.

img_0329img_0330img_0332

While the glue dried, we painted the entire place with Kilz paint. Cures all evils, stains, smells, bad paint choices, and seals the bare wood. Making it a nice blank canvas to create!

img_0328img_0360

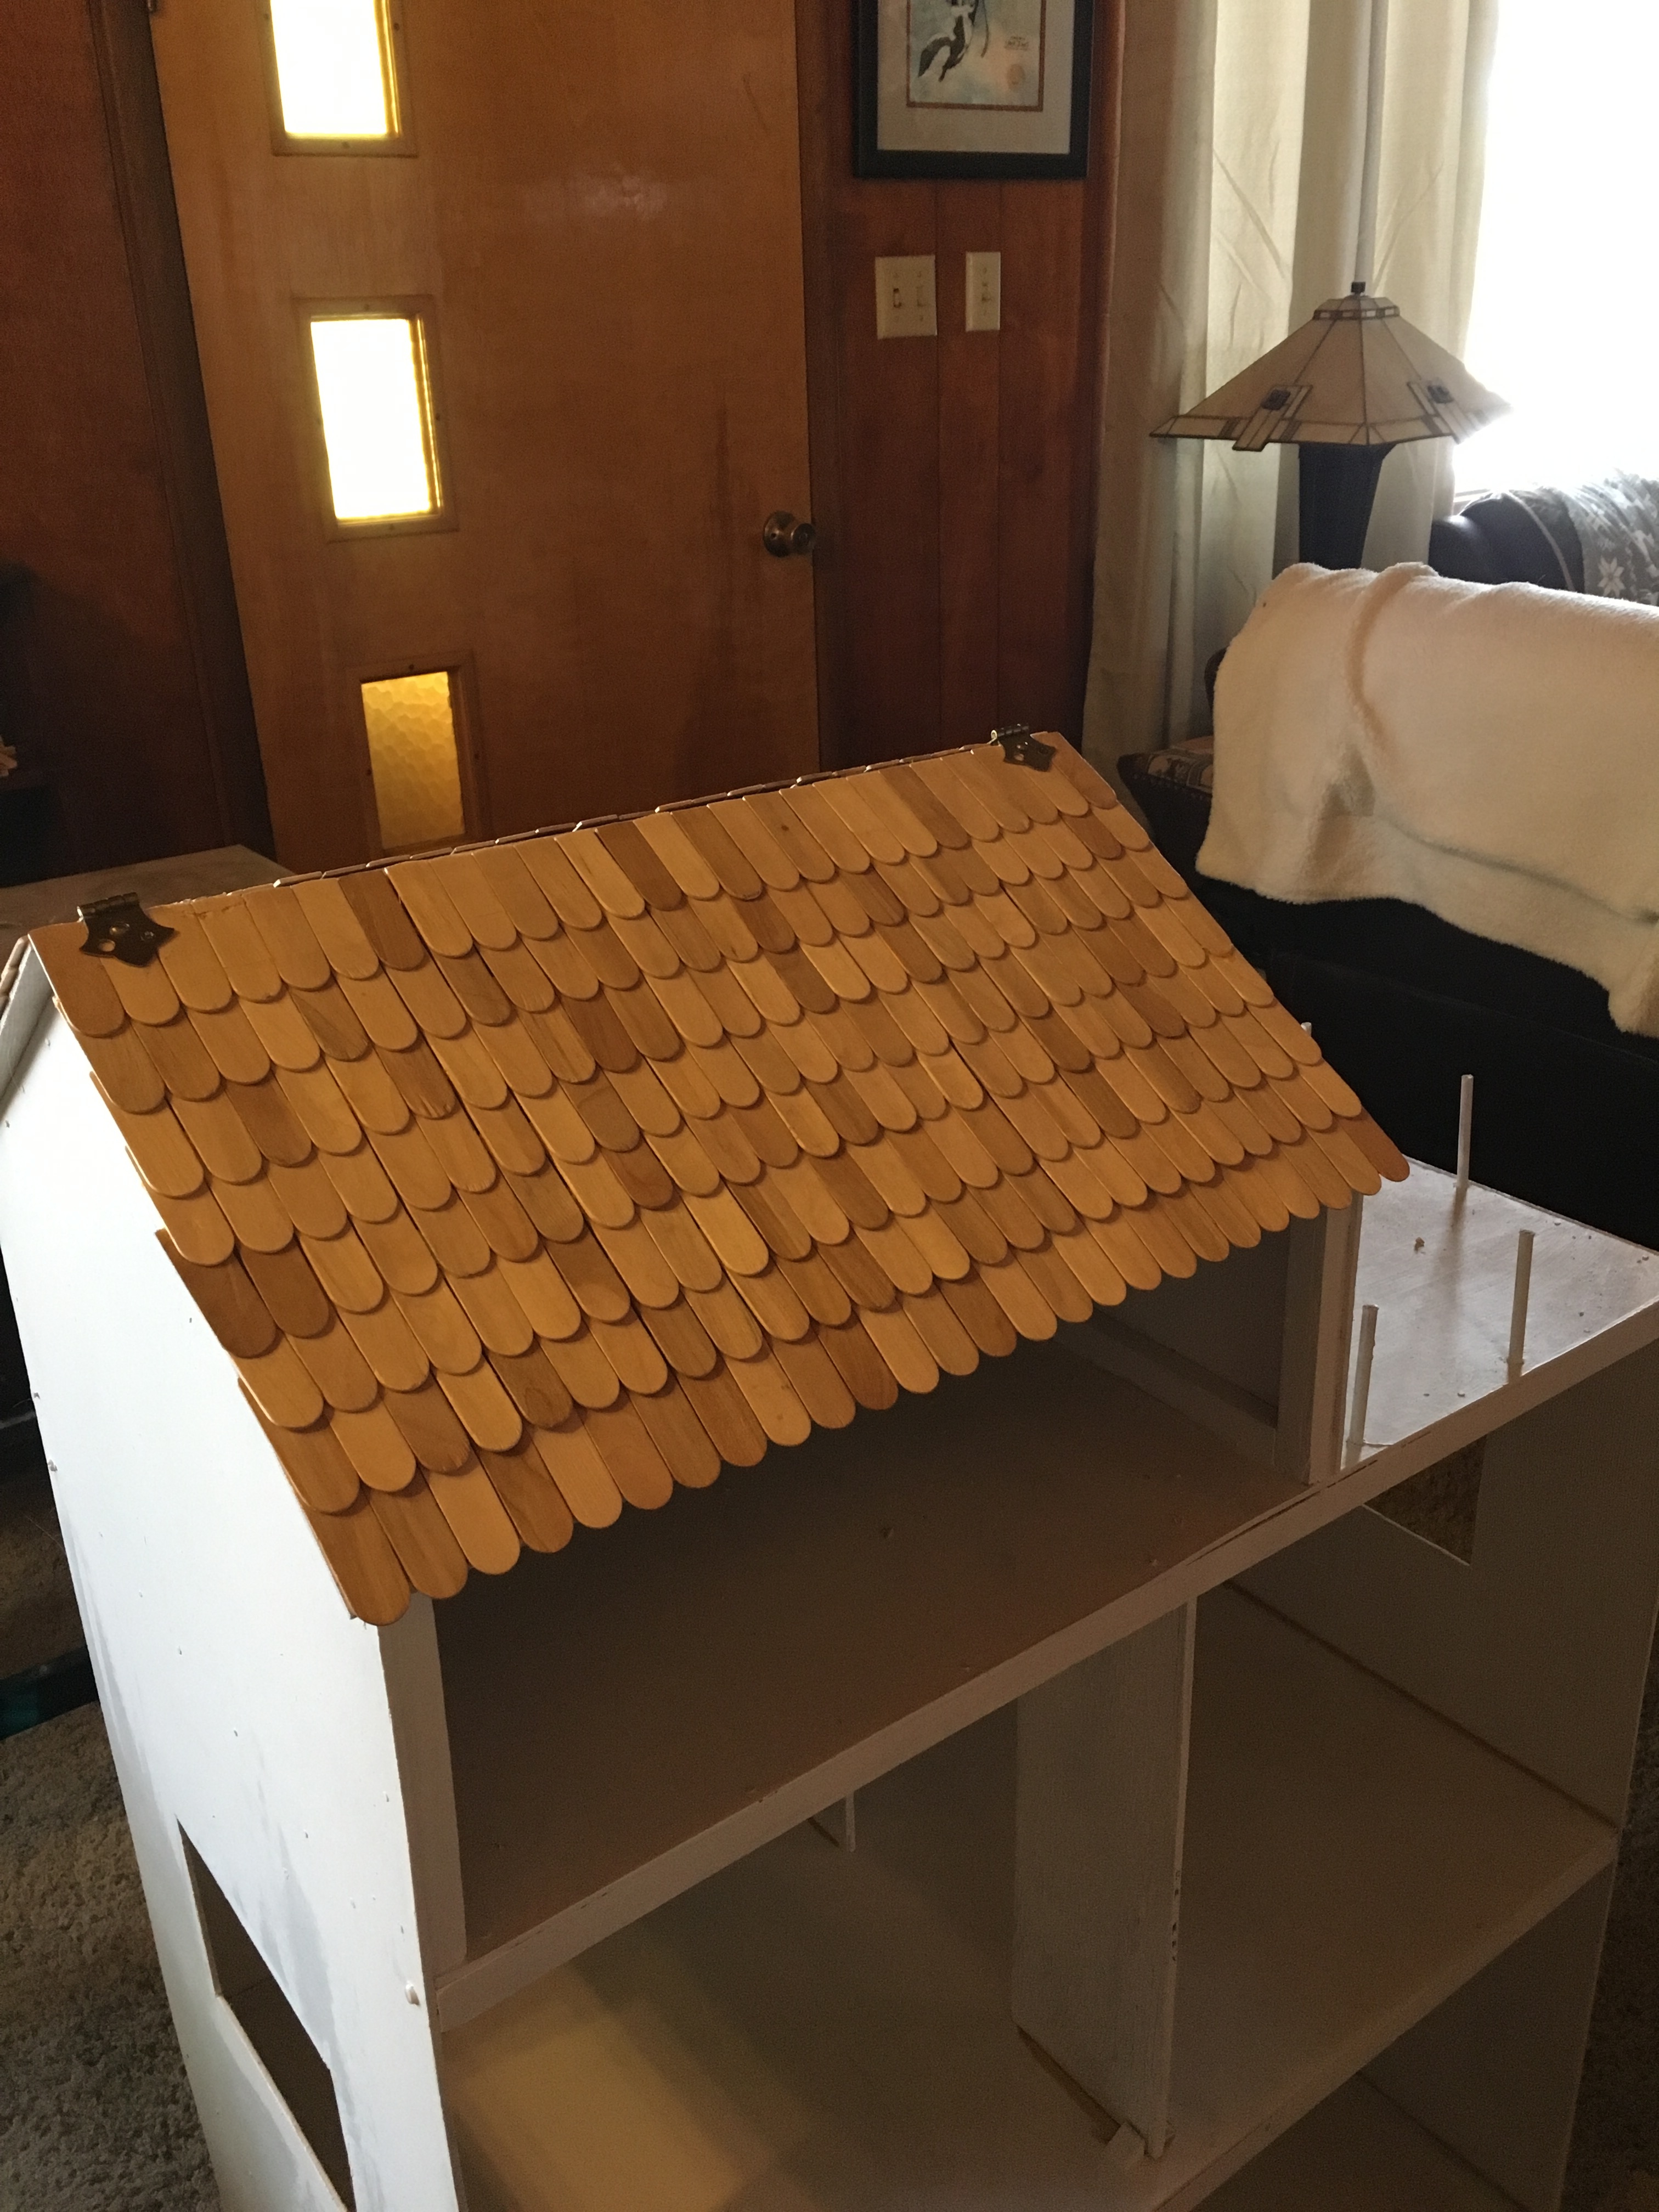
The back roof panel is glued and screwed secure, and the front is hinged so they can open and play inside the attic.

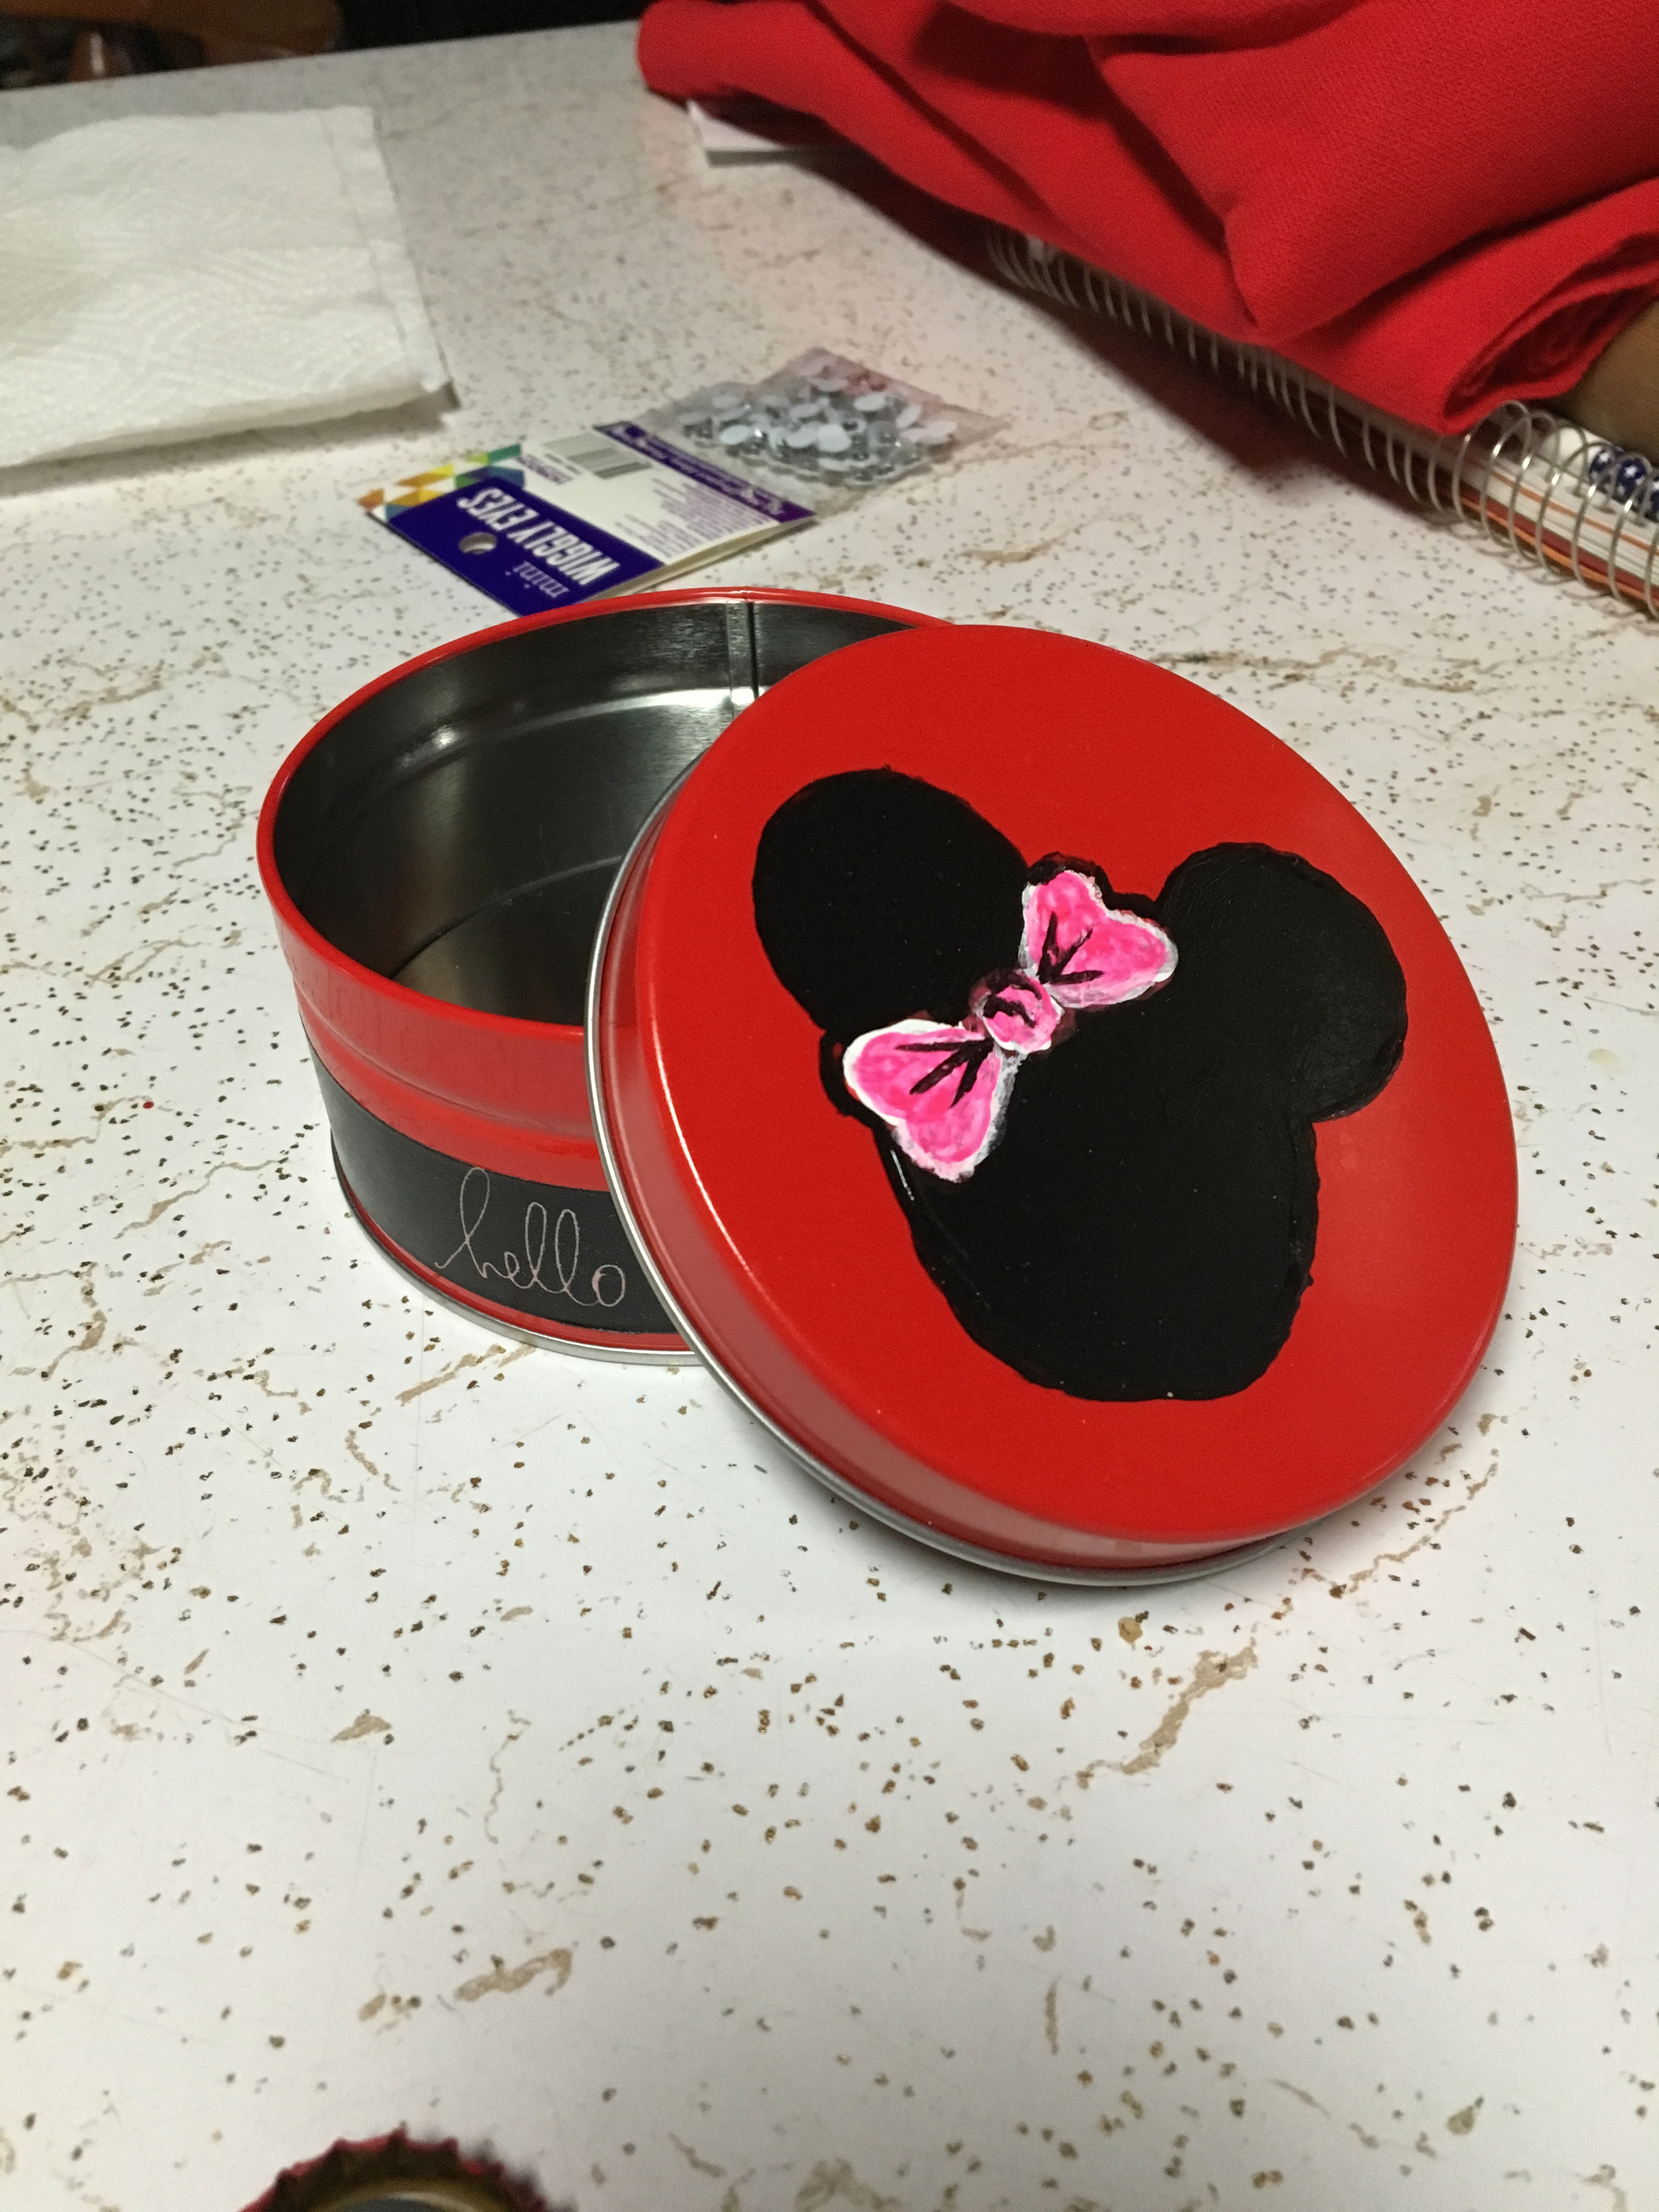
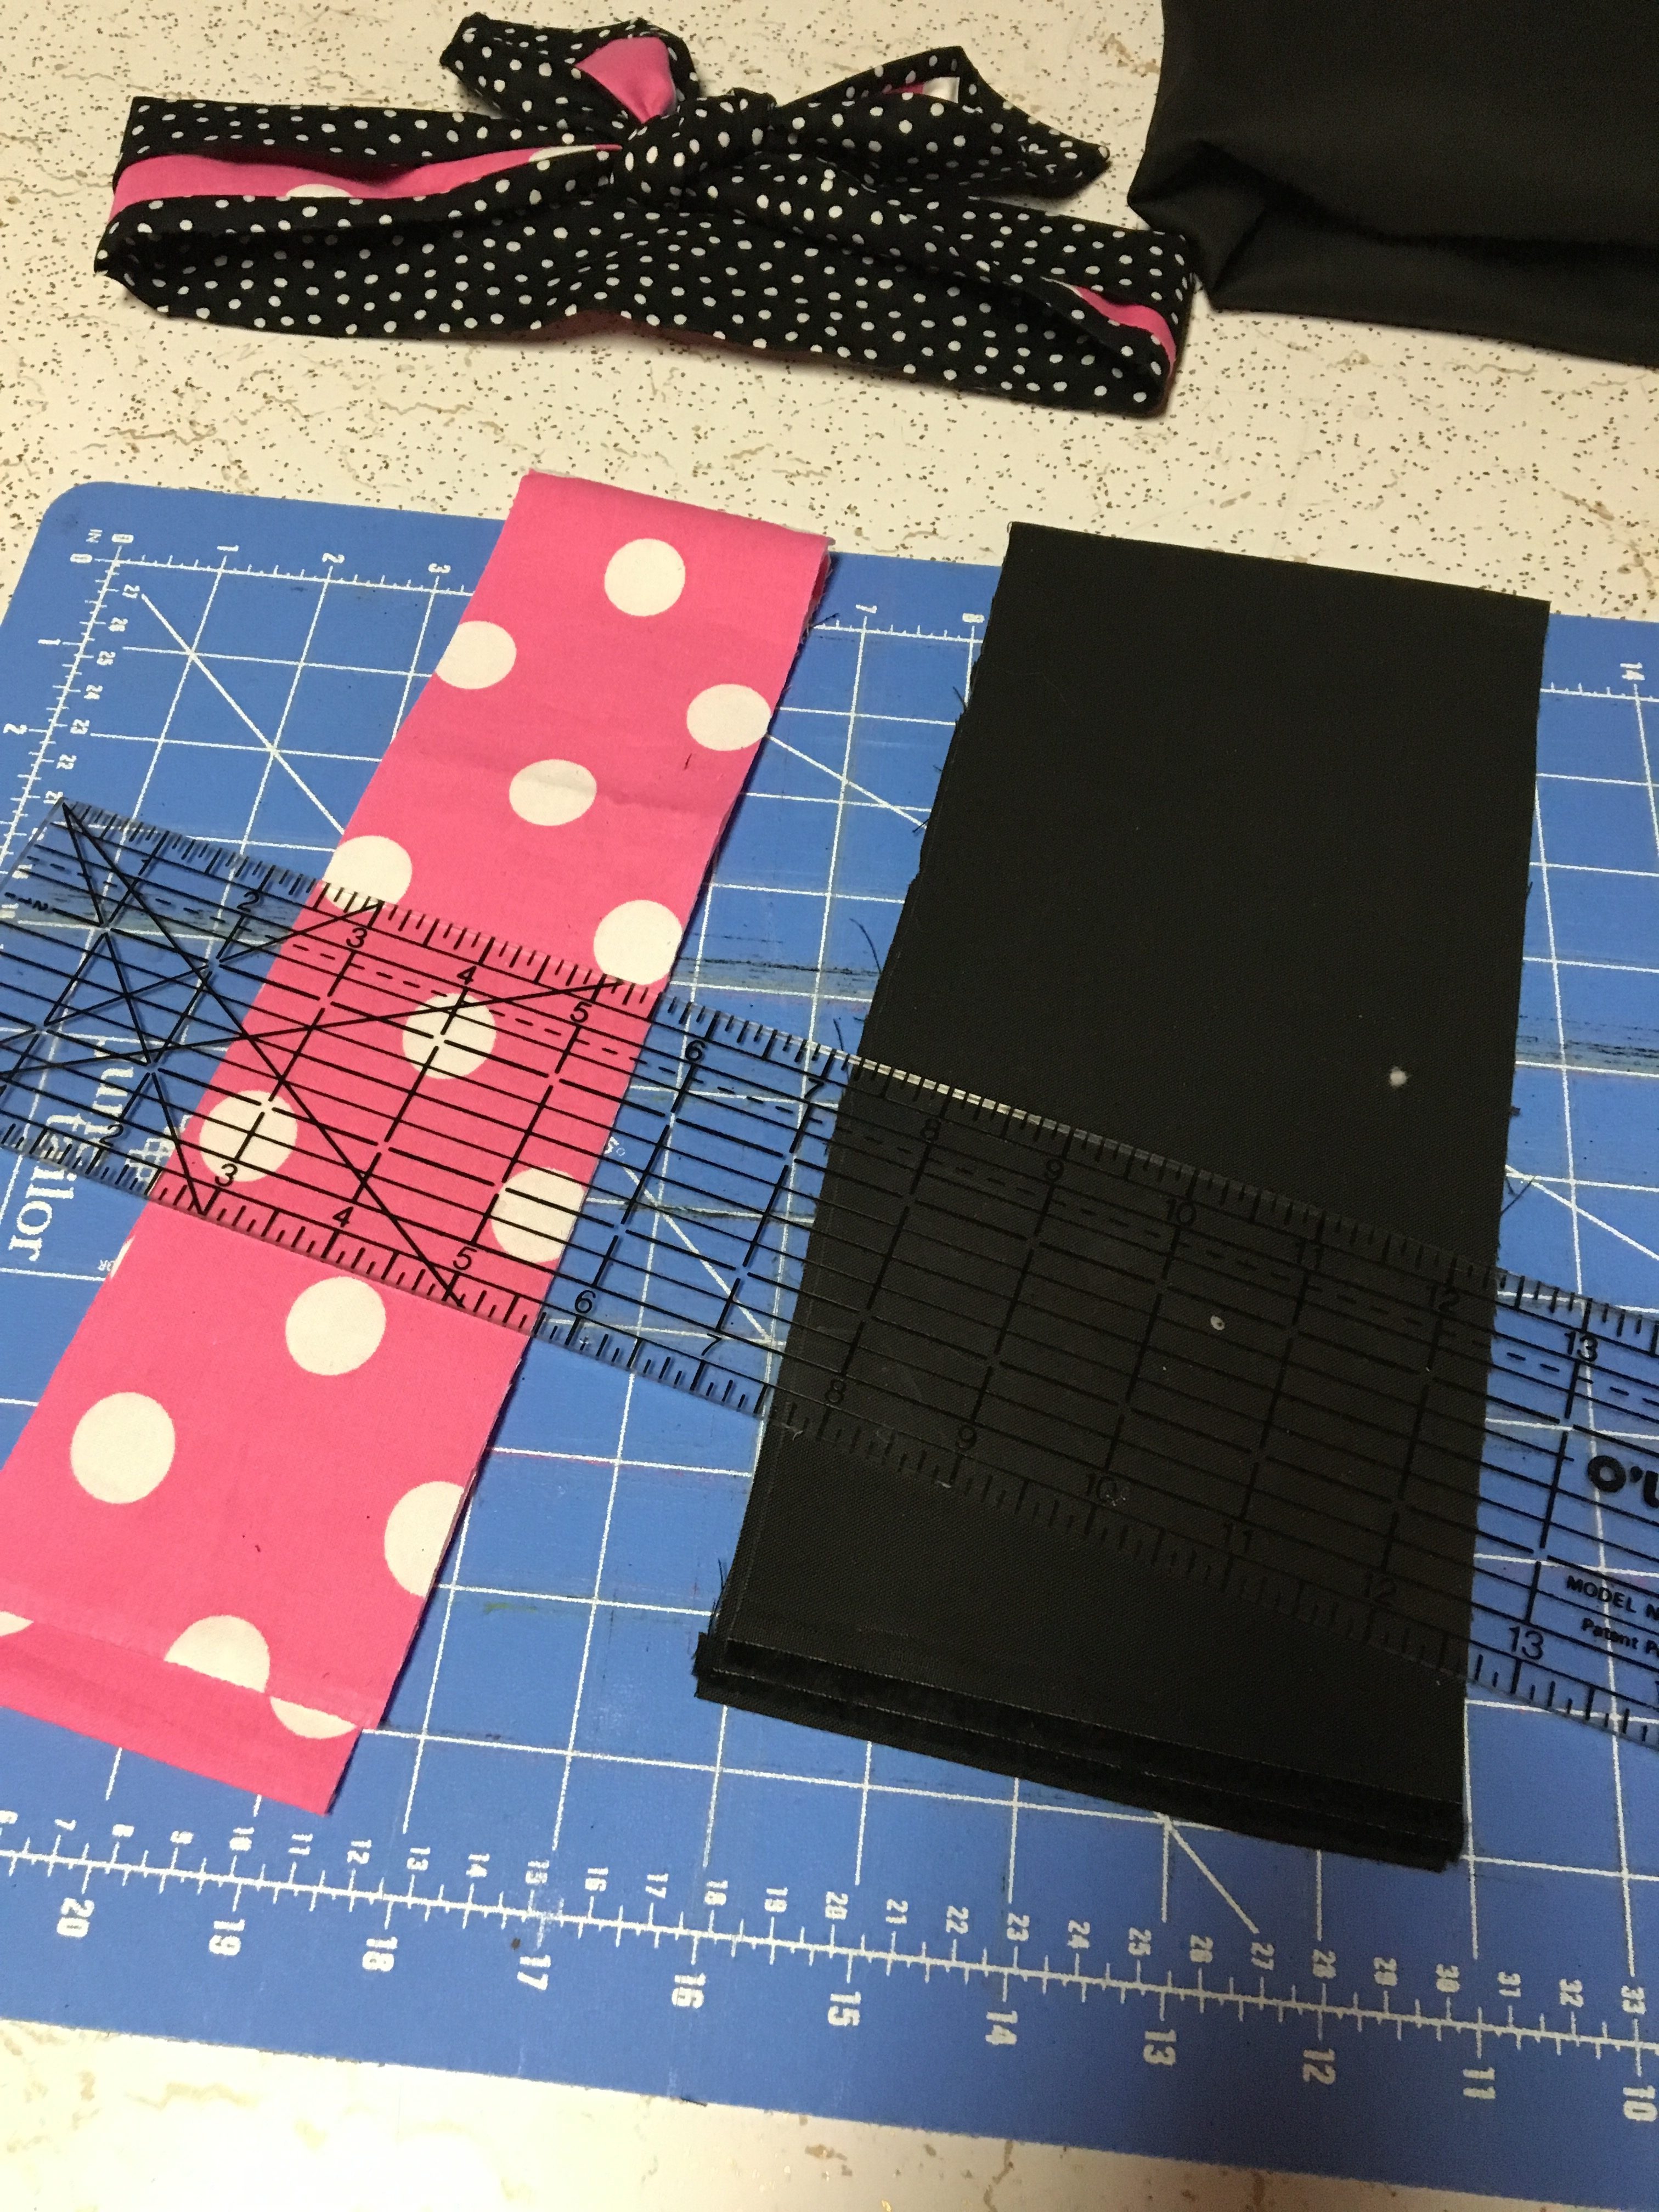
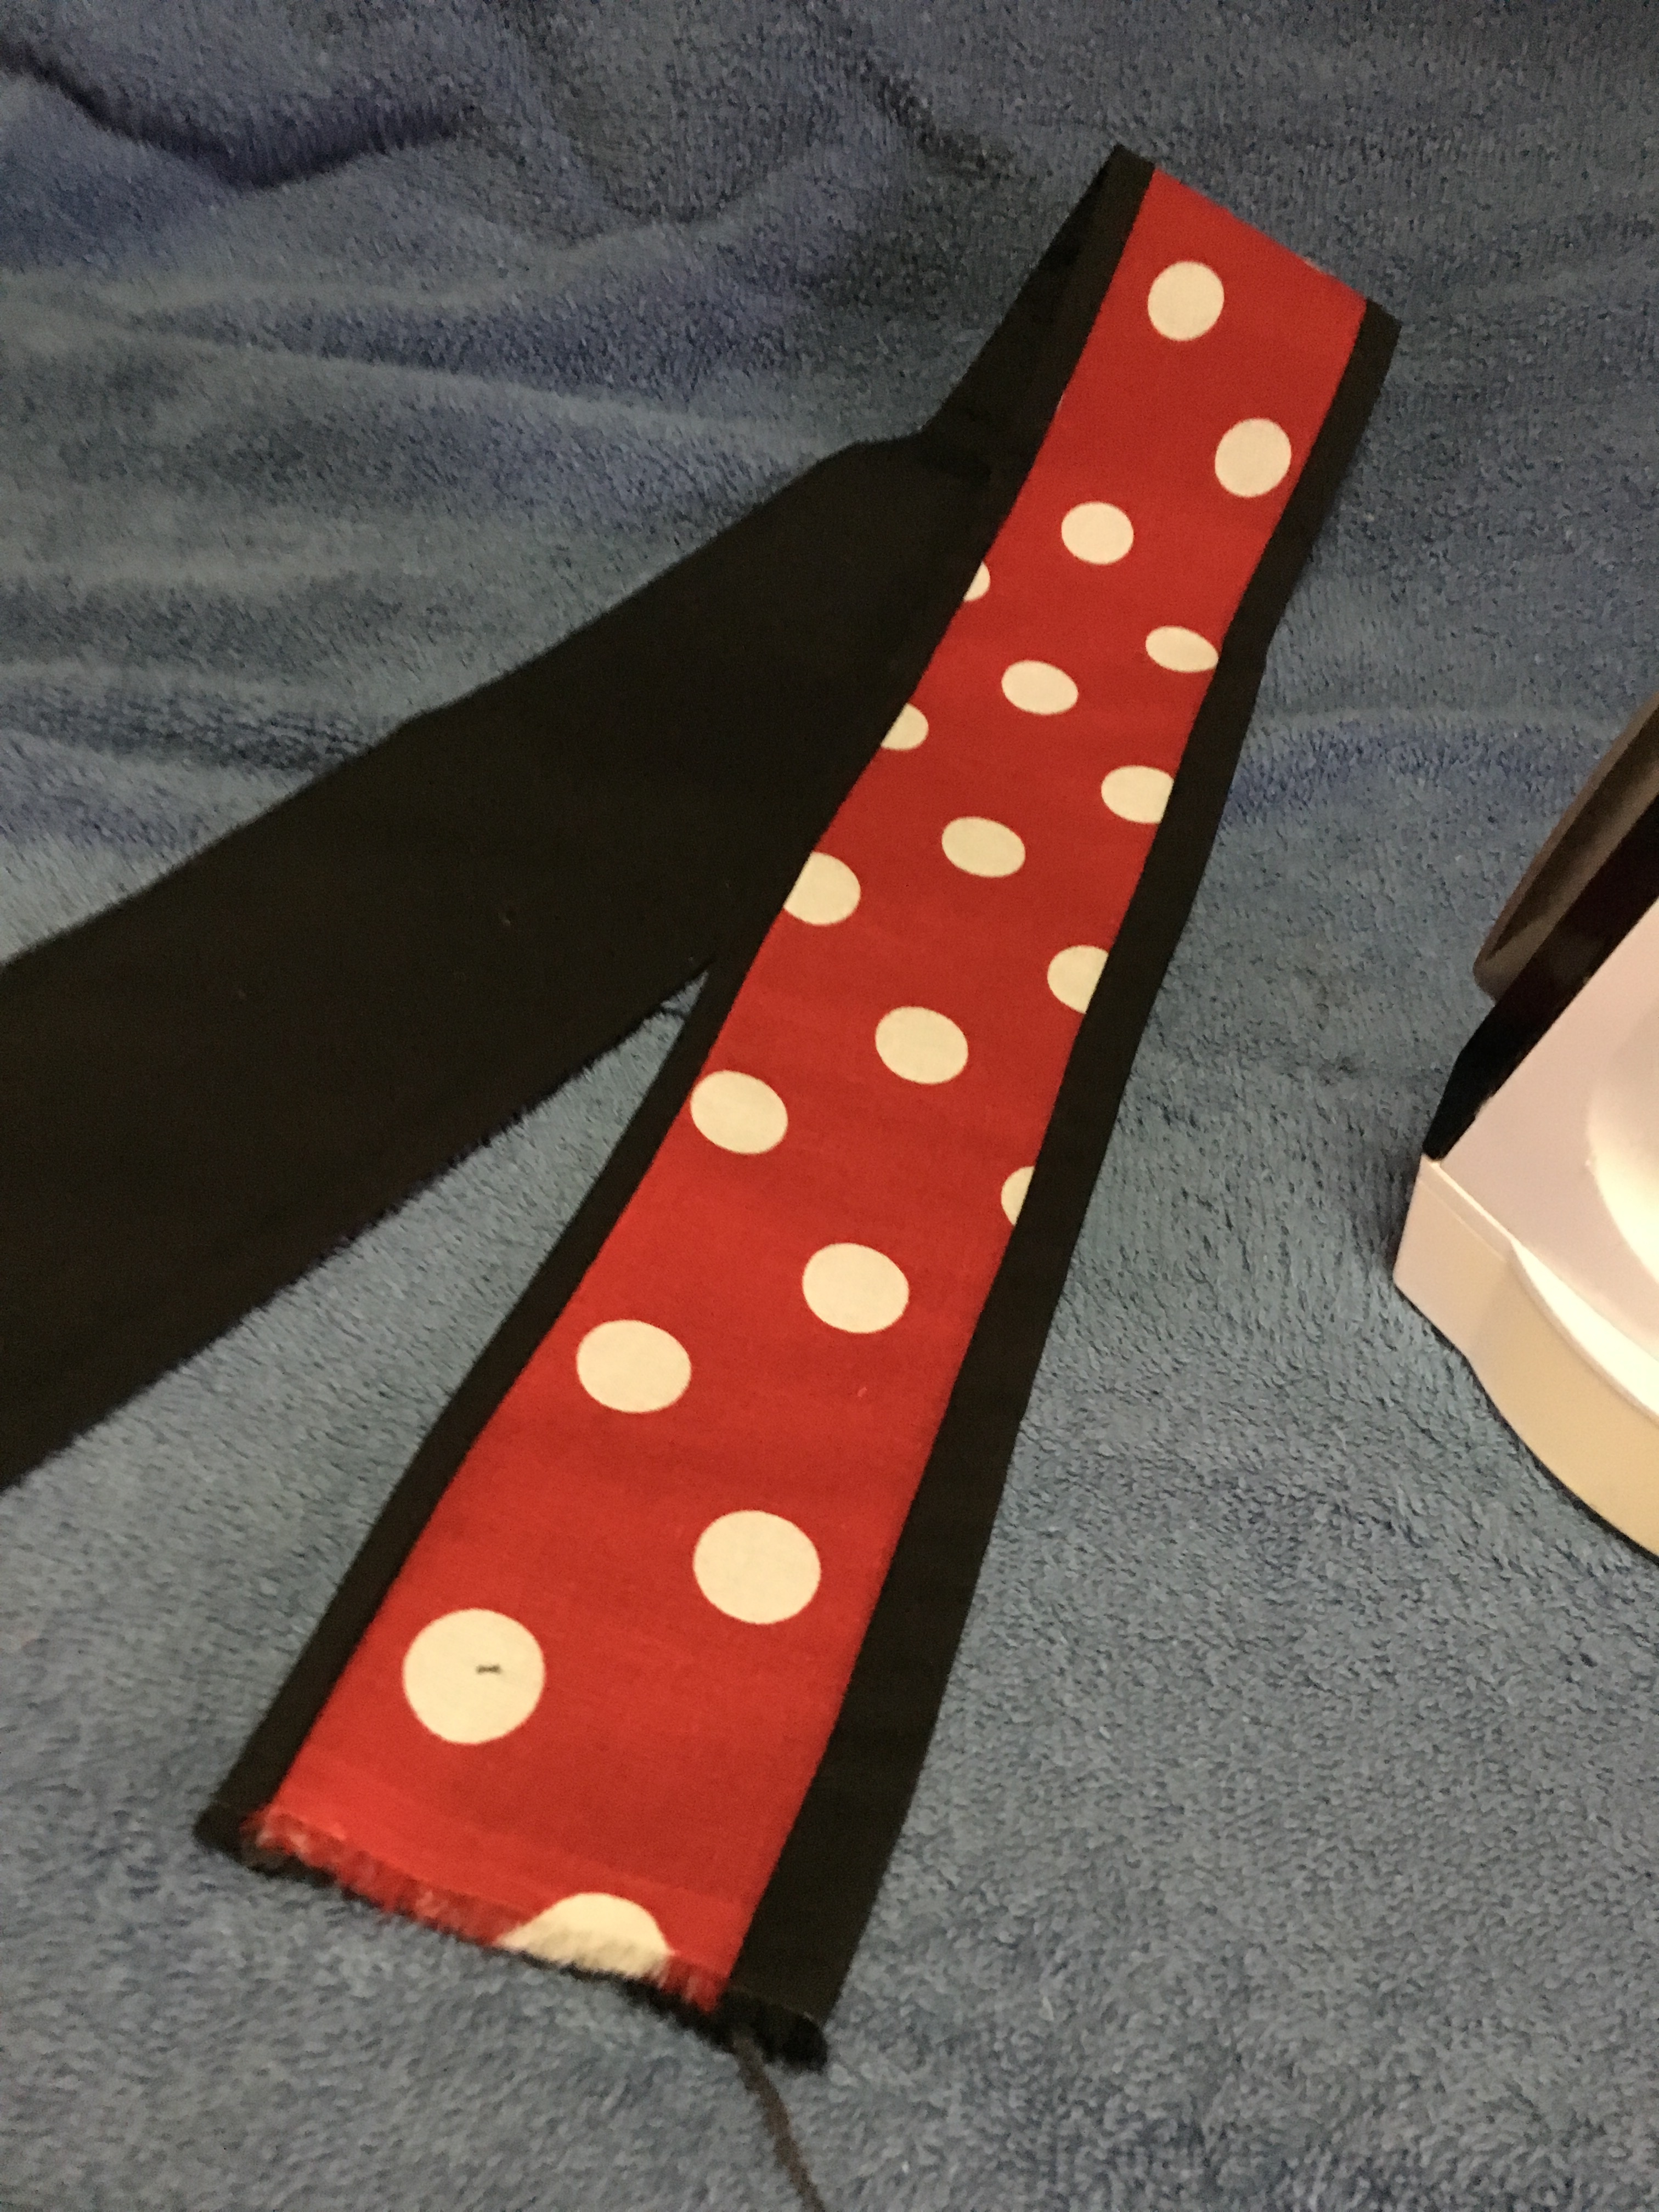
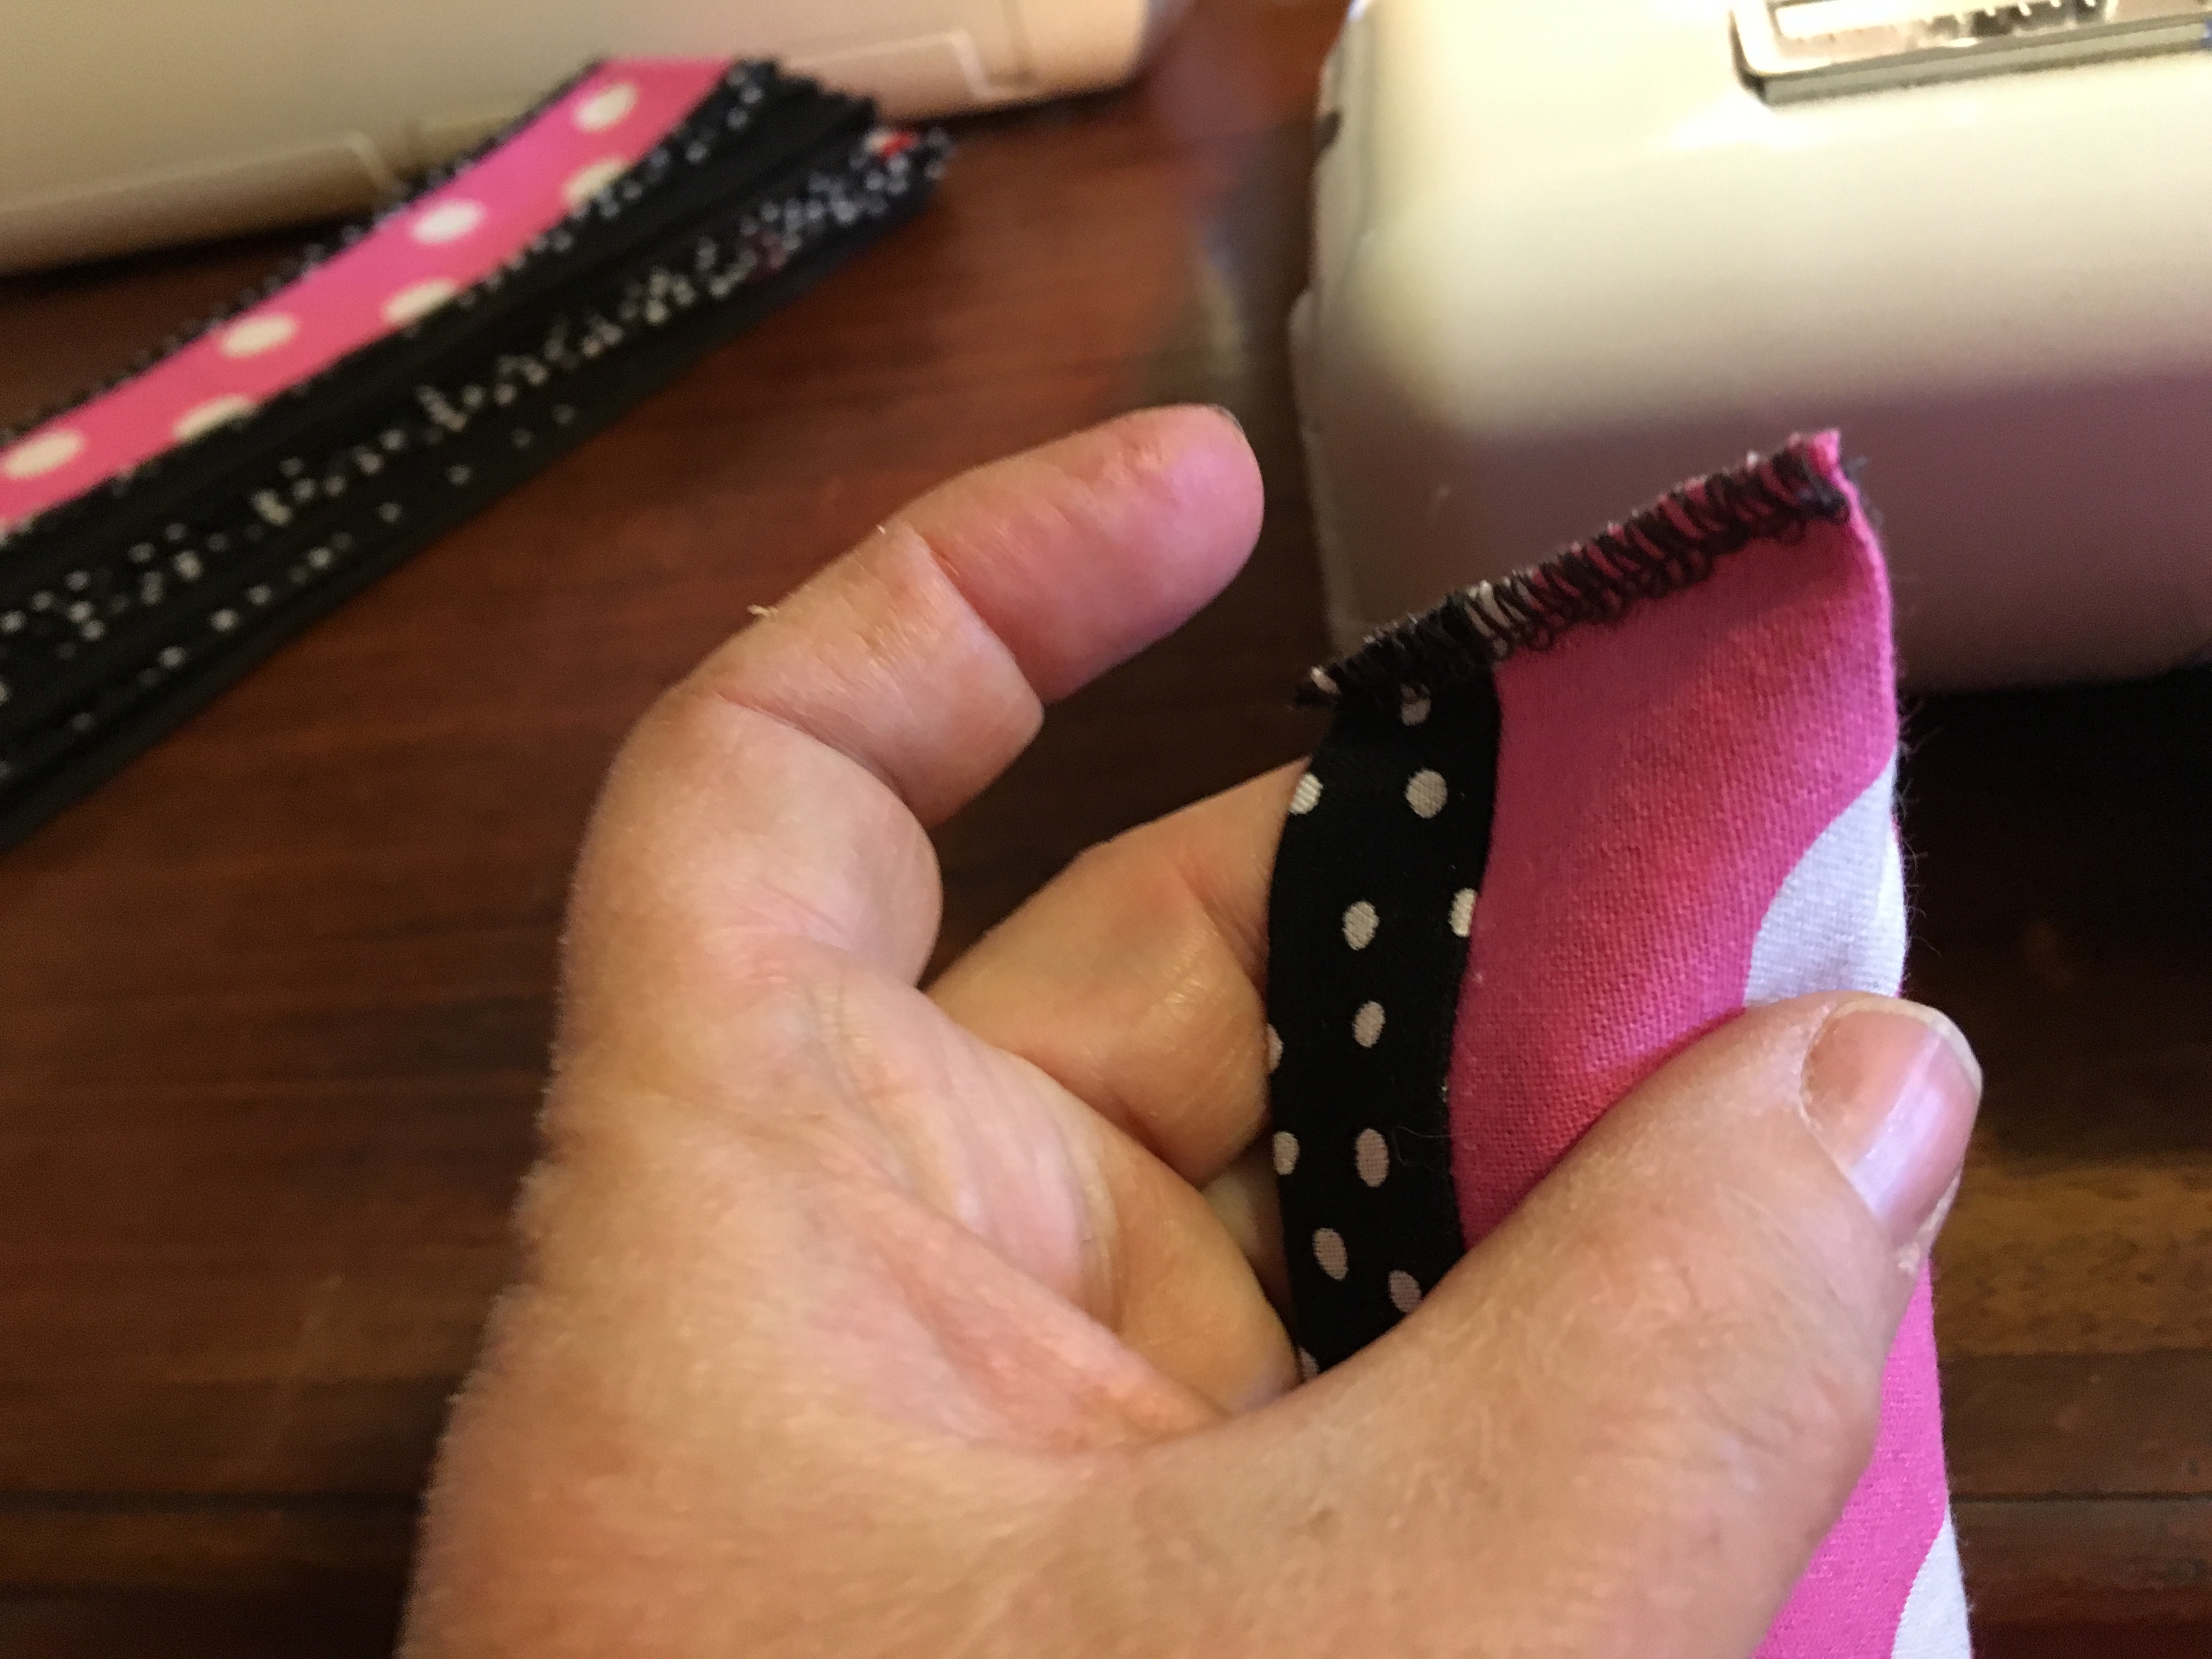
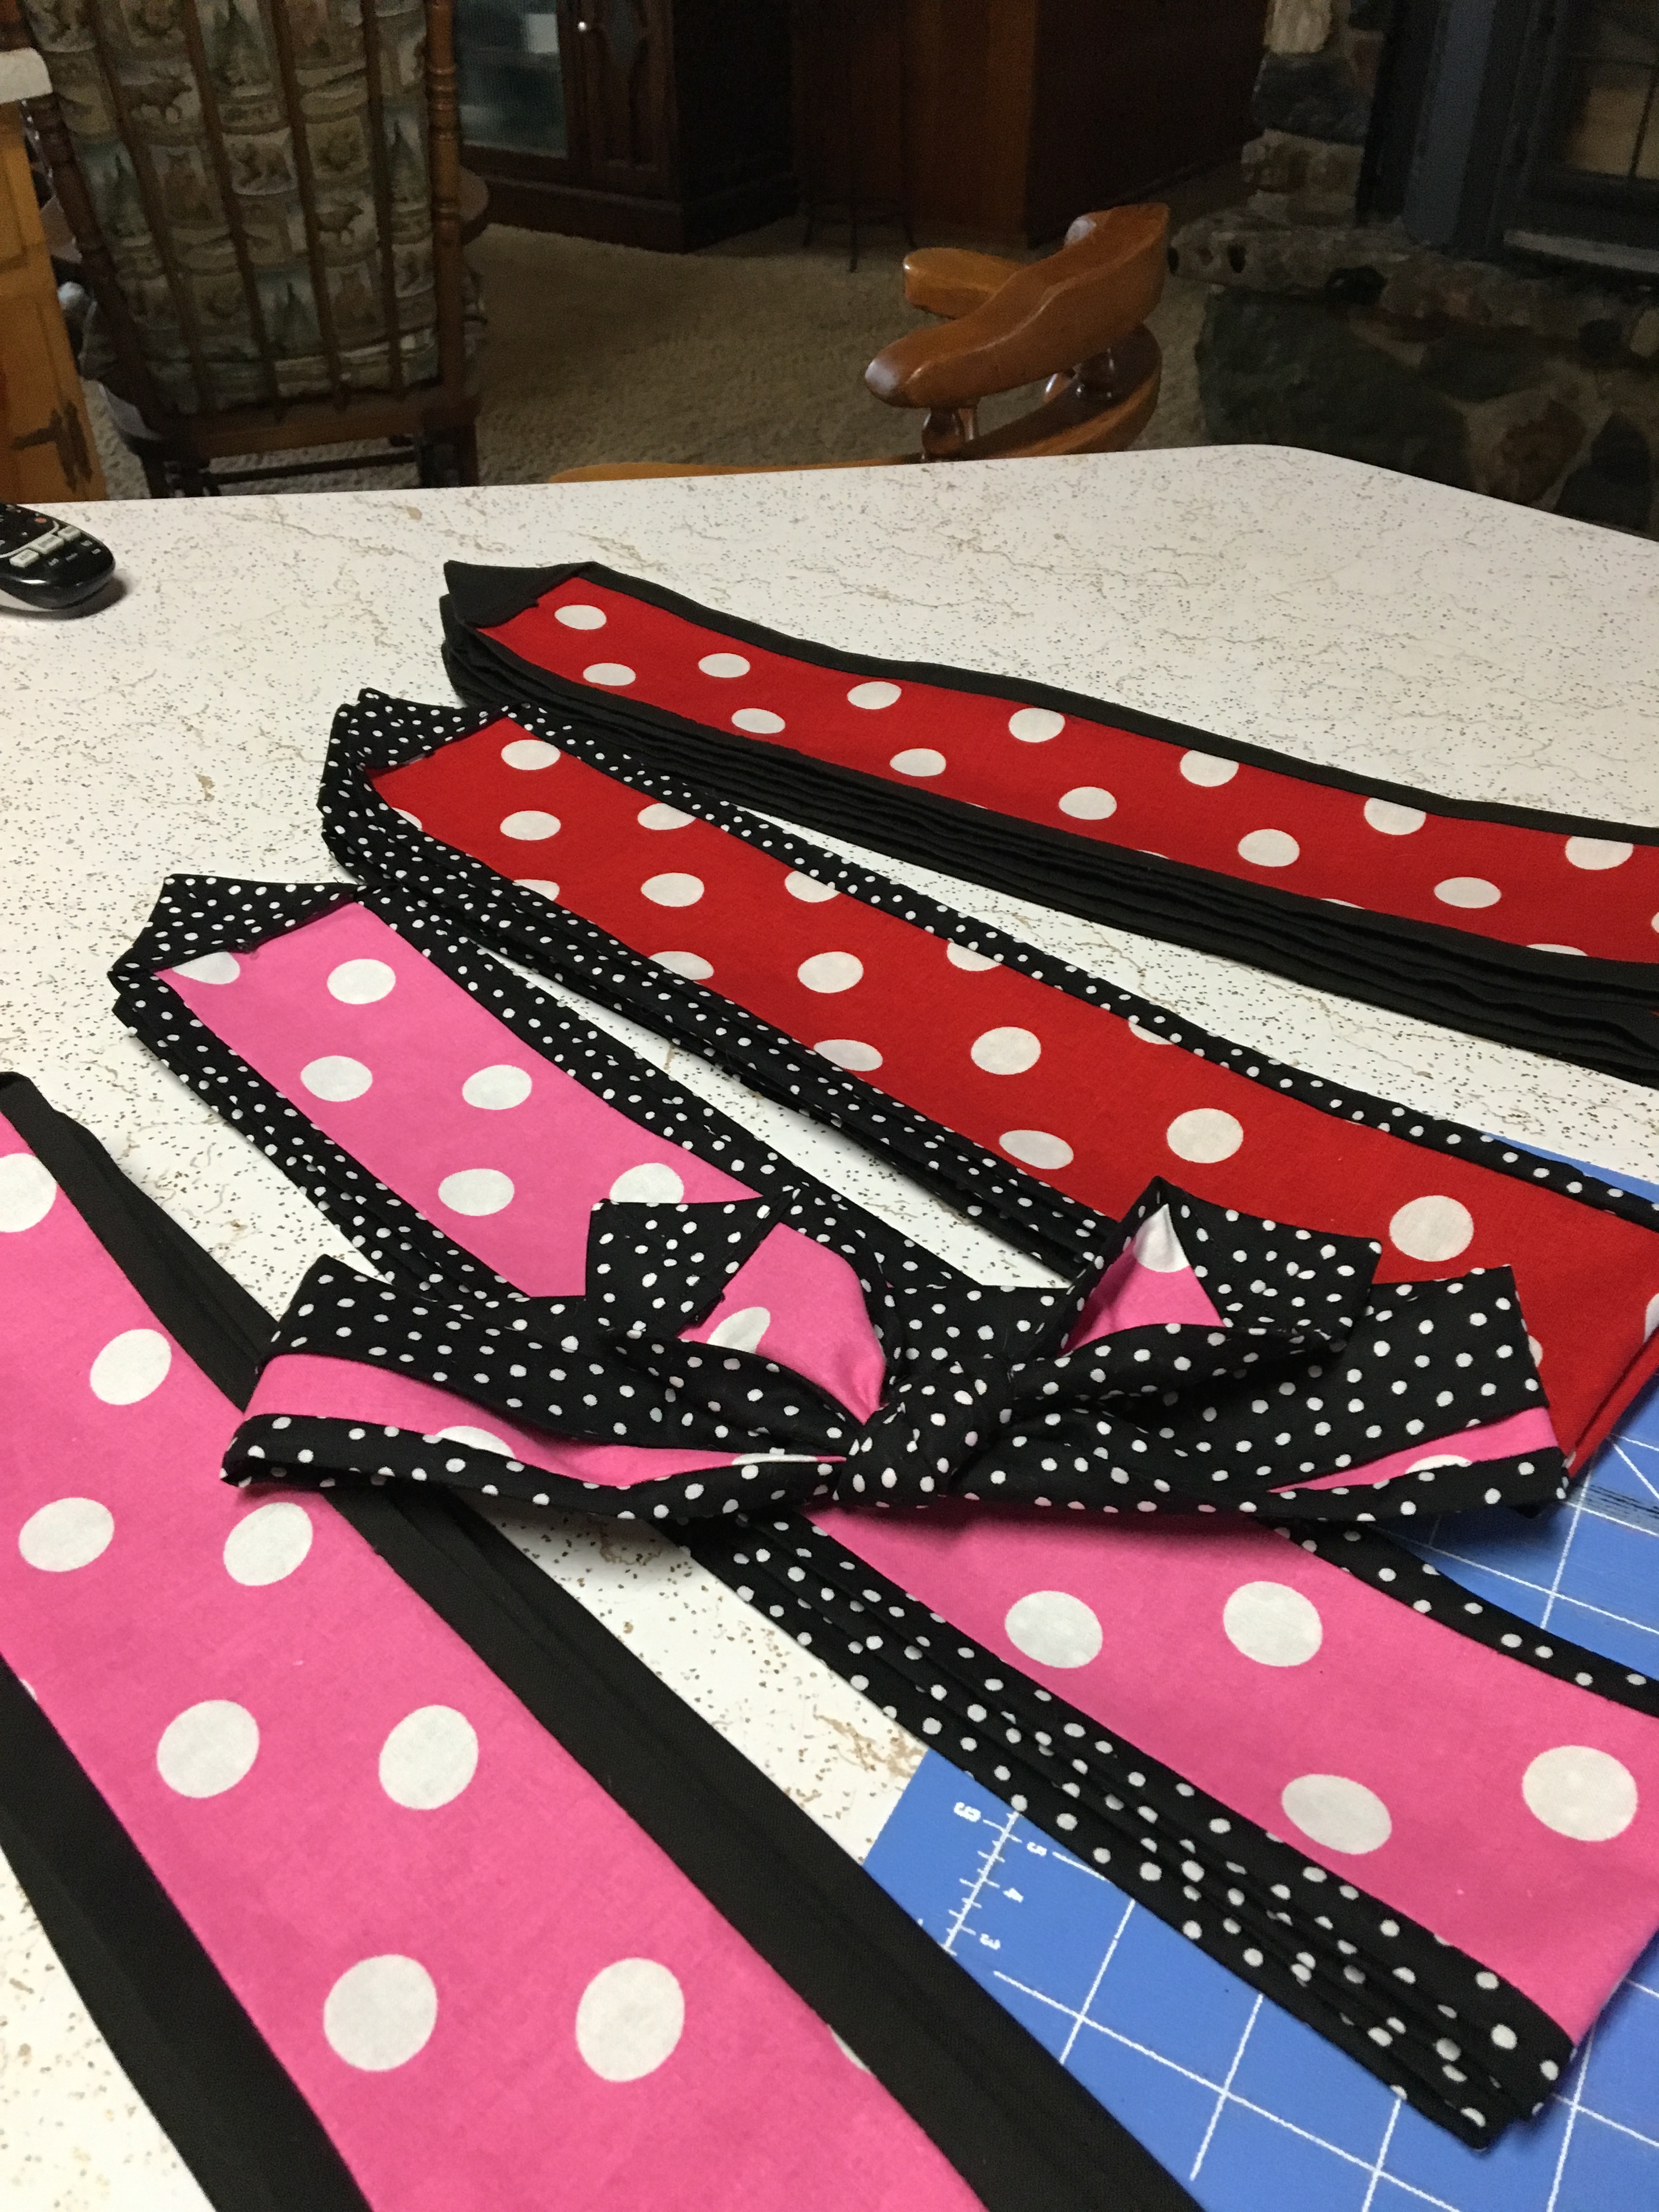
Next, I decided on my color palette, the pink I was stuck with, Hubby convinced me not to paint the vintage Barbie furniture it was mostly pink. But I had some leftover Minnie Mouse print and added a few fat quarters in a pretty blue to balance out the pink overload! Yep, there was sewing and construction involved! I painted the outside walls “Tiffany” blue, and added white trim molding. It helped stabilize the house.

img_0323img_0386

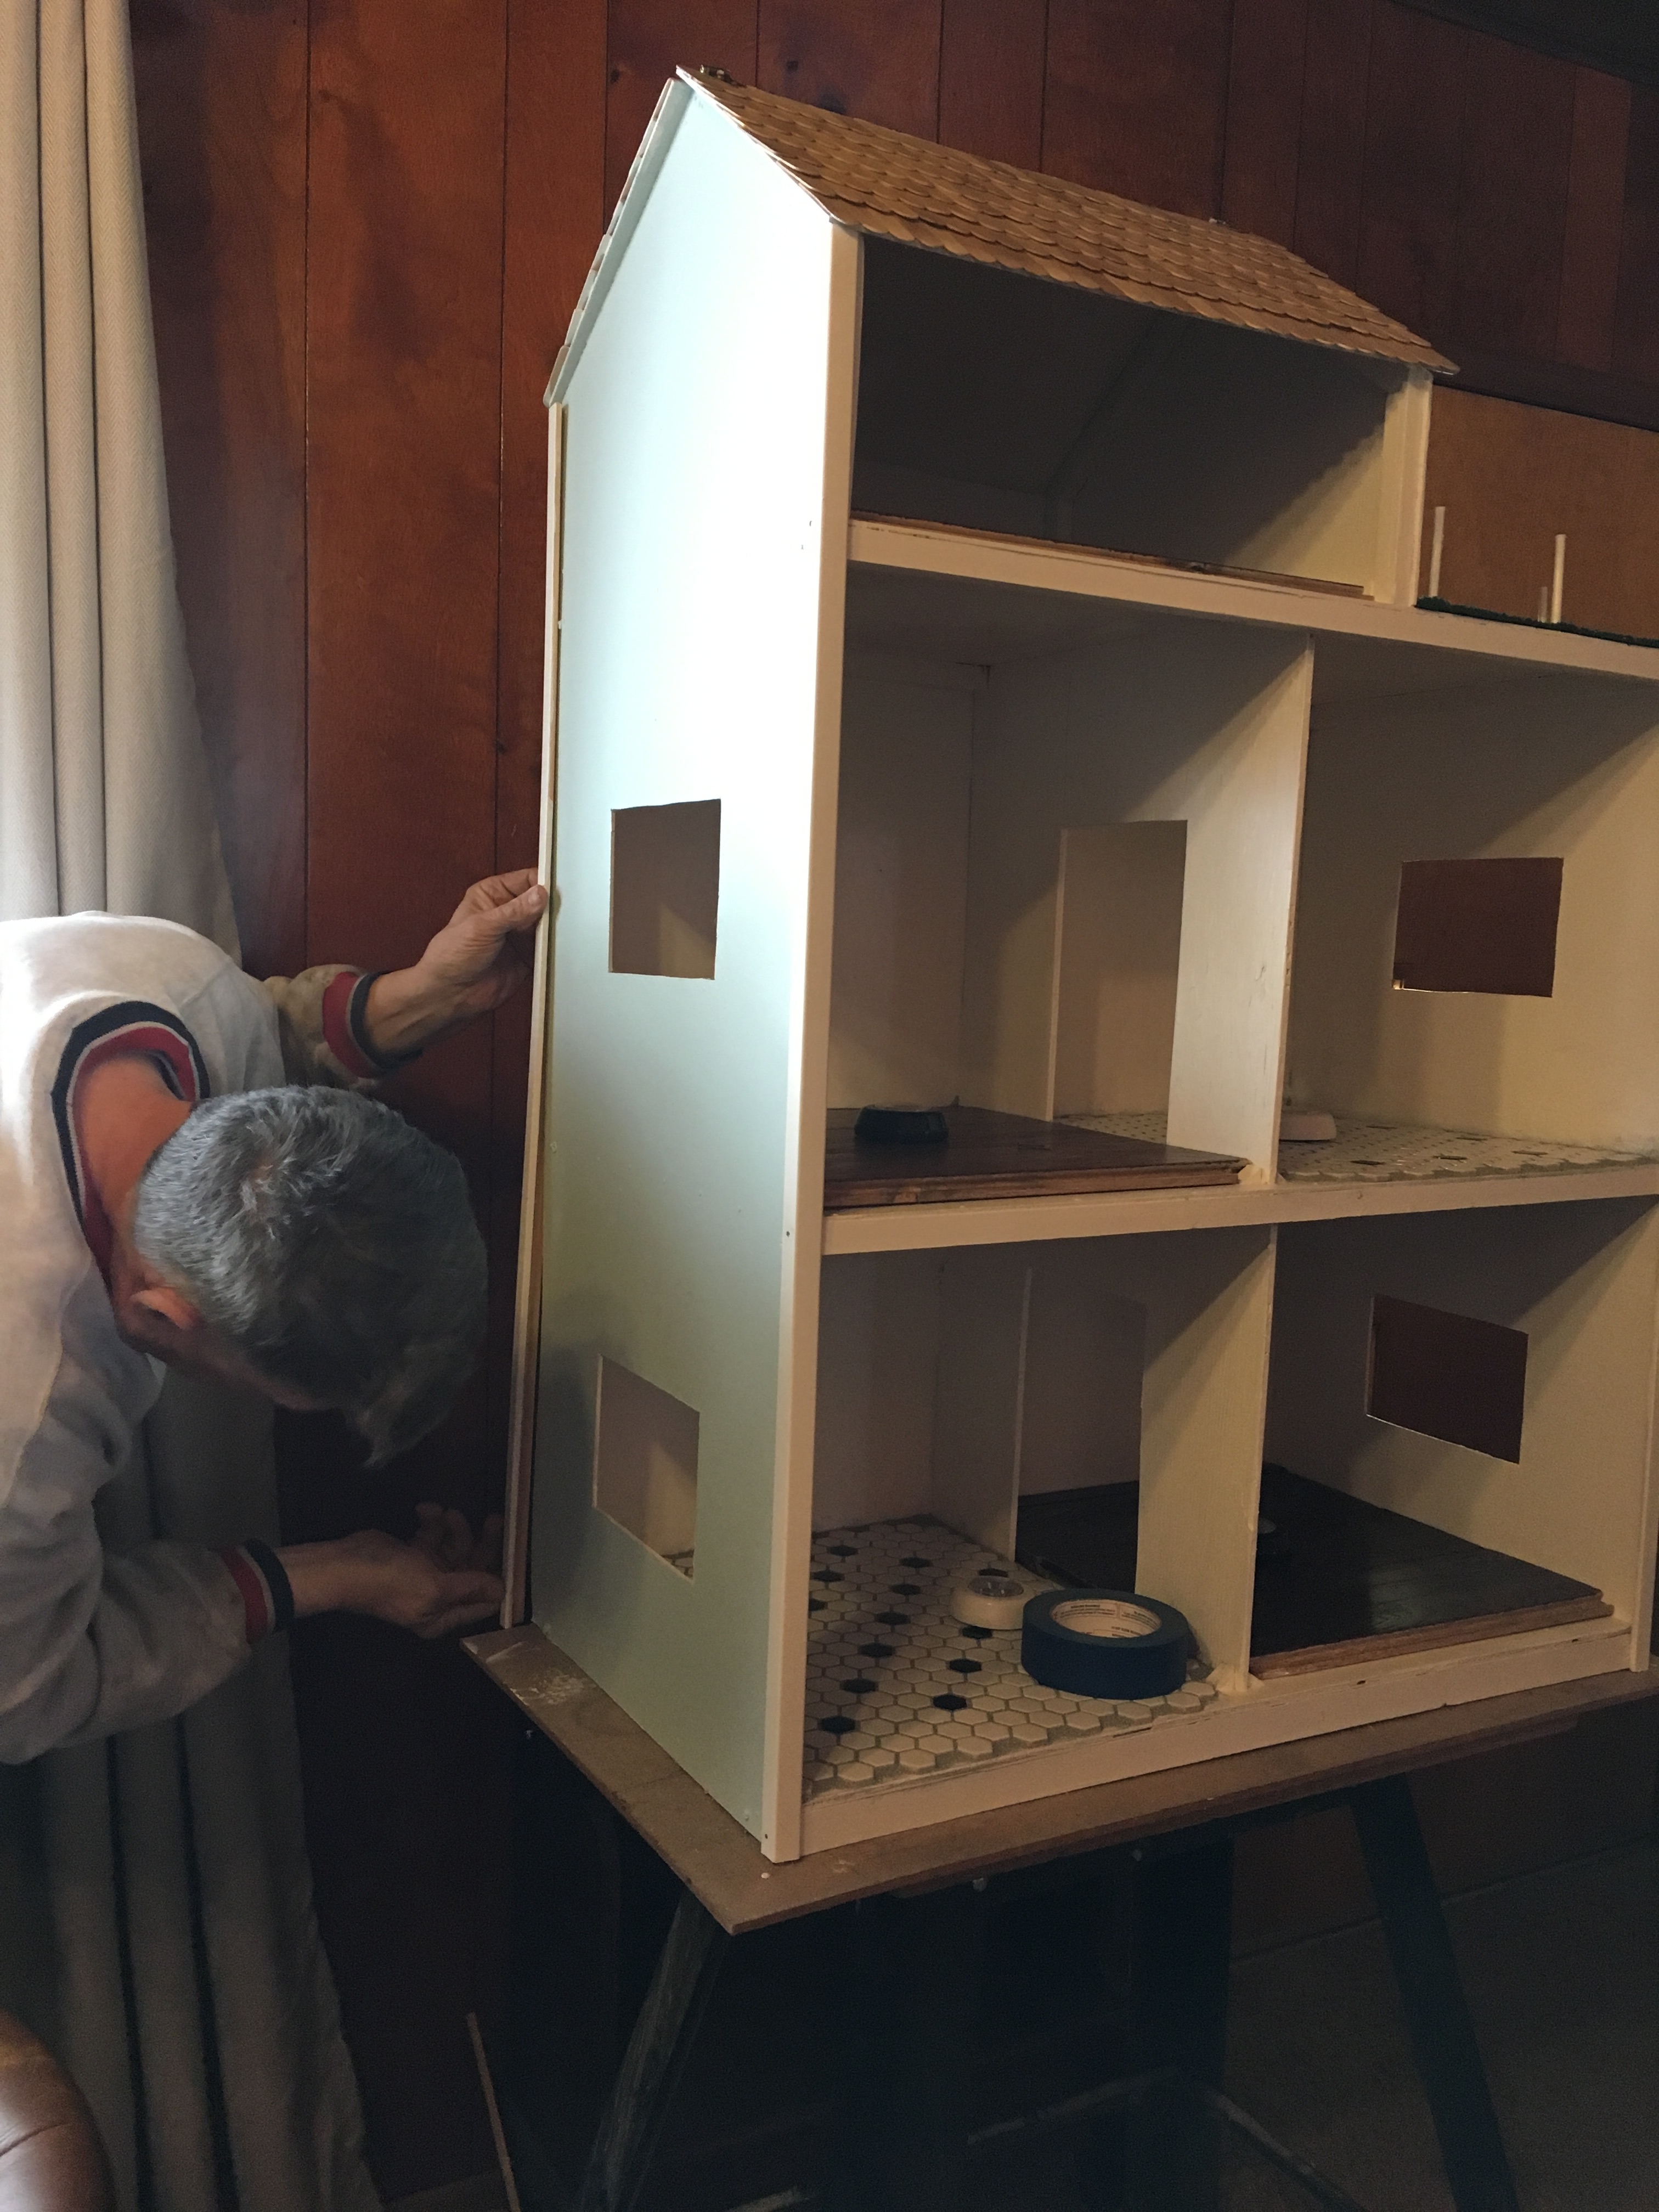
Flooring is next, since there was a kitchen and bath, of course I tiled it! After doing projects on our real homestead, I consider myself a self-taught expert! I had leftover tiny hexagon tiles and added 2 sheets matching tile with black tiles (looked like flowers to me) I still had adhesive and silver sparkly grout leftover from the wishing well project, so it really only cost $6 bucks for tile. ‘

img_0377img_0375img_0374

The bedroom, living room and attic needed wood floors. I was in the local flooring store, and found 3 planks of snap together dark stained real wood flooring. The guy just gave it to me since they were samples. All I had to do was measure, cut and snap together. Since is was so thick, no need to glue or nail it down. (hope she doesn’t trip between rooms, lol)

img_0378

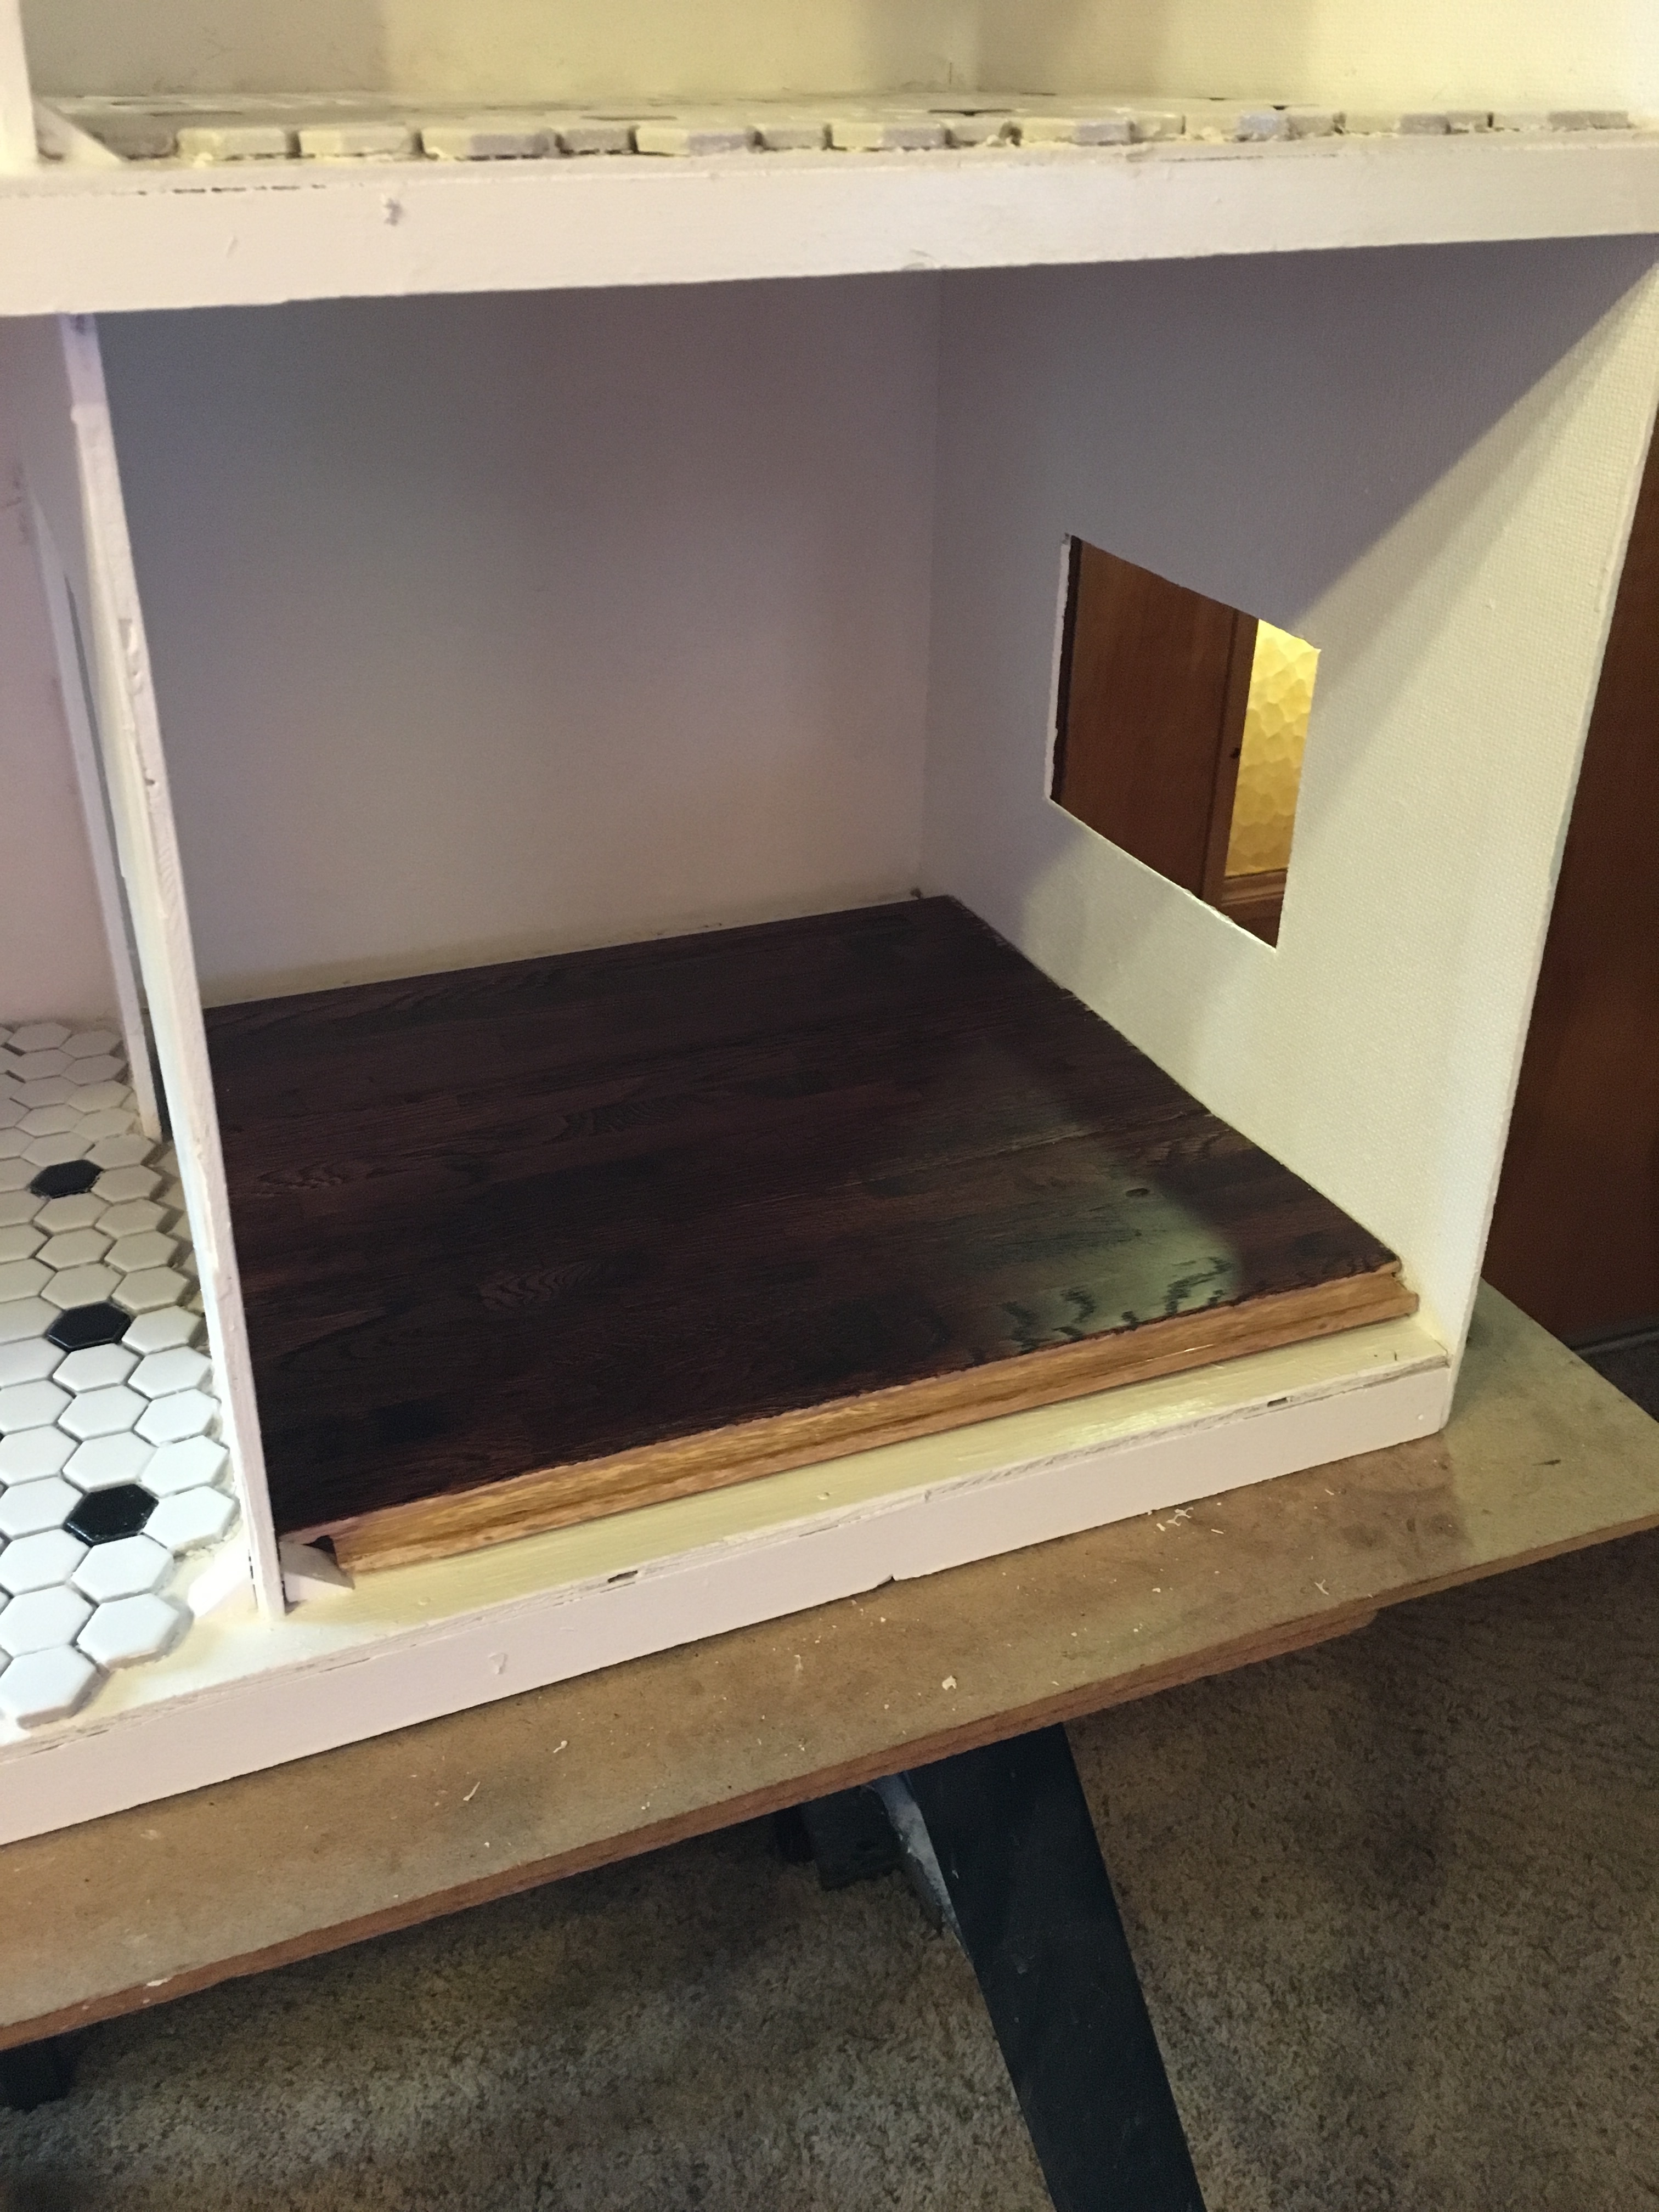
Windows needed replacing, looks like they used page dividers and a sharpie to make them. I splurged on Ikea 5×7 frames ($1.99 ea) and just glued them in place.

img_0317img_0392

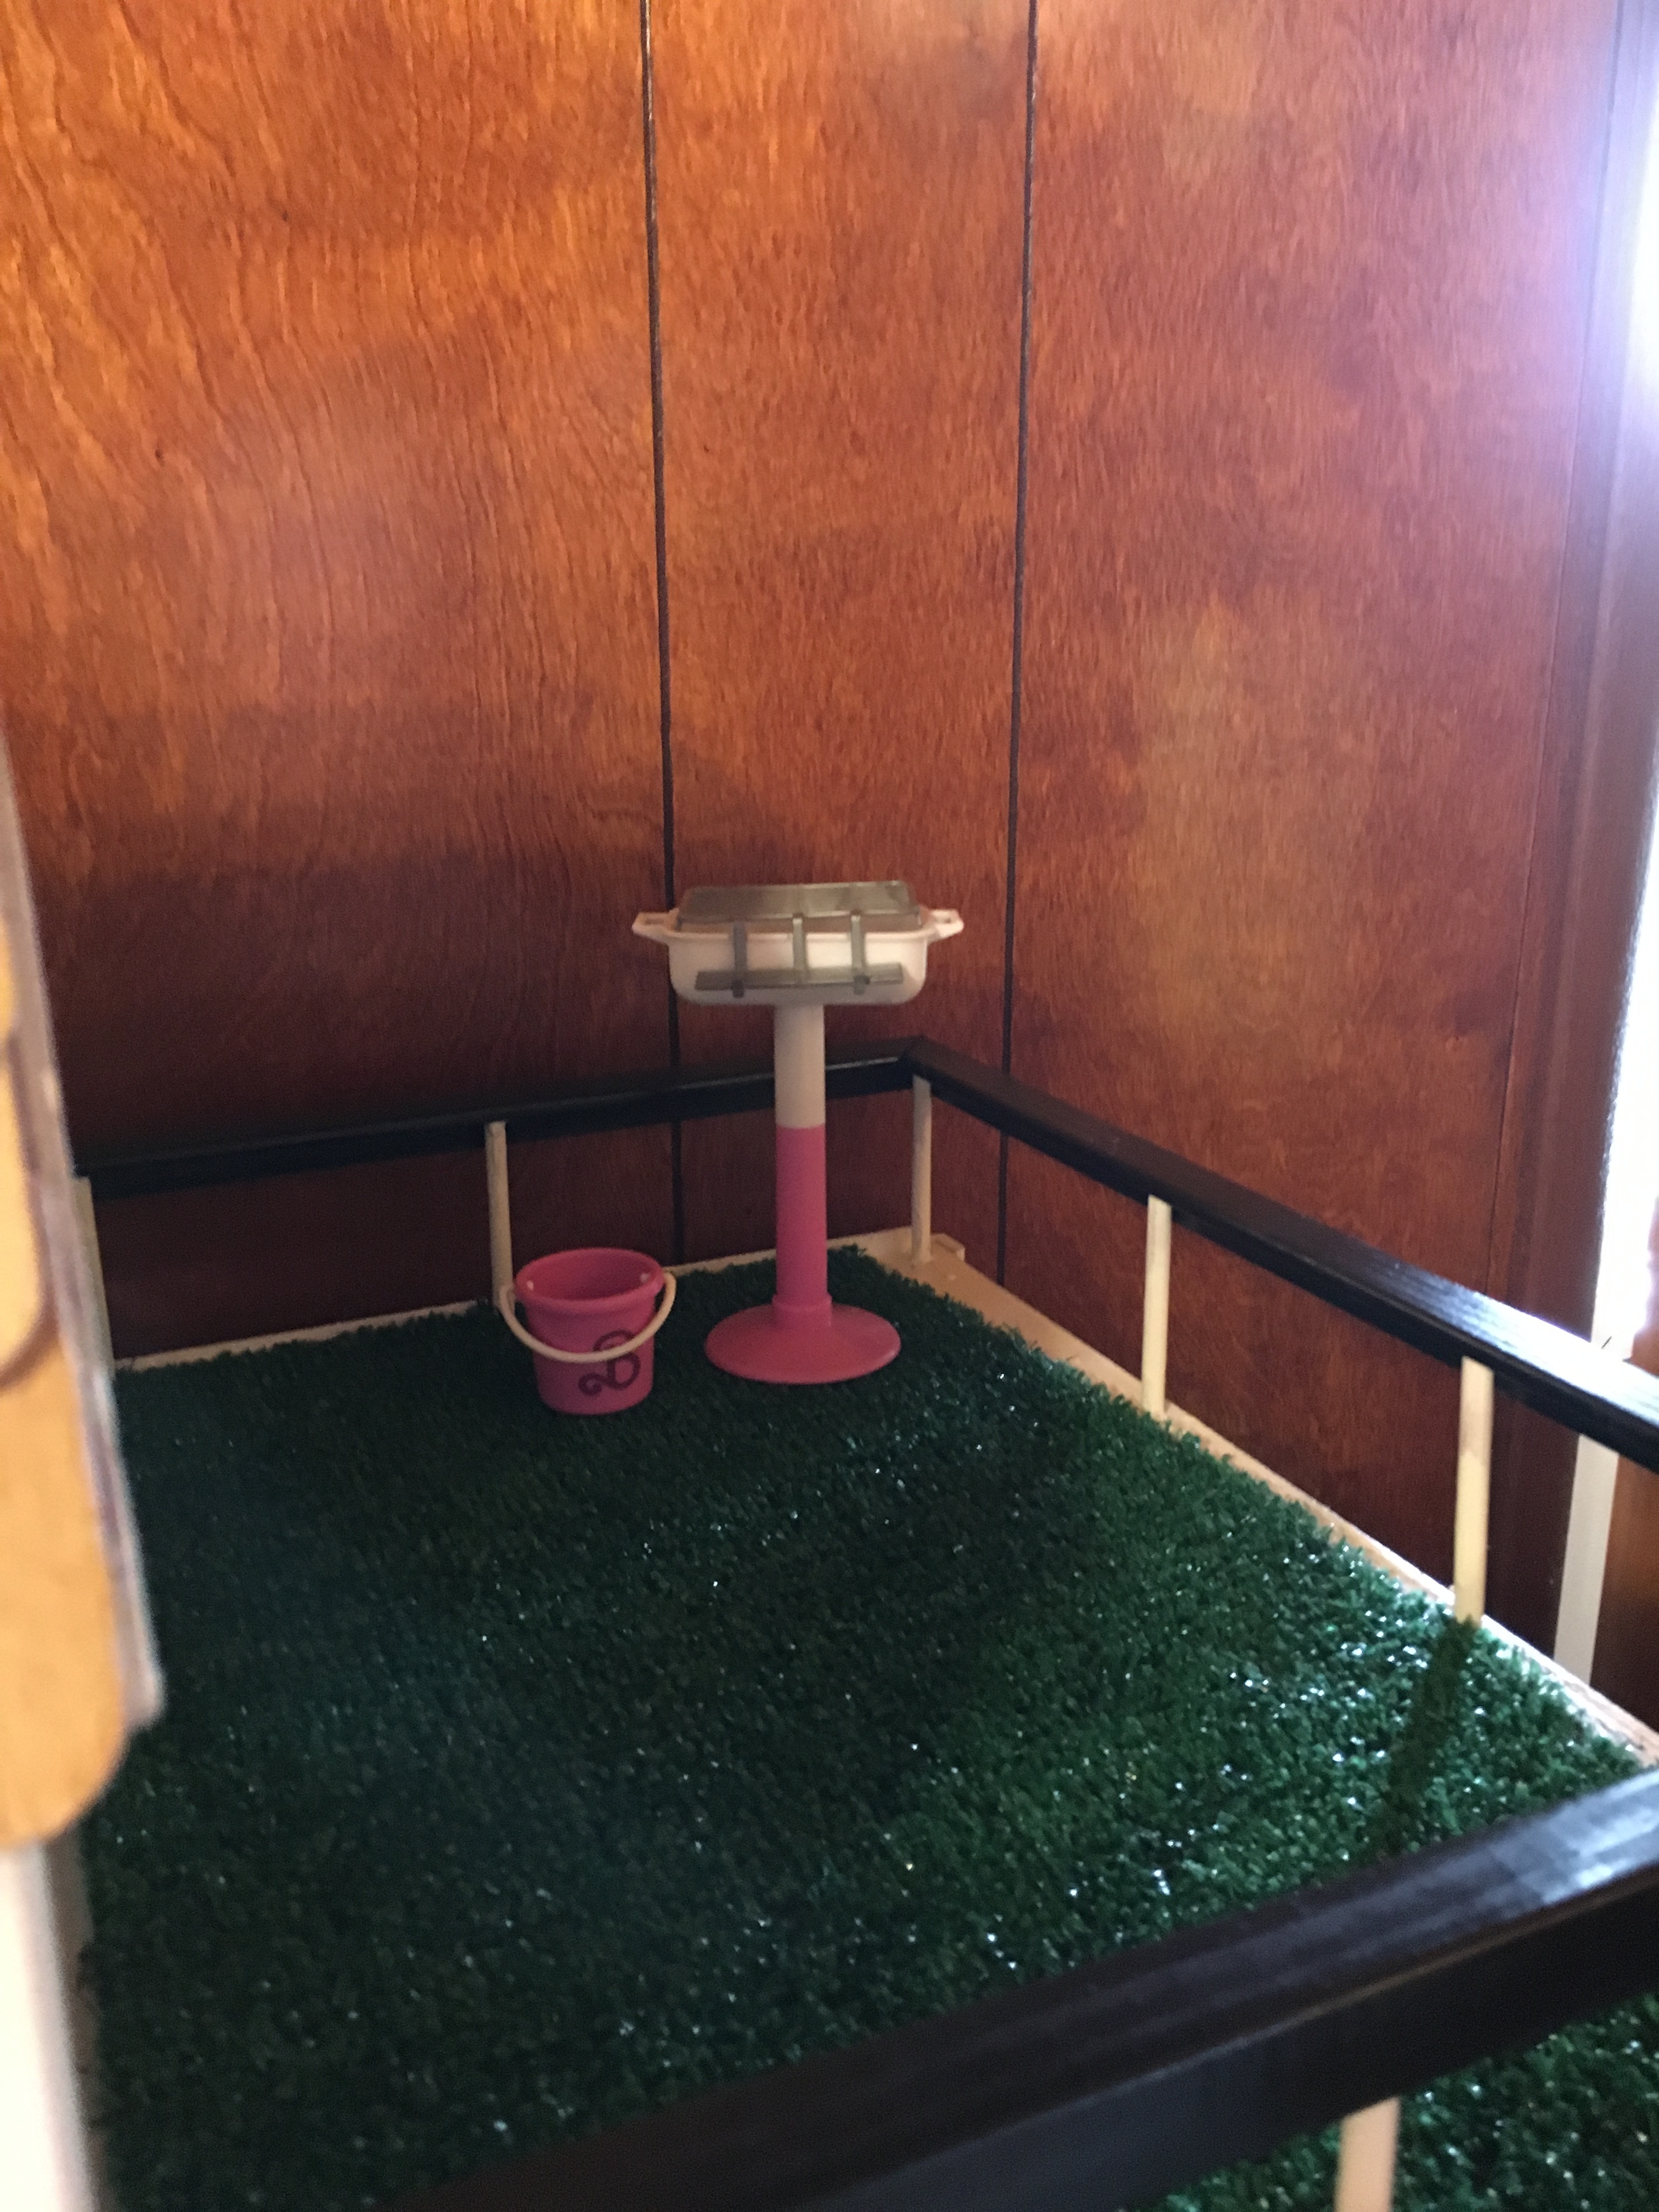
It’s not complete unless the patio is covered. Lowes kindly donated a scrap of Astroturf so she can relax with her shoes off. (all I had to do was ask!) Decided to do a more substantial railing. Since I was using black as an accent, decided to try it on the top rail. Used the same molding I had put on the corners of the house, but painted it gloss black

img_0382img_0426

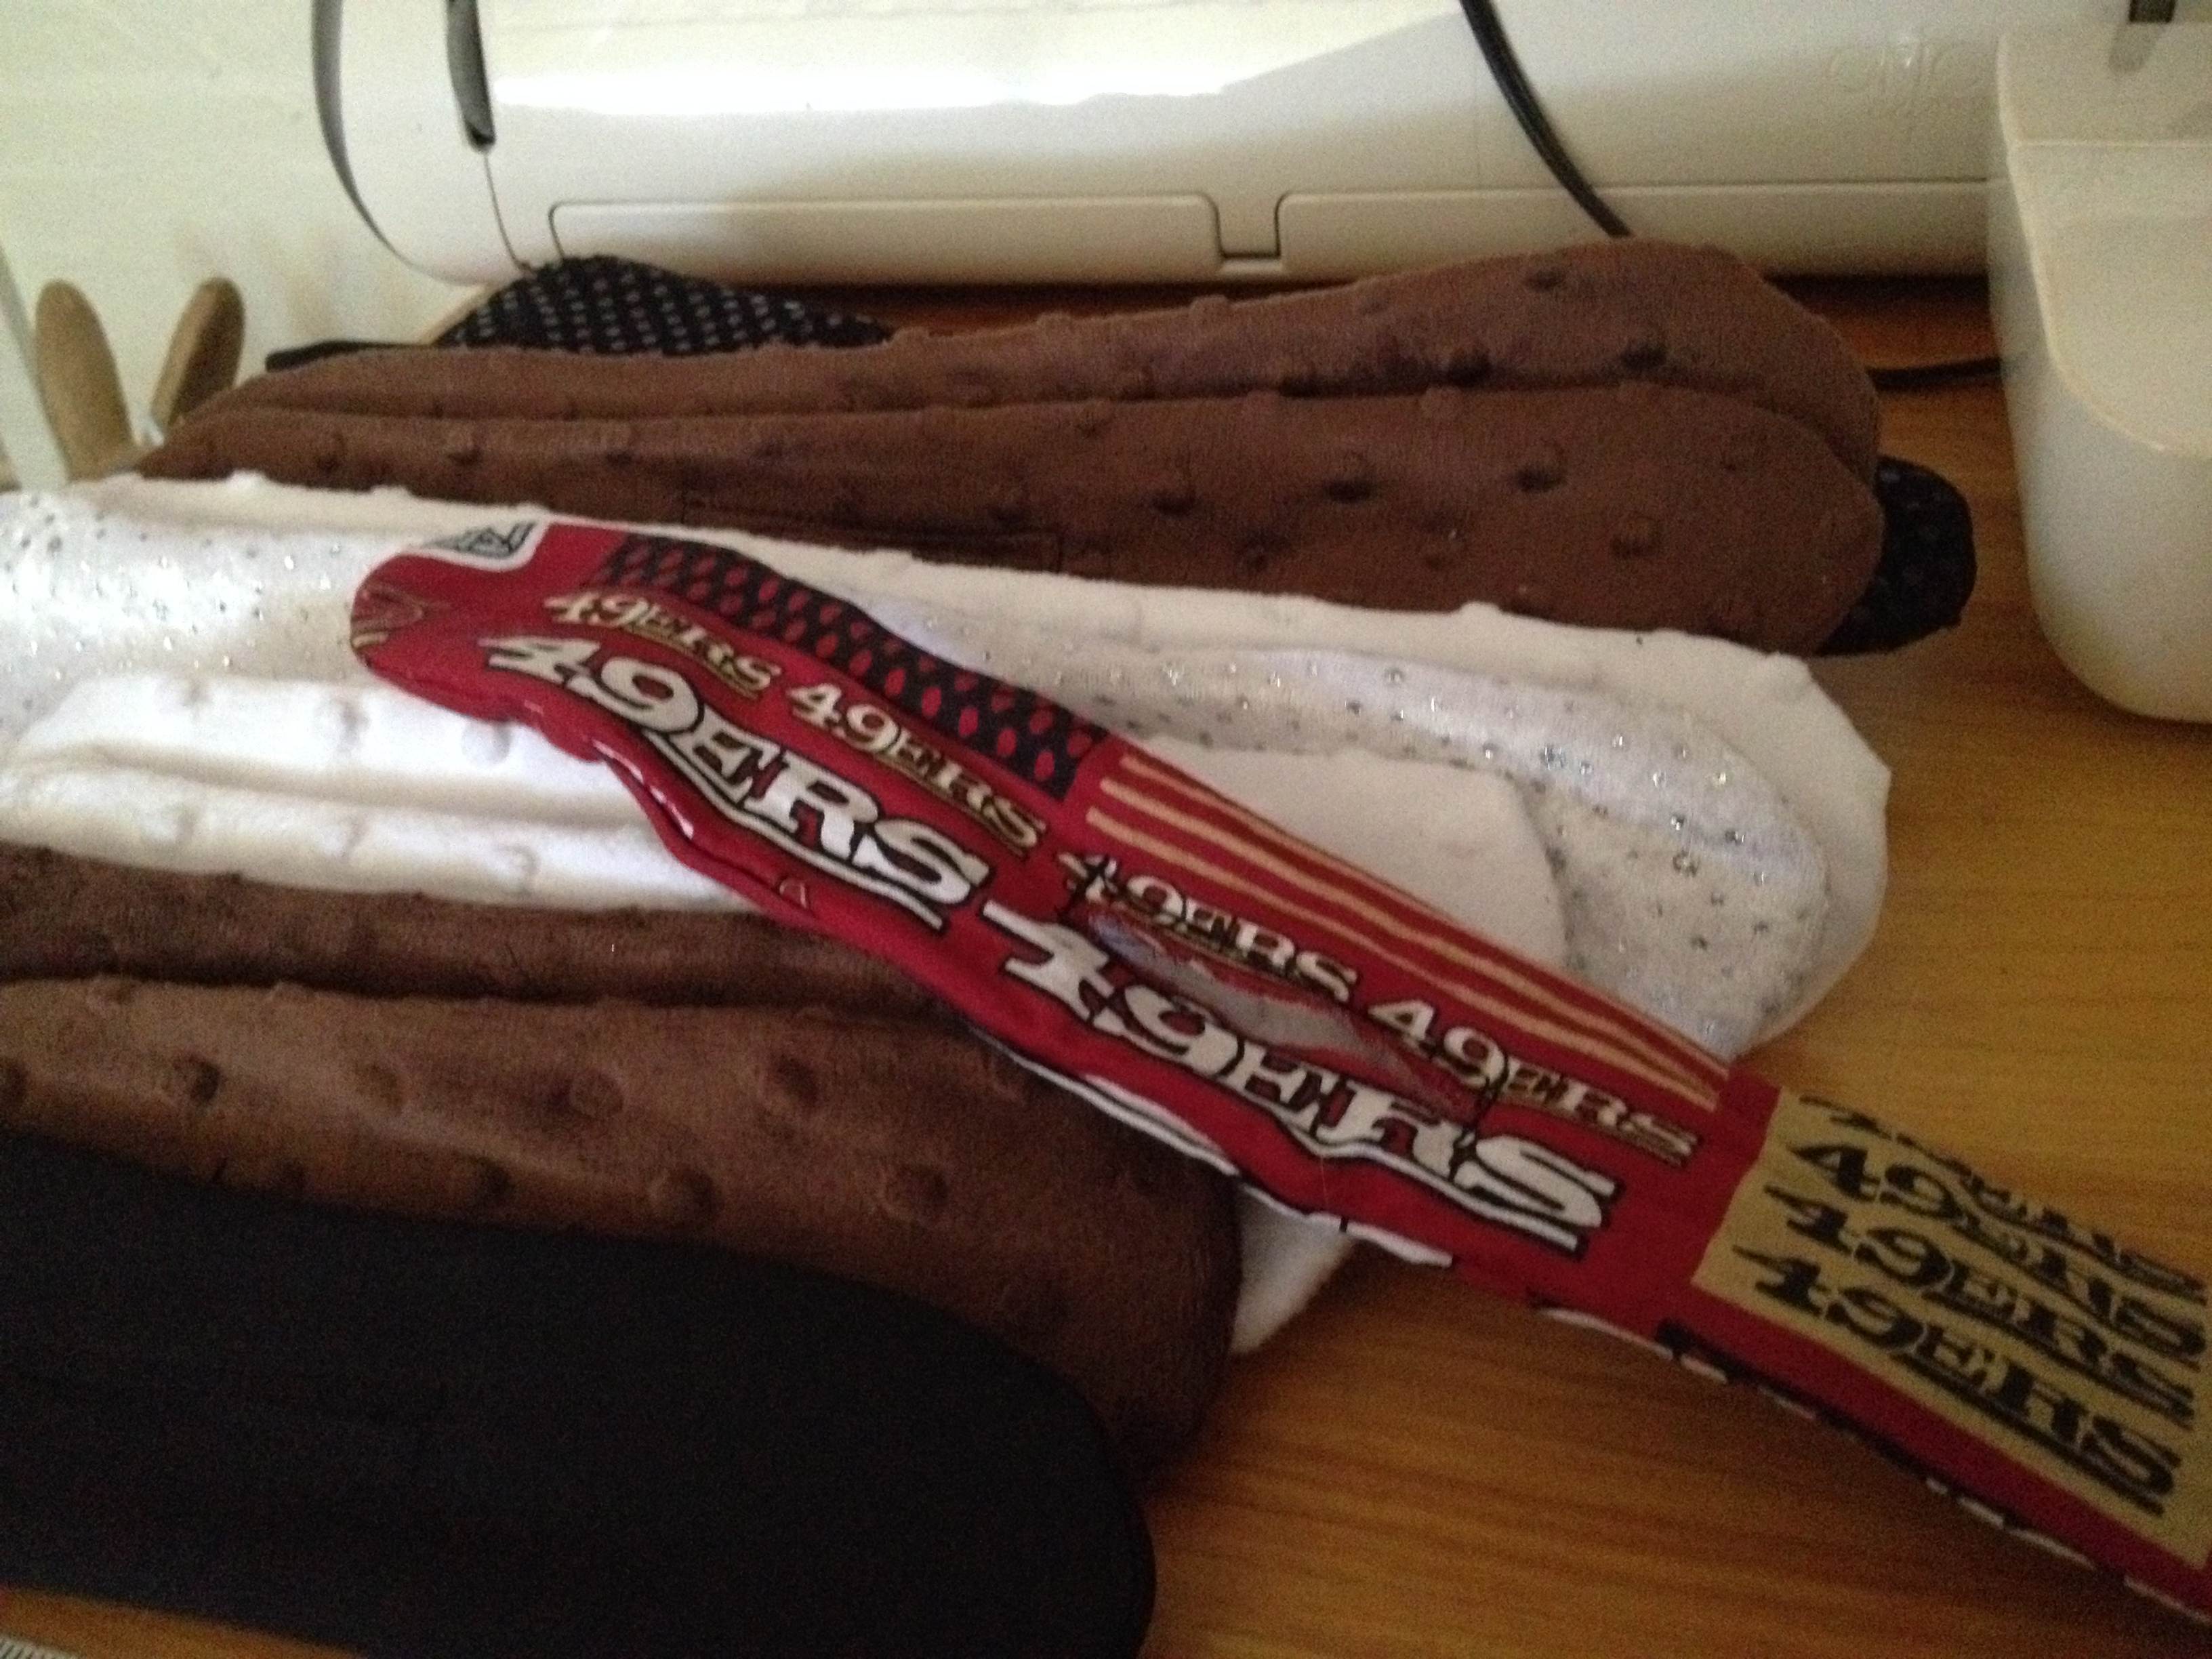
So this whole renovation took about two weeks, with drying times, so I had plenty of time to sew accessories and cover the 70’s Barbie fabric.

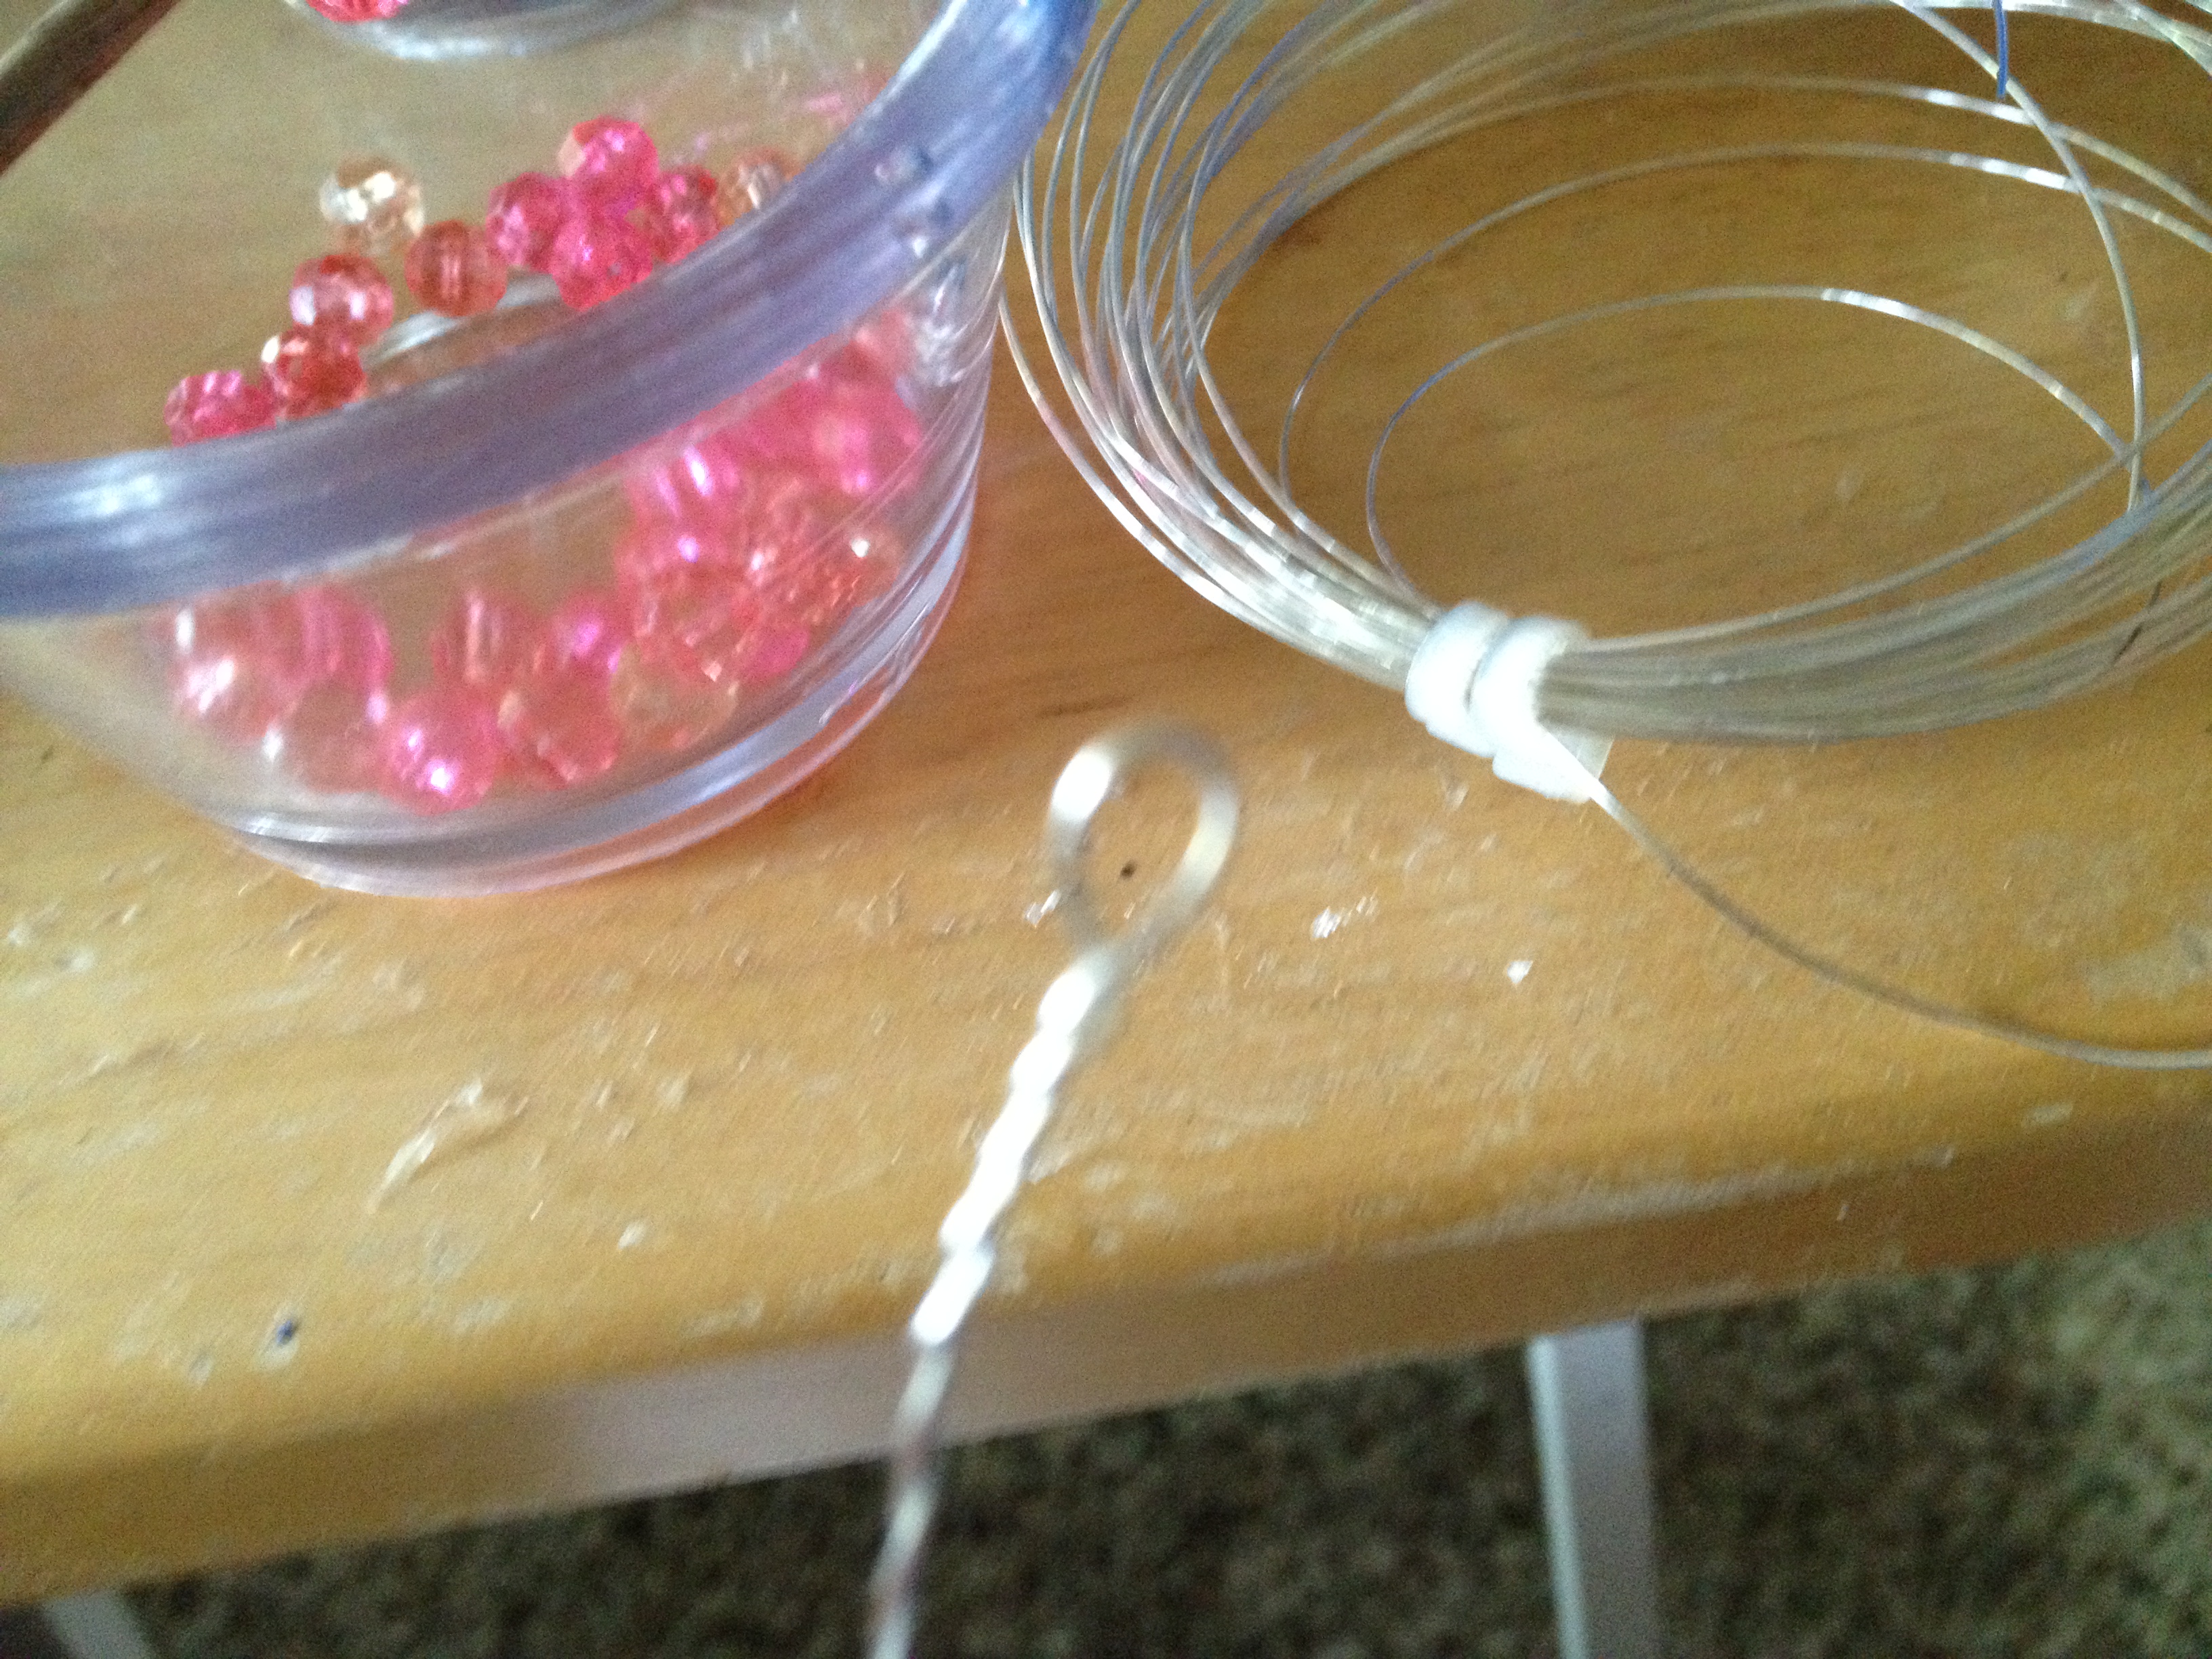
The sofa and chair pads got recovered and the pillows. Made all new bedding (yes, I did fitted and flat sheets, duvet cover, bed skirt and pillows) all new curtains and drapes with fancy beaded finials on the curtain rods.  I hung them with command hooks, the rods are 1/2″ dowels, cut to fit the windows.  I was considering cup hooks but the walls are paper-thin and they would have come through the outside. I sacrificed a white bar towel, cut it up, hemmed it and added appliqué hearts for the bath.

img_0427img_0428img_0396img_0418img_0419img_0420

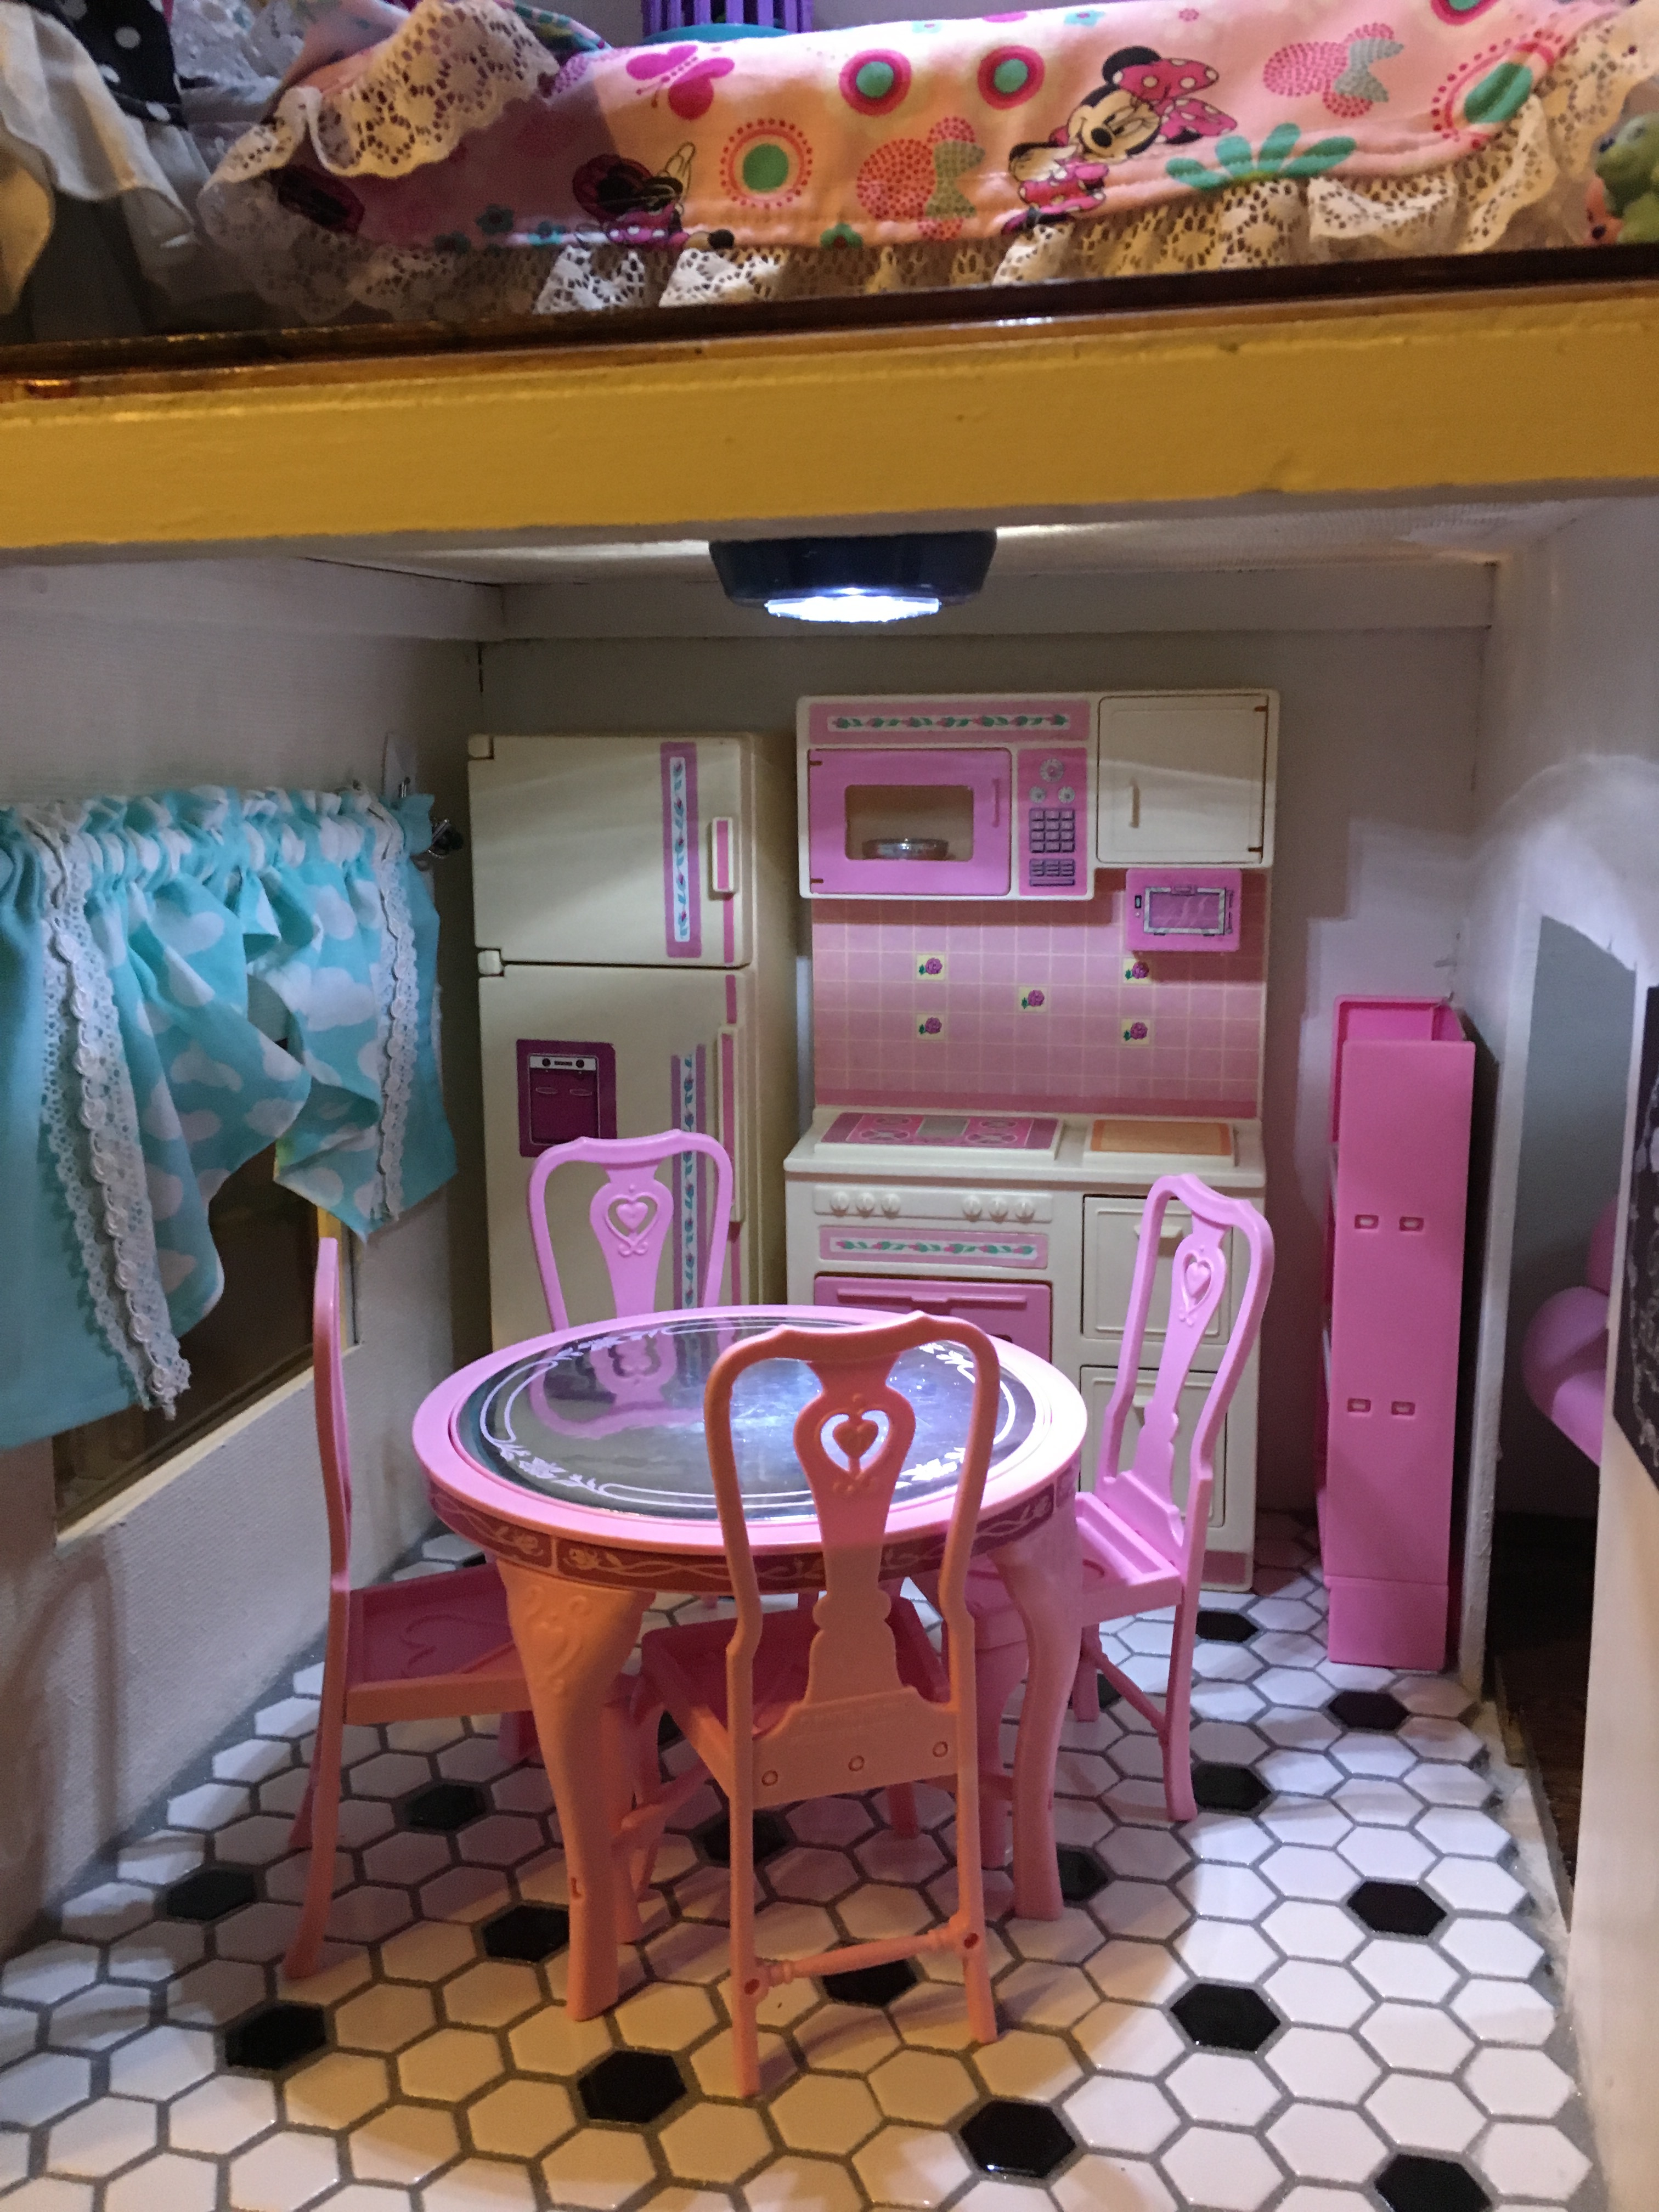
I decided to put “puck” lights in the rooms, easy for them to operate, but they kept falling off. I used my go to E300 super glue to attach the bases and problem solved.

The attic isn’t complete yet, think I want to put a closet pole (small metal towel bar?) across the side and hang her clothes up and maybe some cuter storage bins for her shoes and accessories. You know ladies, make it a “dream” closet, right?

img_0421

And lastly, don’t miss the family picture above the sofa, it’s the best part!!

So I encourage you to do your own fixer upper, it was a blast! Maybe I can tackle a real size one?

Enjoy!!

Debbie

.

Playtime in the Car II

Another quick way to entertain that back seat driver. This one took literally minutes to assemble, but days to collect the teeny tiny items for inside.

img_0336

Yep, why spend over $20 bucks on the store eye spy jars when you can do your own.

Hardest part was cleaning the labels off the Voss water jars. I found mine at Burlington for under five bucks each. The plastic ones have sticker labels on them and are lighter for little hands to shake. The glass ones have painted labels and are heavier. I did both, plastic for Dolly and glass for Gma’s camper. You can use any empty, clean, clear and dry bottle you might already have. The Voss bottles do have a larger opening then the water bottles so we could add slightly bigger items to them.

img_0335

All you need is an empty water bottle, lots of teeny tiny items for them to search for, and some rice to hide them in. I think I put over 50 different items in each jar, I also kept track of what I added so I could print out a checklist later on the computer.

Finding items was like a grown up scavenger hunt, Even Papa got helpful once I showed him the project. I’ll give you my list at the end.

Just use a funnel to pour the rice in, and drop in your bits and pieces as you go.

Be sure to leave some room at the top for shaking around, And be sure to super glue the lid on. You don’t want this spilling out all over the backseat!

img_0337

We did ours during a camping trip and the “helpers” played with them all weekend. Think we offered a prize for the person who found the peppercorn.

img_0336


All in all a fun project, I still find things I want to add, but the lids are glued and I think 50 plus is enough to find. I did print a checklist of items inside. Think the adults are more competitive about finding the harder items but it gives the kiddos what to look for.

ENJOY!

DEBBIE


Items in my bottles included: Lots of Bead and Buttons, Items from Papa’s garage, and a few minis I purchased.

BASEBALL 

LADY BUG

BASKETBALL 

LEAF

SPARKLY BEAD

LEGO BLOCK

BEE BUTTON

LIGHT BULB

BIRTHDAY CANDLE

LOCK

BOLT

MATCHSTICK

BOTTLE CAP

NAIL

BREAD TAG

NUT

BULLET

OWL

BUTTON

BARBIE SHOE

CHENILLE

PEARL

DOG

PEPPERCORN

DR SUESS ERASER

POMPOM

FISH

POPCORN KERNEL

FLOWER

PUMPKIN

FOOTBALL

QTIP

FEATHER

ROCK

FUSE

SCREW

SEASHELL

SMOOSHED PENNY

TOY CAR

SPOOL

“H” for HAILEY

SPRING

HAIR CLIP

STAPLE

HAIR TIE

STAR

HEART

SPIDER

JELLY BEAN

TACK

JINGLE BELL

TEDDY BEAR

KEY

WASHER

KITTY

WIGGLY EYE


Playtime in the Car

Here’s a quickie I made for my Grandniece Dolly’s car trip to Disneyland. They’re driving down, and I remember those days of trying to keep an excited

5-year-old entertained in the backseat. I made her a travel box with stuff to hopefully make the ride smoother.

img_0364

First up was a travel tic tac toe tin. I found a small metal tin in the dollar bin at Target and it was already red! So I added some cute washi tape around the bottom and painted her a Minnie Mouse on the top.

img_0365

I used a small ruler and permanent marker to put the grid on the inside of the lid.

img_0363

Collected some bottle caps from Papa, he was happy to help. You need 10 total, 5 of each color. Some button magnets and outdoor glue, attached to the back.

I painted mine black and red, and put a mouse outline on top. You can do whatever shape, or theme suits your kiddo.

img_0367

I also made a backup set of caps, using a punch and putting the images inside the cap and the magnet on the back. (I’m sure some of these will end up under the seats! Sorry Mom and Dad…

Enjoy!

Debbie


Minnie Inspired Headwrap

img_0425

OK, it’s been a while since I last posted. Let’s just agree it was a year not to be forgotten. I’m happily recuperating from back surgery and finally feeling more like myself. “the Happy Crafter” so as we are planning baby Hailey’s first birthday celebration in Disneyland, I’m inspired to make some goodies! If this one looks familiar, it is a variation of the 10 min table runner. Of course, you want to wear a table runner on your head, right? But I was looking at the retro head wraps on Pinterest thinking….. Disney inspired but not soooo mousey.

Supplies needed:

5″ X 36″ dark colored fabric (this is the back and edge fabric)

3″ X 36″ pattern fabric (for the center panel)

thread to match or contrast

Sewing machine or Serger

Steam Iron

And about 10-15 mins to assemble


As you can see, I choose a large polka dot in red and pink, and small dot black and solid black. This is what happens when I can’t make up my mind, I choose them all! There’s 10 of us going, so I made several options for us to share.


img_0405

I like to cut on a mat with a guide. Cutting straight seems to not be my strength. Cut the backing and edge fabric 5″ and the center piece 3″. I just left the length from the fabric store (44′ i think) and trimmed it after I put it together.


This project is so easy, I would totally recommend it as a mom/daughter learning to sew tutorial. Let them pick the fabrics and do the cutting and sewing.


I measured around my head, it was about 24″ so I added 12″ for the ties and came up with 36″ total. You can alter that measurement shorter if you are sewing for a child, or add if you have that one friend with the really big melon.


Sew the right sides together, I used my serger, one of the best investment I’ve made in crafting. But you could totally do this on a basic machine. Make sure to get good seams and turn right side out. Press the tube with the seams outward toward the edge.


img_0410img_0411

Now the tricky part, creating the ends. It’s really quite simple, fold the tube backwards. Yep, with the back edges even fold lengthwise.

img_0412

Then sew shut the short end. This make the point when you fold it down. Be sure to use your scissors or other pointy thing to get the point out, if sewing on a conventional machine trim the fabric to reduce bulk in the point.

img_0415img_0416img_0417

See? it’s really quite simple!

Now all you need to do it tie it around your noggin!!


img_0424

img_0419

There they are…all dozen Minnie inspired headbands, can’t wait for vacation!

Enjoy!

Debbie


Faux Milkglass Trays

So we all know how cheap I am. Why buy it, when you can craft it right?

That is why you’re looking at this post in the first place, we’re alike.

This is the initial mock-up for the dessert table.

Chalkboard, vintage black, white and silver. It will be redone about a hundred times, and until I place the last cake pop, is subject to change.

IMG_2070 The wedding colors will be accents (Sea glass blue and blush) flowers in delicate pastel, pretty beachy shades.

Cupcakes, cake pops, and baked goodies will be the final touch!

So lets focus on the base of this arrangement.

To make the faux milk glass serving platters:

Supplies needed:

Assorted plates, platters, candlesticks, dessert bowls, vases and glasses.

White gloss spray paint

Waterproof, outdoor glue

IMG_2011

After a hasty trip to the dollar store, I purchased several platters, candle sticks, dessert bowls and glasses.

Spent about $20. but should come out with 10 serving pieces, and three vases for fresh flowers.

IMG_2015

First step is to wash and remove all stickers, oily film and prep your glass items.

I use the Goo-gone to remove stickers and ink, then rubbing alcohol to remove the goo gone. (Its oily and the glue won’t stick well).

IMG_2016IMG_2017

Attach the candle sticks to the candle plates, the dessert bowls to the oval platters…you get the idea, using the glue.

Center them so they will balance when turned over. Allow to dry overnight, since you’re going to paint it, it could dissolve the glue if it’s not set well.

IMG_2021

Be sure to cover your work area well, and spray away!!! I did two coats on most, some needed touch-up after I turned them over.

Allow to completely dry or you will risk fingerprints in the paint. (No, I didn’t learn that the hard way)

IMG_2059

These were my favorite, candlesticks and a candle base. The glass was heavy and they turned out nice.

I’ll be putting cake pops, cupcakes, and assorted baked goodies on all of them!

Rehearsal Dinner is my chance to impress my son’s future family, and introduce them to ours.

 I come from a long line of crafty ladies, who would rather spend $75.00 in supplies and make something with LOVE, than allow anyone else to cater or design for me.

Enjoy!

Debbie

My First Chalkboard Project

IMG_1818

Hello my crafty friends, I know it’s been a while since we last spoke. But we all know how quickly time runs away from us.

So, let’s see if I remember how to get this posted.

My new obsession is chalkboard stuff. I had to create an entire pinterest board to all the great ideas I’ve been seen.

Well, I decided I wanted one for the front of my fireplace, but it needed to be big.

Like 36″ x 33″ big.

Supplies needed: a board (did I mention mine is big?)

Chalkboard paint and a roller (I cheated, no roller pan, just poured some paint on and rolled it out)

Chalk, Chalk markers, stencils, and/or good penmanship

 So I put hubby to work cutting a big piece of board, and had him round the corners.

Also had him put a heavy-duty hanger on the back, since I will remove it from its perch to change the message often.

If you are going to put it where youngen’s will be using it, try hanging it with mirror clips

It will be flush on the wall and not “wiggle” when they write on it.

IMG_1823

I also got some chalk, chalk markers, and stencils (options are good, considering this is a new adventure)

I’m not thrilled with my writing skills, but hopefully they will improve with some practice.

That’s the beauty of a chalkboard, right? I can erase it and start over.

So, a couple of tips I found online: be sure to do two thin coats of the chalkboard paint

on your board and let it dry at least 24 hours between each coat.

Be sure to wait another 36 hours before you write on it.

The paint is kinda “soft” and if you write on it too soon, those overeager messages will be imbedded forever.

IMG_1824

It’s recommended that you “season” your board before you start using it. So, I took some super cheap plain white chalk and rubbed it all over the board.

Easy enough, but I recommend doing this outside, since it left a lot of dust!

Cover your entire board, and then wipe it off, repeat. I used about 5 sticks of chalk, and did it three complete times.

IMG_1828

it really does give it a nice “used” look, and smooths out the surface before you begin creating your masterpiece.

For lettering, I used a yardstick to keep myself somewhat straight. It’s a little harder than I anticipated.

Kudos to those school teachers who have perfect vertical penmanship!

IMG_2042

We’re planning a June Wedding, and since I’m the Mother of the Groom, guess what the rehearsal dinner theme is….??

Stay tuned for more projects!

Enjoy!

Debbie

Easy Glitter Cupcake Ornament

IMG_1461

Ok, we’re good friends by now, and you know, I’m completely obsessed with Christmas and glitter.

So this post shouldn’t come as a complete surprise. I’ve seen some pretty cute cupcake style ornaments for the tree,

but let’s take it up a notch.

IMG_1455

Supplies needed:

70mm glitter non-breakable ornaments. I choose brown (chocolate cake), red (red velvet cake),

gold (yellow cake), and copper (spice cake)

vintage printed cupcake liners

plastic holly leaves with red berries

Snow Writer, dimensional glitter pen and spread (wasn’t sure which look I wanted)

Hot glue and glue gun

IMG_1456

Gather up your supplies, the “lobby” store already has them out, the others will be stocking them soon.

Start by hot gluing the ornament into the cupcake liner with the top up, or slightly tilted (your call).

I used two liners and put a drop of glue in the bottom one to make them thicker.

I let it stand a couple of minutes to cool off.

IMG_1458

Using the tip of the snow writer, frost your cupcake and let it “drip” down the sides. This stuff dries hard, but will run a little when you put it on.

IMG_1459

I wrapped the holly stem around the hanger top, and put a little “frosting” over the stem.

Set them aside for the “frosting to harden. (2-3 hours)

IMG_1461

Ta Da!! Yummy cupcakes that sparkle and shine!!

Perfect for that candy/sweets tree I’m planning. And I didn’t even have to turn on the oven!

Enjoy!

Debbie

No Sew “Quilted” Ornament

IMG_1411

So I’ve seen so many of these beautiful ornaments on Etsy and Pinterest. I thought i’d take a stab (pun intended) at it.

They’re surprisingly easy once you get going, but my thumb sure got sore quickly!

 IMG_1374

Supplies / tools needed:

styrofoam balls 2 1/2″ I started with the traditional “crunchy” kind and then tried the smoother more dense kind.

tip:  I have to admit, the denser ones were harder to push the pins into especially once you were to row 3-4.

1 solid color and 1 pattern ribbon flat, non wired edge 5/8″ wide

2 complimentary color ribbons 1/8″ wide

tip: the sheer, and wired ribbons were more difficult to work with and didn’t give the same look

Sequin pins or applique pins (they are shorter and sharper)

Eye hooks or wire for creating hanging loop

scissors

IMG_1375

I began by cutting short 2″ – 2 1/2″ strips of each color

24 strips of color A (inside color)

32 strips of color B (second color and extra to wrap around ball)

IMG_1388

Find the starting point, this will be the center of design.

You can mark the other side by measuring around the ball and dividing in half for placement.

Pin the center of the first ribbon, place the pin near the top holding the ribbon right side down.

Next fold down, and pin each side.

Be sure to fold over the center pin head so you can’t see it, and pin below the bottom edge of the ribbon underneath it.

Turn the ball around and put the second one directly opposite it. Then fill both sides the same way (4 ribbons used)

IMG_1380

On this one, I used the patterned ribbon first, and then begin the second row. Place the center of the second color 1/2″ below the point of center pieces.

Place one ribbon at each point, then place one at the space between each point (8 new points)

IMG_1381IMG_1383

This way, they overlap one up, one down, one up….etc.

IMG_1384

Work the third row the same way, starting with the lower points (4 of them, and then layering the next 4 last) using the contrast ribbon.

The fourth row is the same with the solid ribbon. Trim the edges so that it covers half of the ball.

Turn the ball over and locate the center point, and repeat the four rows above.

tip: try to line up the points with the other side, it just looks better when you’re done.

IMG_1385

IMG_1386

Since this one finished with the solid green ribbon, I cut a piece to wrap around and hide all the loose ends. I trimmed them to lay flat and put two pins in the ribbon,

wrapped it around, and finished it with 3 pins and folded back the raw edge.

IMG_1400

I decided to add a sequin and head pin to the center of each side.

IMG_1402

An eye hook and a couple 1/8″ ribbon bow for hanging….

IMG_1401

Ta Da!!! couple sore thumbs and fingers, but a really pretty,no-sew, quilted ornament!!

IMG_1412IMG_1411IMG_1409

Careful, they’re addictive, and the color combos are endless!!

Enjoy!!

Debbie

Rock Candy Ornament

IMG_1395

So it’s September already, and I’ve decided that Christmas in July didn’t happen, and August was a blur….. time to start making holiday stuff and I’m already behind! i was thinking this year Id make a candy/cookie/sweets themed tree this year. Seems I have to start somewhere, so the idea is usually first, and the how-to later.

Lets get started with a super easy one.

Supplies needed:

wooden beads

12″ dowels

16 gauge wire

mixed plastic faceted beads

hot glue/glue gun

white/wood glue

IMG_1389

I started by separating the beads by color. One of those zen OCD tasks that completely relaxes me, until the dogs bump my table and I find myself crawling around on the carpet picking them all up.

IMG_1396

Cut the 12″ dowels in half and glue a wooden bead with  the wood glue on the bottom of each.

IMG_1391

Next cut a 3″ piece of wire and twist a small eye on the end, then I wrapped the wire around the top of the dowel to make a hanging loop.

Tip: You could also use ribbon or colored wire but I prefer mine to disappear in the tree.

IMG_1393

Using the hot glue gun, begin adding the beads about half-way up the stick and cover completely over the wire and the top of the dowel. Be careful when using the hot glue, you can get burnt in a second. Make sure to slide them around randomly so they’re not straight rows. I stacked extra beads toward the top to give it more of a taper look like the candy has.

Tip: after you have made several of these, use your blow dryer to vaporize the “spider” strings the glue gun leaves behind.

IMG_1395

So the first bag of beads yielded 7 finished ornaments, looks like its back to the store for more beads. I have to laugh, hubby thought they were real!

So enjoy your day crafting!

Debbie

EZhair Bun Maker (top secret!!)

So I did it again, I’m a  bad, bad, bad crafter. I bought something at a craft fair to “steal” the secret. Shhhh, I’ll share it with you, only if you keep it a secret!

IMG_1367

It’s the amazing “wonder bun, EZ bun, Bun easy… what ever it’s called, it’s genus!! Since it is mid-august, and its way too hot for long hair, you need any easy solution for your hair besides cutting it all off!  Years ago I had a couple of these thingys, but the holes stretched out, and I forgot how much I loved them. Until this past summer on our road trip, and I found them again in the Marketplace. I was so thrilled, I paid $20 bucks for two of them. Yes, twenty of my hard-earned bucks!! Well you know me by now, as soon as I got home I began “deconstructing” them to figure out what gauge wire, type fabric, size and began customizing them for me. (and you) hint: if you use it on wet hair, you get really nice curls when it’s dry!! Try it at the beach, and you’ll be party ready by night!

Materials Needed:

Cute fabric, stretchy worked best, but I also did a few with cotton (go 49ers!)

Think I might do some seasonal ones too!

12 gauge craft wire, it needs to be stiff but flexible

wire cutters

thread to match or compliment

sewing machine

IMG_1341

I experimented until I figured out the best measurements.

For adults cut fabric 16″ X 4″, children and those of us with really fine hair 10″ X 4″ rectangles. (cut 2). I used the rotary cutter and mat to cut multiples, because I can’t make one of anything!

Don’t worry about cutting the ends round, you can do this after you sew them, before you turn them.

I worked production line style once I figured out the dimensions. Sssshhh, there’s the original on top, just place the right sides together, and sew down the edges and “round” out the corners.

IMG_1321IMG_1322

I sewed about a dozen of each color, then trimmed the corners off. Fold them in half and cut a slit down the middle 4″ hole for adult, 3″ hole kids/fine hair.

IMG_1325

Use this opening to turn right side out.

Now to make the “magic” part. It took some shopping around, but finally found the correct gauge of wire. I found it sold as floral wire, 12 gauge coated. (it’s pliable but stiff enough to hold its shape.)

Cut the wire at 32″ for adults, and 24″ kids/fine hair and twist together to form a large oval shape. Make sure its tied/twisted securely, you are sewing it inside and don’t want it to come untied.

IMG_1326IMG_1327

Insert the wire into opening, and stitch it shut. If you have a “fancy” machine you could do a long button hole, but I just topstitched it shut. You won’t see it anyway, your hair goes through it, but neatness counts!!

IMG_1328IMG_1329

And Voila! easy, wonder, EZ bun maker.

IMG_1365

So to use it, you just gather up your hair into a pony tail, low if you’re adding a hat, or high if you’re going for naughty librarian. Give it a twist a couple of times to tighten the hole. pull down about 2/3 to 3/4 of the hair length, and begin rolling up.

IMG_1354IMG_1355

Wow. trying to take a selfie is harder than it looks!

Continue rolling the hair until up against the scalp, but not too tight.

Bring the ends together, and twist to secure. You can tuck them on top, or hide underneath the bun.

IMG_1356

I think I need one more hand…..

IMG_1357

Ta Daaa!! it’s a bun!!

IMG_1363

Here’s my 49er one too! You can do a double bun, just use two makers and roll half your hair at a time. You can do a half bun by only rolling the top and sides of your hair and leaving the lower portion out. Or try a pony bun by rolling the bottom half of your hair, and placing the top portion through the bun before you twist it closed. Since I don’t have a photographer on hand, and two hands aren’t enough to shoot properly, and for more professional styling instructions, please go online to youtube!

Enjoy

Debbie