
OK, it’s been a while since I last posted. Let’s just agree it was a year not to be forgotten. I’m happily recuperating from back surgery and finally feeling more like myself. “the Happy Crafter” so as we are planning baby Hailey’s first birthday celebration in Disneyland, I’m inspired to make some goodies! If this one looks familiar, it is a variation of the 10 min table runner. Of course, you want to wear a table runner on your head, right? But I was looking at the retro head wraps on Pinterest thinking….. Disney inspired but not soooo mousey.
Supplies needed:
5″ X 36″ dark colored fabric (this is the back and edge fabric)
3″ X 36″ pattern fabric (for the center panel)
thread to match or contrast
Sewing machine or Serger
Steam Iron
And about 10-15 mins to assemble
As you can see, I choose a large polka dot in red and pink, and small dot black and solid black. This is what happens when I can’t make up my mind, I choose them all! There’s 10 of us going, so I made several options for us to share.
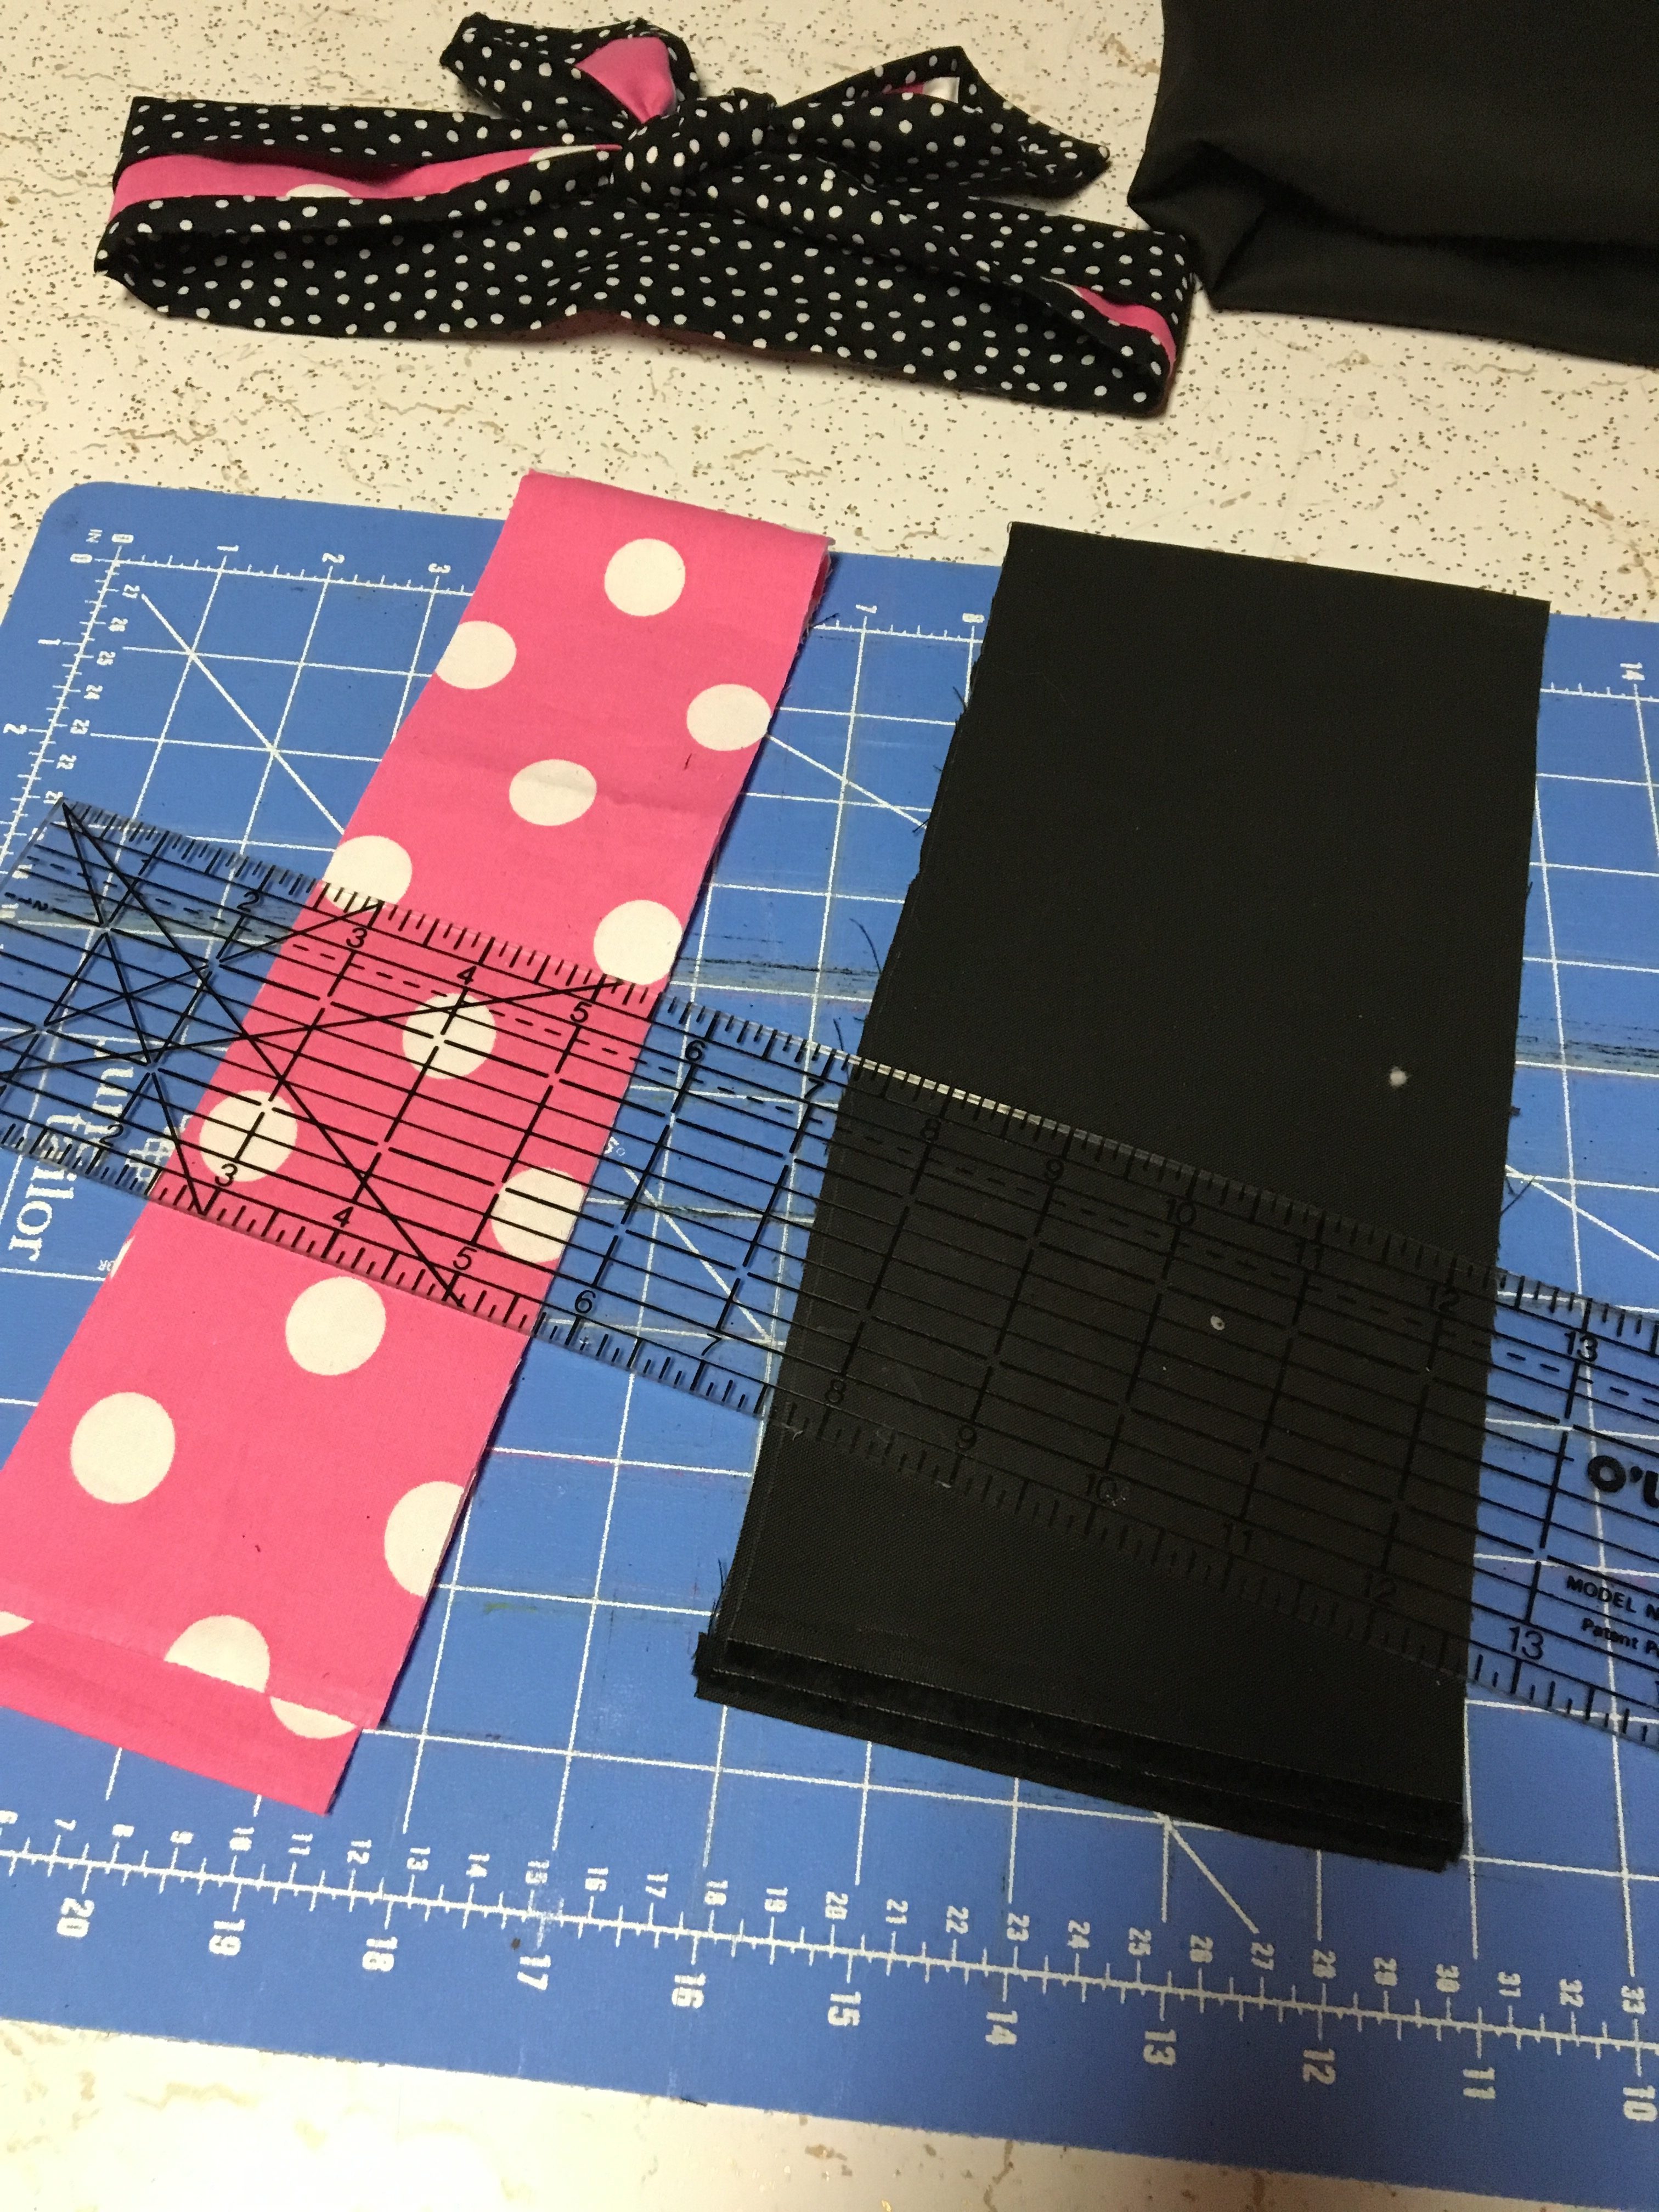
I like to cut on a mat with a guide. Cutting straight seems to not be my strength. Cut the backing and edge fabric 5″ and the center piece 3″. I just left the length from the fabric store (44′ i think) and trimmed it after I put it together.
This project is so easy, I would totally recommend it as a mom/daughter learning to sew tutorial. Let them pick the fabrics and do the cutting and sewing.
I measured around my head, it was about 24″ so I added 12″ for the ties and came up with 36″ total. You can alter that measurement shorter if you are sewing for a child, or add if you have that one friend with the really big melon.
Sew the right sides together, I used my serger, one of the best investment I’ve made in crafting. But you could totally do this on a basic machine. Make sure to get good seams and turn right side out. Press the tube with the seams outward toward the edge.

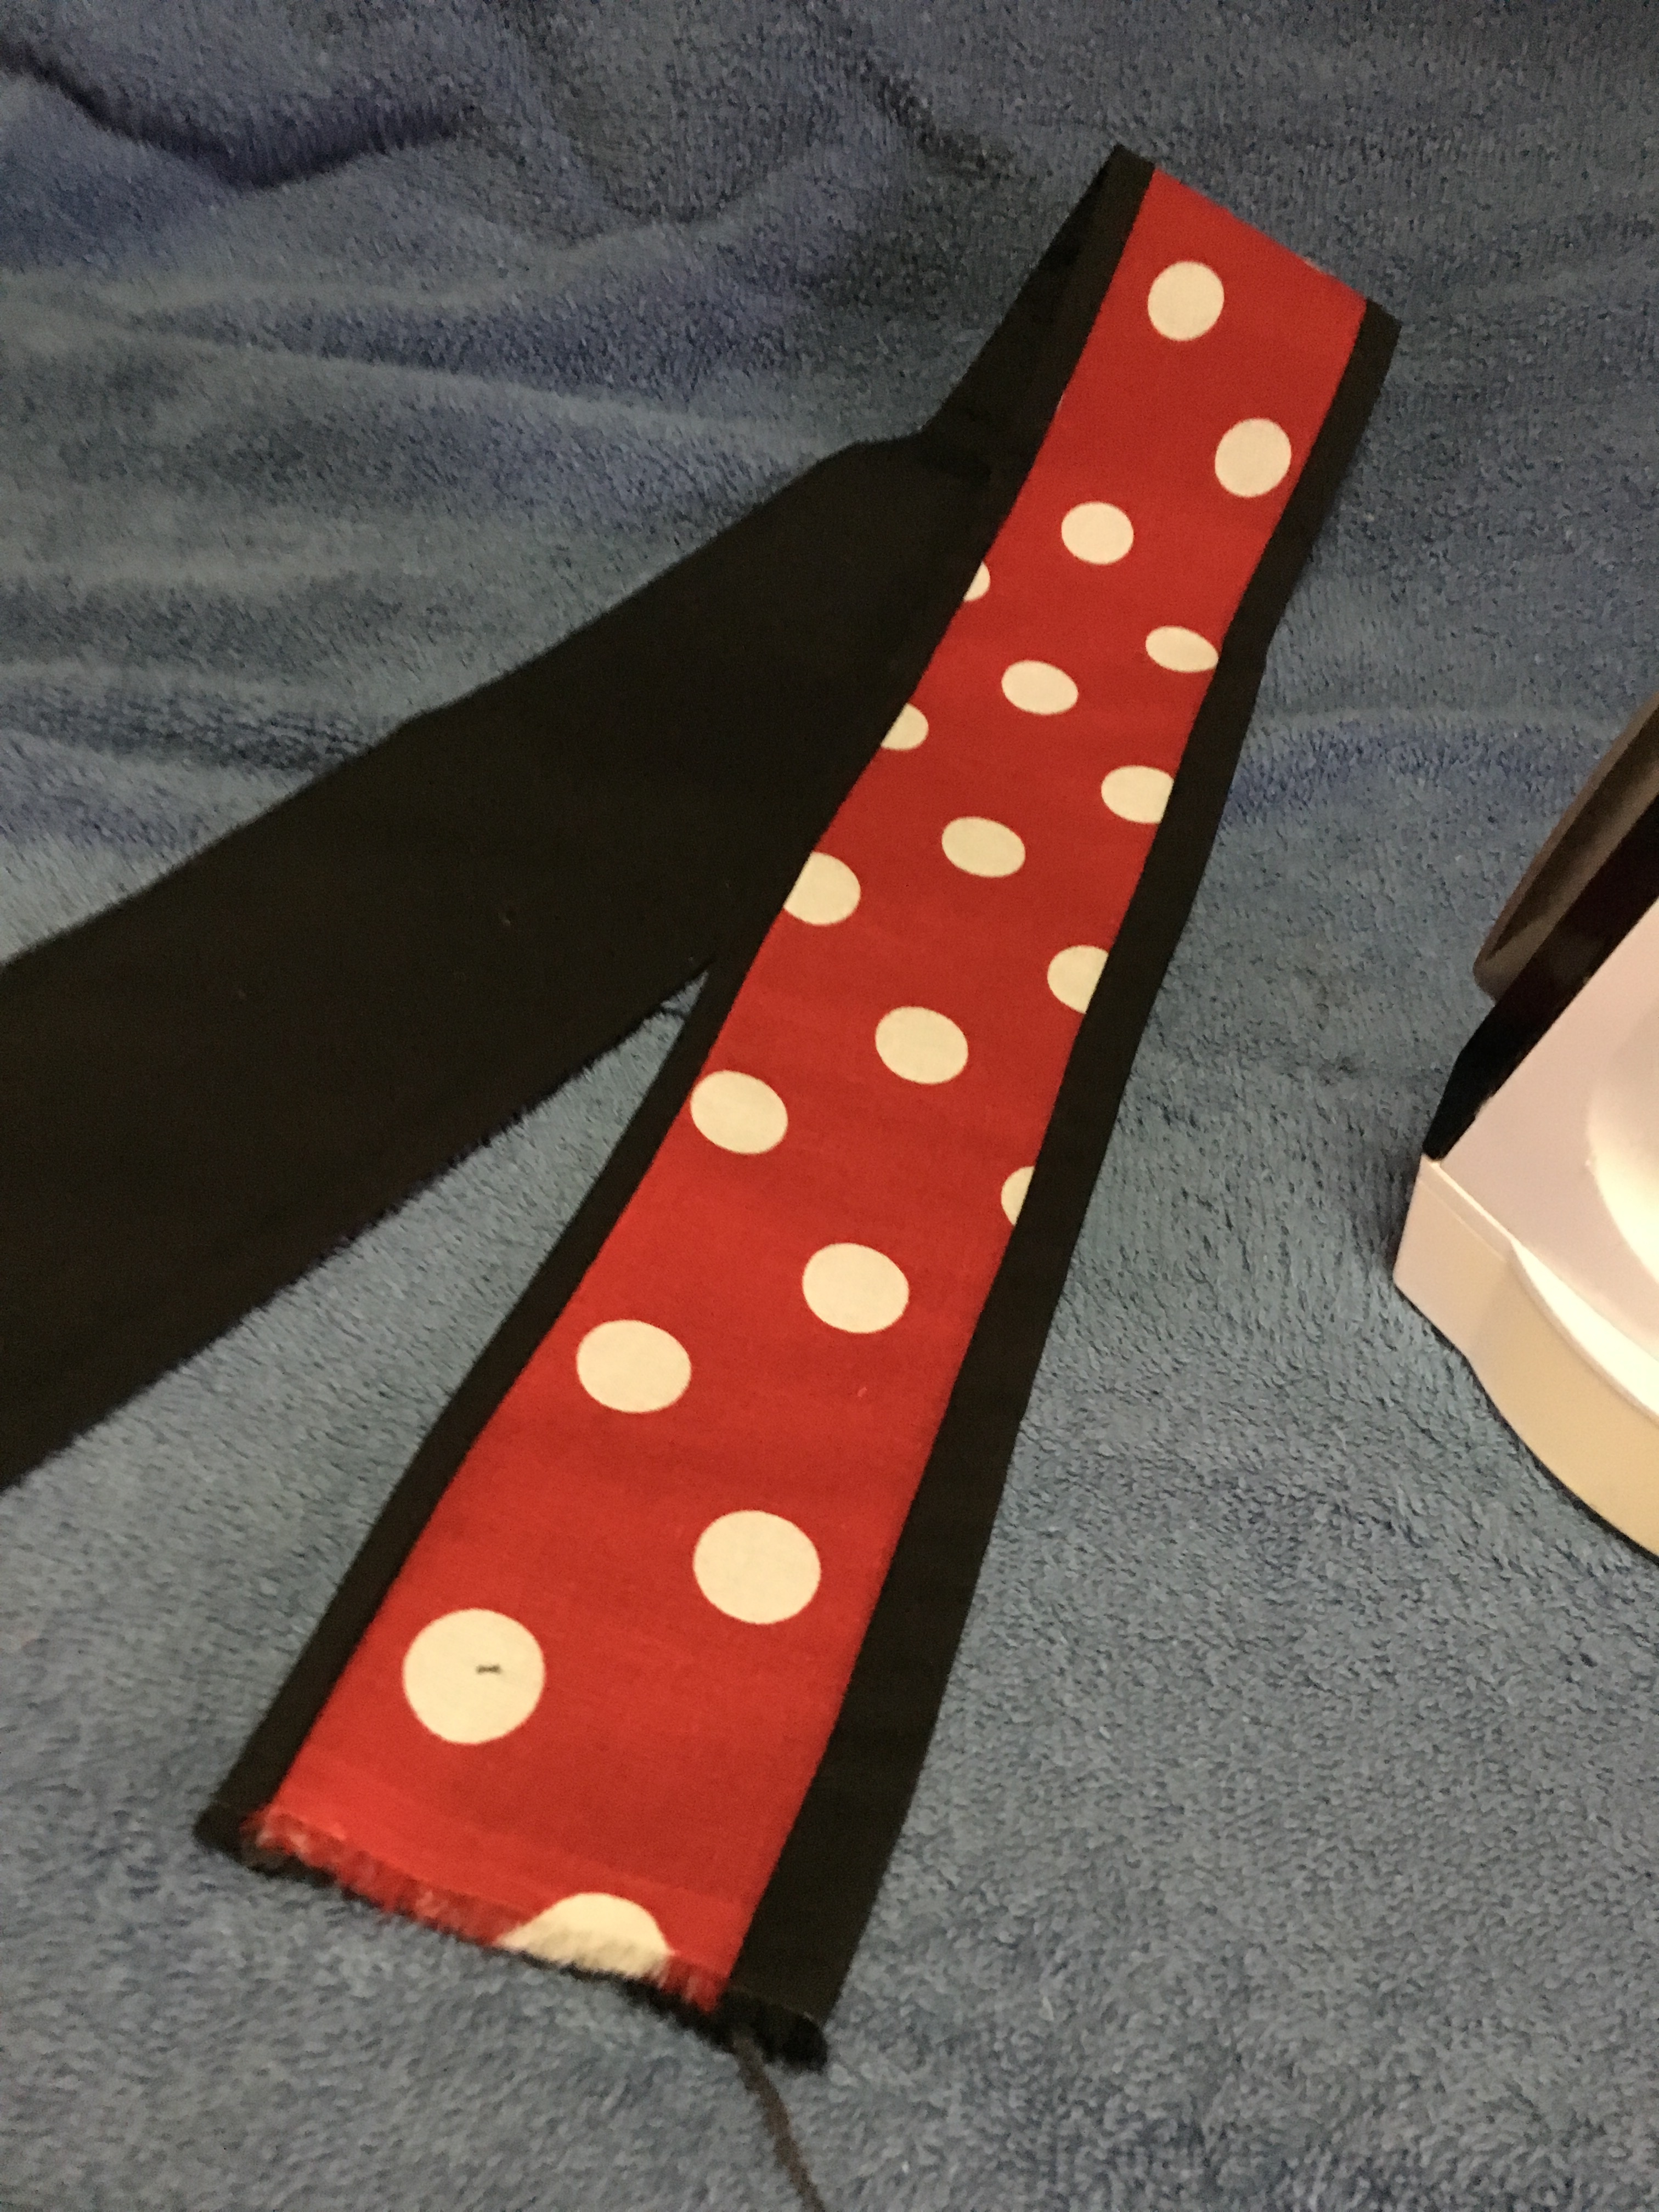
Now the tricky part, creating the ends. It’s really quite simple, fold the tube backwards. Yep, with the back edges even fold lengthwise.

Then sew shut the short end. This make the point when you fold it down. Be sure to use your scissors or other pointy thing to get the point out, if sewing on a conventional machine trim the fabric to reduce bulk in the point.
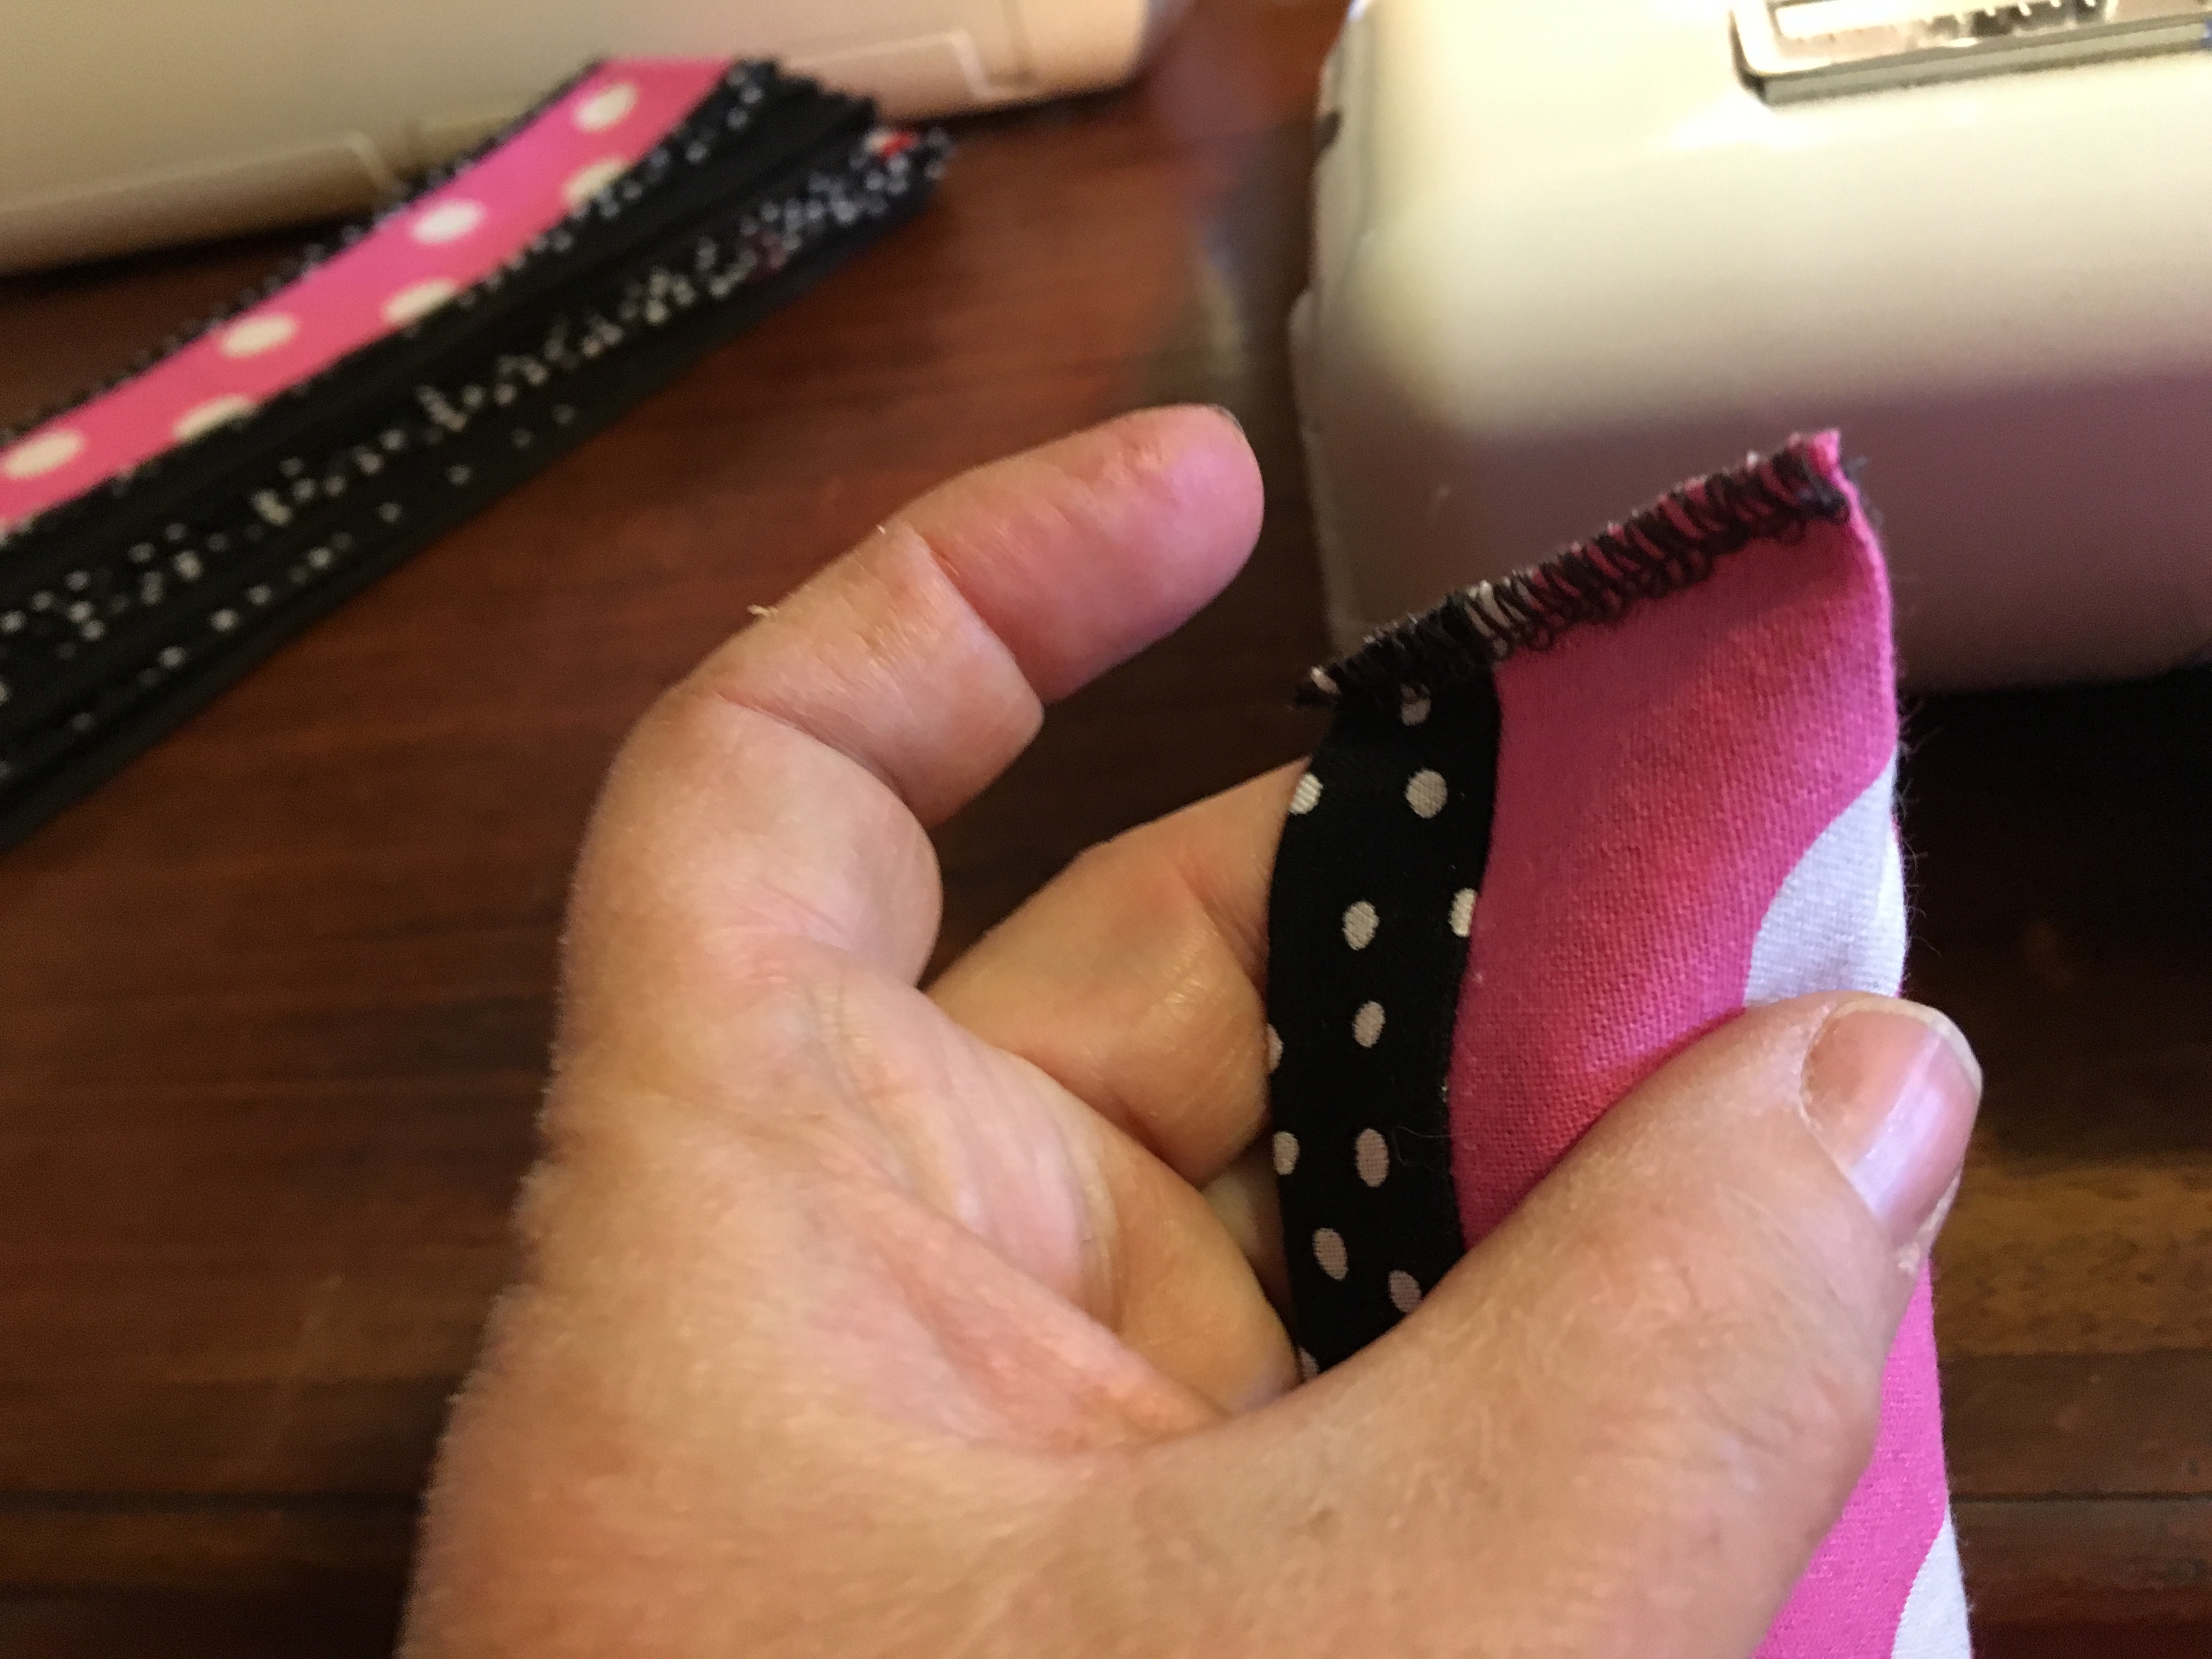


See? it’s really quite simple!
Now all you need to do it tie it around your noggin!!

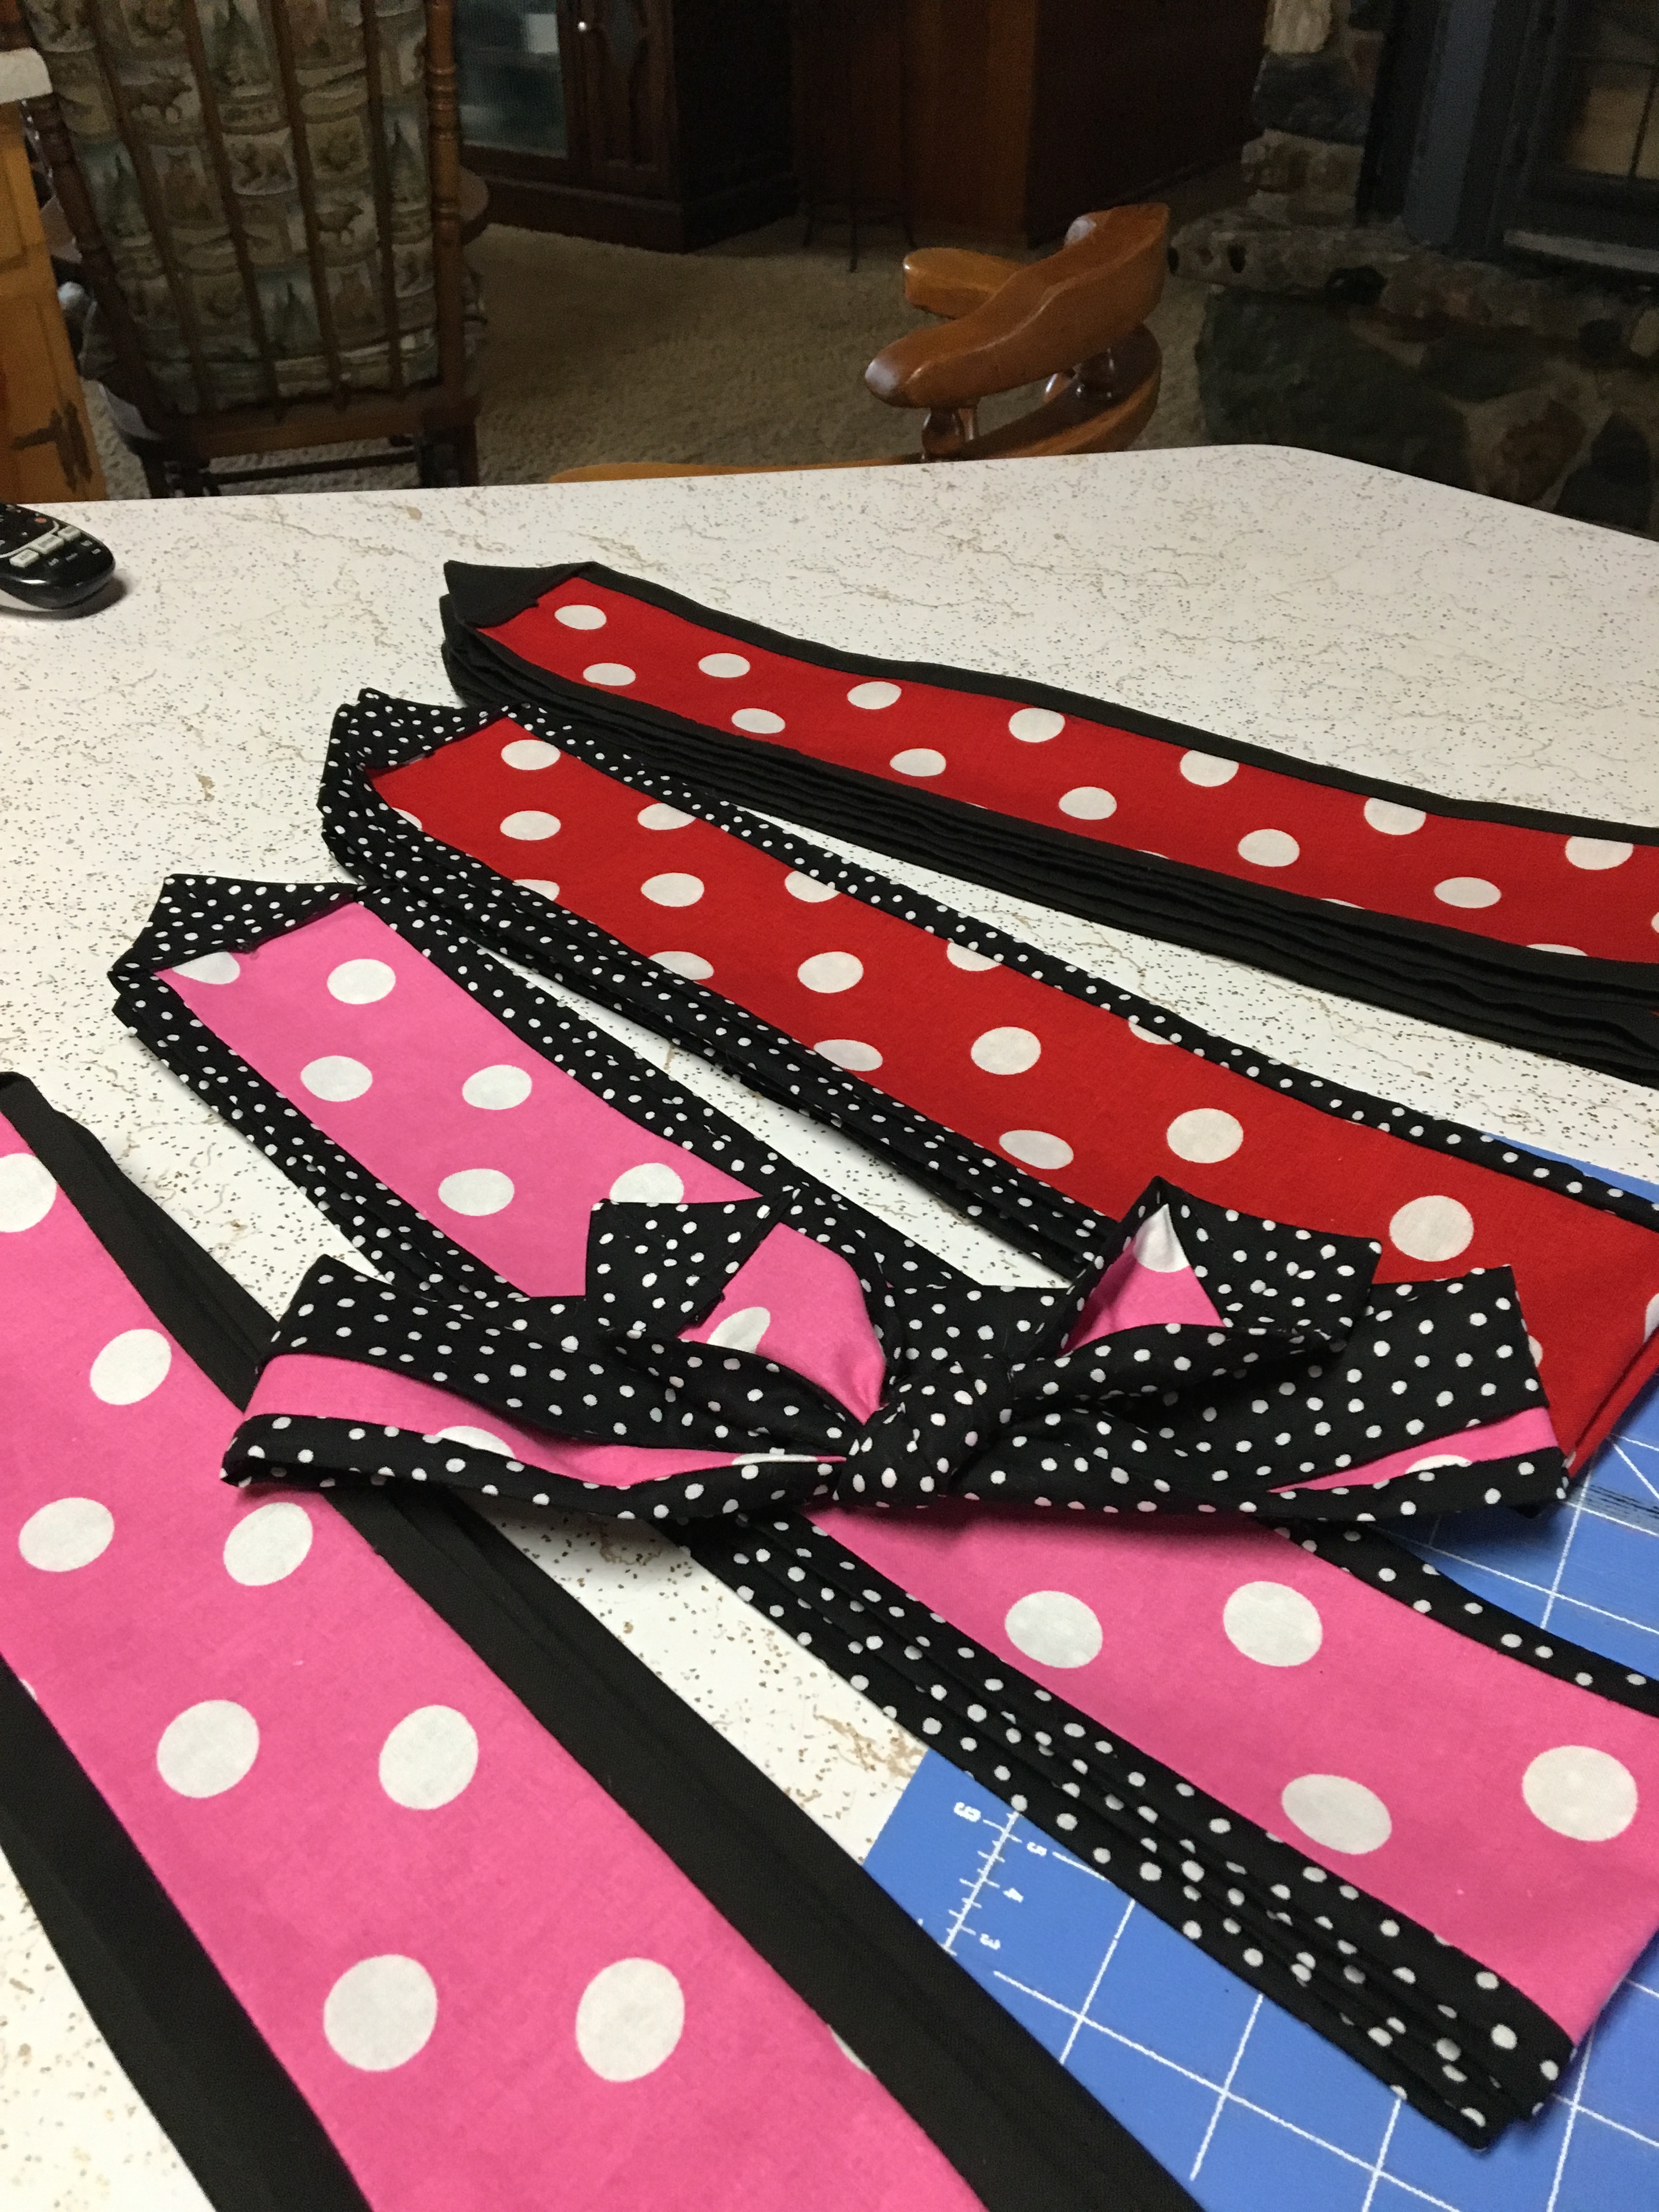
There they are…all dozen Minnie inspired headbands, can’t wait for vacation!
Enjoy!
Debbie
