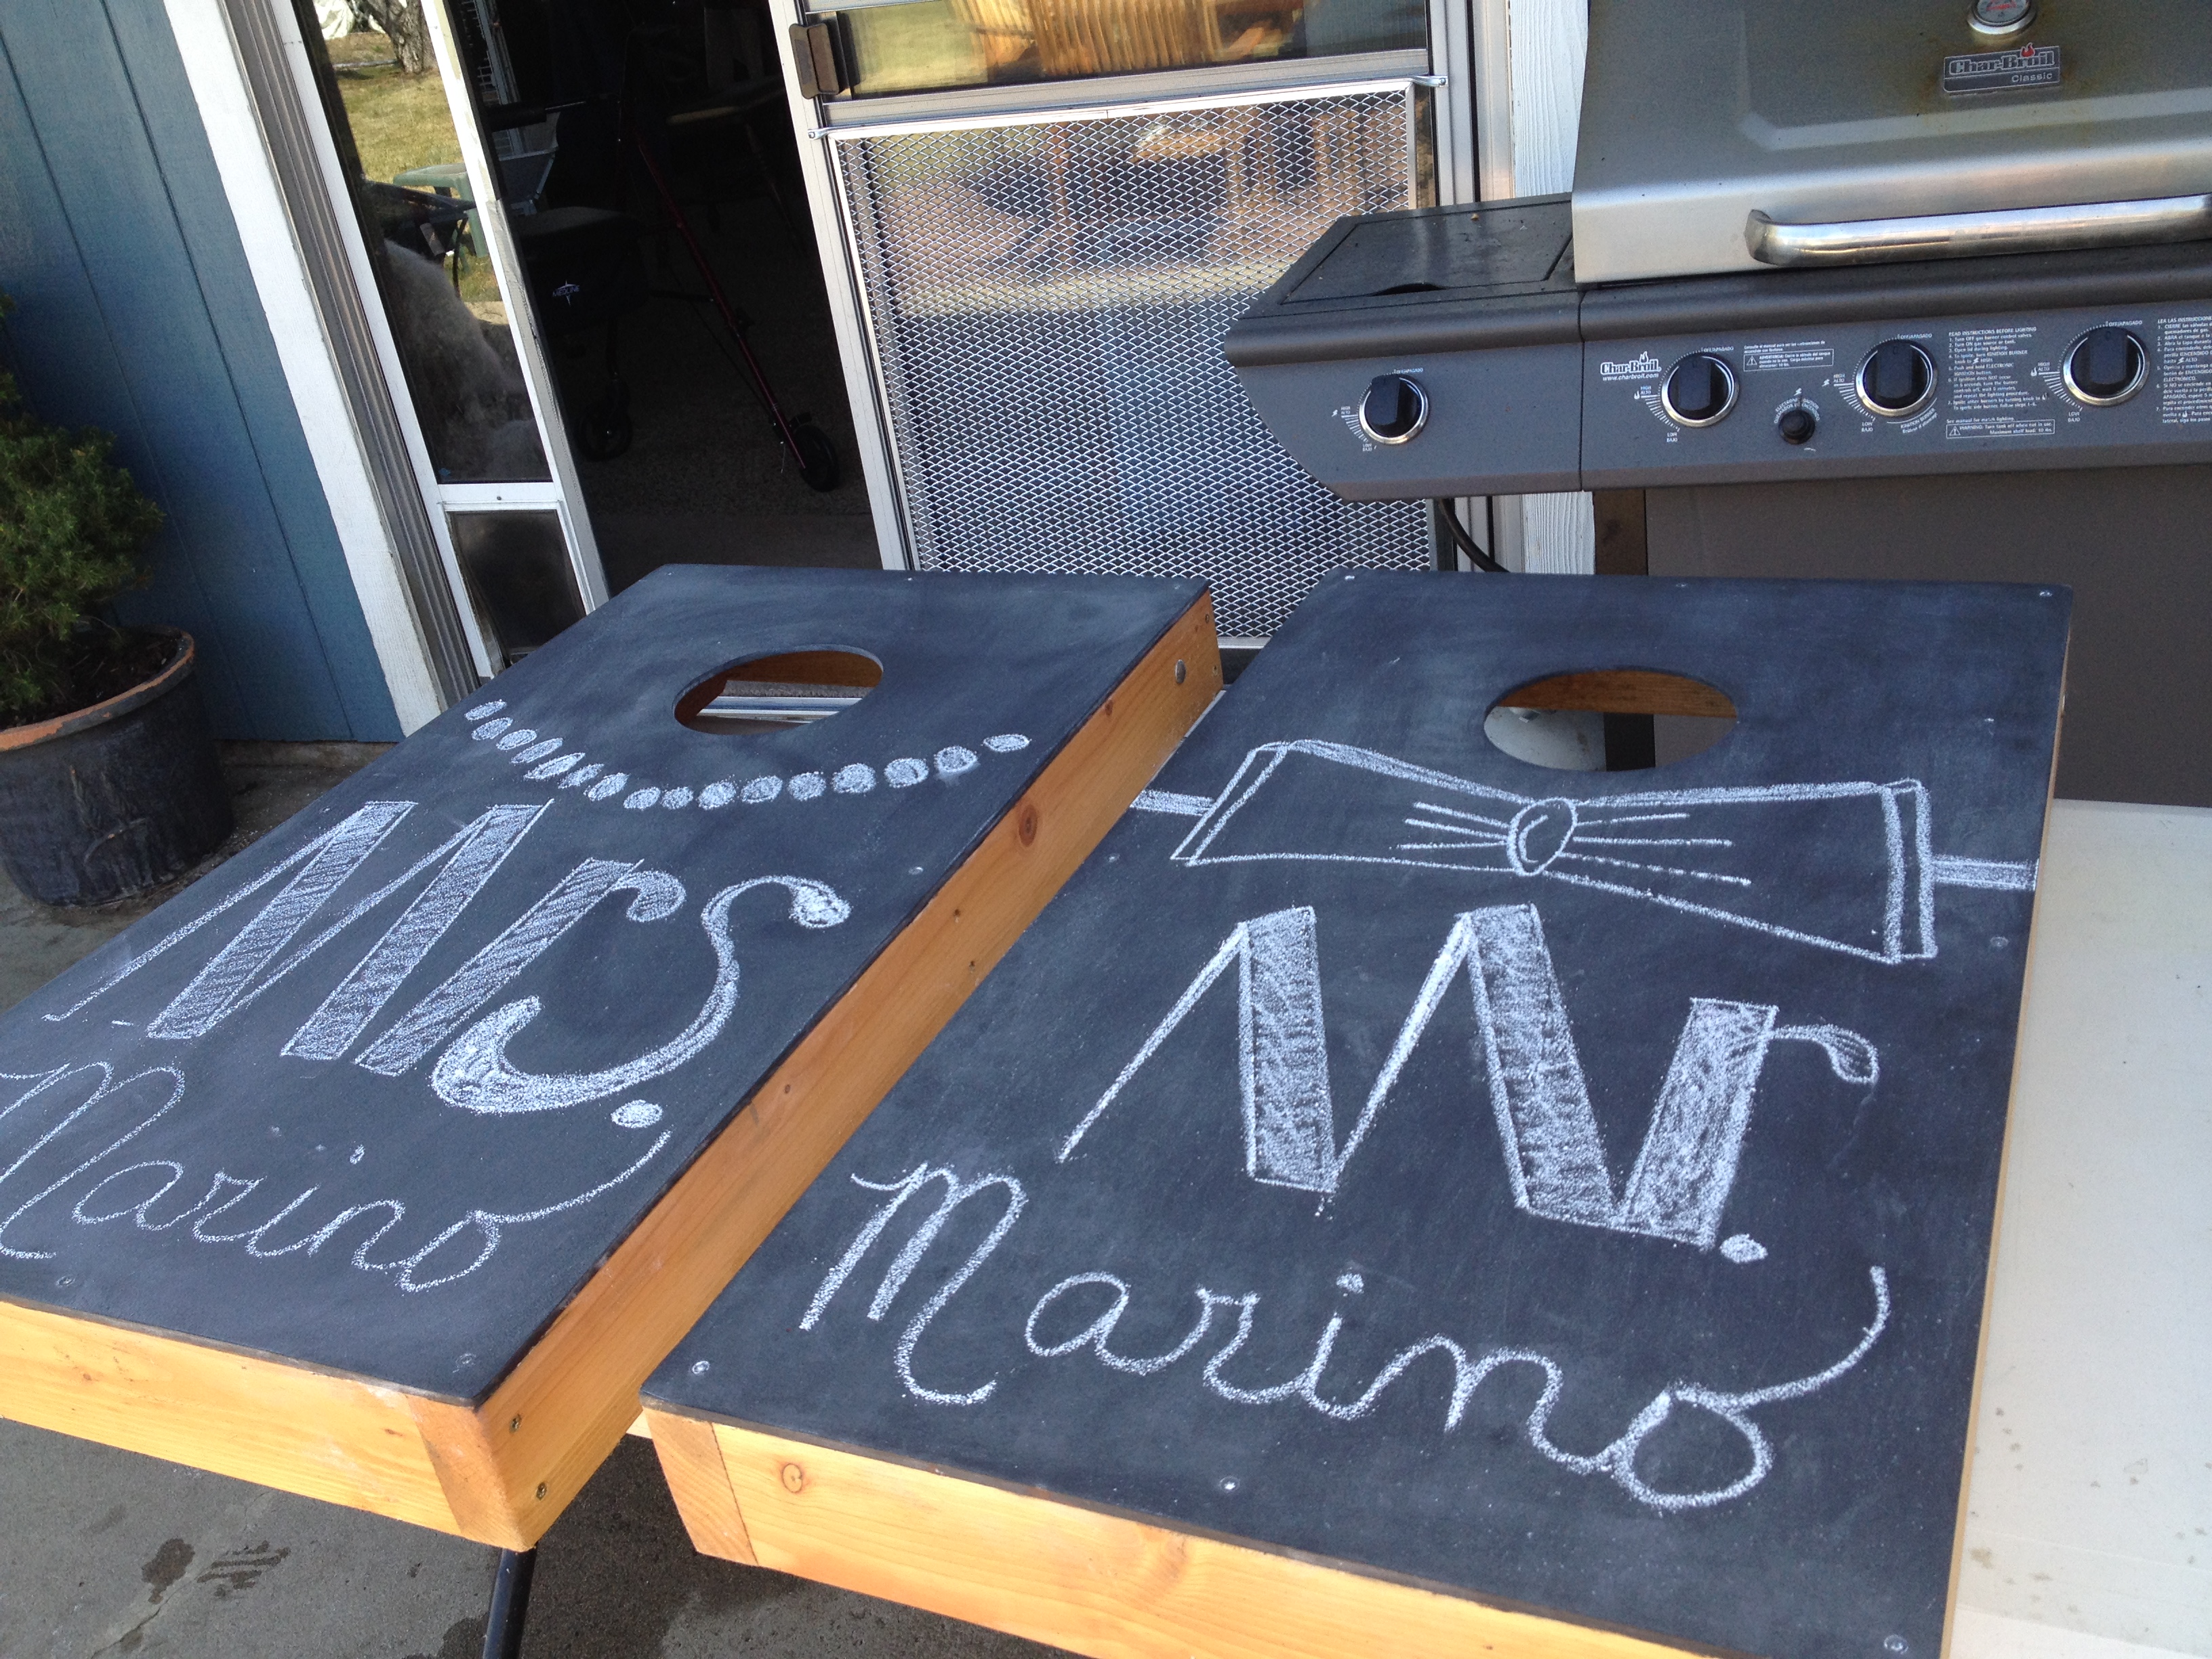
Well, as promised…. another chalkboard project is wrapping up. Cornhole (Bean Bag) game for the rehearsal dinner.
The lovely bride’s mother requested some yard games for the rehearsal dinner, and we were all too happy to oblige.
I’ve wanted one of these for camping and what better reason than a June Wedding, to kick us into gear.
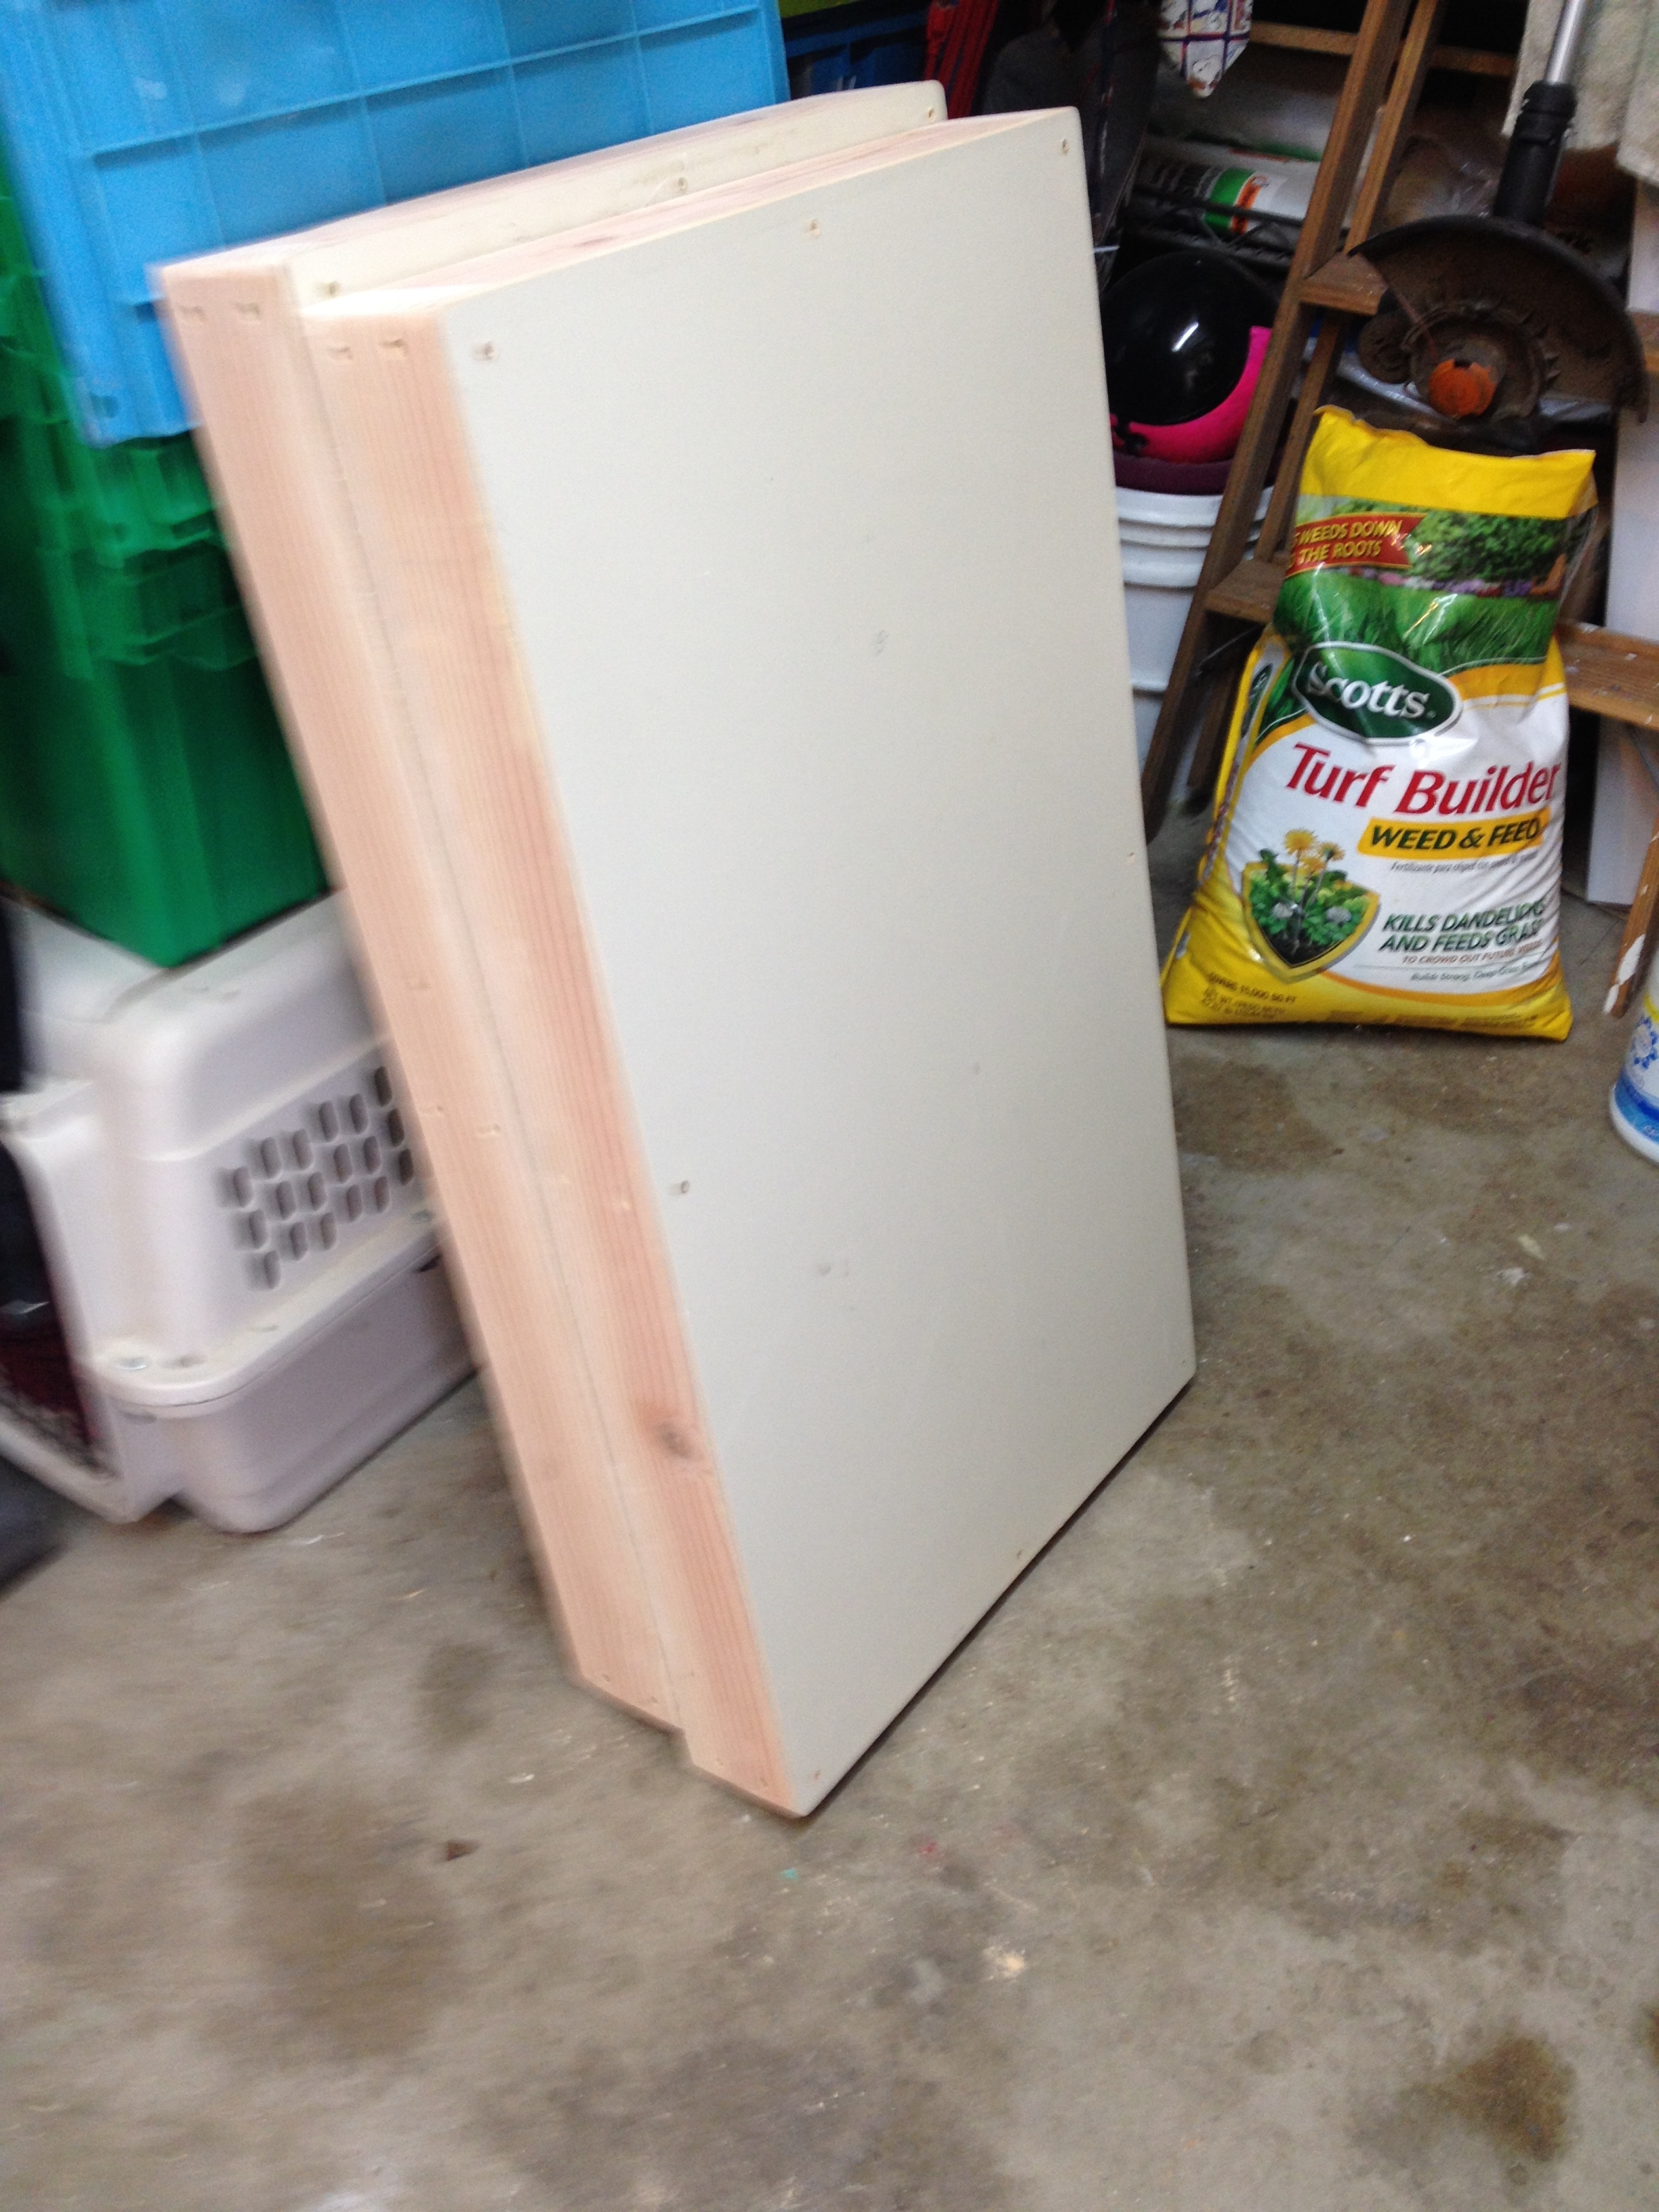
I really can’t take credit for the boards except that I insisted hubby build them to specifications.
Lucky for me, he’s quite handy and lets me boss him around.

He’s construction, I’m design, we work well together.
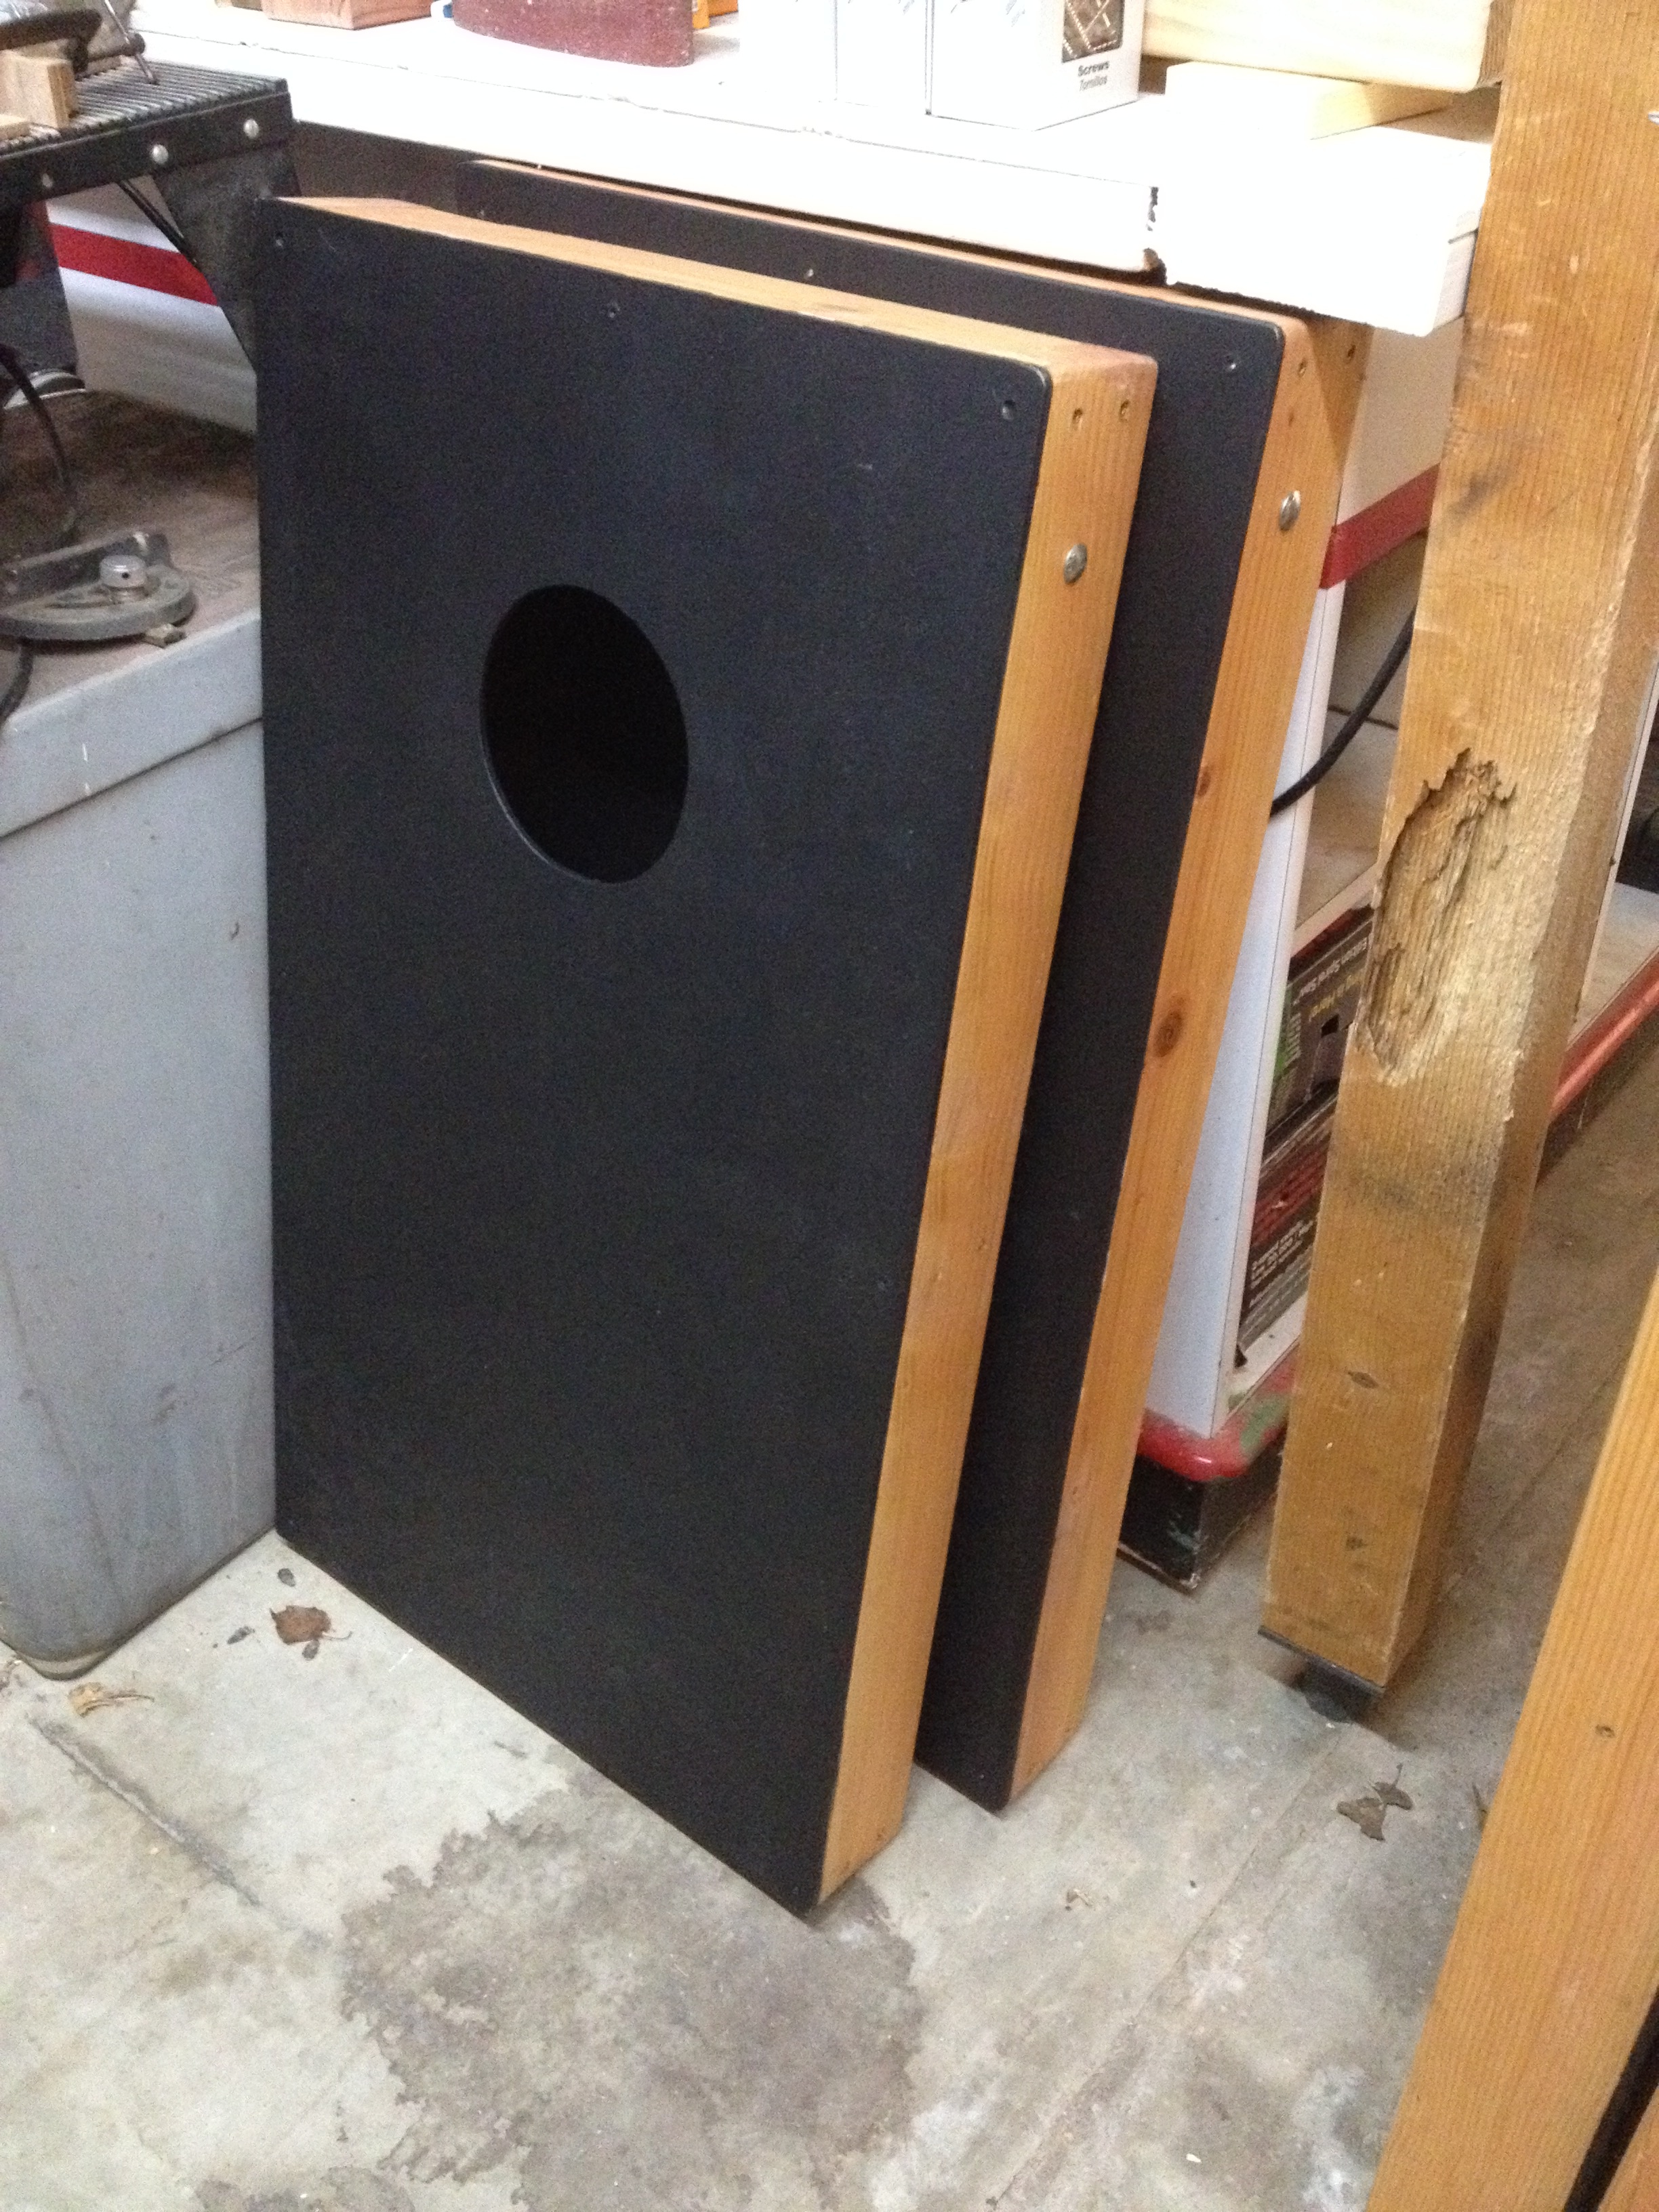
I looked online at the DIY network, and found the correct dimensions, and simple enough plans to construct the boards.
http://www.diynetwork.com/how-to/outdoors/structures/how-to-build-a-regulation-cornhole-set
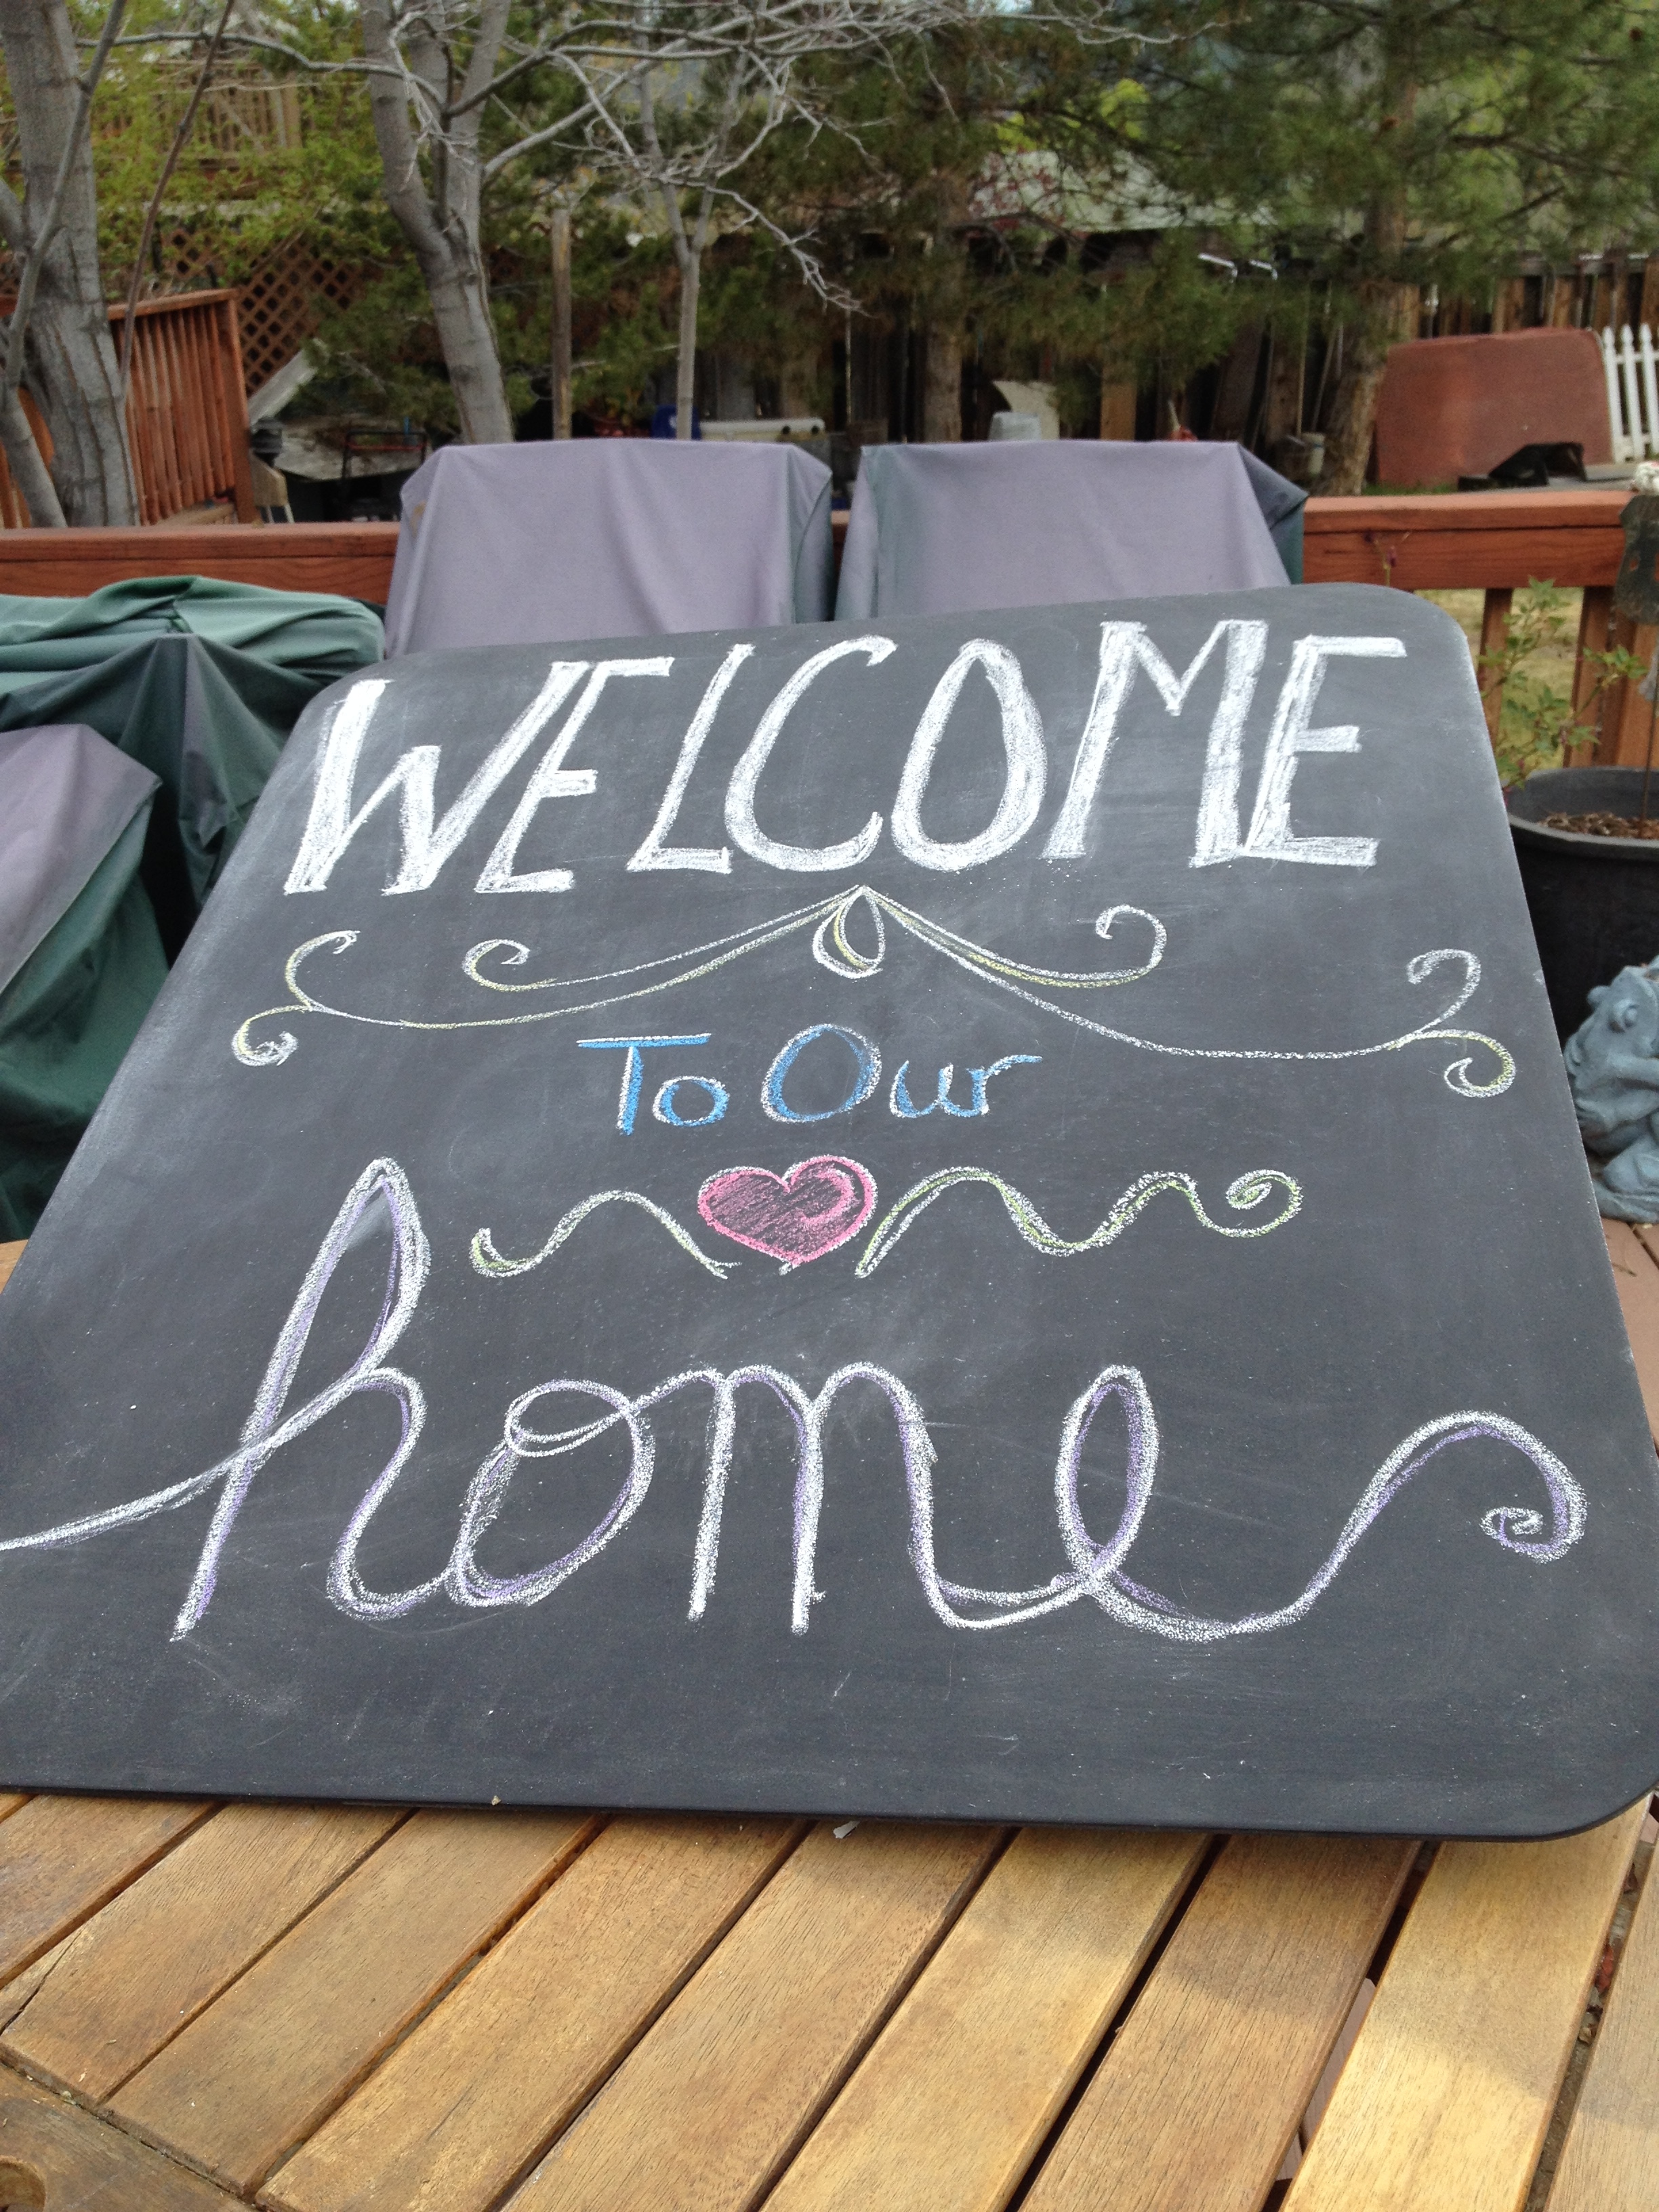
I couldn’t decide on a paint design, so since I’m all about the chalkboard lately, that seemed like a perfect finish.
We stained the sides and legs with a golden oak finish, and I painted the tops with two thin coats of chalkboard paint.
They turned out wonderful! The legs fold under for storage and transport.
Next, you need some corn bags. I guess in the south the bags are filled with corn, elsewhere beans. Who knew?
Just be sure not to leave them out in the rain, the corn will expand and mold!
There is a specific size and weight for the bags. They are supposed to be 6″ x 6″ in size and weigh exactly 16 oz.

So I cut the fabric into 7″ squares, and used my serger to close 3 of the 4 sides with a 1/2′” seam all around.
If you don’t have a serger, just sew them front sides together and turn them out.
Fill the bags with the proper amount of corn (I used a food scale with the bag set on it) and slipstitch the opening closed.
A good source for the corn was the new Tractor Supply store. I got 50# of feed corn for $12. bucks!
It made 6 full sets of bags, way more than I needed, but I think they’ll be great gifts.
A tip for filling and sewing the bags closed was pinning the open end horizontally to hold the corn inside, while I serged it closed.
This kept the kernels from spilling out and losing the proper weight, and also prevented them from getting under the needles of the machine.

I did some in burlap too. And two different camping motifs!
I also made a storage bag for the corn bags with leftover fabric and cording. And added a pocket to hold the chalk!
Sadly, I didn’t get enough photos to make this post truly user-friendly, but I think you get the idea.
Psst, I had him make two sets of boards so I get to keep one for camping!
In case you’re not familiar with the rules of the Game, It’s really quite simple!
You play similar to horseshoes, tossing the bags from either side into the hole.
Generally tournament play is teams of two people, opposite each other at the top of the boards.
The boards are placed 27 feet apart facing each other.
(Be sure someone sober measures before you start!)
Bag in the hole scores 3 pts.
Bag on the board 1 pt.
First person/team to 21 pts. Wins!
Now, play responsibly and be sure to use good sportsmanship at all times.
Enjoy!
Debbie