Rock Candy Ornament

IMG_1395

So it’s September already, and I’ve decided that Christmas in July didn’t happen, and August was a blur….. time to start making holiday stuff and I’m already behind! i was thinking this year Id make a candy/cookie/sweets themed tree this year. Seems I have to start somewhere, so the idea is usually first, and the how-to later.

Lets get started with a super easy one.

Supplies needed:

wooden beads

12″ dowels

16 gauge wire

mixed plastic faceted beads

hot glue/glue gun

white/wood glue

IMG_1389

I started by separating the beads by color. One of those zen OCD tasks that completely relaxes me, until the dogs bump my table and I find myself crawling around on the carpet picking them all up.

IMG_1396

Cut the 12″ dowels in half and glue a wooden bead with  the wood glue on the bottom of each.

IMG_1391

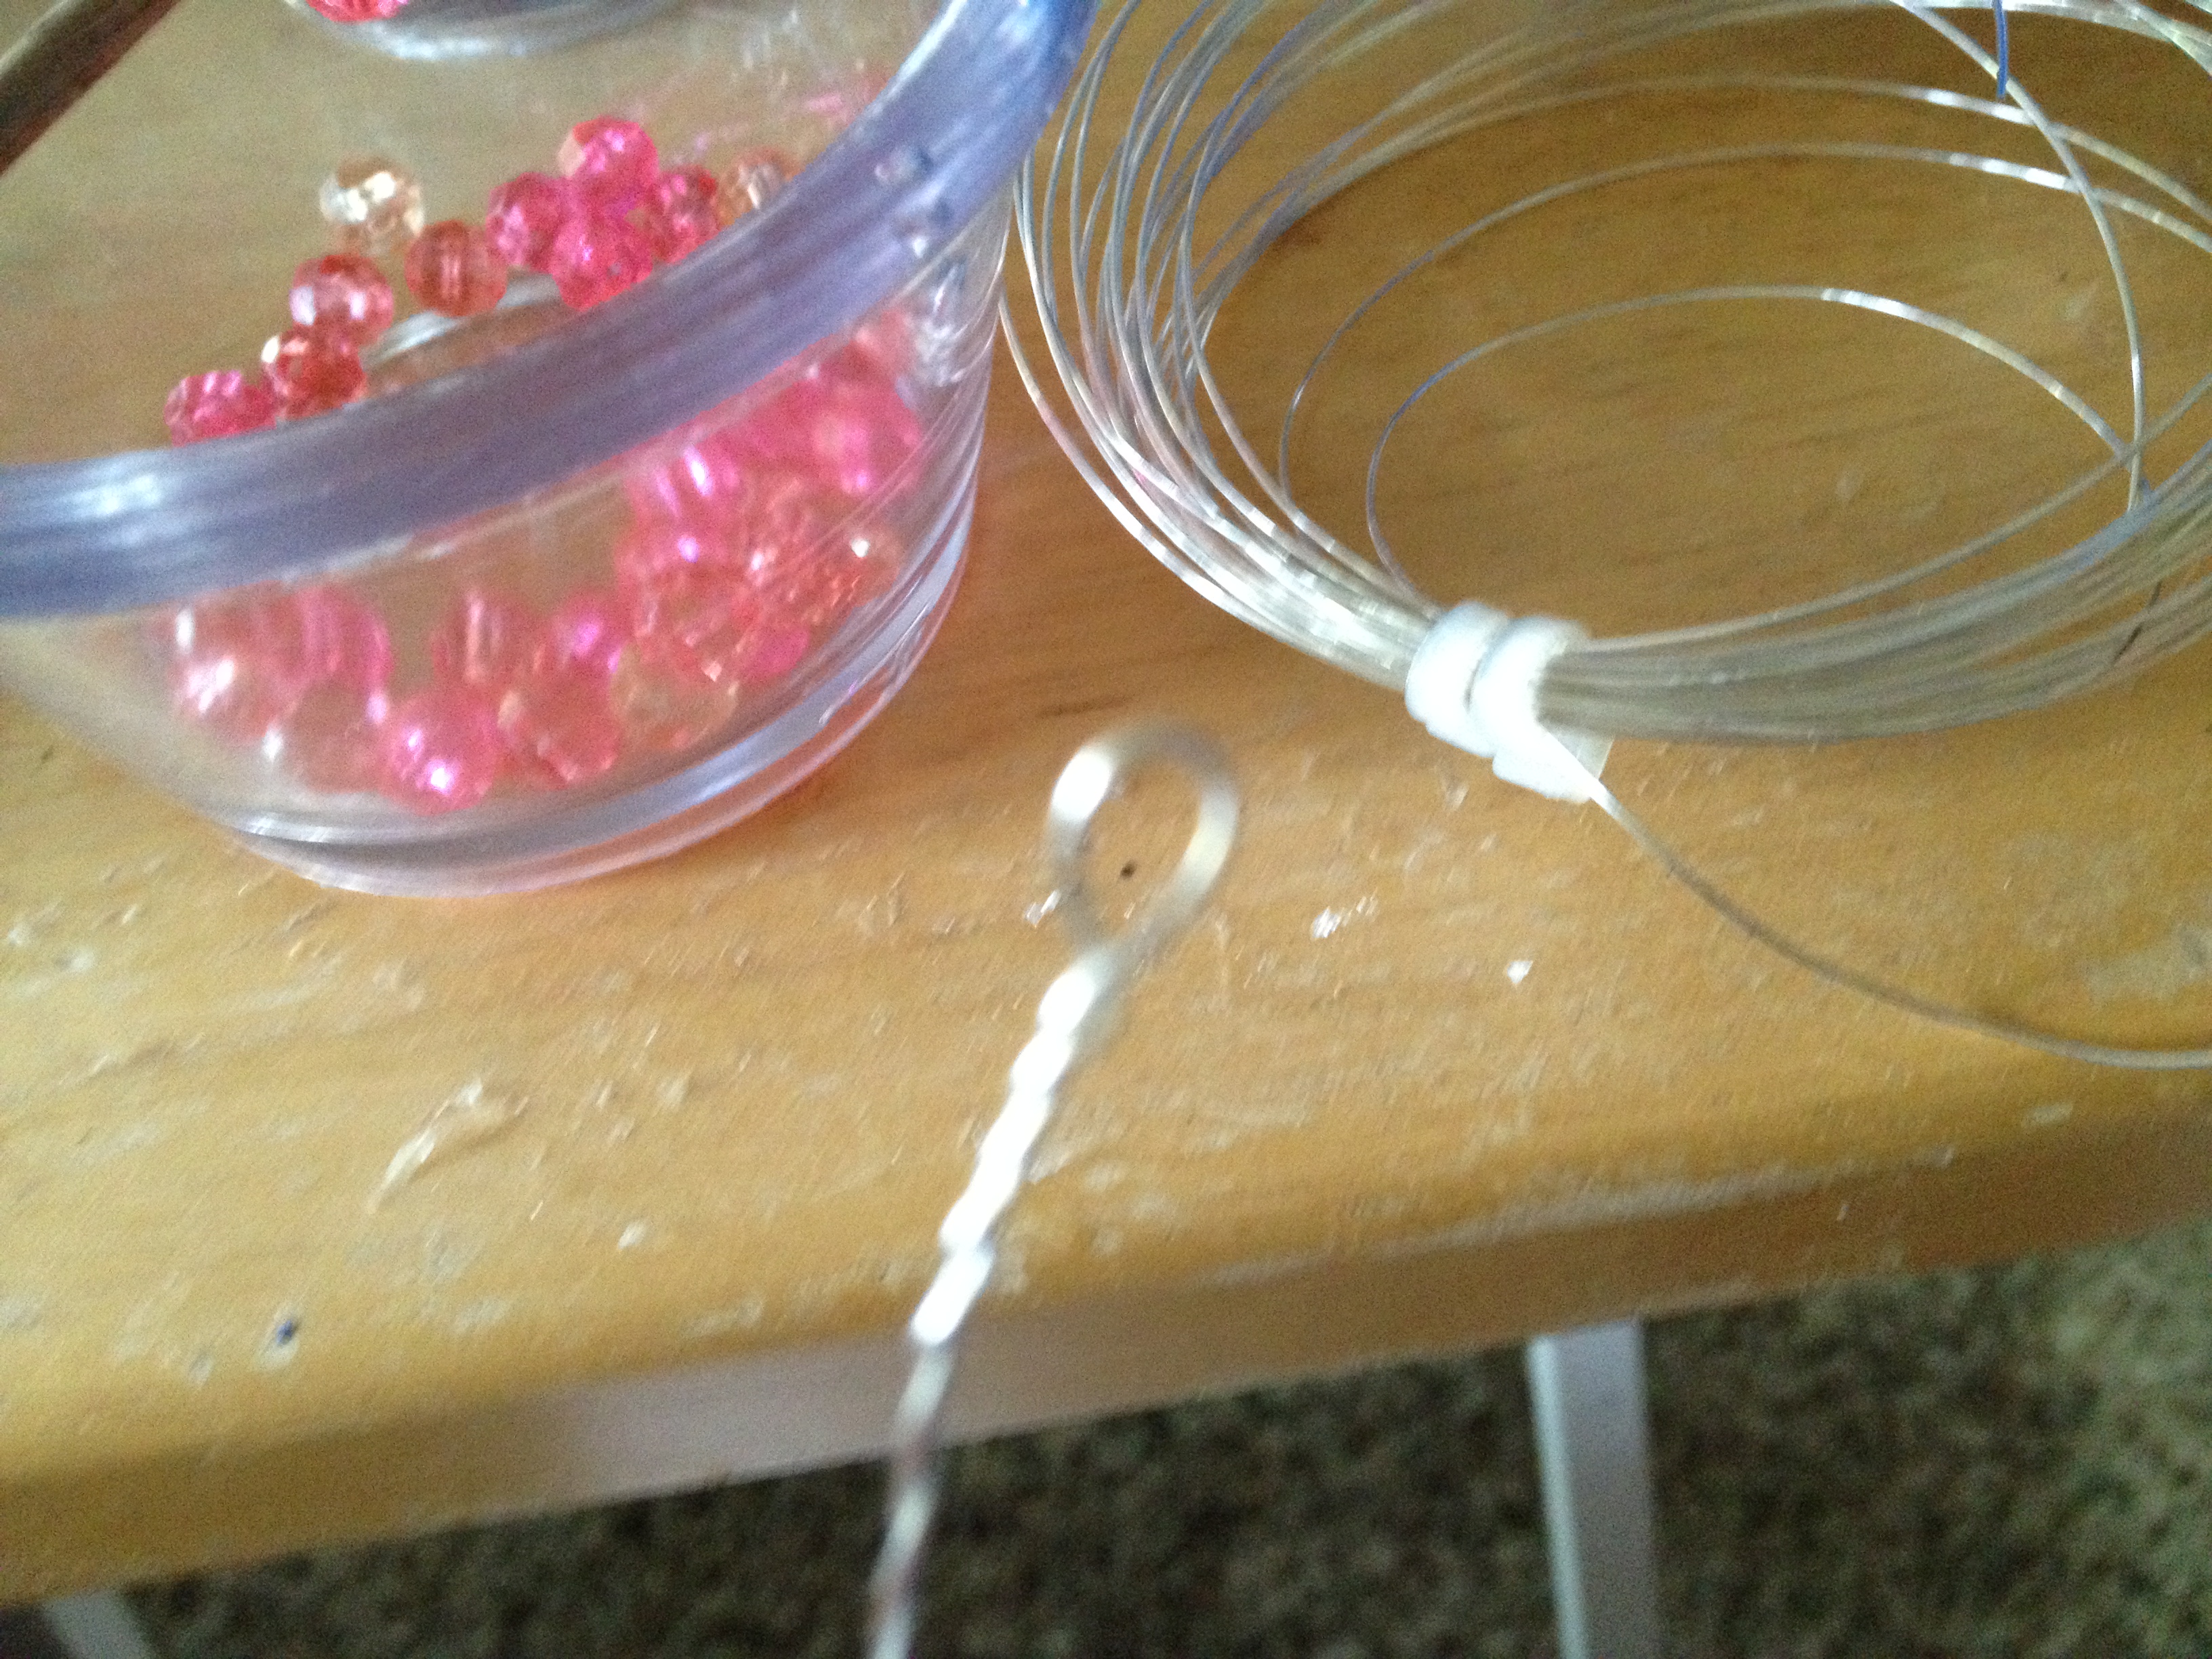
Next cut a 3″ piece of wire and twist a small eye on the end, then I wrapped the wire around the top of the dowel to make a hanging loop.

Tip: You could also use ribbon or colored wire but I prefer mine to disappear in the tree.

IMG_1393

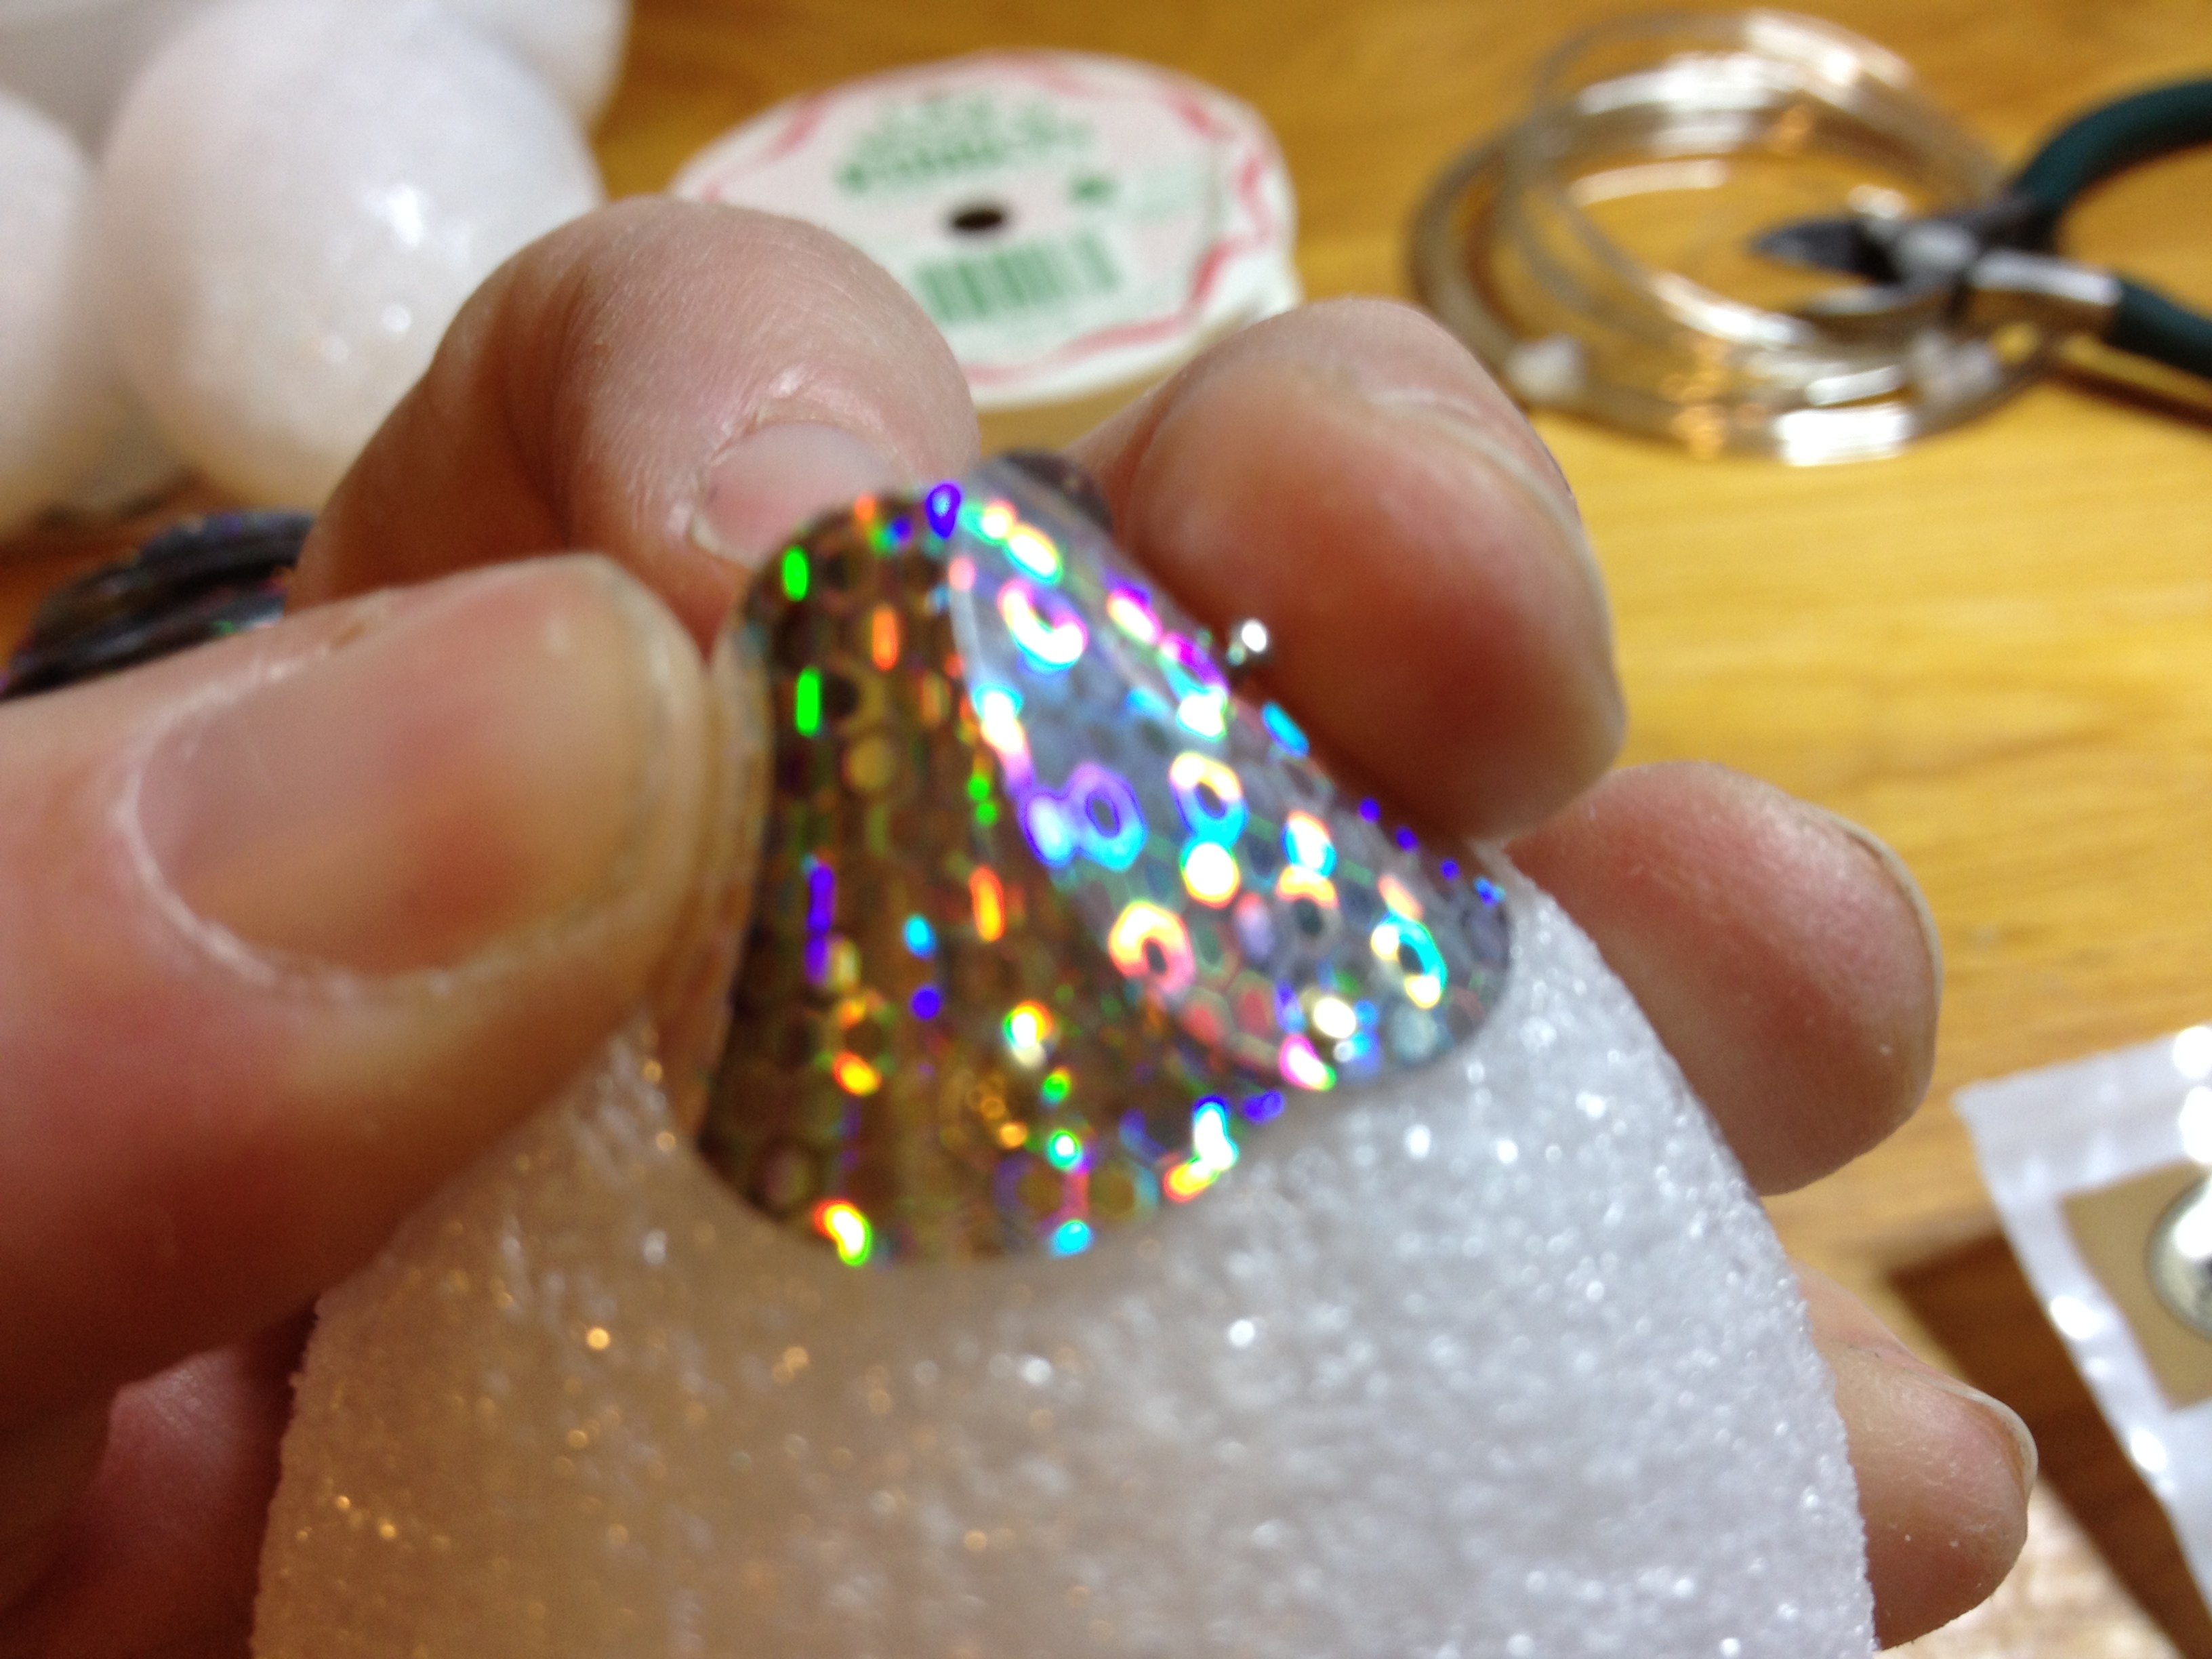
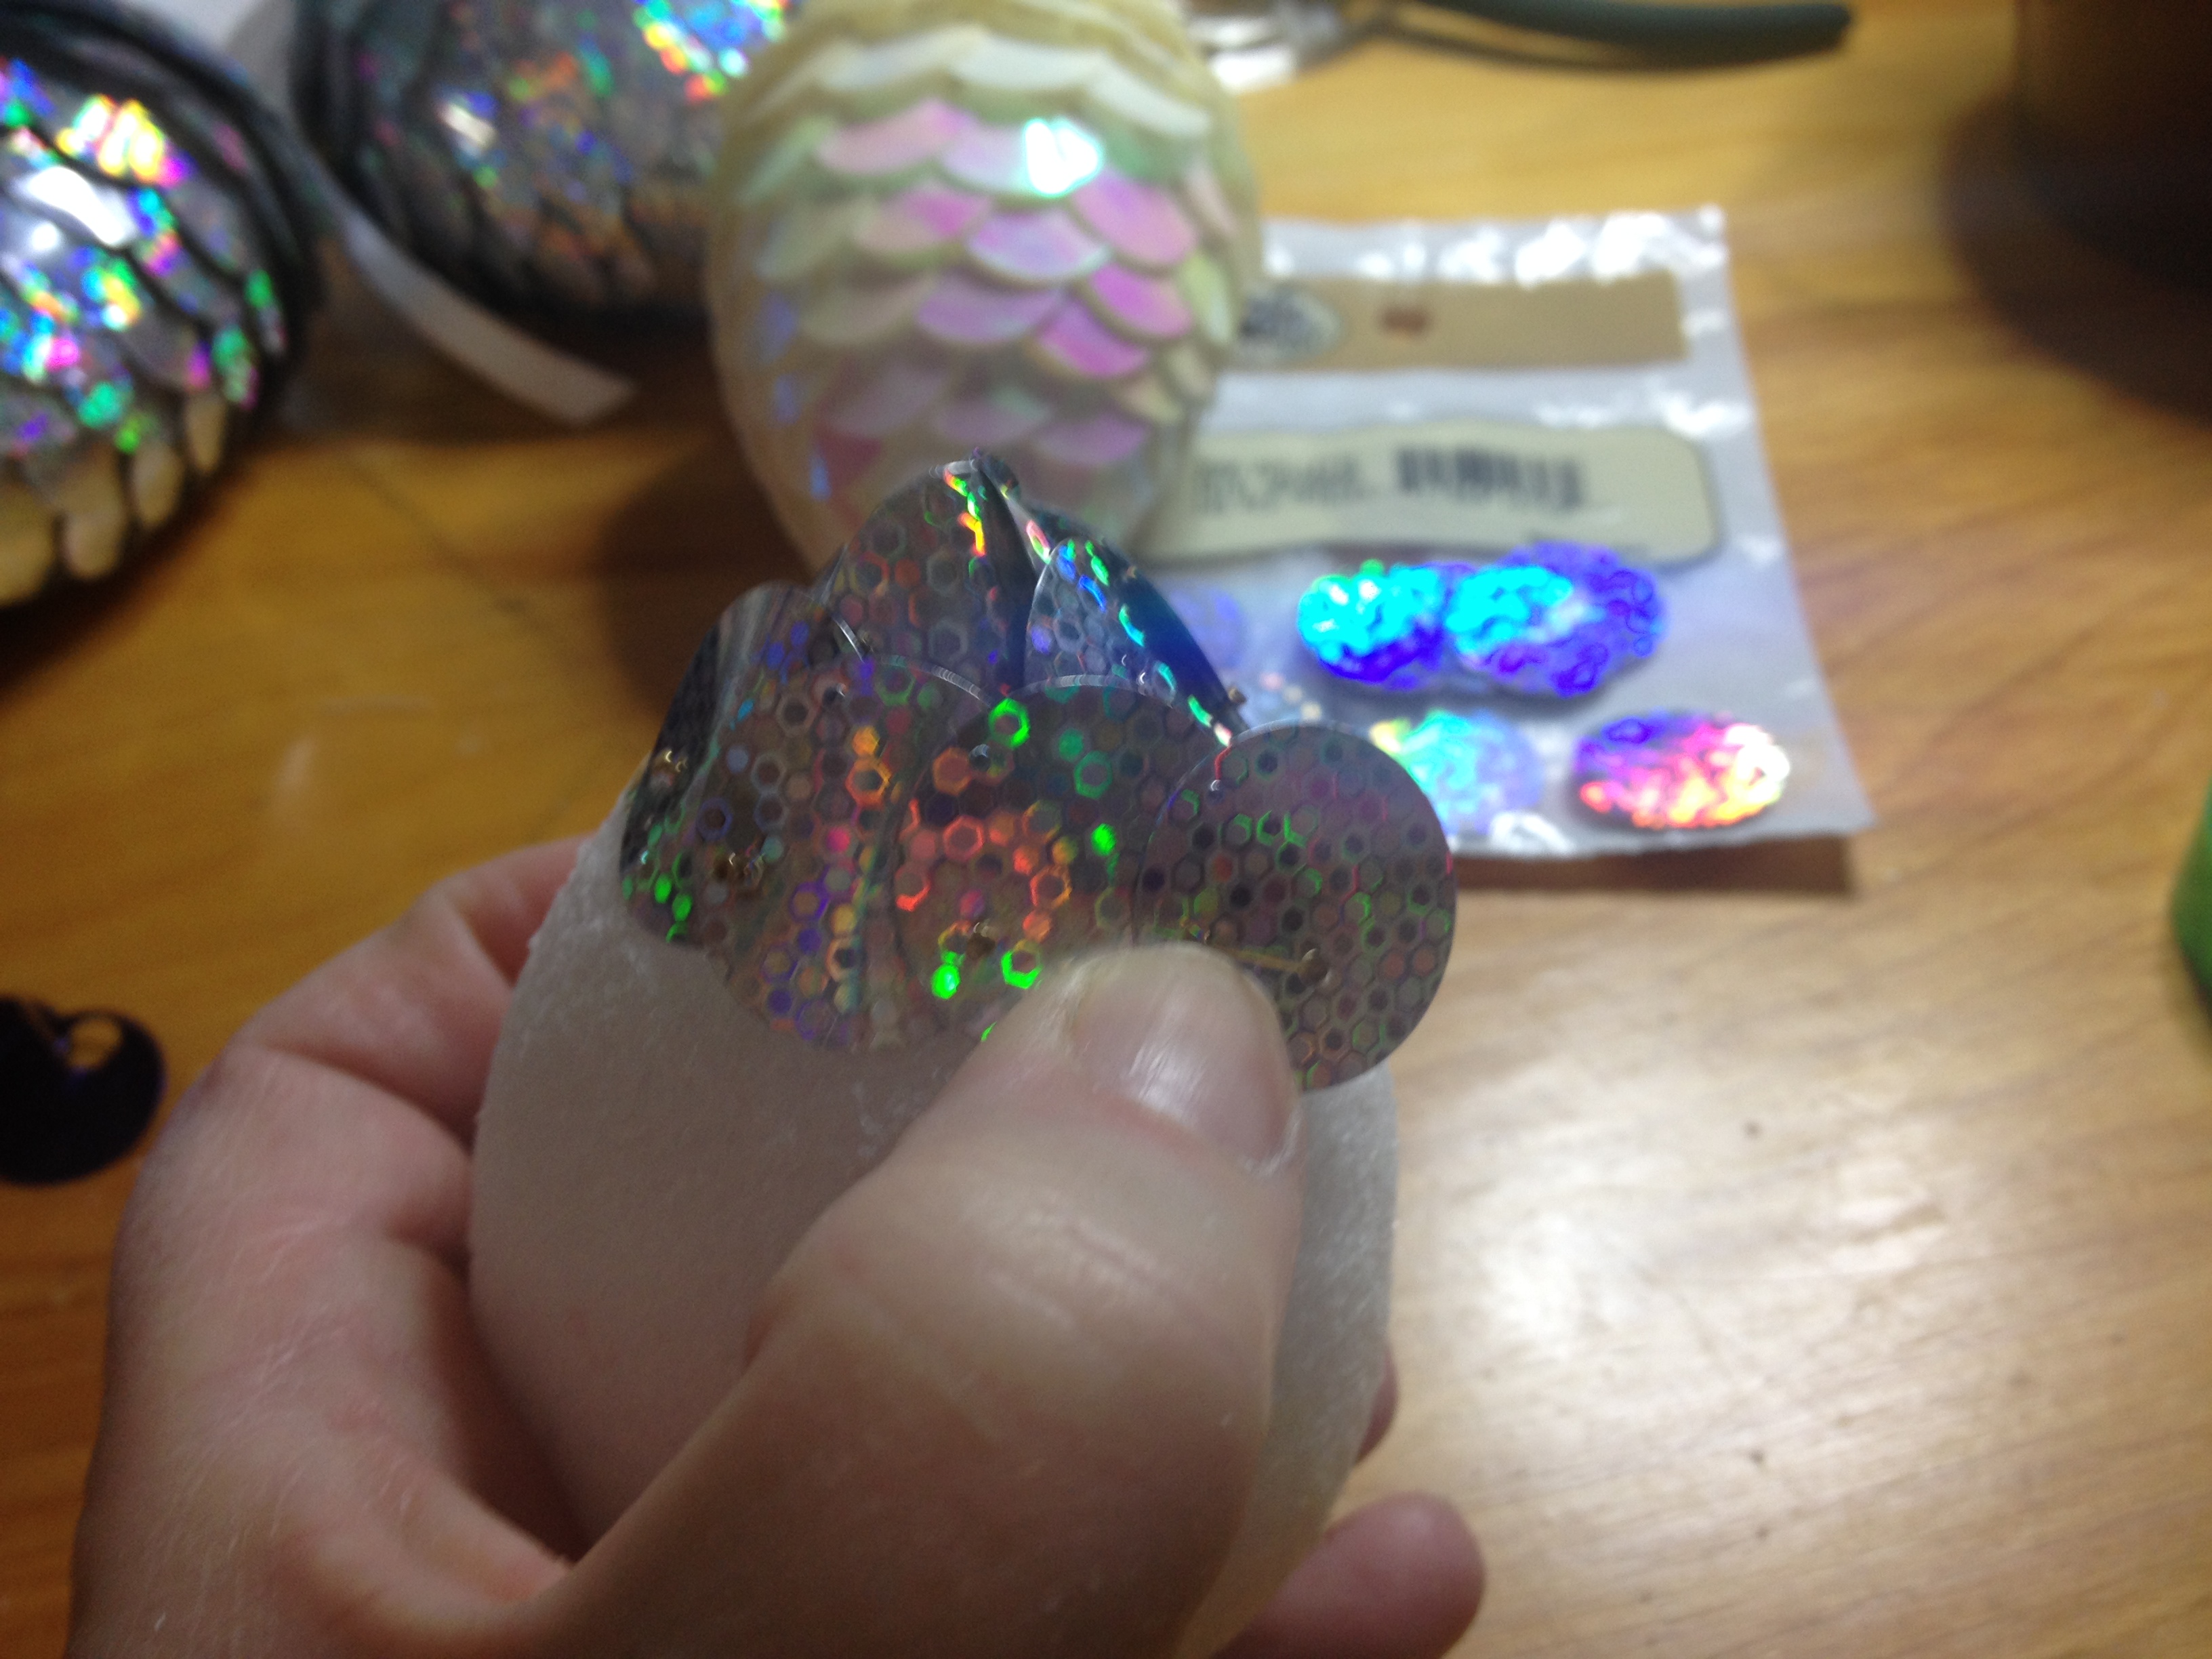
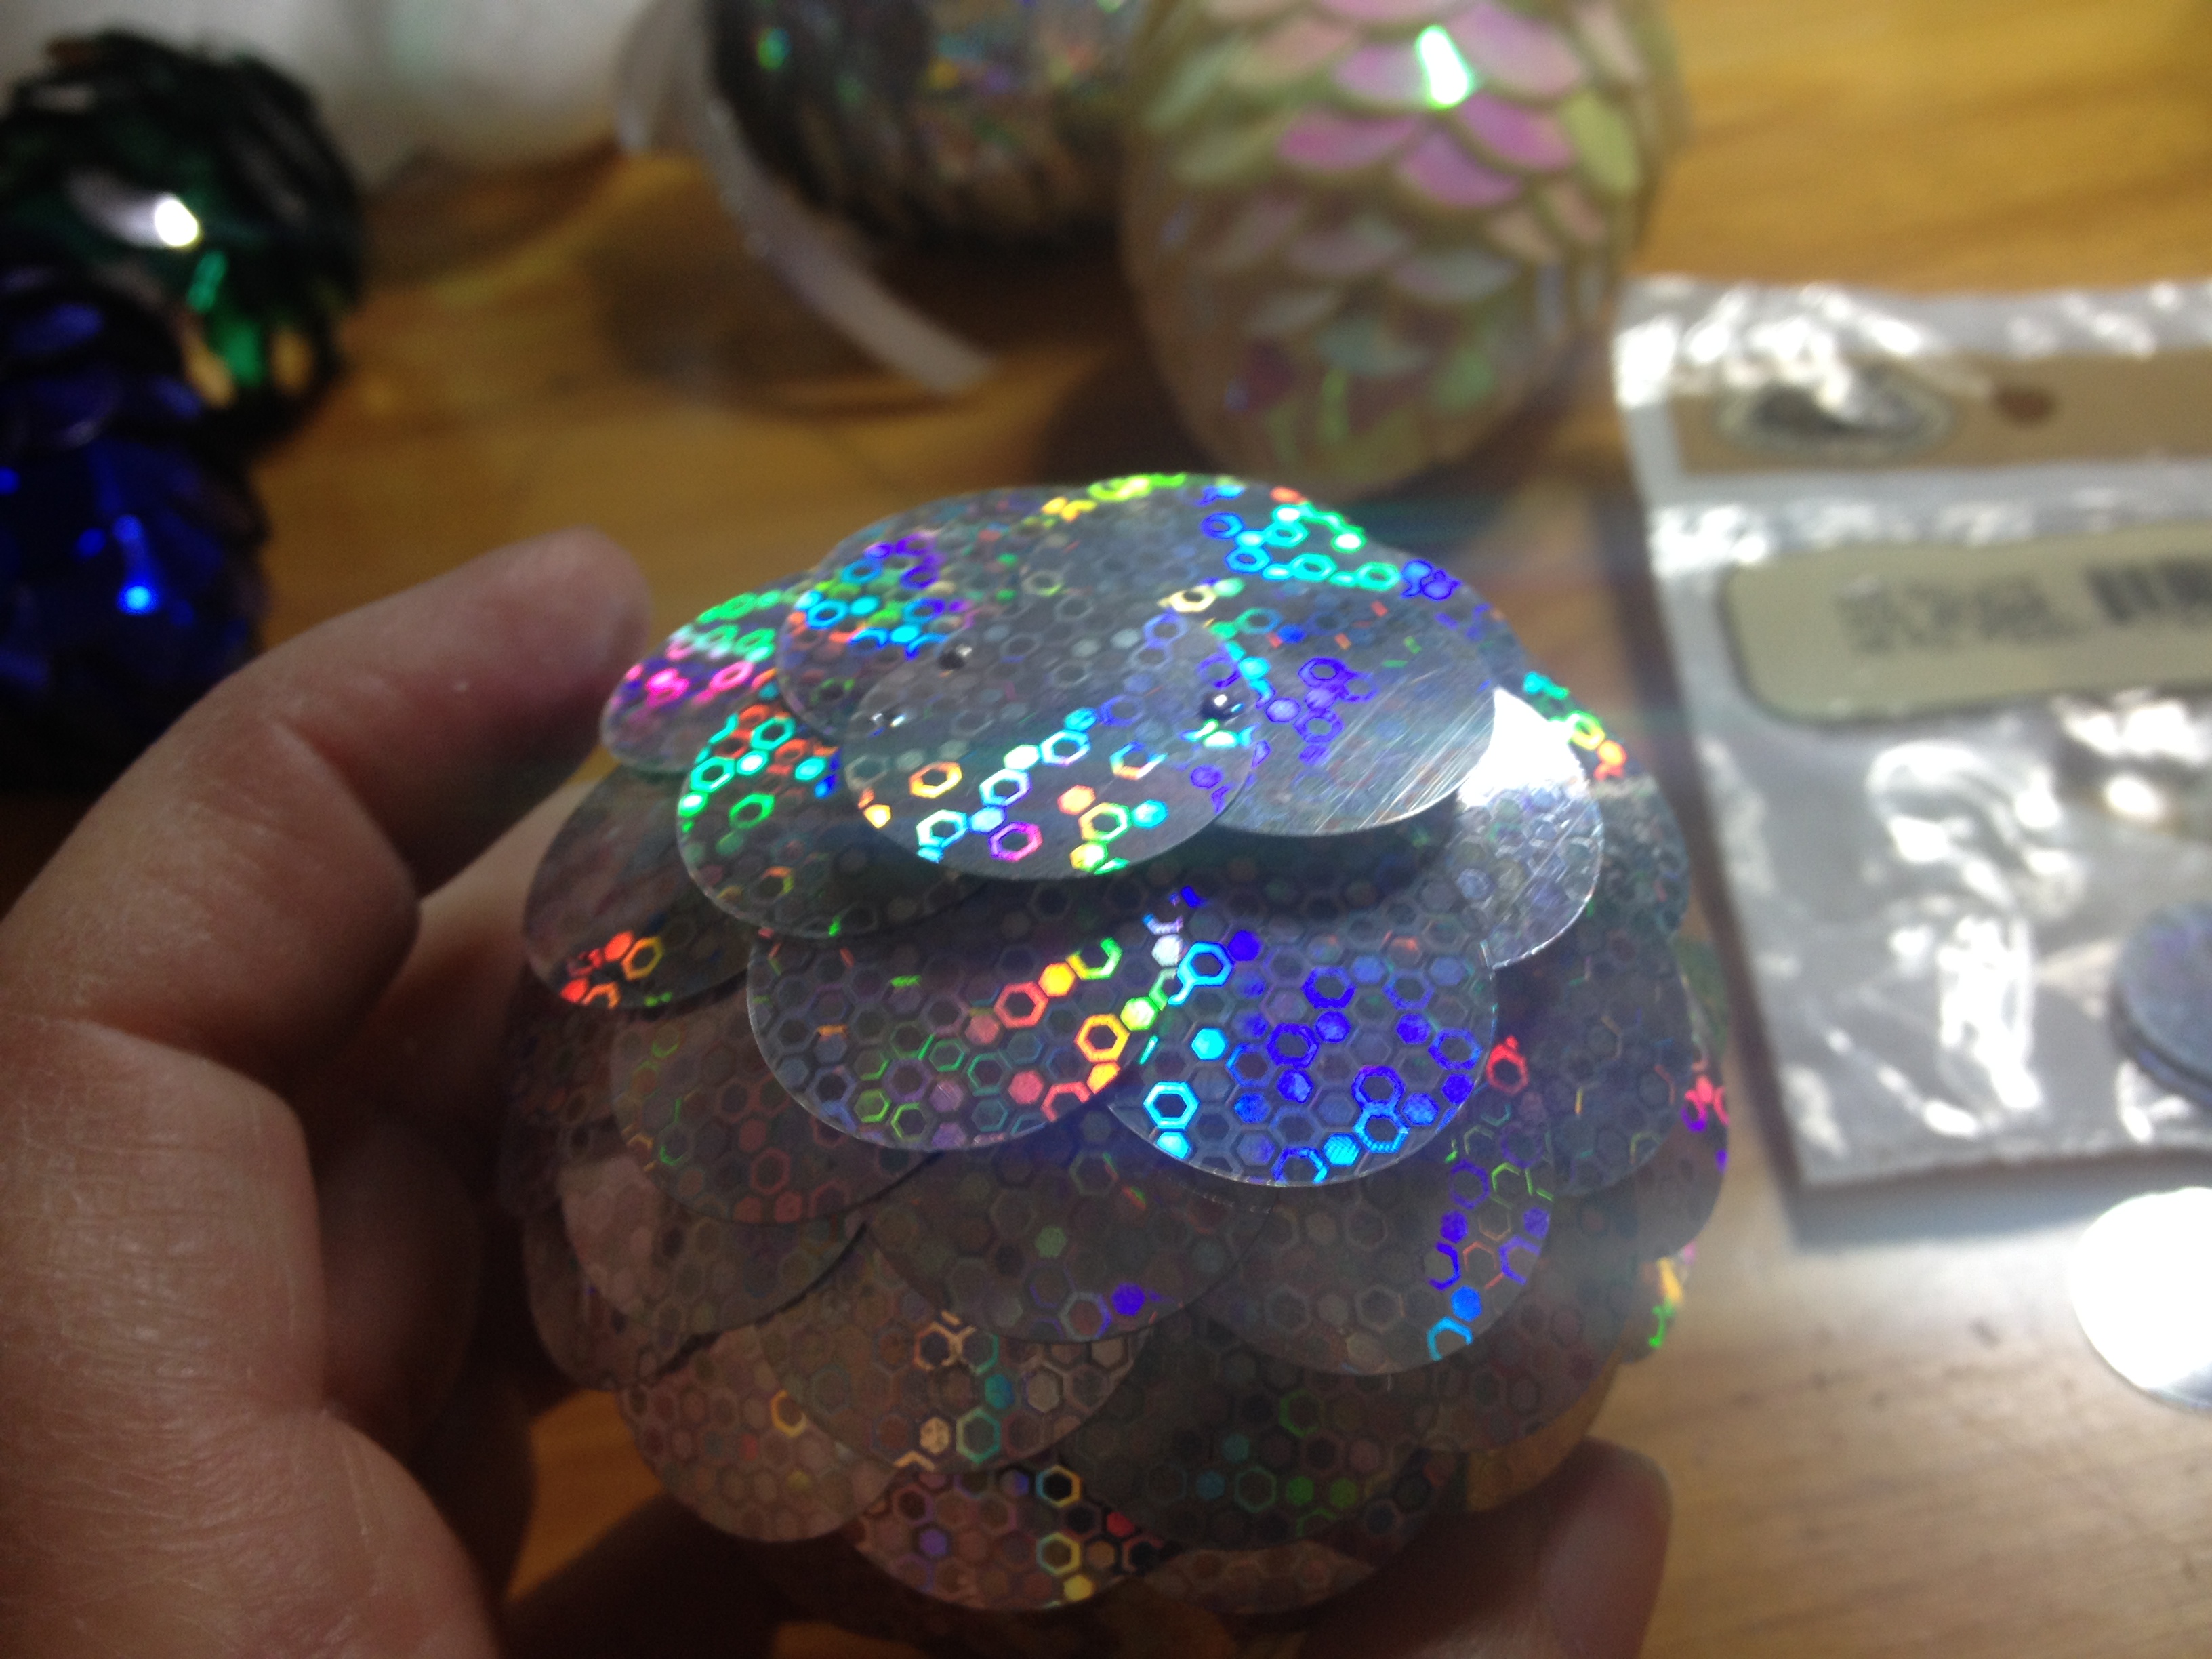
Using the hot glue gun, begin adding the beads about half-way up the stick and cover completely over the wire and the top of the dowel. Be careful when using the hot glue, you can get burnt in a second. Make sure to slide them around randomly so they’re not straight rows. I stacked extra beads toward the top to give it more of a taper look like the candy has.

Tip: after you have made several of these, use your blow dryer to vaporize the “spider” strings the glue gun leaves behind.

IMG_1395

So the first bag of beads yielded 7 finished ornaments, looks like its back to the store for more beads. I have to laugh, hubby thought they were real!

So enjoy your day crafting!

Debbie

Holiday Sparkle Pinecone Ornament

IMG_0704

By far one of the most popular, favorite craft projects ever!! I first made one way, way back in the 1980’s. This idea came from one of my most treasured, inspirational, and loved person,  Aunt Joanie.  She shared this with me when we were visiting from out-of-town, and I came home with a bag full of supplies, and a really sore thumb from pushing in the pins.

Supplies needed for each pinecone:

20mm paillette (some stores call them sequins) usually stocked with the beads

1/2″ sequin pins

3″ egg-shaped styrofoam ball

Craft wire or ornament hooks

1/2″ ribbon

thimble or leather finger guard (if you wish)

scissors

wire cutters

IMG_0707

It has become harder to find the sequins, or paillette’s in the craft stores. It is much easier to locate them online. The actual count per ornament varies somewhere between 80-100. The paillettes have a tiny hole on the edge, the sequins have a larger hole. You can use either but be sure to put the hole out of sight.

IMG_0711

The start is the toughest part. Take the first 3 sequins (paillettes)  bend and overlap these into a cone shape, and secure to the pointy end of the styrofoam egg. Make sure the tip is closed, you don’t want to be able to see the styrofoam through a hole.  I used longer straight pins and a small bit of glue to secure them. Then, start pinning a row halfway below the start working around overlapping each sequin, pinning through both. Kinda like fish scales continuing around in the same direction.

IMG_0713

Work around, and around, dropping down as you go, covering the pins in the upper row, until you cover the egg. Your thumb may become numb. The more you do, the tougher your digit may become. I tried to use a thimble and a leather finger guard, but couldn’t feel the pins and got frustrated. My solution was more fingertip moistener (to grab them) and doing a pinecone a day until my thumb toughened up.

IMG_0717

As you come to the bottom of the egg shape, even out the drop but continue in the same direction until you cover the end of the egg. They will be flatter, but still need to stay overlapped and in the same degree of drop.

IMG_0715

Once you cover the bottom, put one final sequin over any pins still showing. Add a hanging hook or loop and tie with a ribbon. Hook or loop, your choice for hanging.

IMG_0718I actually hang mine without ribbon snugged up against the tree branches like a real pinecone would hang. The metallic and holographic finishes are so pretty, and they reflect the lights from the tree beautifully.

Here’s another one I made with “shell” or pearl finished paillettes.  I’ve also mixed the colors when I don’t have enough of one color and they looked pretty as well.

IMG_0709

So, from the “Real” Northern California, a sparkly pinecone that will dazzle when hanging on your Christmas Tree!

Enjoy,

Debbie