
By far one of the most popular, favorite craft projects ever!! I first made one way, way back in the 1980’s. This idea came from one of my most treasured, inspirational, and loved person, Aunt Joanie. She shared this with me when we were visiting from out-of-town, and I came home with a bag full of supplies, and a really sore thumb from pushing in the pins.
Supplies needed for each pinecone:
20mm paillette (some stores call them sequins) usually stocked with the beads
1/2″ sequin pins
3″ egg-shaped styrofoam ball
Craft wire or ornament hooks
1/2″ ribbon
thimble or leather finger guard (if you wish)
scissors
wire cutters

It has become harder to find the sequins, or paillette’s in the craft stores. It is much easier to locate them online. The actual count per ornament varies somewhere between 80-100. The paillettes have a tiny hole on the edge, the sequins have a larger hole. You can use either but be sure to put the hole out of sight.
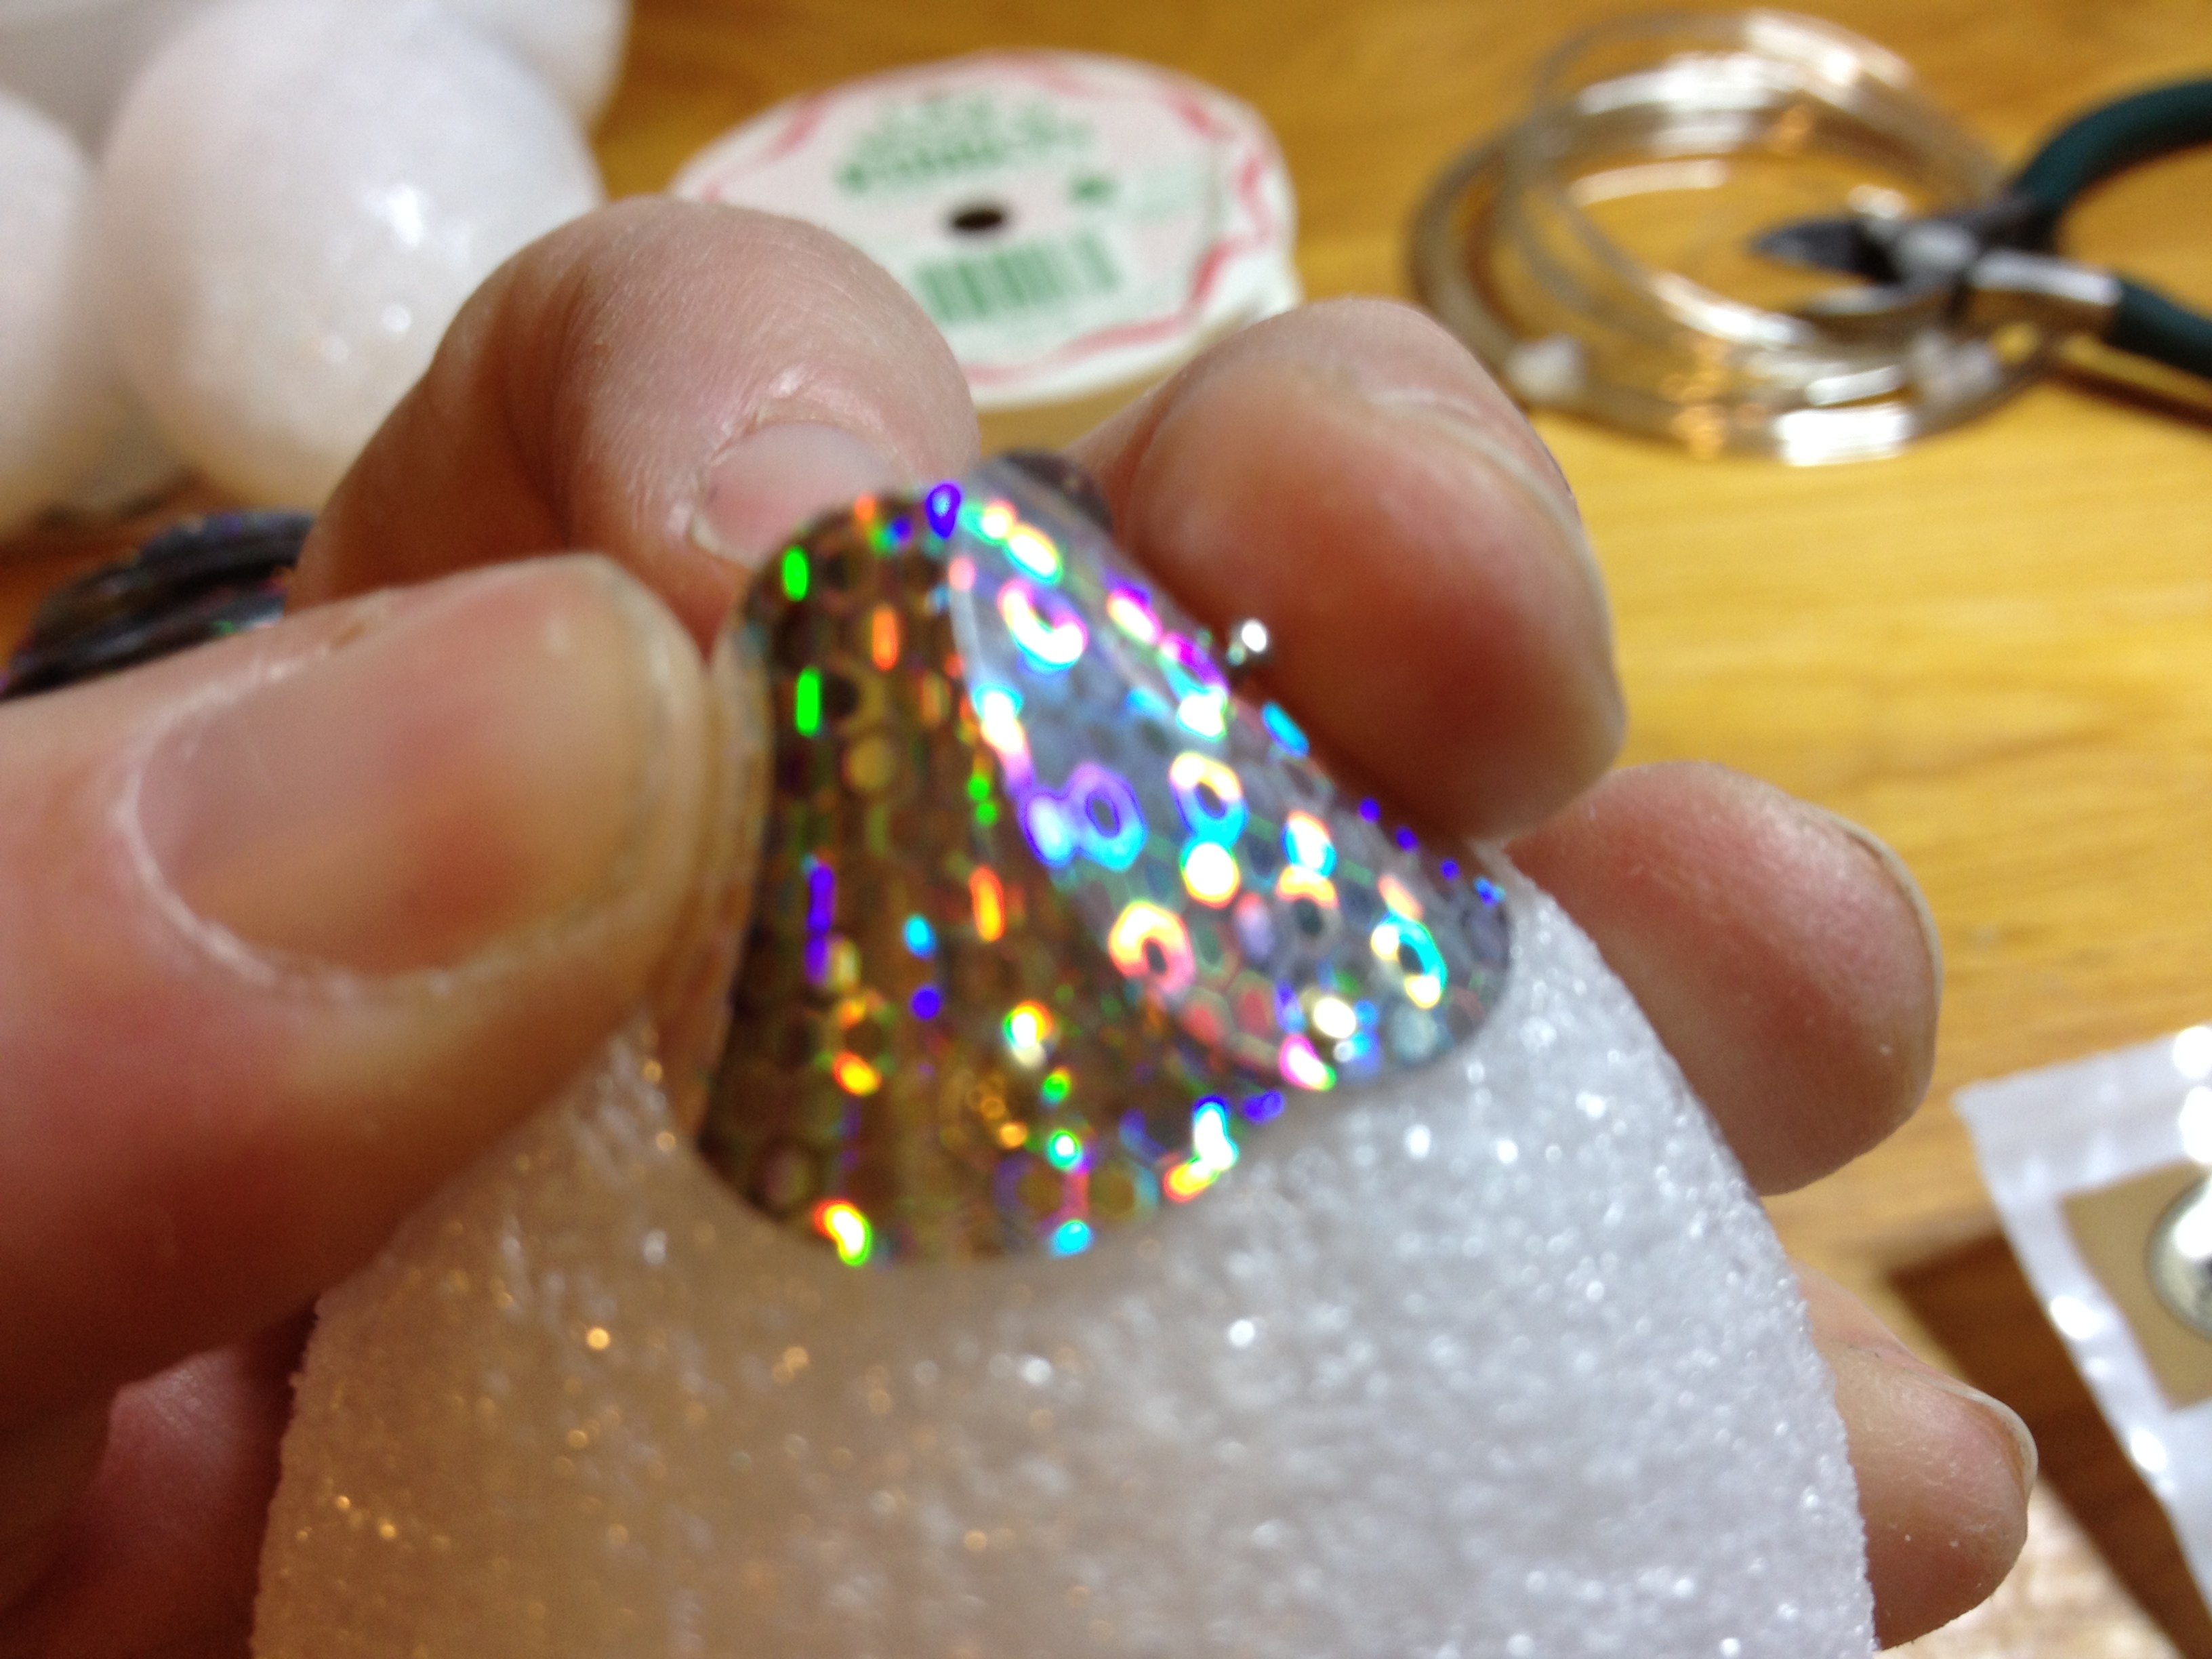
The start is the toughest part. Take the first 3 sequins (paillettes) bend and overlap these into a cone shape, and secure to the pointy end of the styrofoam egg. Make sure the tip is closed, you don’t want to be able to see the styrofoam through a hole. I used longer straight pins and a small bit of glue to secure them. Then, start pinning a row halfway below the start working around overlapping each sequin, pinning through both. Kinda like fish scales continuing around in the same direction.
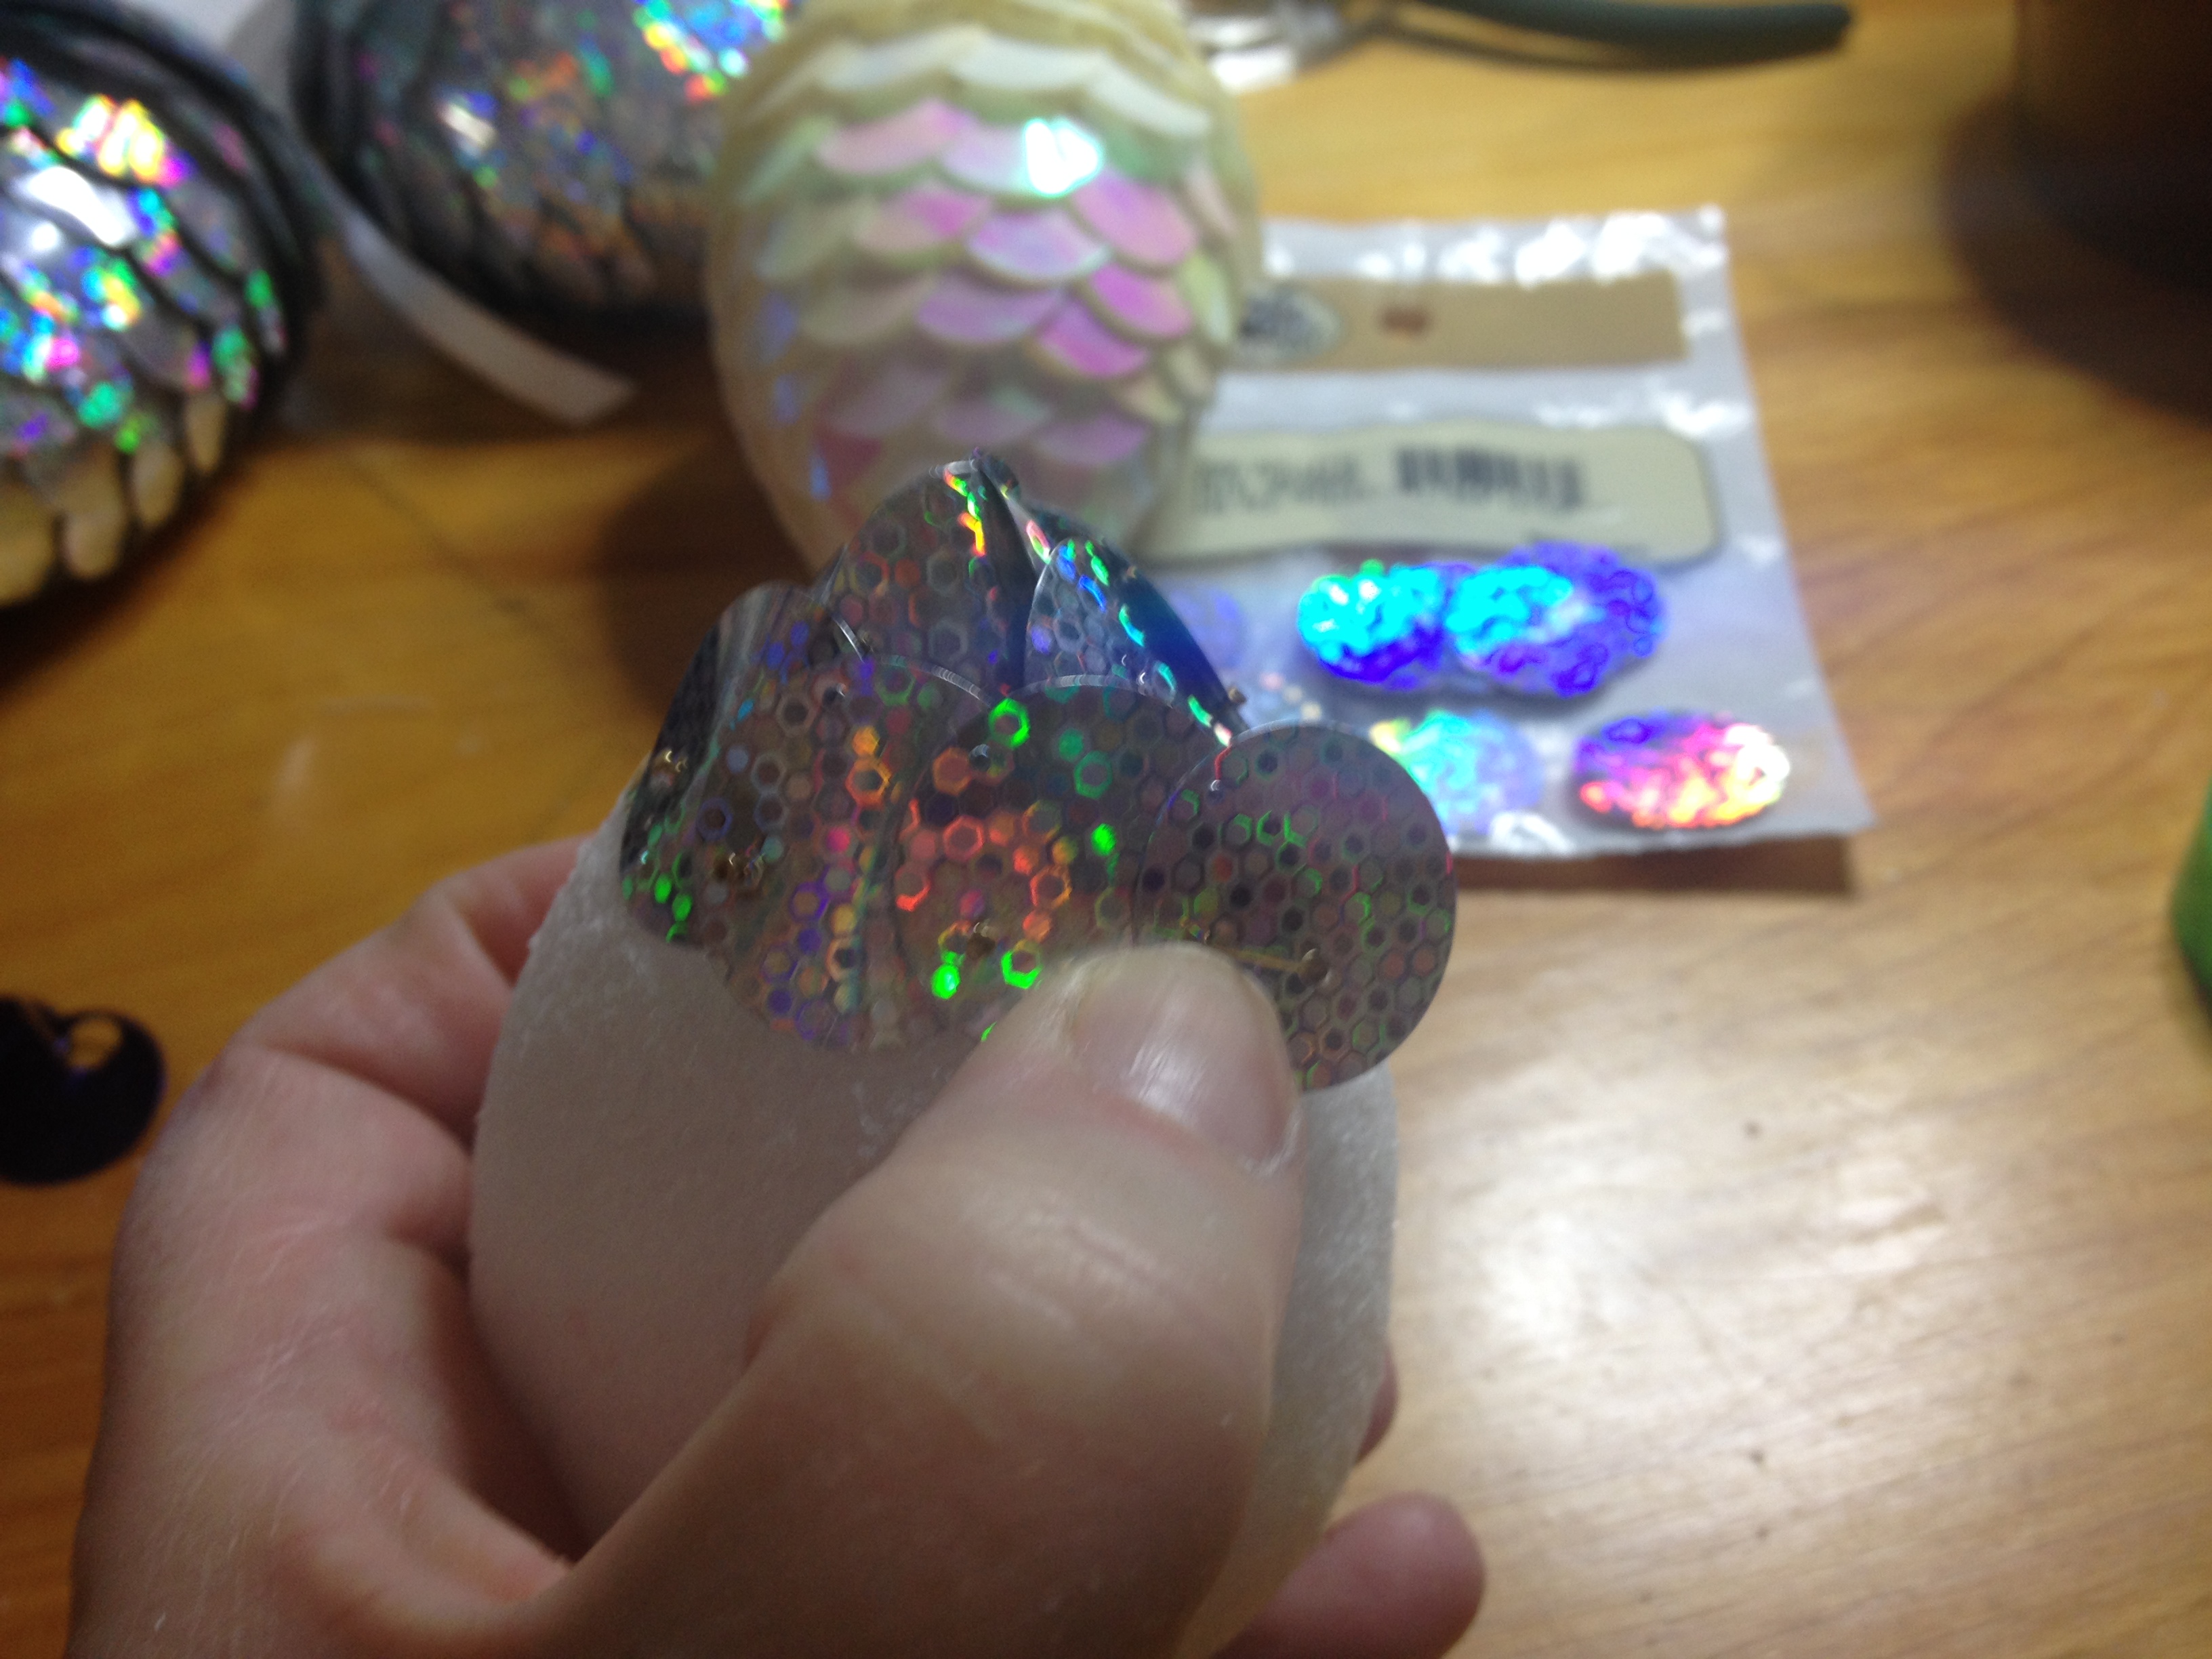
Work around, and around, dropping down as you go, covering the pins in the upper row, until you cover the egg. Your thumb may become numb. The more you do, the tougher your digit may become. I tried to use a thimble and a leather finger guard, but couldn’t feel the pins and got frustrated. My solution was more fingertip moistener (to grab them) and doing a pinecone a day until my thumb toughened up.

As you come to the bottom of the egg shape, even out the drop but continue in the same direction until you cover the end of the egg. They will be flatter, but still need to stay overlapped and in the same degree of drop.
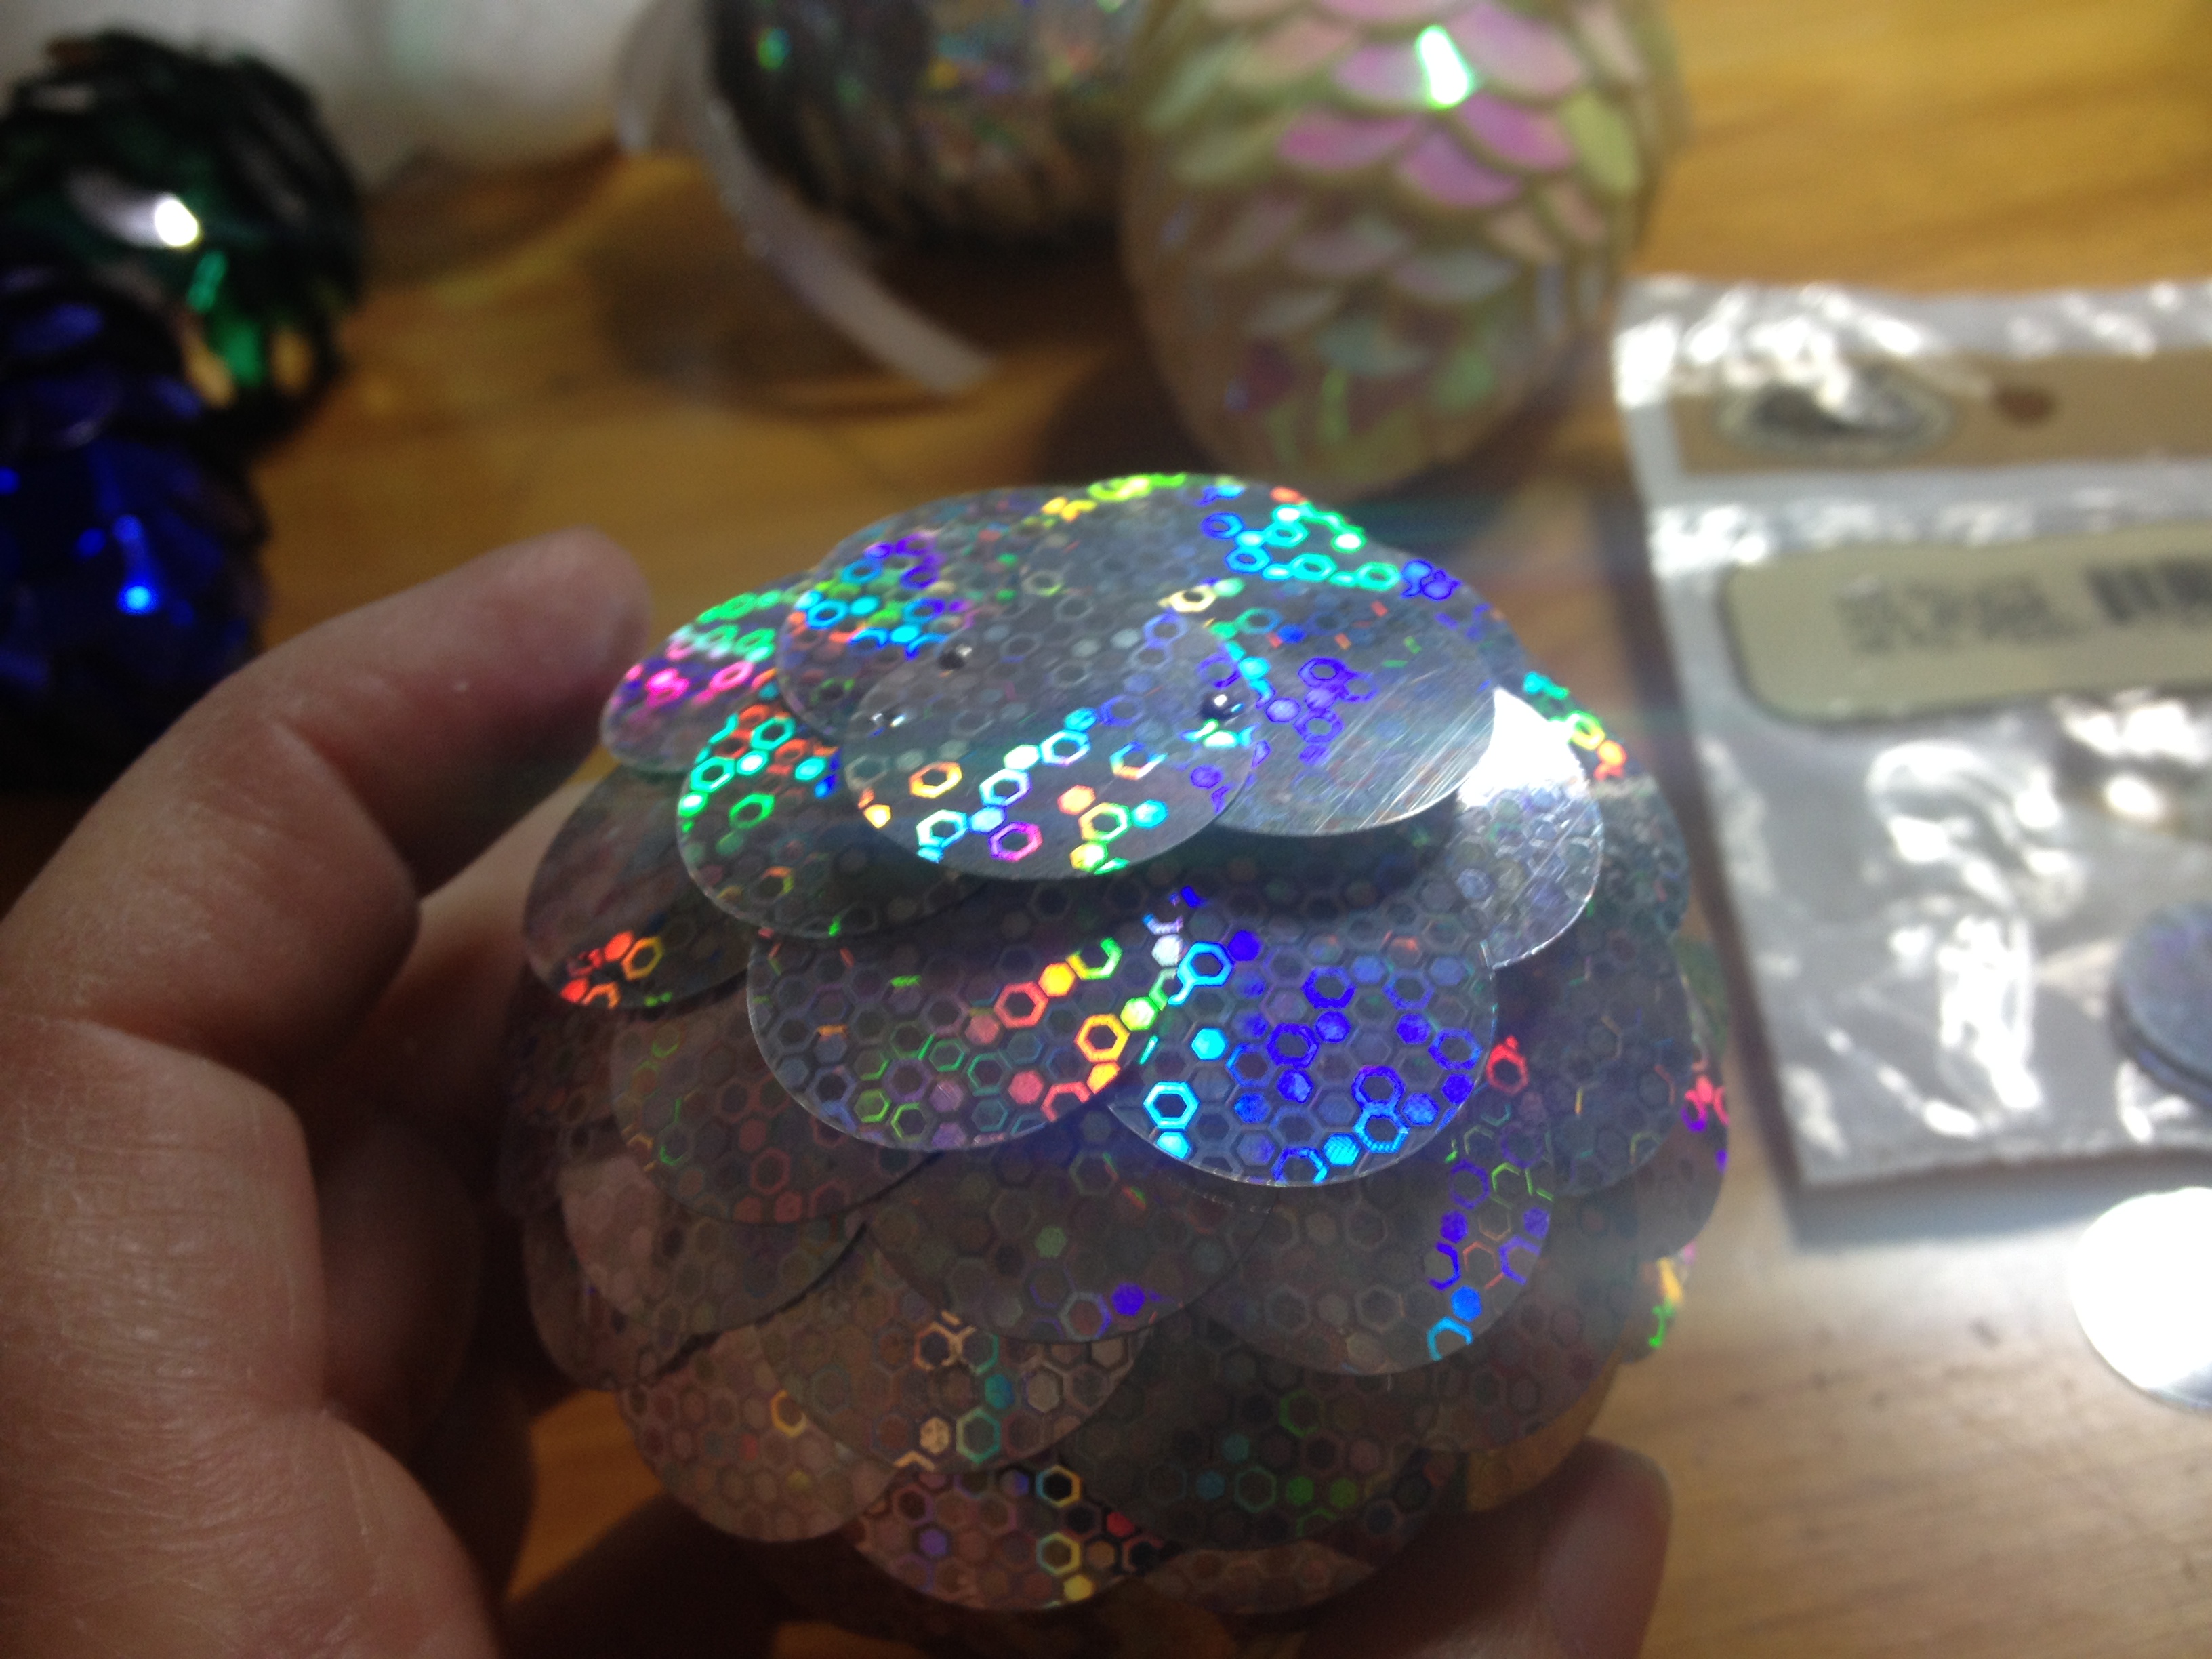
Once you cover the bottom, put one final sequin over any pins still showing. Add a hanging hook or loop and tie with a ribbon. Hook or loop, your choice for hanging.
 I actually hang mine without ribbon snugged up against the tree branches like a real pinecone would hang. The metallic and holographic finishes are so pretty, and they reflect the lights from the tree beautifully.
Here’s another one I made with “shell” or pearl finished paillettes. I’ve also mixed the colors when I don’t have enough of one color and they looked pretty as well.

So, from the “Real” Northern California, a sparkly pinecone that will dazzle when hanging on your Christmas Tree!
Enjoy,
Debbie
