So I did it again, I’m a bad, bad, bad crafter. I bought something at a craft fair to “steal” the secret. Shhhh, I’ll share it with you, only if you keep it a secret!

It’s the amazing “wonder bun, EZ bun, Bun easy… what ever it’s called, it’s genus!! Since it is mid-august, and its way too hot for long hair, you need any easy solution for your hair besides cutting it all off! Years ago I had a couple of these thingys, but the holes stretched out, and I forgot how much I loved them. Until this past summer on our road trip, and I found them again in the Marketplace. I was so thrilled, I paid $20 bucks for two of them. Yes, twenty of my hard-earned bucks!! Well you know me by now, as soon as I got home I began “deconstructing” them to figure out what gauge wire, type fabric, size and began customizing them for me. (and you) hint: if you use it on wet hair, you get really nice curls when it’s dry!! Try it at the beach, and you’ll be party ready by night!
Materials Needed:
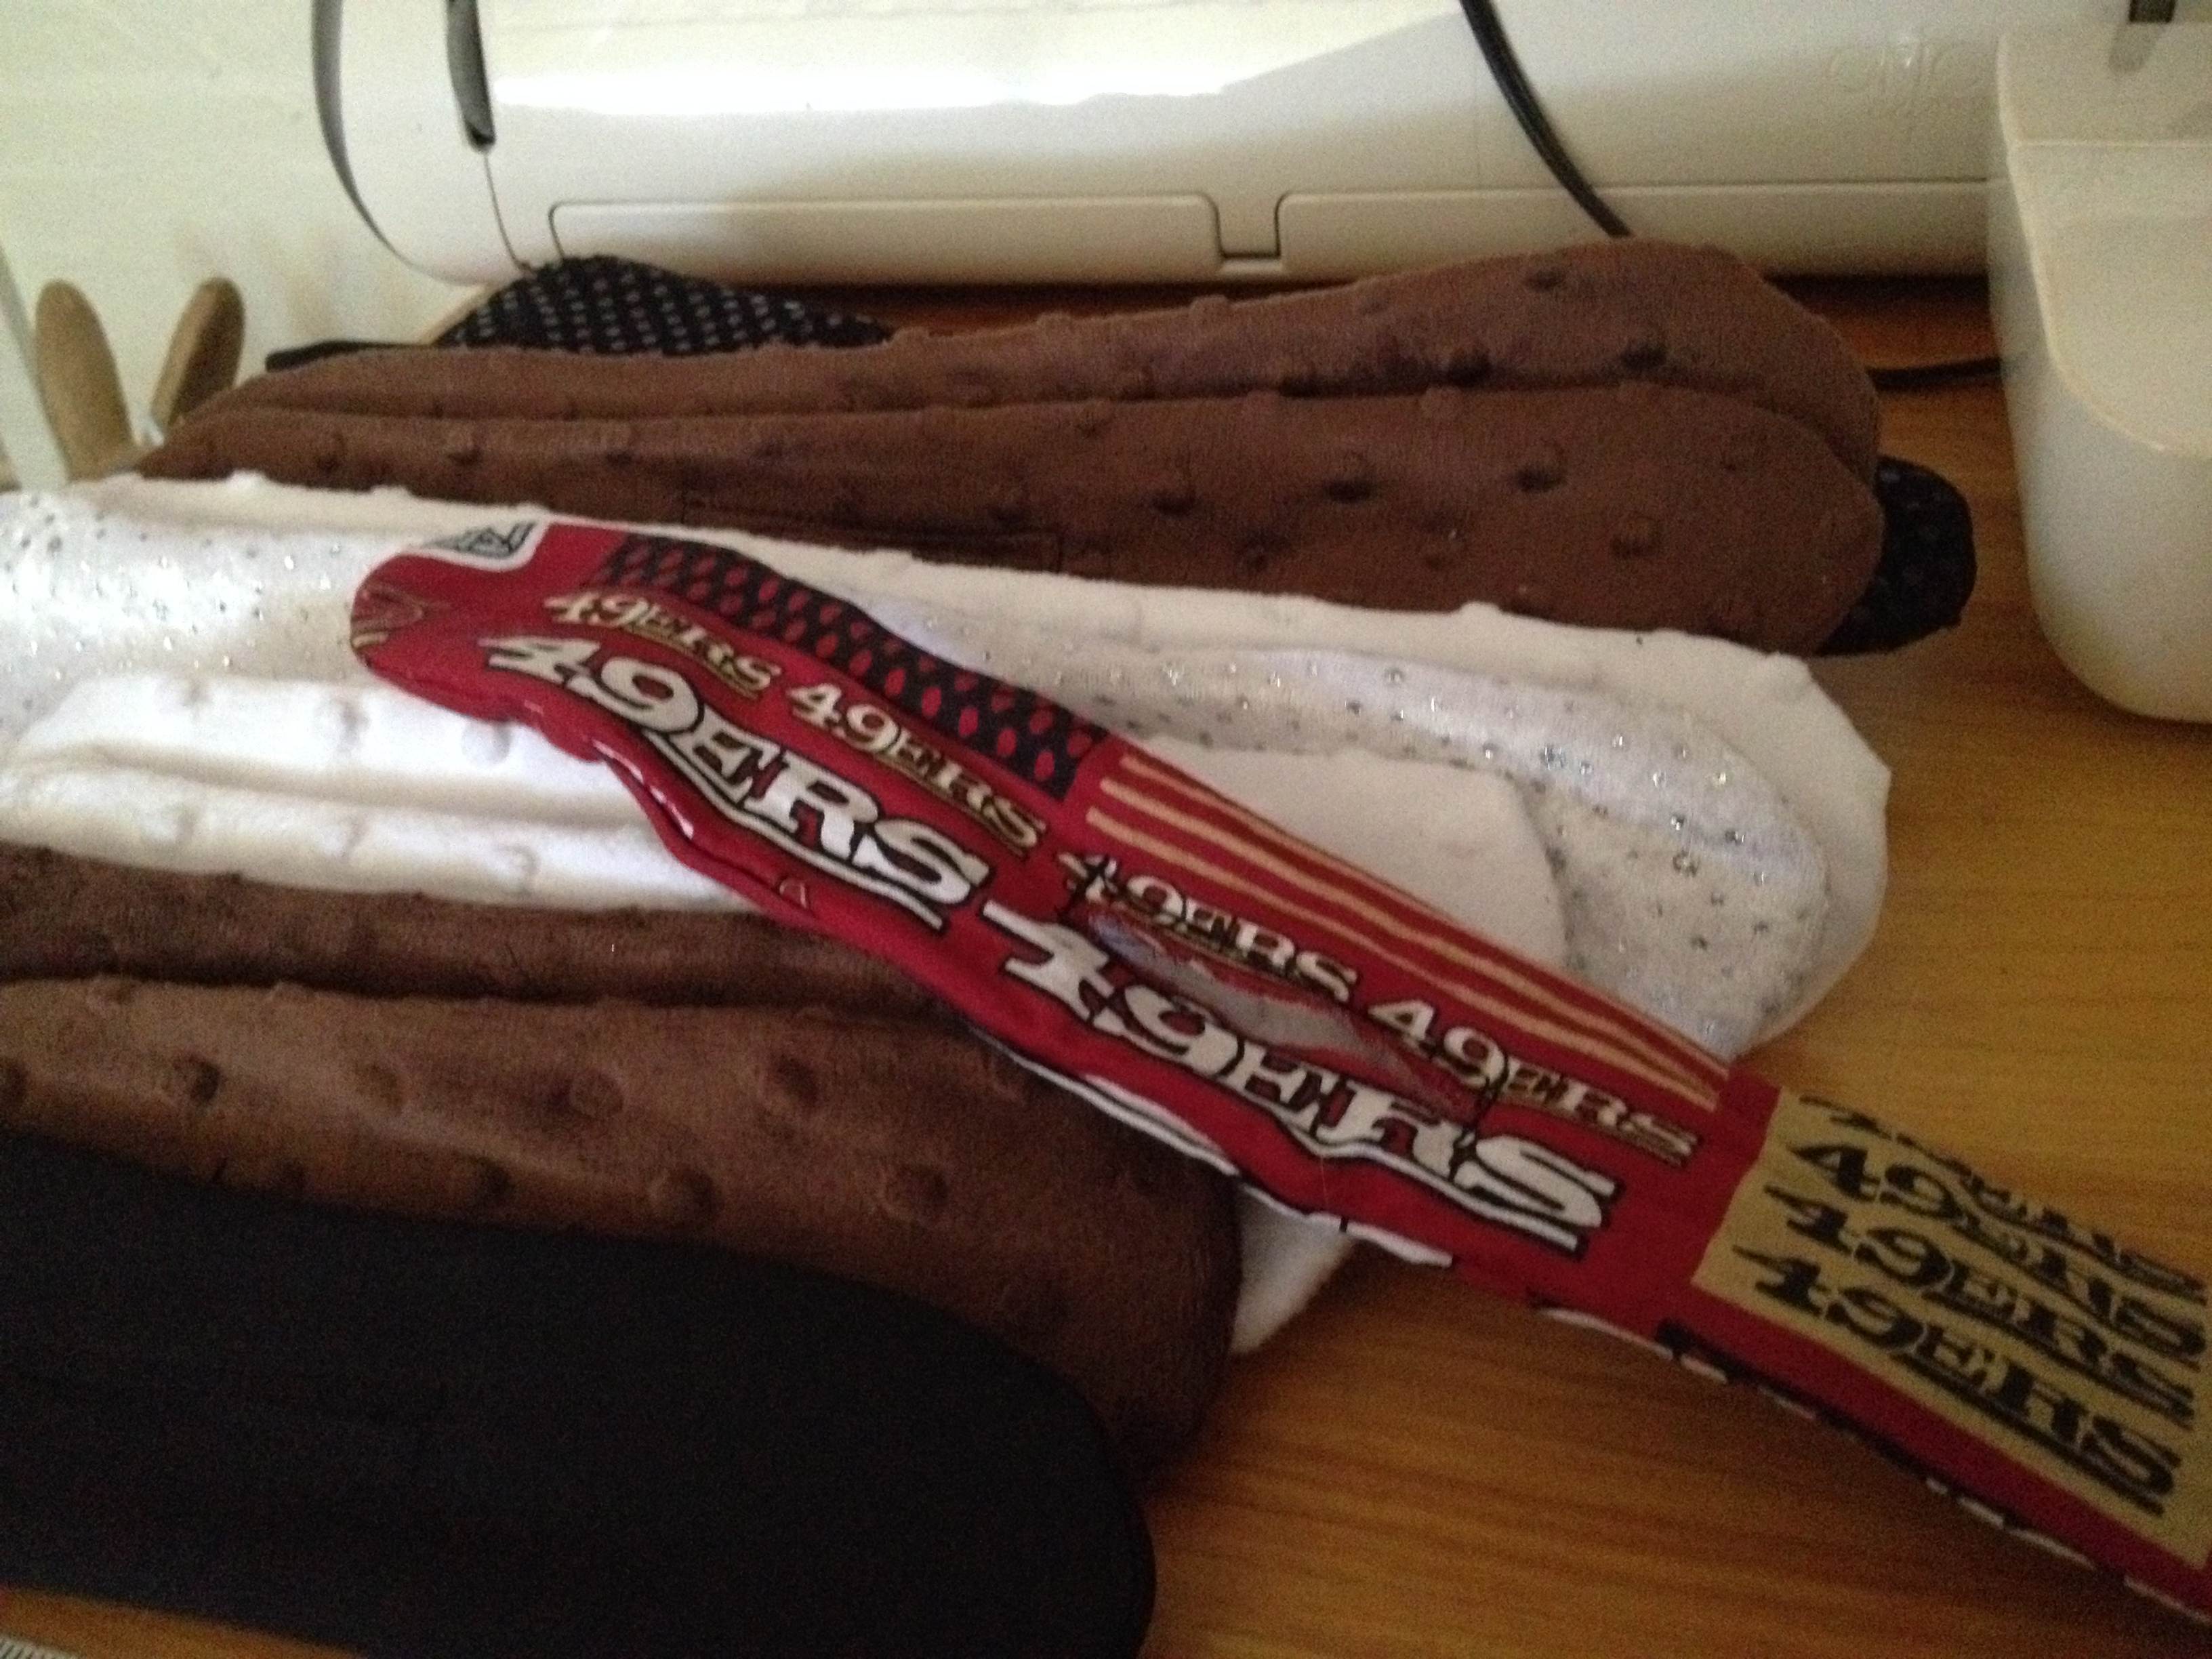
Cute fabric, stretchy worked best, but I also did a few with cotton (go 49ers!)
Think I might do some seasonal ones too!
12 gauge craft wire, it needs to be stiff but flexible
wire cutters
thread to match or compliment
sewing machine

I experimented until I figured out the best measurements.
For adults cut fabric 16″ X 4″, children and those of us with really fine hair 10″ X 4″ rectangles. (cut 2). I used the rotary cutter and mat to cut multiples, because I can’t make one of anything!
Don’t worry about cutting the ends round, you can do this after you sew them, before you turn them.
I worked production line style once I figured out the dimensions. Sssshhh, there’s the original on top, just place the right sides together, and sew down the edges and “round” out the corners.


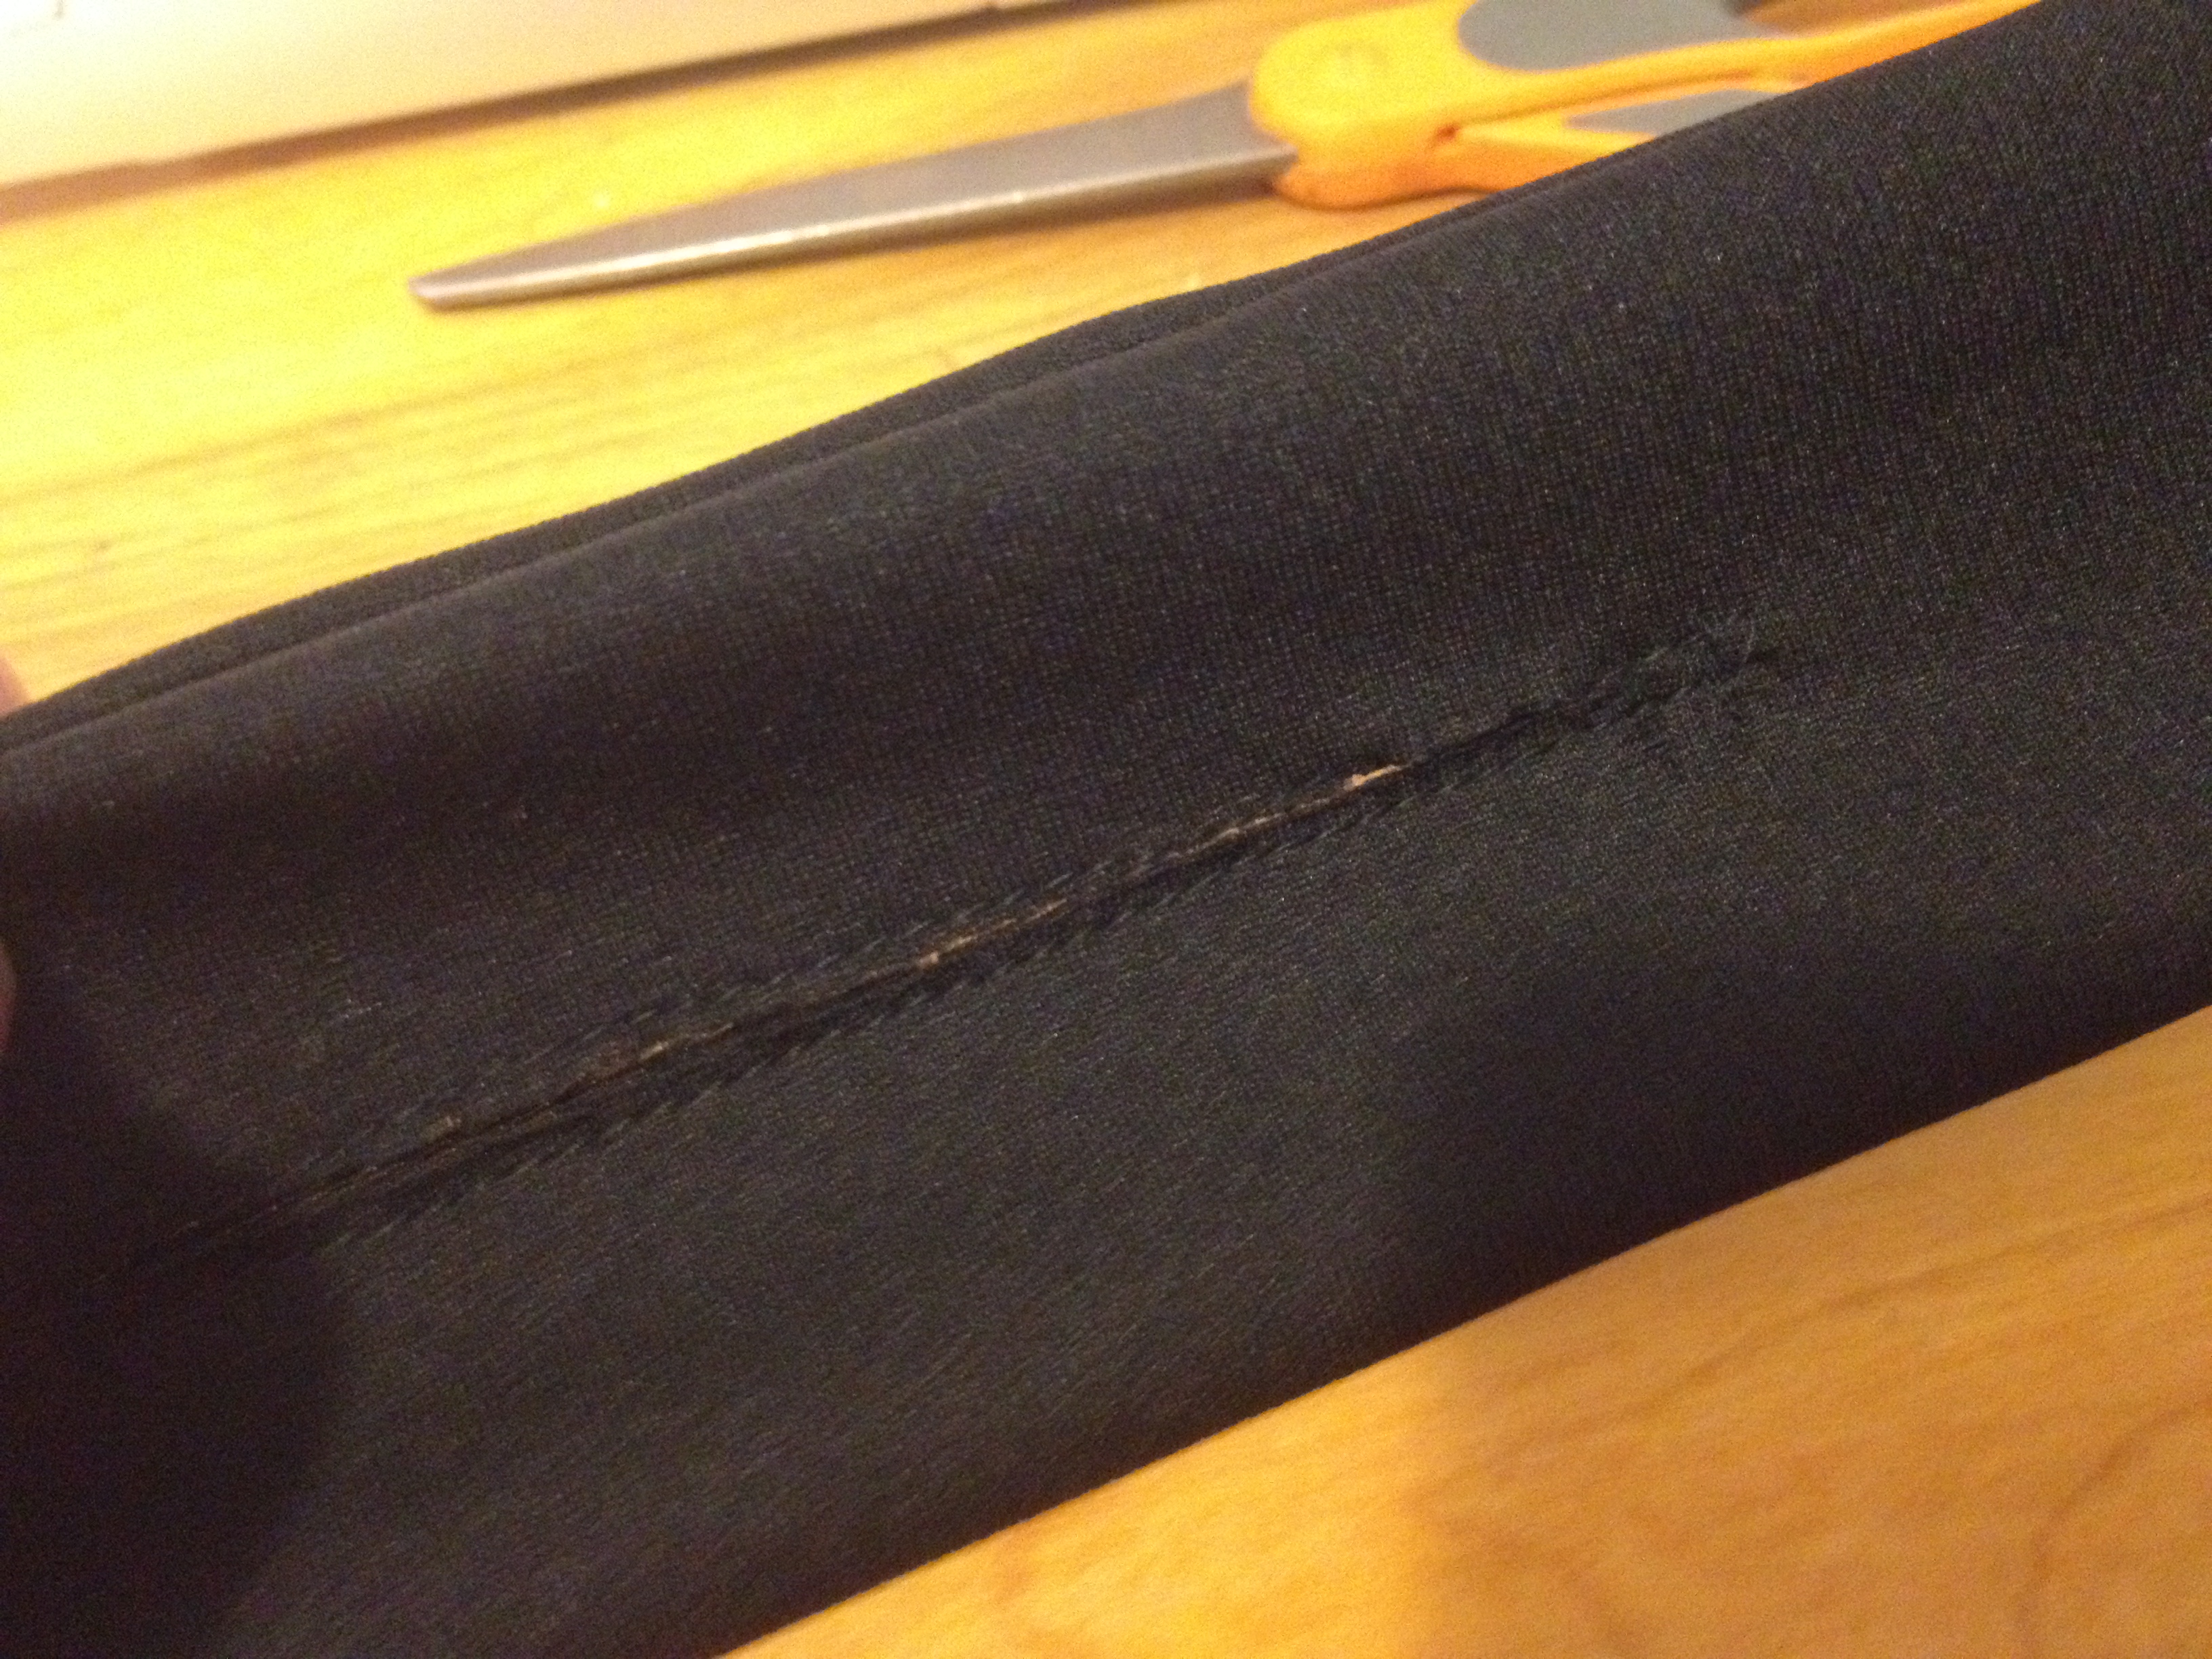
I sewed about a dozen of each color, then trimmed the corners off. Fold them in half and cut a slit down the middle 4″ hole for adult, 3″ hole kids/fine hair.

Use this opening to turn right side out.
Now to make the “magic” part. It took some shopping around, but finally found the correct gauge of wire. I found it sold as floral wire, 12 gauge coated. (it’s pliable but stiff enough to hold its shape.)
Cut the wire at 32″ for adults, and 24″ kids/fine hair and twist together to form a large oval shape. Make sure its tied/twisted securely, you are sewing it inside and don’t want it to come untied.


Insert the wire into opening, and stitch it shut. If you have a “fancy” machine you could do a long button hole, but I just topstitched it shut. You won’t see it anyway, your hair goes through it, but neatness counts!!

And Voila! easy, wonder, EZ bun maker.
So to use it, you just gather up your hair into a pony tail, low if you’re adding a hat, or high if you’re going for naughty librarian. Give it a twist a couple of times to tighten the hole. pull down about 2/3 to 3/4 of the hair length, and begin rolling up.


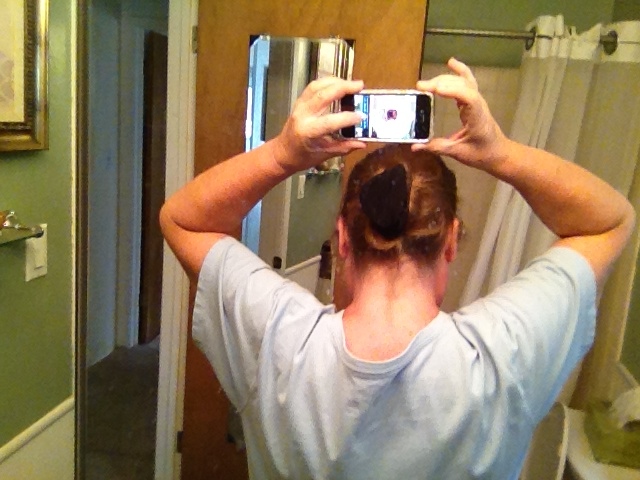
Wow. trying to take a selfie is harder than it looks!
Continue rolling the hair until up against the scalp, but not too tight.
Bring the ends together, and twist to secure. You can tuck them on top, or hide underneath the bun.

I think I need one more hand…..
Ta Daaa!! it’s a bun!!

Here’s my 49er one too! You can do a double bun, just use two makers and roll half your hair at a time. You can do a half bun by only rolling the top and sides of your hair and leaving the lower portion out. Or try a pony bun by rolling the bottom half of your hair, and placing the top portion through the bun before you twist it closed. Since I don’t have a photographer on hand, and two hands aren’t enough to shoot properly, and for more professional styling instructions, please go online to youtube!
Enjoy
Debbie
