Chardonnay Angel (Pinot, Moscato or Merlot)

IMG_0769

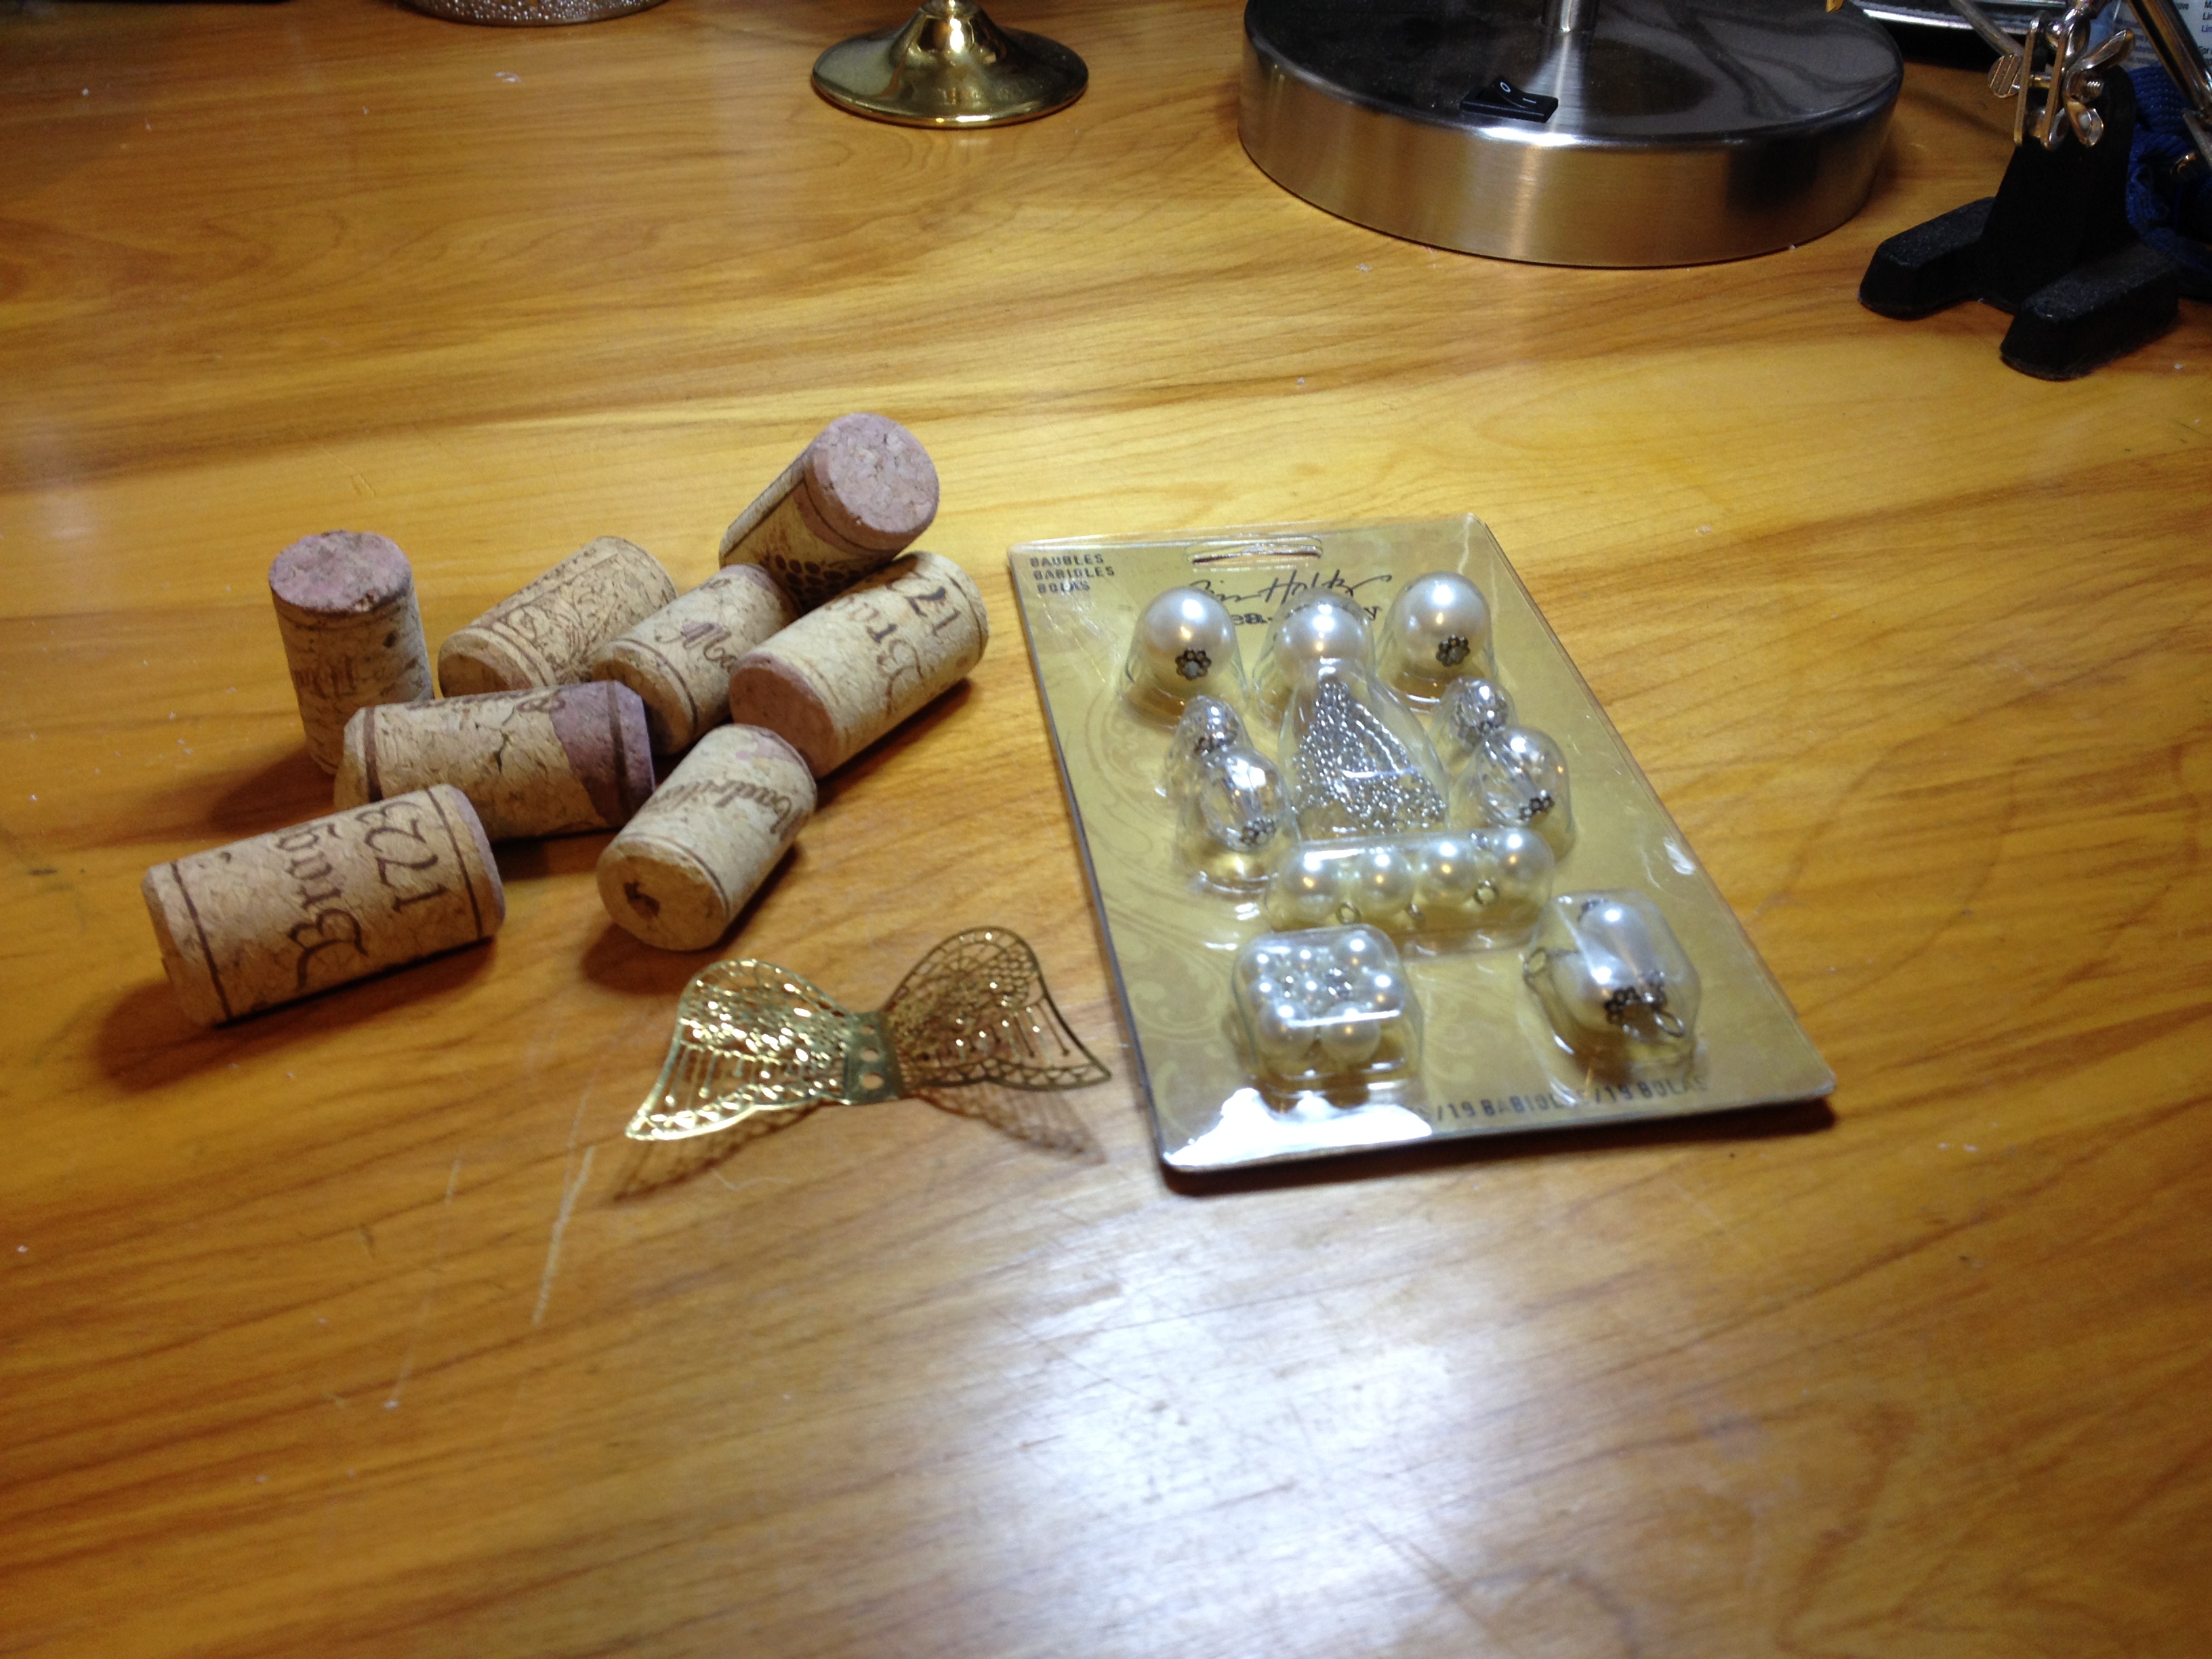
I have another confession, I really don’t drink much wine. The corks used here, were bought from the craft store. Yes, I’m more of a cocktail drinker, not a fine wine connoisseur. But you can certainly consume until your hearts desire, and collect your own personal supply of corks!

IMG_0745

Supplies needed for these “chardonnay” Angels:

Wine Corks (from the craft store or last night)

Angel Wings (I inherited these beautiful lacy ones from my Mom’s stash)

Beads, tassels, charms, eye pins, jump rings, sequin pins

pliers and wire cutters

IMG_0747

I started by attaching the wings to the back of the cork with sequin pins.

IMG_0750

Next I found a pretty head bead and used an eye hook and smaller seed bead (to keep it from sliding off) and pushed into the top center of the cork.

IMG_0753

Another eye pin with a tassel on the bottom, some pretty beads on the stem. Push this into the bottom of the cork (centered). You could do multiple strands of beads, chains, seed beads. Use your stash and be creative. I was looking for a vintage, copper and cork combo here.

IMG_0764

Thought she needed a little more sparkle on her cork, so I added seed beads with sequin pins around the edges (top and bottom) of the cork. I did have to take off her wings, should have done this step earlier. Live and Learn! That’s the beauty of doing it yourself. You can add/subtract, take it apart and put it all back together again until it looks the way you like.

So try not to overindulge in the vino, but be sure to save the corks!

Enjoy,

Debbie

Angel for your Office

IMG_0680

I know we’ve all had a bad day at work, so here’s a little quickie to ward off those bad days. I made these a few years ago, for my co-workers and to sell at a local craft fair. Next thing you know, I started getting bulk orders for custom colors and quantities.  Once you get the hang of it, they go together quickly.

I found the ideal clamps in two sizes, large and regular as well as two finishes, silver and gold, at the Office Supply store.  Then took one of each size to the craft store to figure out what size head bead would look proportionate. Measurement for the large size is listed first, the smaller size ones (in parenthesis)

IMG_0673

For each Angel you will need:

Ideal Clamps Large (regular) body of Angel

12mm Pearl bead (8mm) head of Angel

10mm Jump ring (6mm) for the halo

1/4″ ribbon, various colors

Small silk flowers

hot glue gun or quick dry glue

scissors

Charms, miniature tokens, embellishments

I purchased both pearl beads and wooden beads for the heads. It seemed to me that the pearl and silver ones looked “city”,  and the wooden heads more “country”.  Make sure the jump rings are a size smaller than the head bead, you wouldn’t want her halo falling off, or slipping down.

IMG_0674

I started by cutting several lengths of ribbon into 12″ pieces.  Next, separating the flowers and leafs from the stems. I set up bowls of each item and worked on these assembly line style. Start by threading a head bead onto the ribbon.  Leave a hanging loop 1-1/2″ long, and go back through the bead again. Tie the ribbon around the middle of the clamp and cut ends on a diagonal. Slip the jump ring for the halo, over the hanging loop.  A little dab of glue will hold it, but I kinda like it to move around a little bit.

IMG_0678

Now all that’s left is to embellish her “dress”. I put a leaf as a base, then add some tiny flowers. You can add them with the hot glue gun, or quick drying glue. If I’m feeling extra fancy, I add a charm. You can do them in pinks and blues, they were quite popular for baby’s first Christmas Ornaments. Sports team colors, School colors, holiday flowers and my favorite purple and white!! Be sure to embellish both sides of the dress, she’ll spin when hanging.

IMG_0682

I hope these bring you joy, and end all those pesky bad days at work. A quick and easy craft, that is pretty and thoughtful.

Enjoy,

Debbie