Ok, so I’m going to blame Frank for this. Was it his fault? No, I never said that, I just said I was going to blame him.

So, you ask how was this his fault? I bought him a shirt for the rehearsal dinner. (In case you didn’t know, youngest son is getting hitched in June) and I asked him to try it on. Several times I asked him to try it on…. I got an XL because I loved the shirt, and they didn’t have a large. I’m pretty handy with the sewing machine, and I figured I could just take it in some. Problem was, he wouldn’t try it on while I was available to mark it. Long Story short, he tried it on alone, told me it was really big, and I took it upon myself to take it in, sans measurements. Needless to say I took it in too much! Ugh! A perfectly good, Jimmy Buffett Margaritaville Shirt, too small!!
After blaming him relentlessly, and a good nights sleep. INSPIRATION!! Bar towels for the Margarita bar at the rehearsal dinner. GENUIS….
Supplies needed:
One super cool Magaritaville Shirt (made too small) or any other print you’re fond of
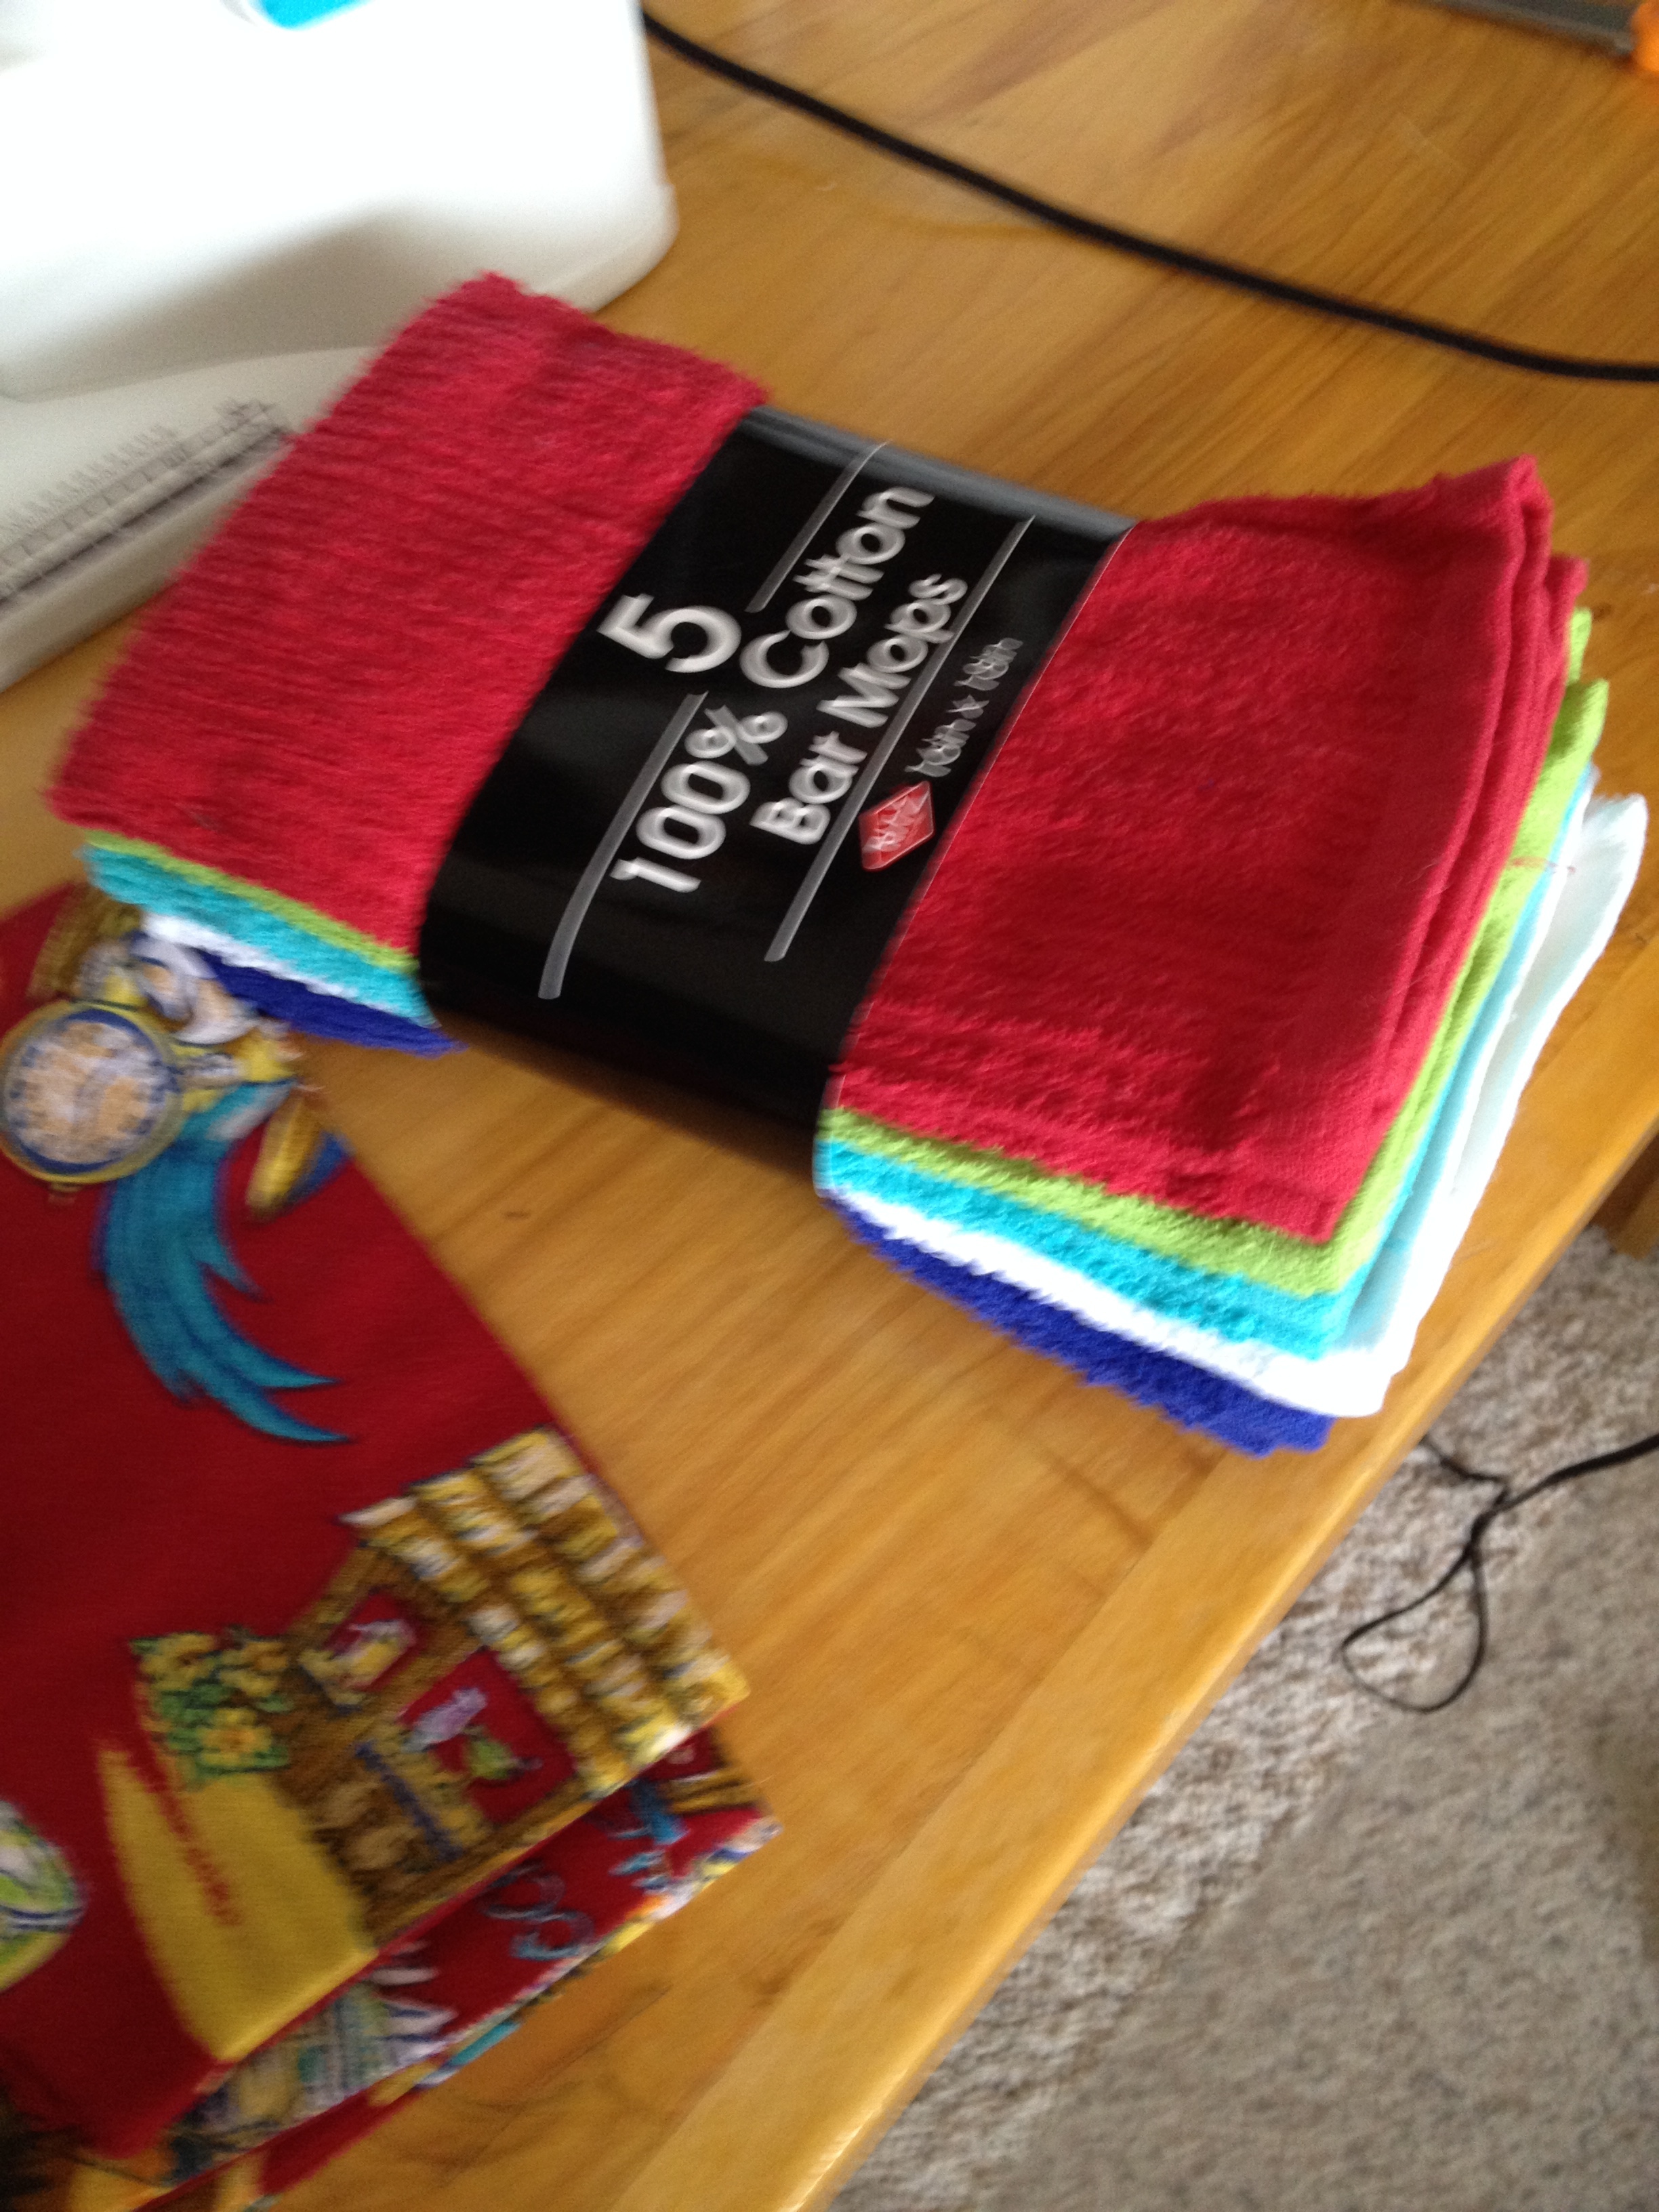
Colored bar towels to match fabric (mine were 16″x19″)
Simplicity pattern #1483 (make sure you get these on sale)
Sewing machine and some time to kill
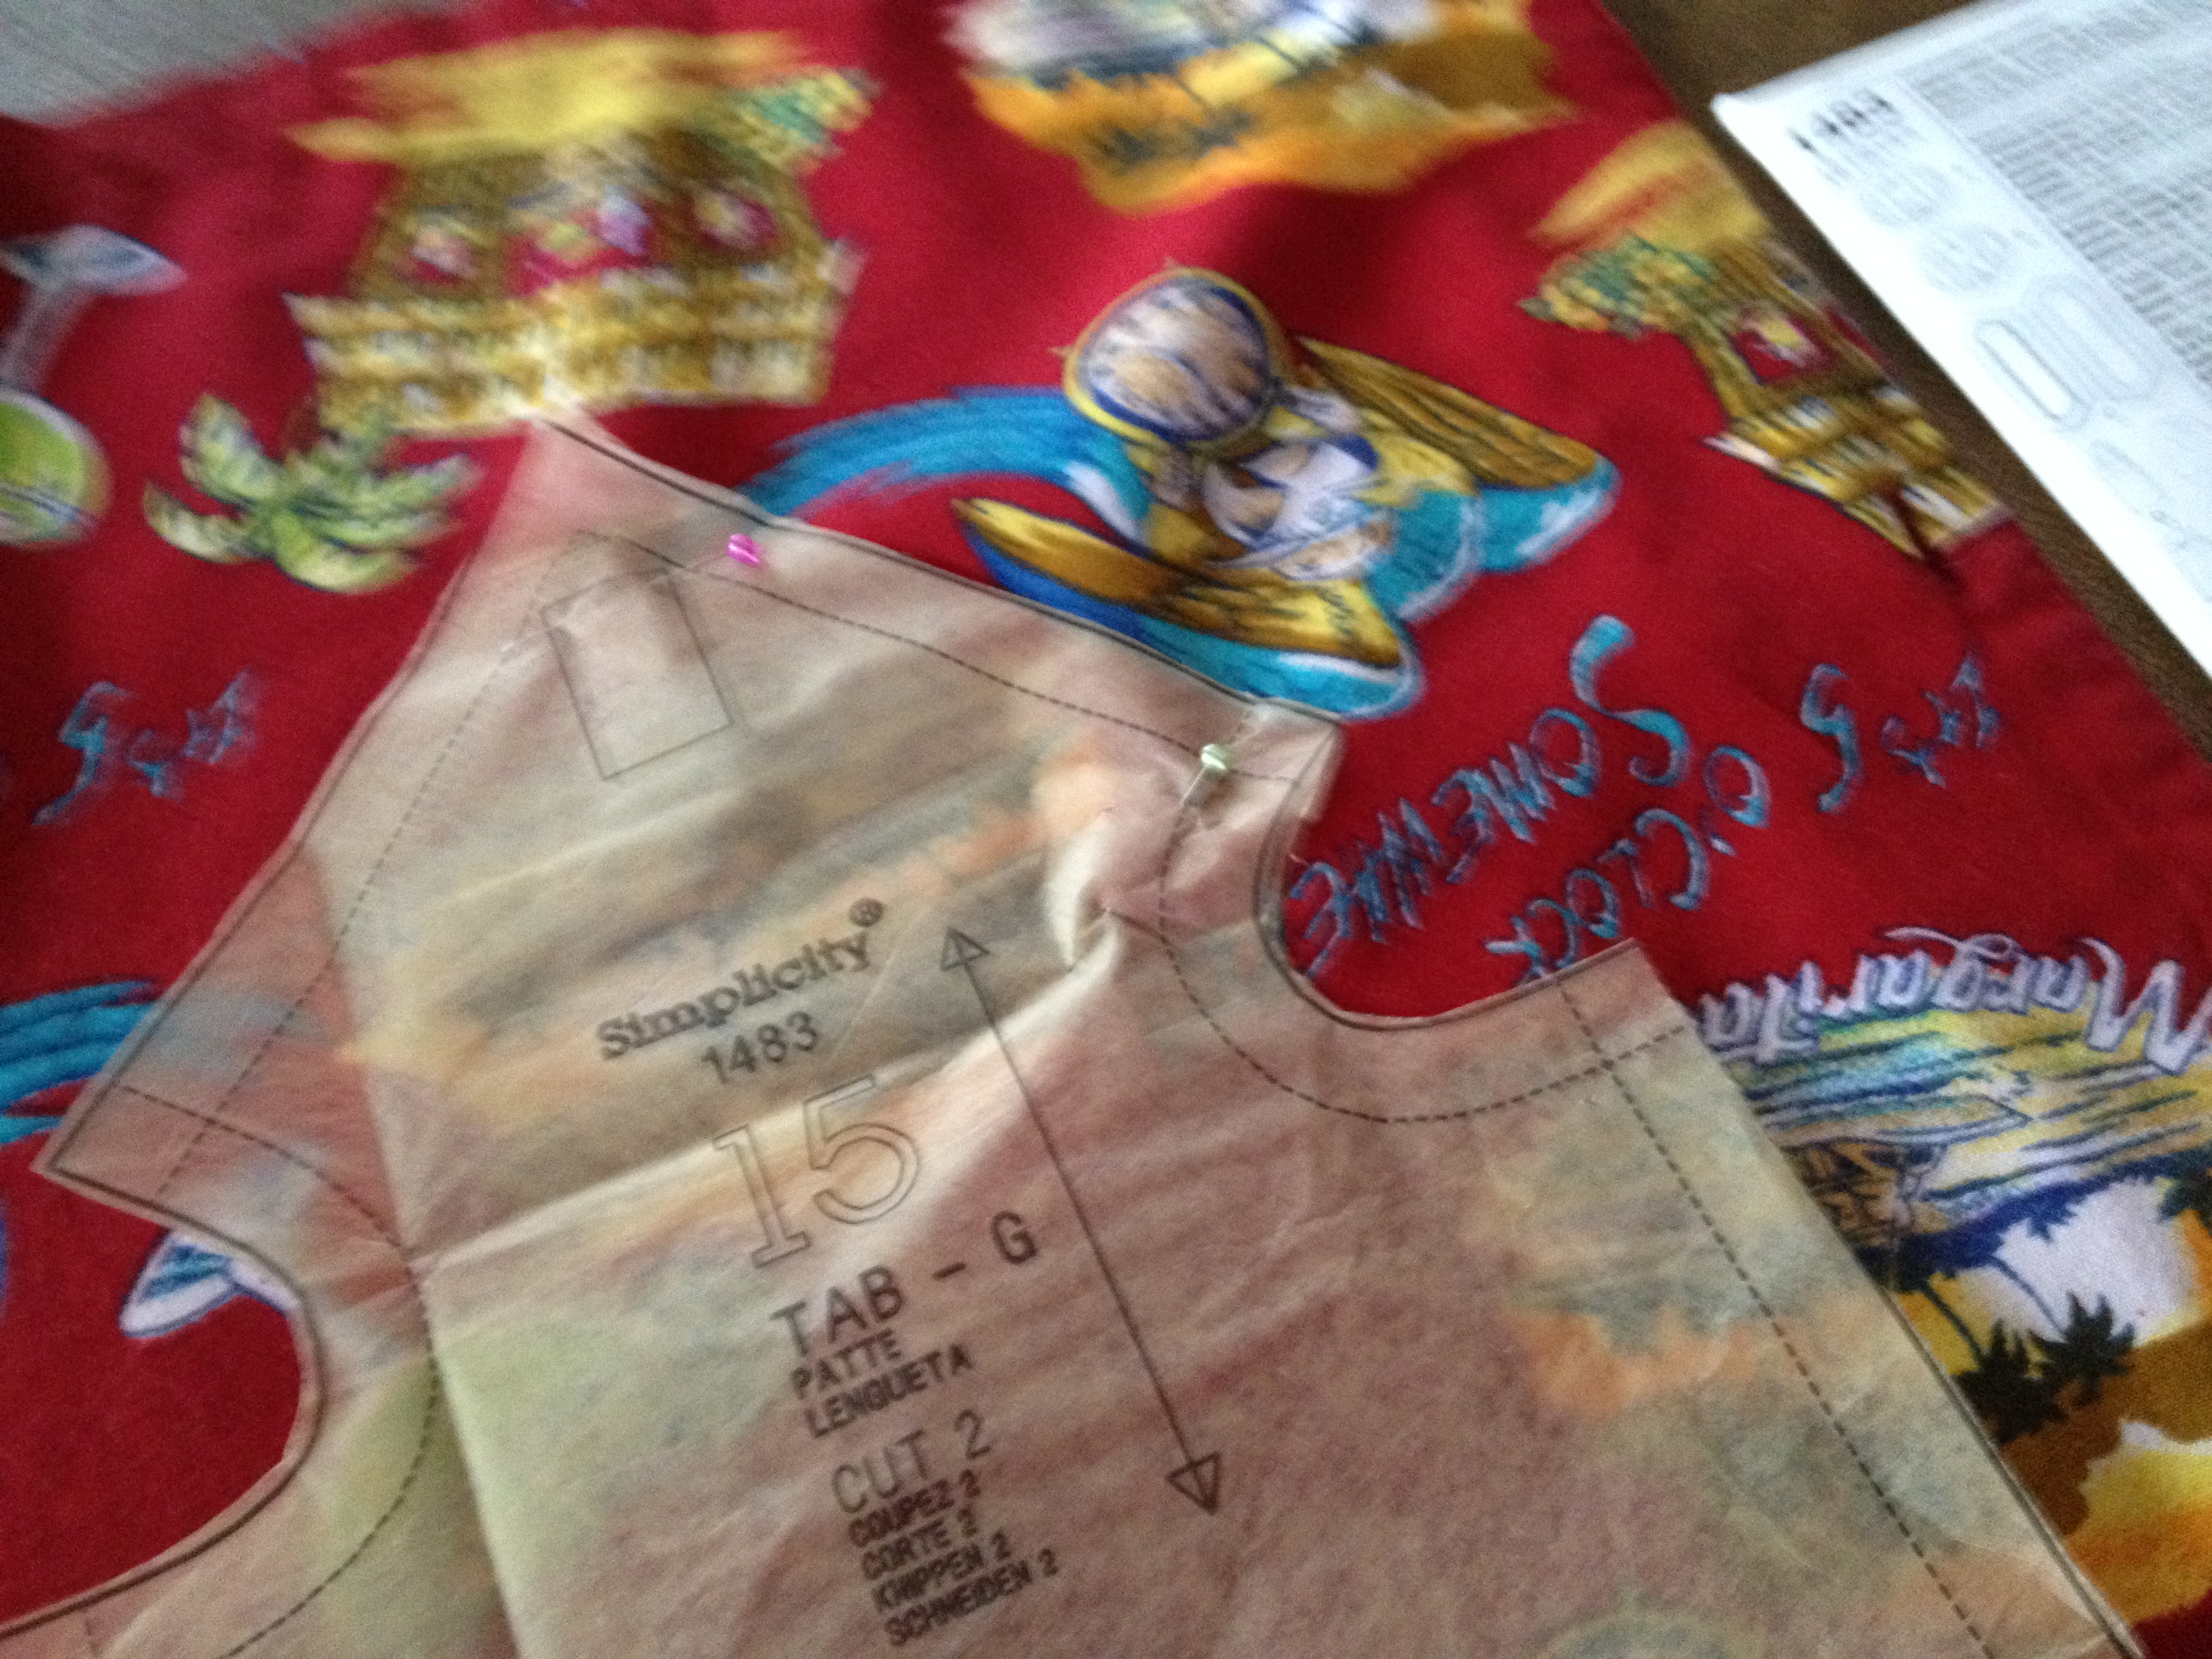
So early this morning, scissors in hand, I chopped up what was left of the shirt, removed the super cool buttons (they say Margaritaville on them) and began redeeming my sewing confidence. I did use a pattern, Simplicity #1483, since I really didn’t want to screw this up. This pattern retails for $17.95, but if you watch for your local fabric/craft store sales, they will go on sale for 5/$5.00.
I picked this one up months ago during one of those sales, and finally used it on this project.
I may have spent a little too much time attempting to get the coolest parts of the fabric strategically placed. Could of probably gotten another set of tops, but I tend to fuss over details.
Worked out OK, I got five tops, and the package of bar towels came with five!
The tissue pattern made it easy to see placement over the prints.
You could totally do this without a pattern, in fact next time I will improvise the front flap into a curved or squared shape instead of the point.
Just make a newspaper square about 8 1/2″ X 4 1/2″ for the base, a 5″ wide middle piece, and 6 1/2 x 4″ flap.
The overall size approx 9″ x 9″.

When cutting them out, I did utilize the sleeves (the already hemmed edge) for the bottoms of a couple of the towel tops.

If you are using an obvious one way print, be sure to cut one side upside down. Because after you sew them together, the “flap” needs to be upside down so its right side up when finished.
Sew according to directions, right sides together. leaving the bottom open. Turn and press a hem along the bottom edge (some were already done) and stitch that down.

The pattern calls for velcro on the flap to attach, but I opted for a button/buttonhole option. The buttons from the shirt were cool, and since my “Opal” does them automatically, why not?
Next step, I removed the hem from one of the short sides of the bar towel. (to reduce bulk) and gathered along that edge.
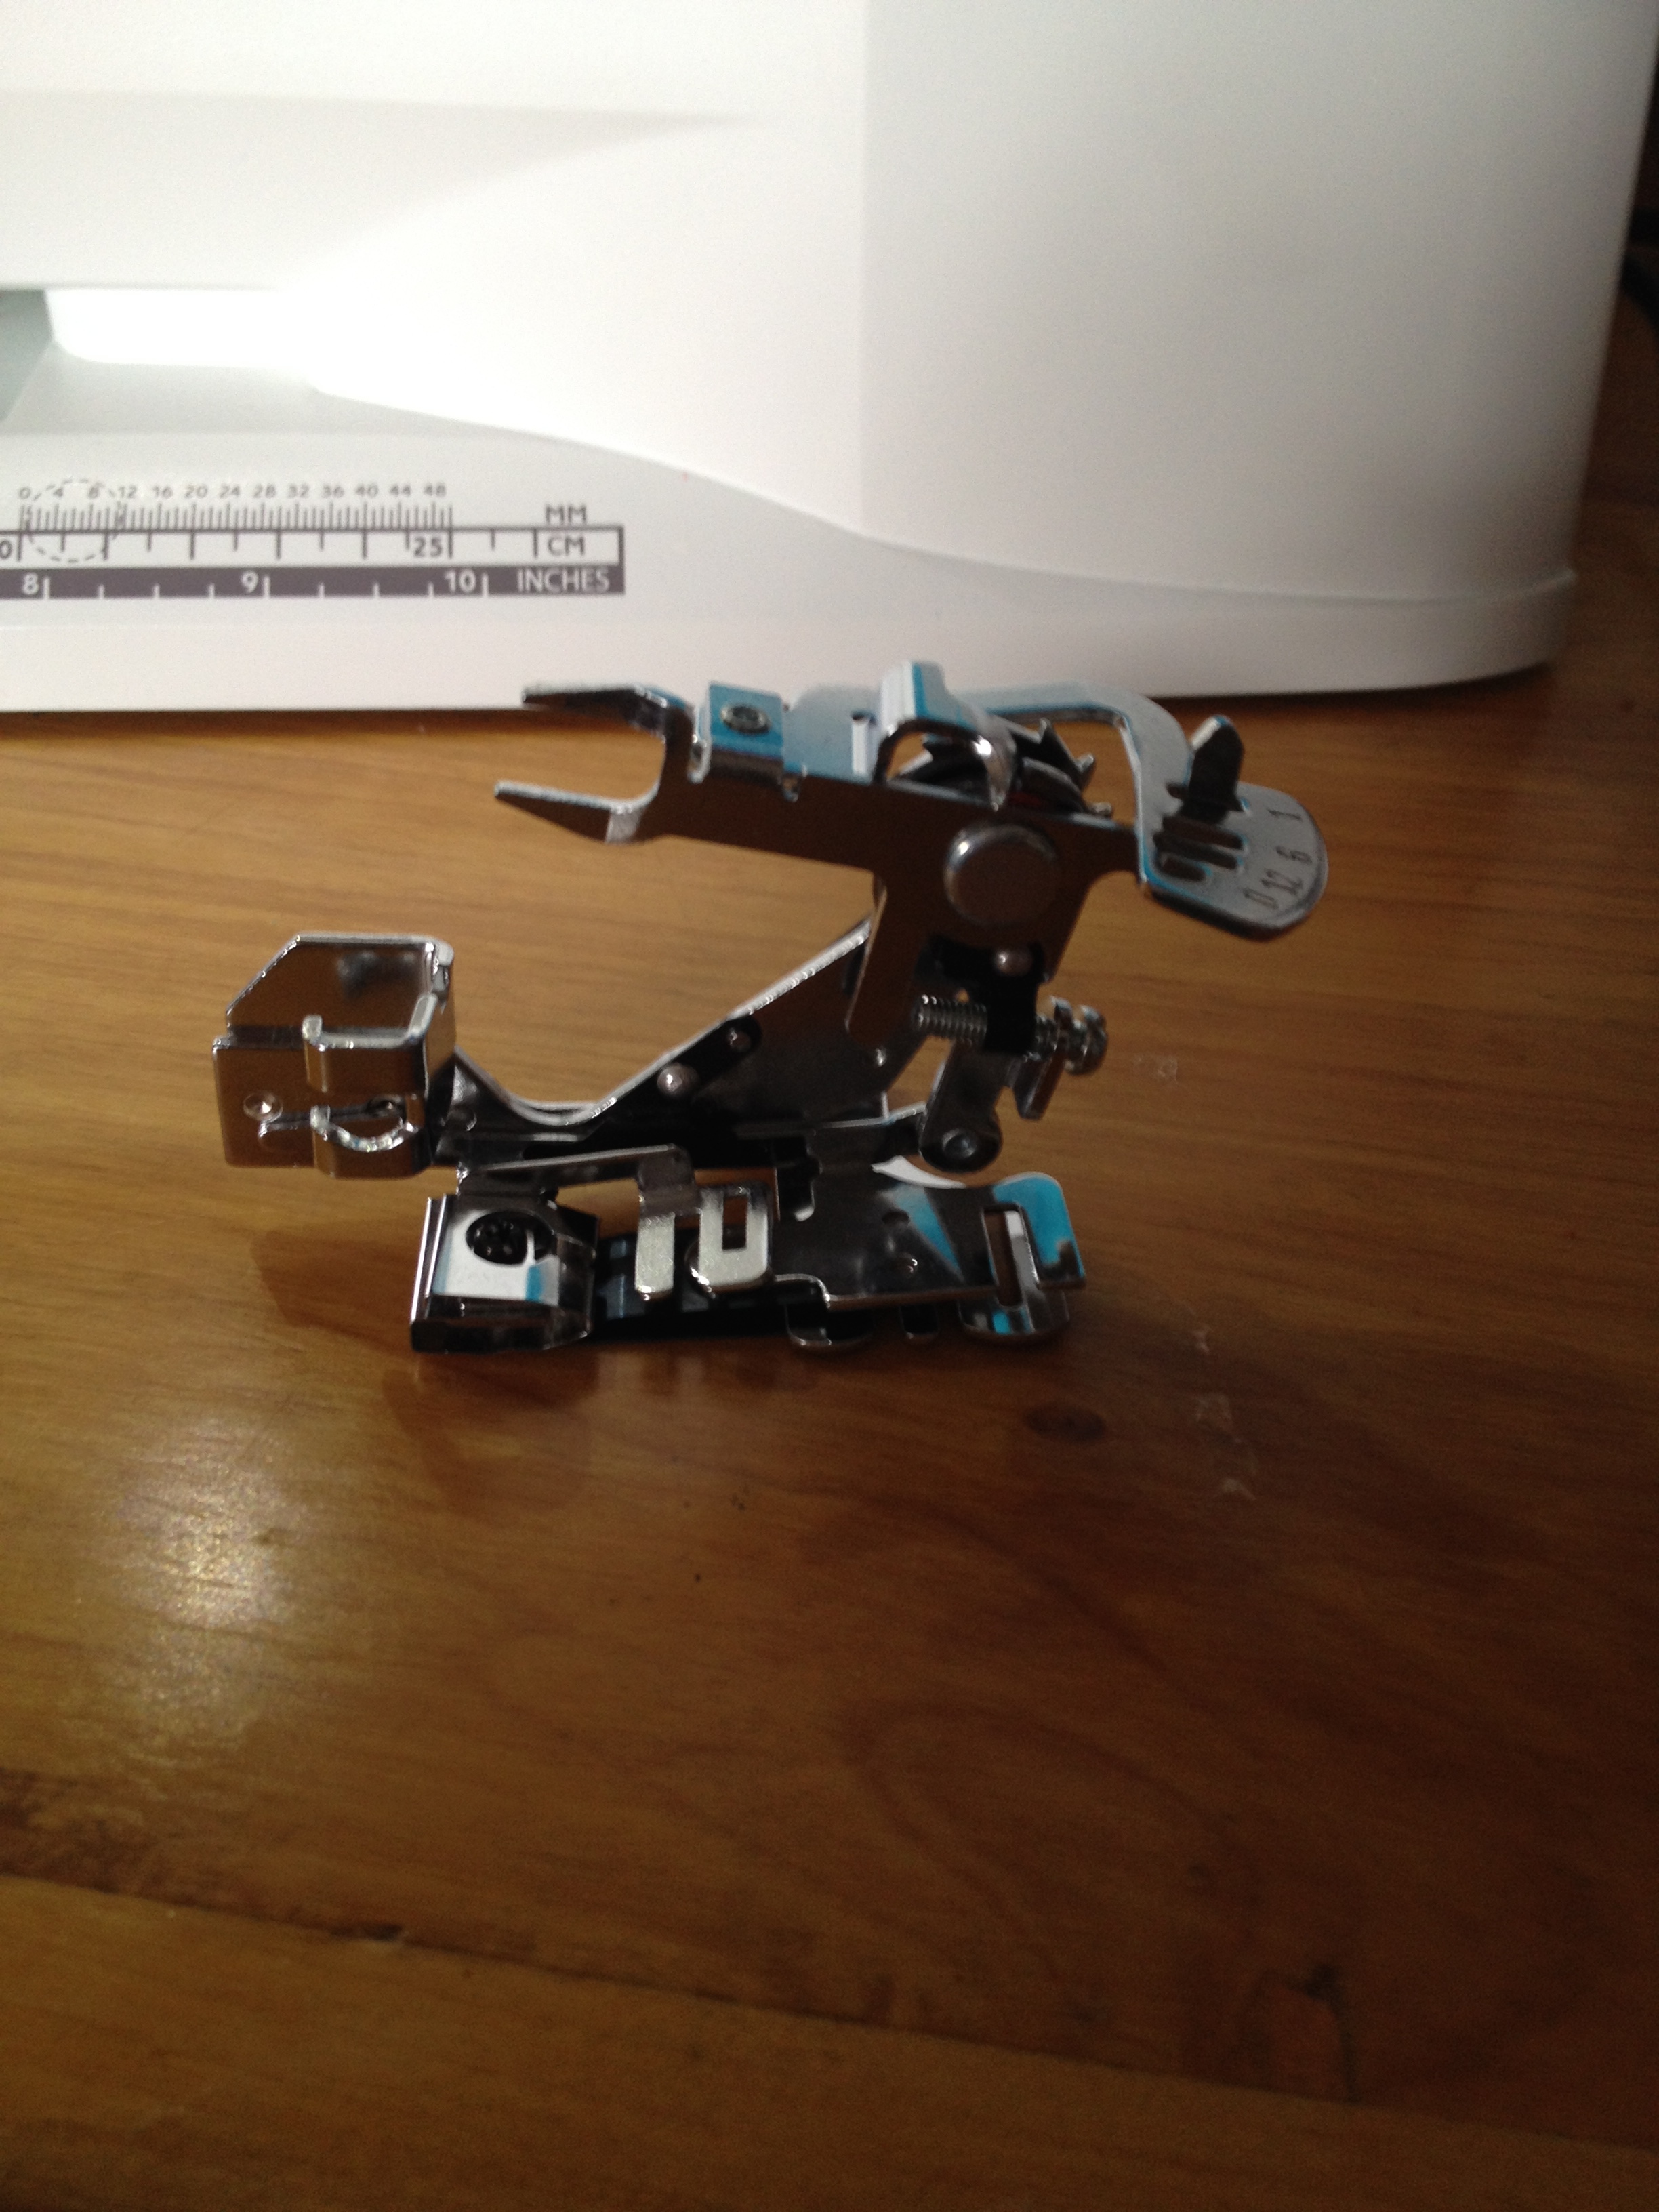

Another of Opal’s super cool attachments, is this automatic ruffler. Made gathering the towels super easy and fast.
Next, I just put the gathered edge of the towel inside the top, the pattern calls for it to be sewn along the bottom edge, but my towels seemed long (I didn’t trim to 13″) so I put them all the way into the square portion. Pinned the corners and across the top, then topstitched across and down each side to secure the towel inside.

Final step, I sewed the buttons on, going through the front and the towel, but not the back of the topper. (that made it pucker, and I didn’t like how that looked)

There they are… Margaritaville Bar towels, ready for the Margarita Bar at the Rehearsal Dinner!
So when you screw up, pretend like you meant to, and look for inspiration to cover it up!
Enjoy,
Debbie