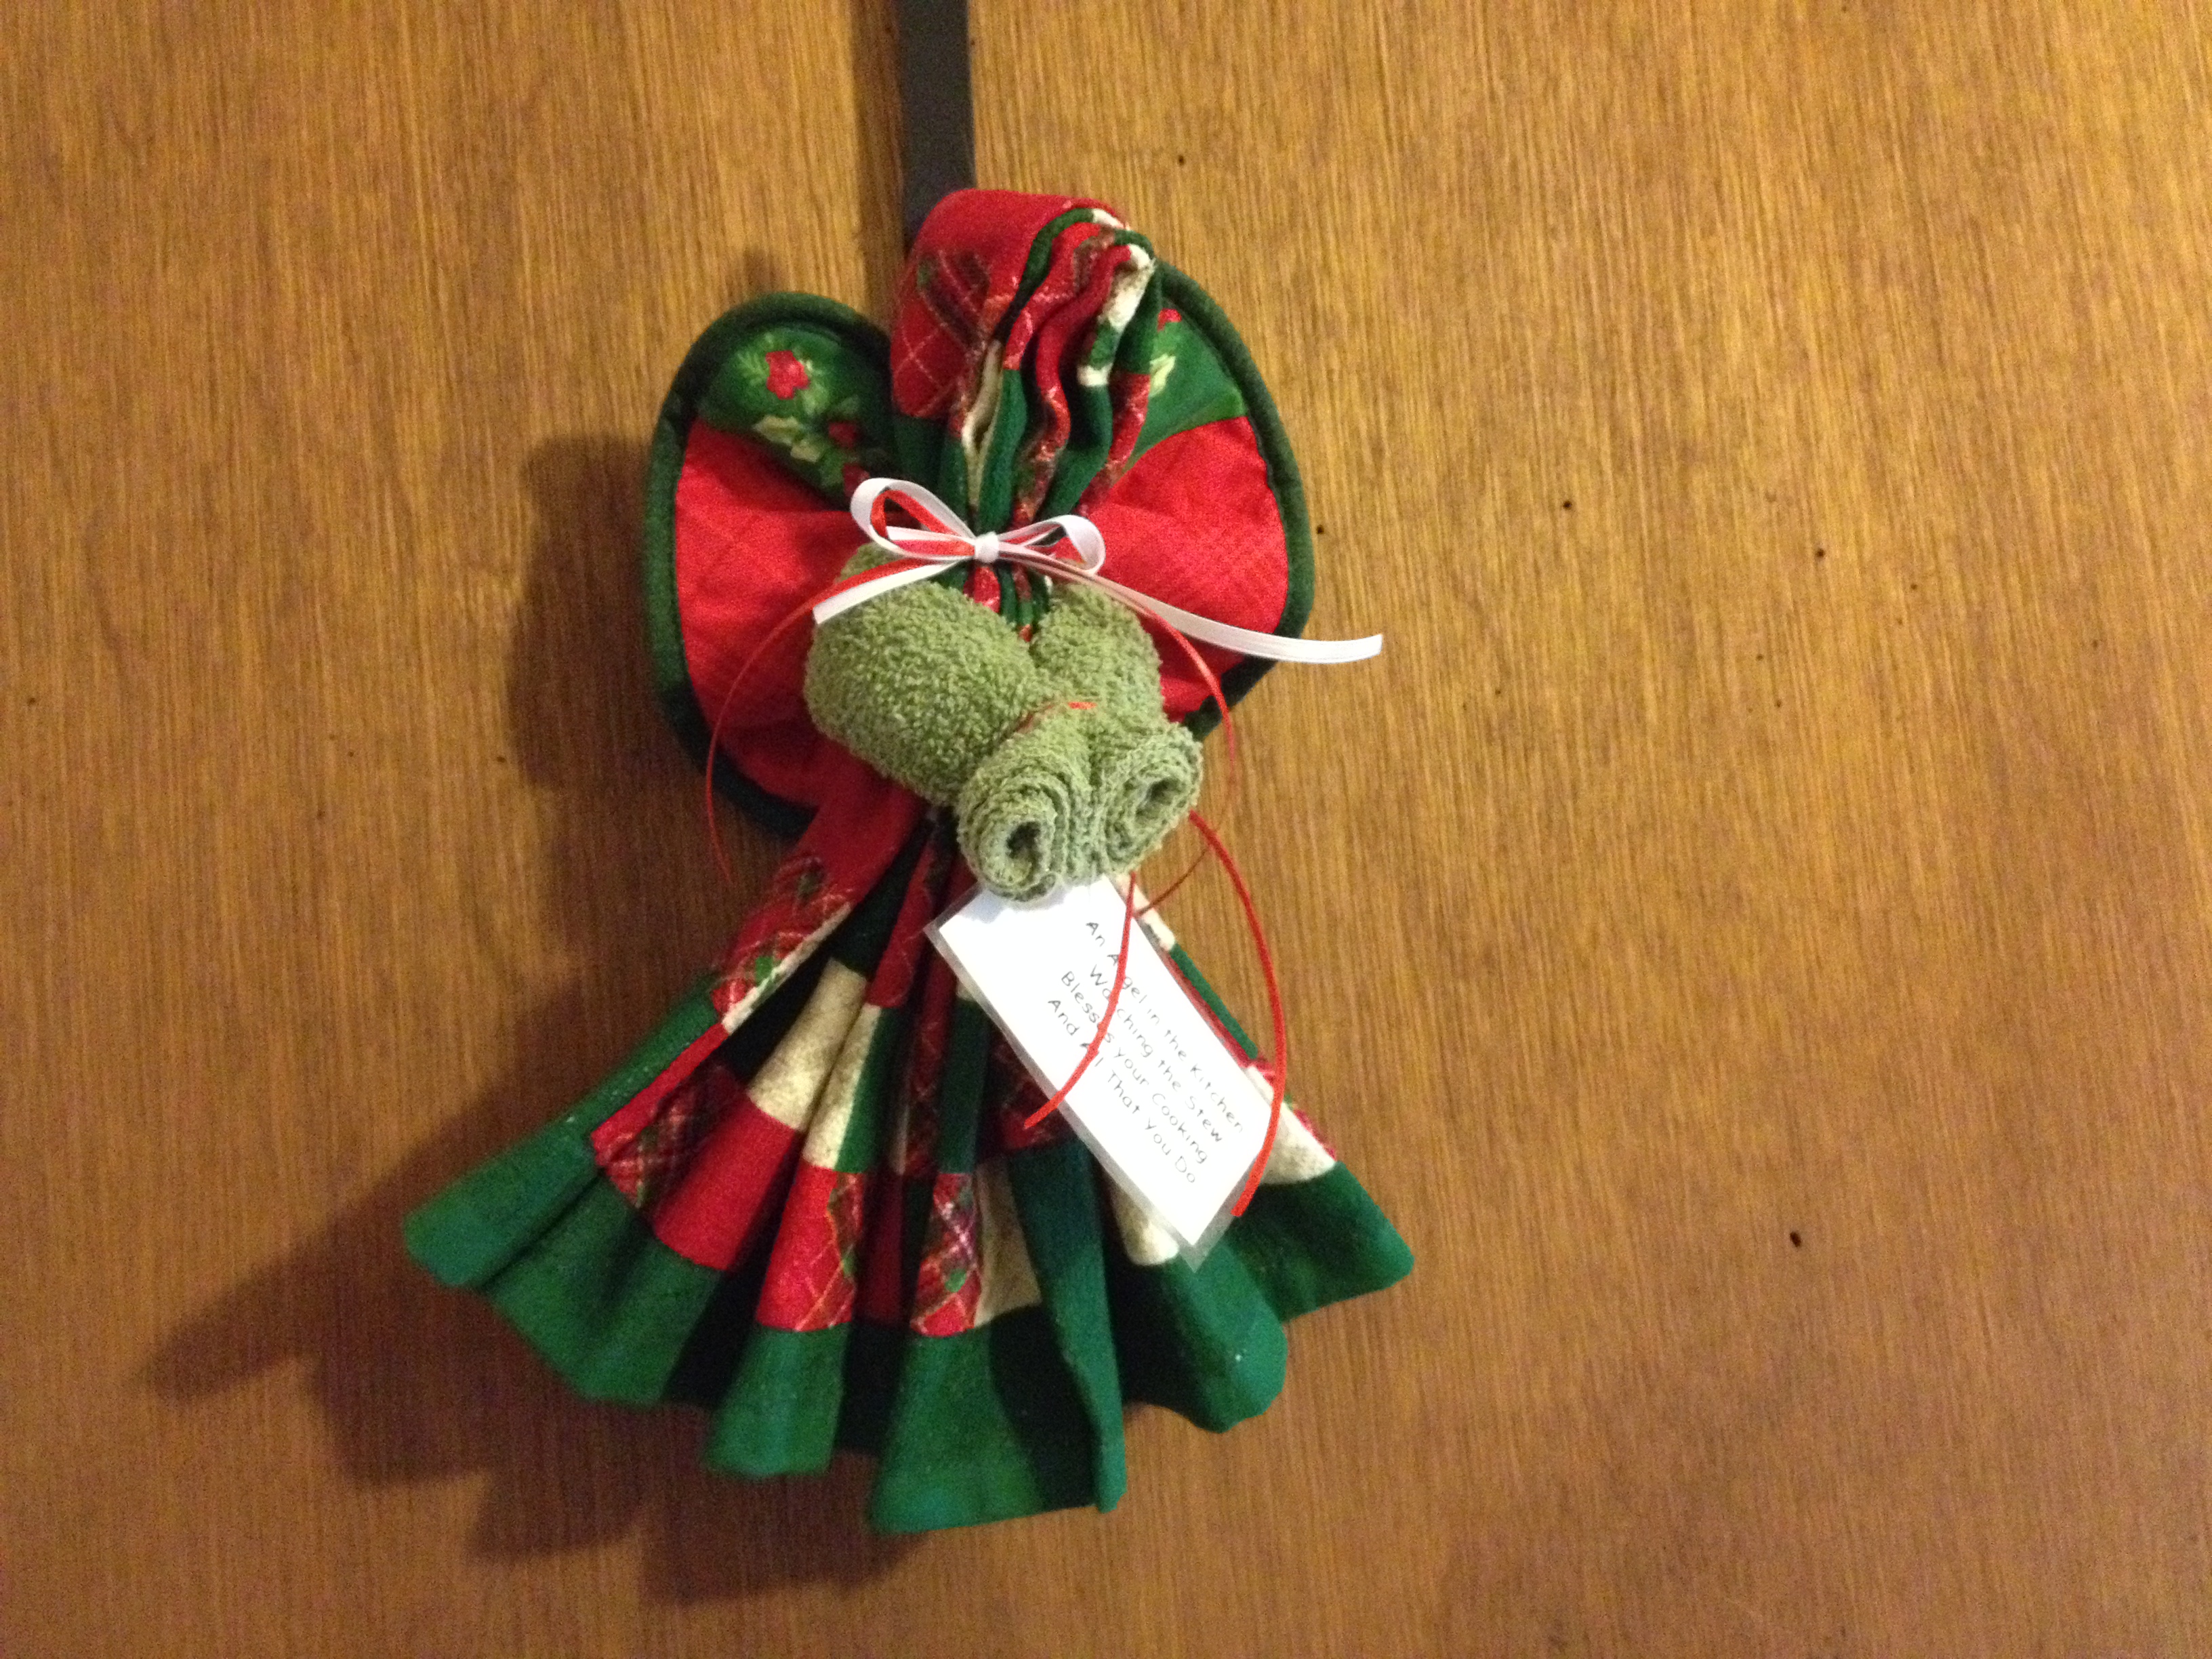
I have a confession, I totally stole this little Angel from a lovely Amish crafter in Pennsylvania. Not so literally, I paid for one and brought it home. But, I dismantled her to figure out how to make them for my friends and family. Hope the Good Lord forgives me, but she was too cute not to duplicate and give away. I made this one from Christmas towels and pot holders I found in the clearance section after the holidays. Overall prints, solids, and border prints work best. For once, buying the cheaper towels and wash cloths works for the better. I tried the fluffier ones, but found them difficult to work with. My original still hangs in my kitchen, however she has allowed a couple of items to burn, I guess she’s reminding me to stay on the good side.
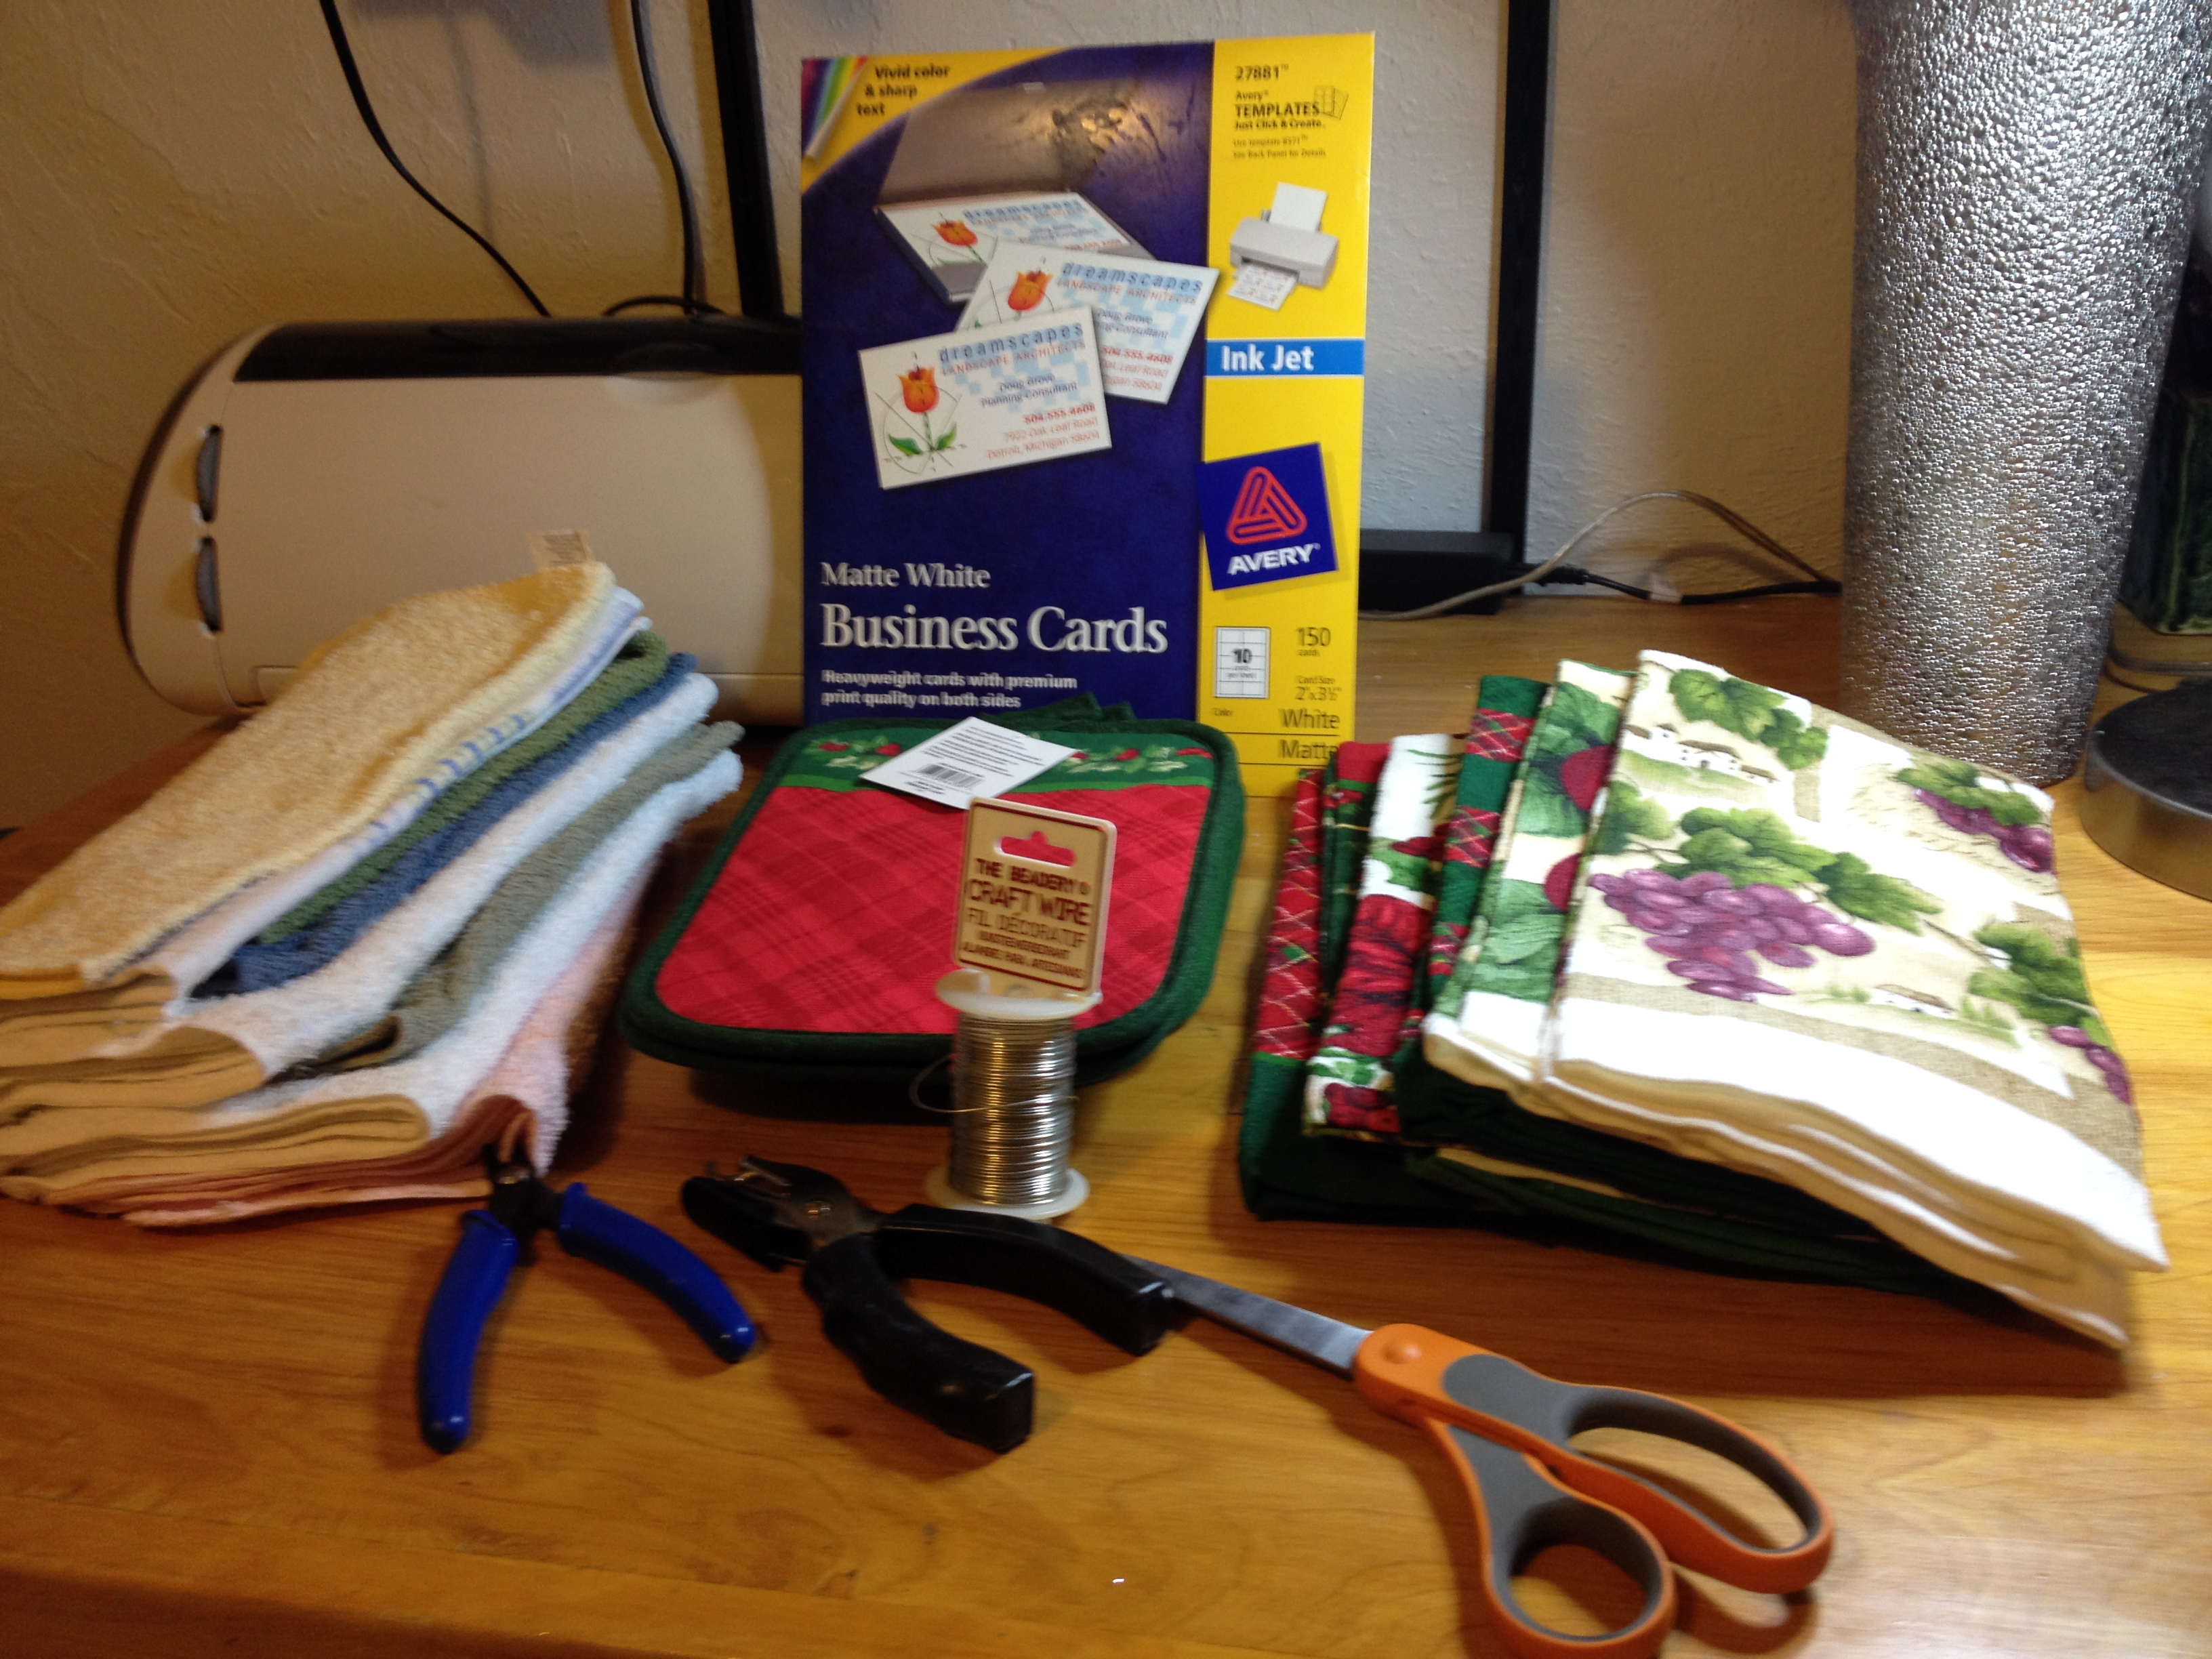
Items you will need:
Kitchen towel (color or print to suit your taste or kitchen)
Pot holder (solid or matching print)
Dishcloth or washcloth in a color to compliment
1/4″ – 1/2″ ribbon
20 gauge wire
business cards (I laminated mine)
scissors
hole punch
wire cutters

Start by fan folding your towel along the long side. I make each tuck about an inch across. This one was easy since it had a checkerboard print. Fold the towel in half pinching the pleats together. *tip: I removed all the tags from the towel, potholder and washcloth because they just get in the way and seem to stick out in the worst places.

Take a piece of wire, 6″ long and twist it around the towel approximately 3″ down from the top fold. (this becomes her head). Leave the ends of the wire long so you can attach the arms and wings.

Roll the washcloth tightly into a tube, and wrap it around the towel, with the ends inside. Using the ends of the wire you just placed, secure the “arms” to the back of towel. Bring them around to the front, and take a separate piece of 4″ wire and secure her “wrists” together near the ends.
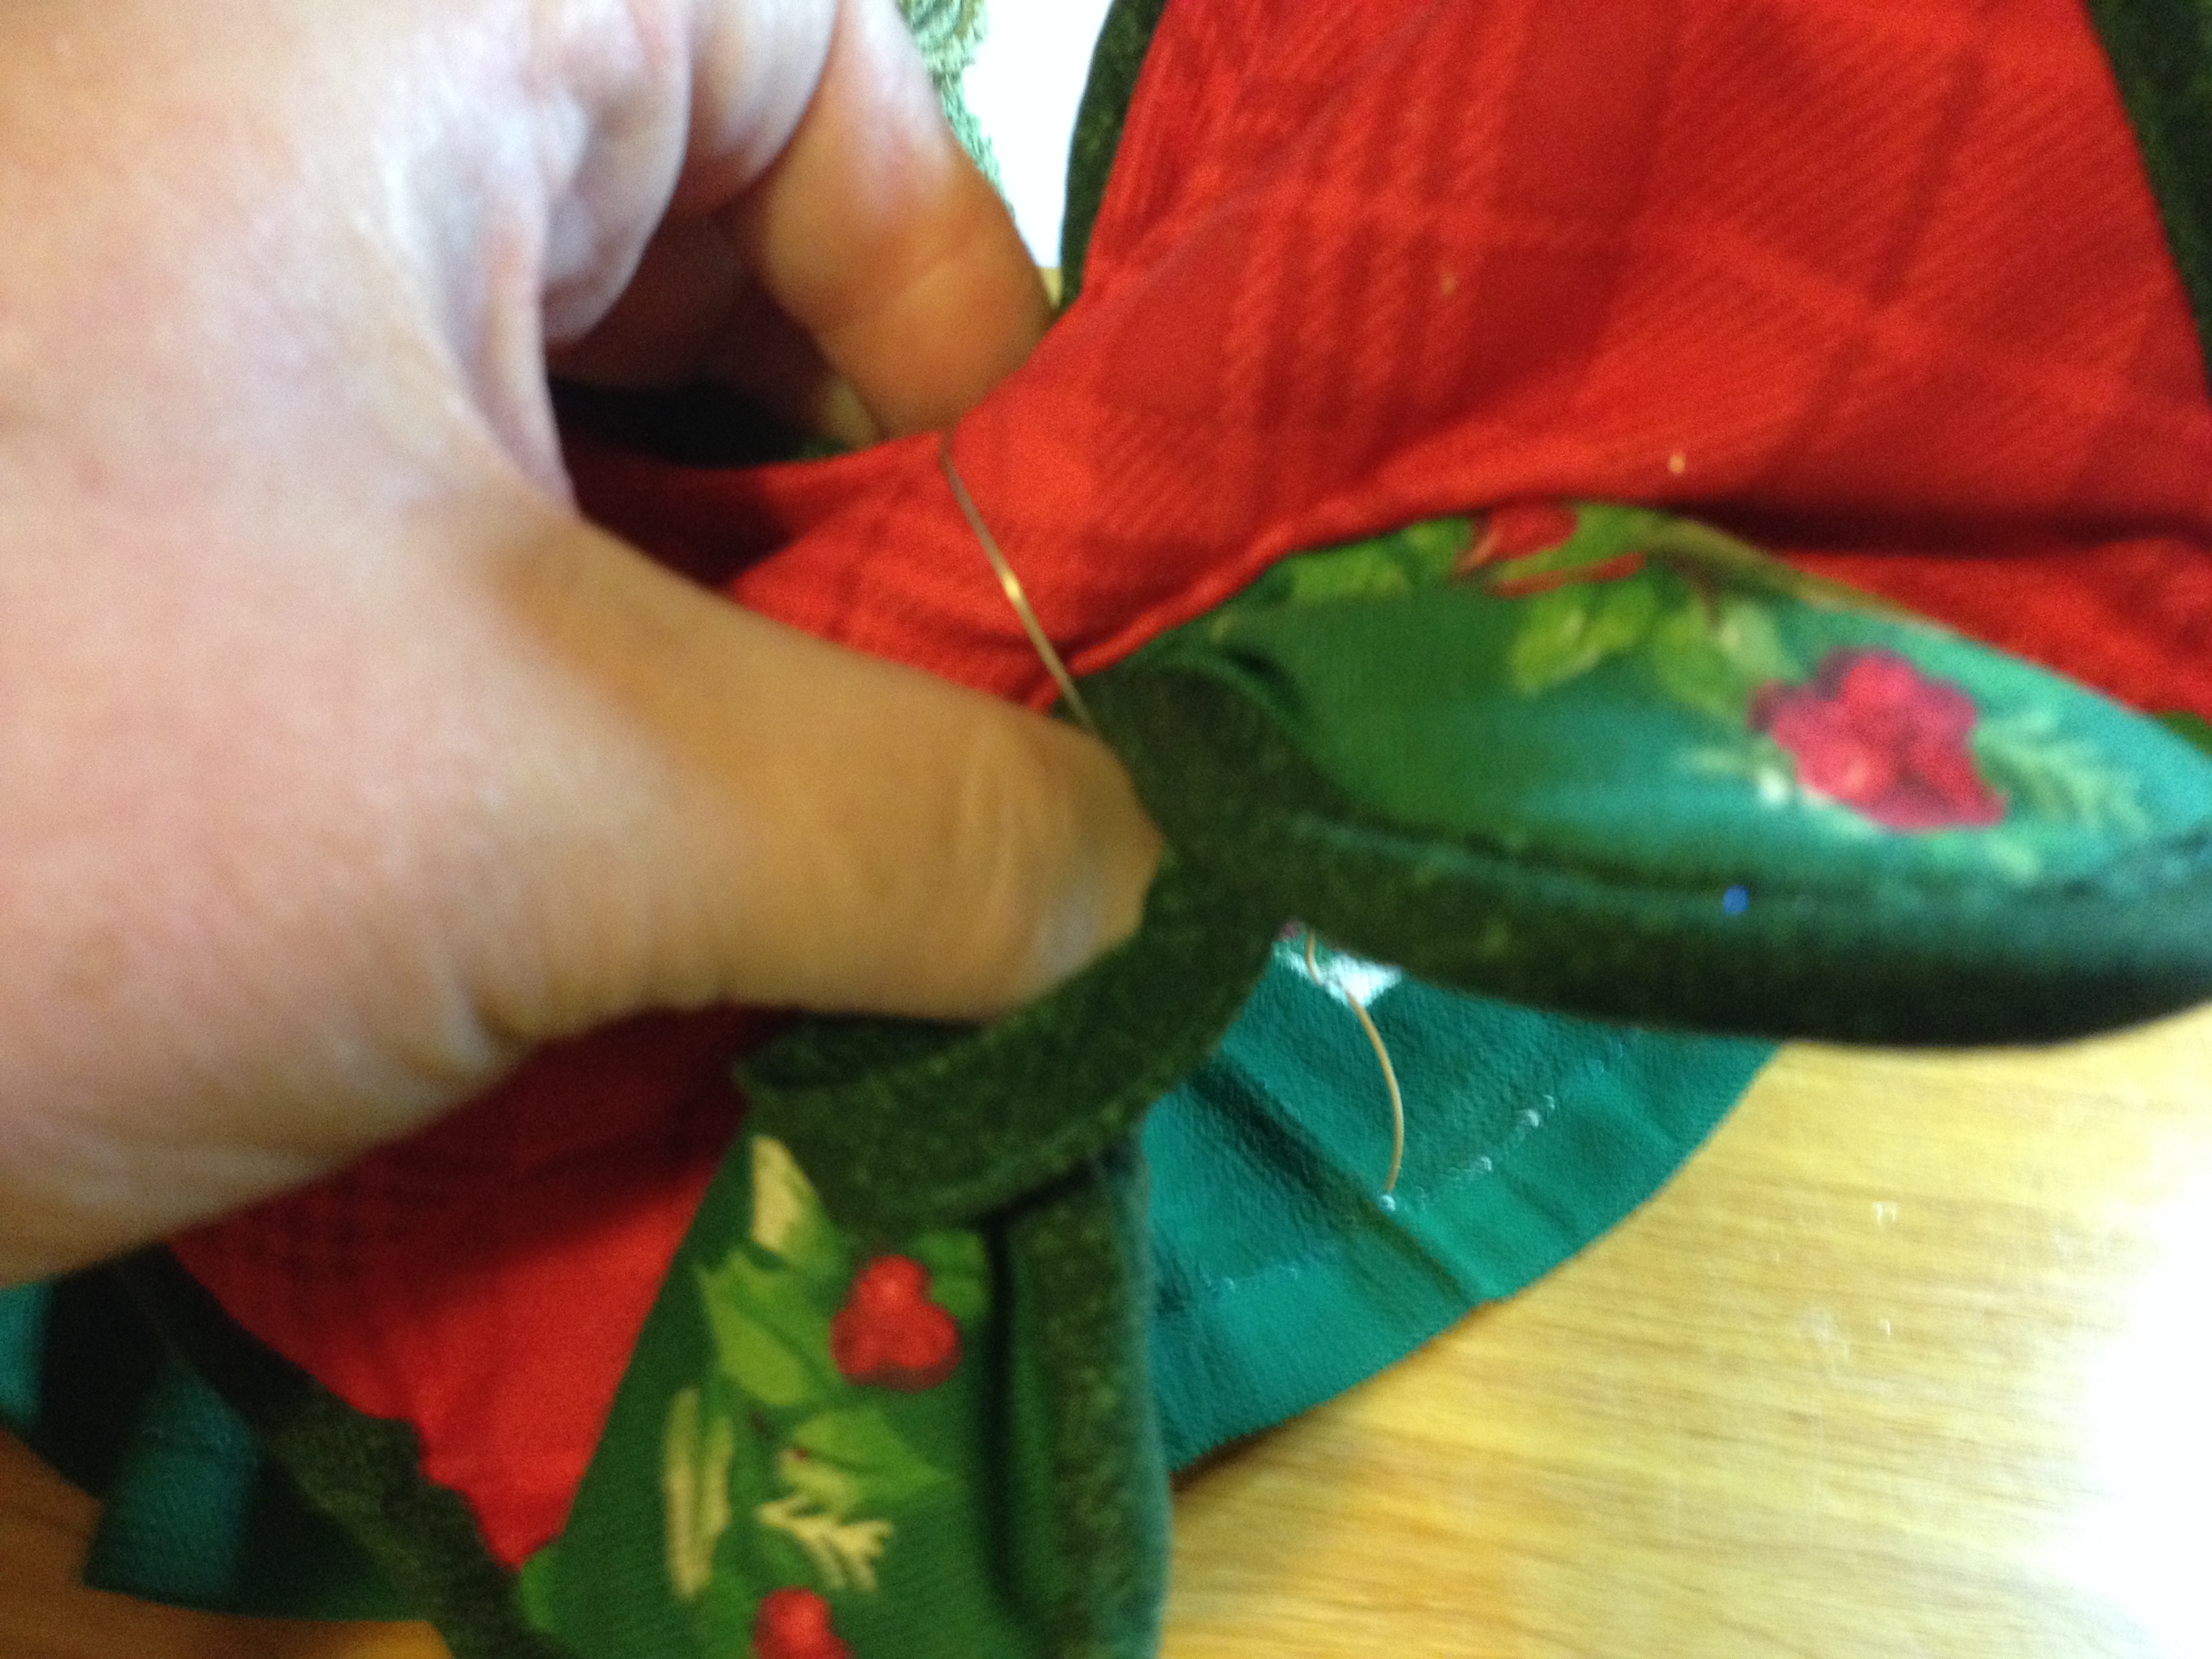
Next take the pot holder and “scrunch” it to form the wings. This takes a little muscle in your fingers to hold it while placing 4″ piece of wire to hold it’s shape. *tip: place your thumb in the hanging loop of the pot holder and pinch the middle of the bottom upwards until you have several small folds. Place the wire through the hanging loop, and tie on the front of the wings. You can adjust the folds after tightening the wire, so they’re evenly spaced. Attach the wings, using the wire holding the arms and body, and the piece you just tied. Make sure you put the hanging loop of the pot holder at the top so you can hang her up! Be sure to put the “pretty” side facing forward, since the back is not seen. All the wires should be inside the back between the wings and body. Tighten and clip off any excess ends.

I printed the verse on business cards, laminated them with self sealing pouches since they were going to be in the kitchen, and I was concerned the paper would get wet or dirty. I kept the verse the same as the original, but you are certainly at liberty to edit to your style. I used the hole punch to get a nice clean hanging hole, and threaded a 1/4′ ribbon through.
An Angel in the Kitchen
Watching the Stew
Blesses your Cooking
And All That You Do
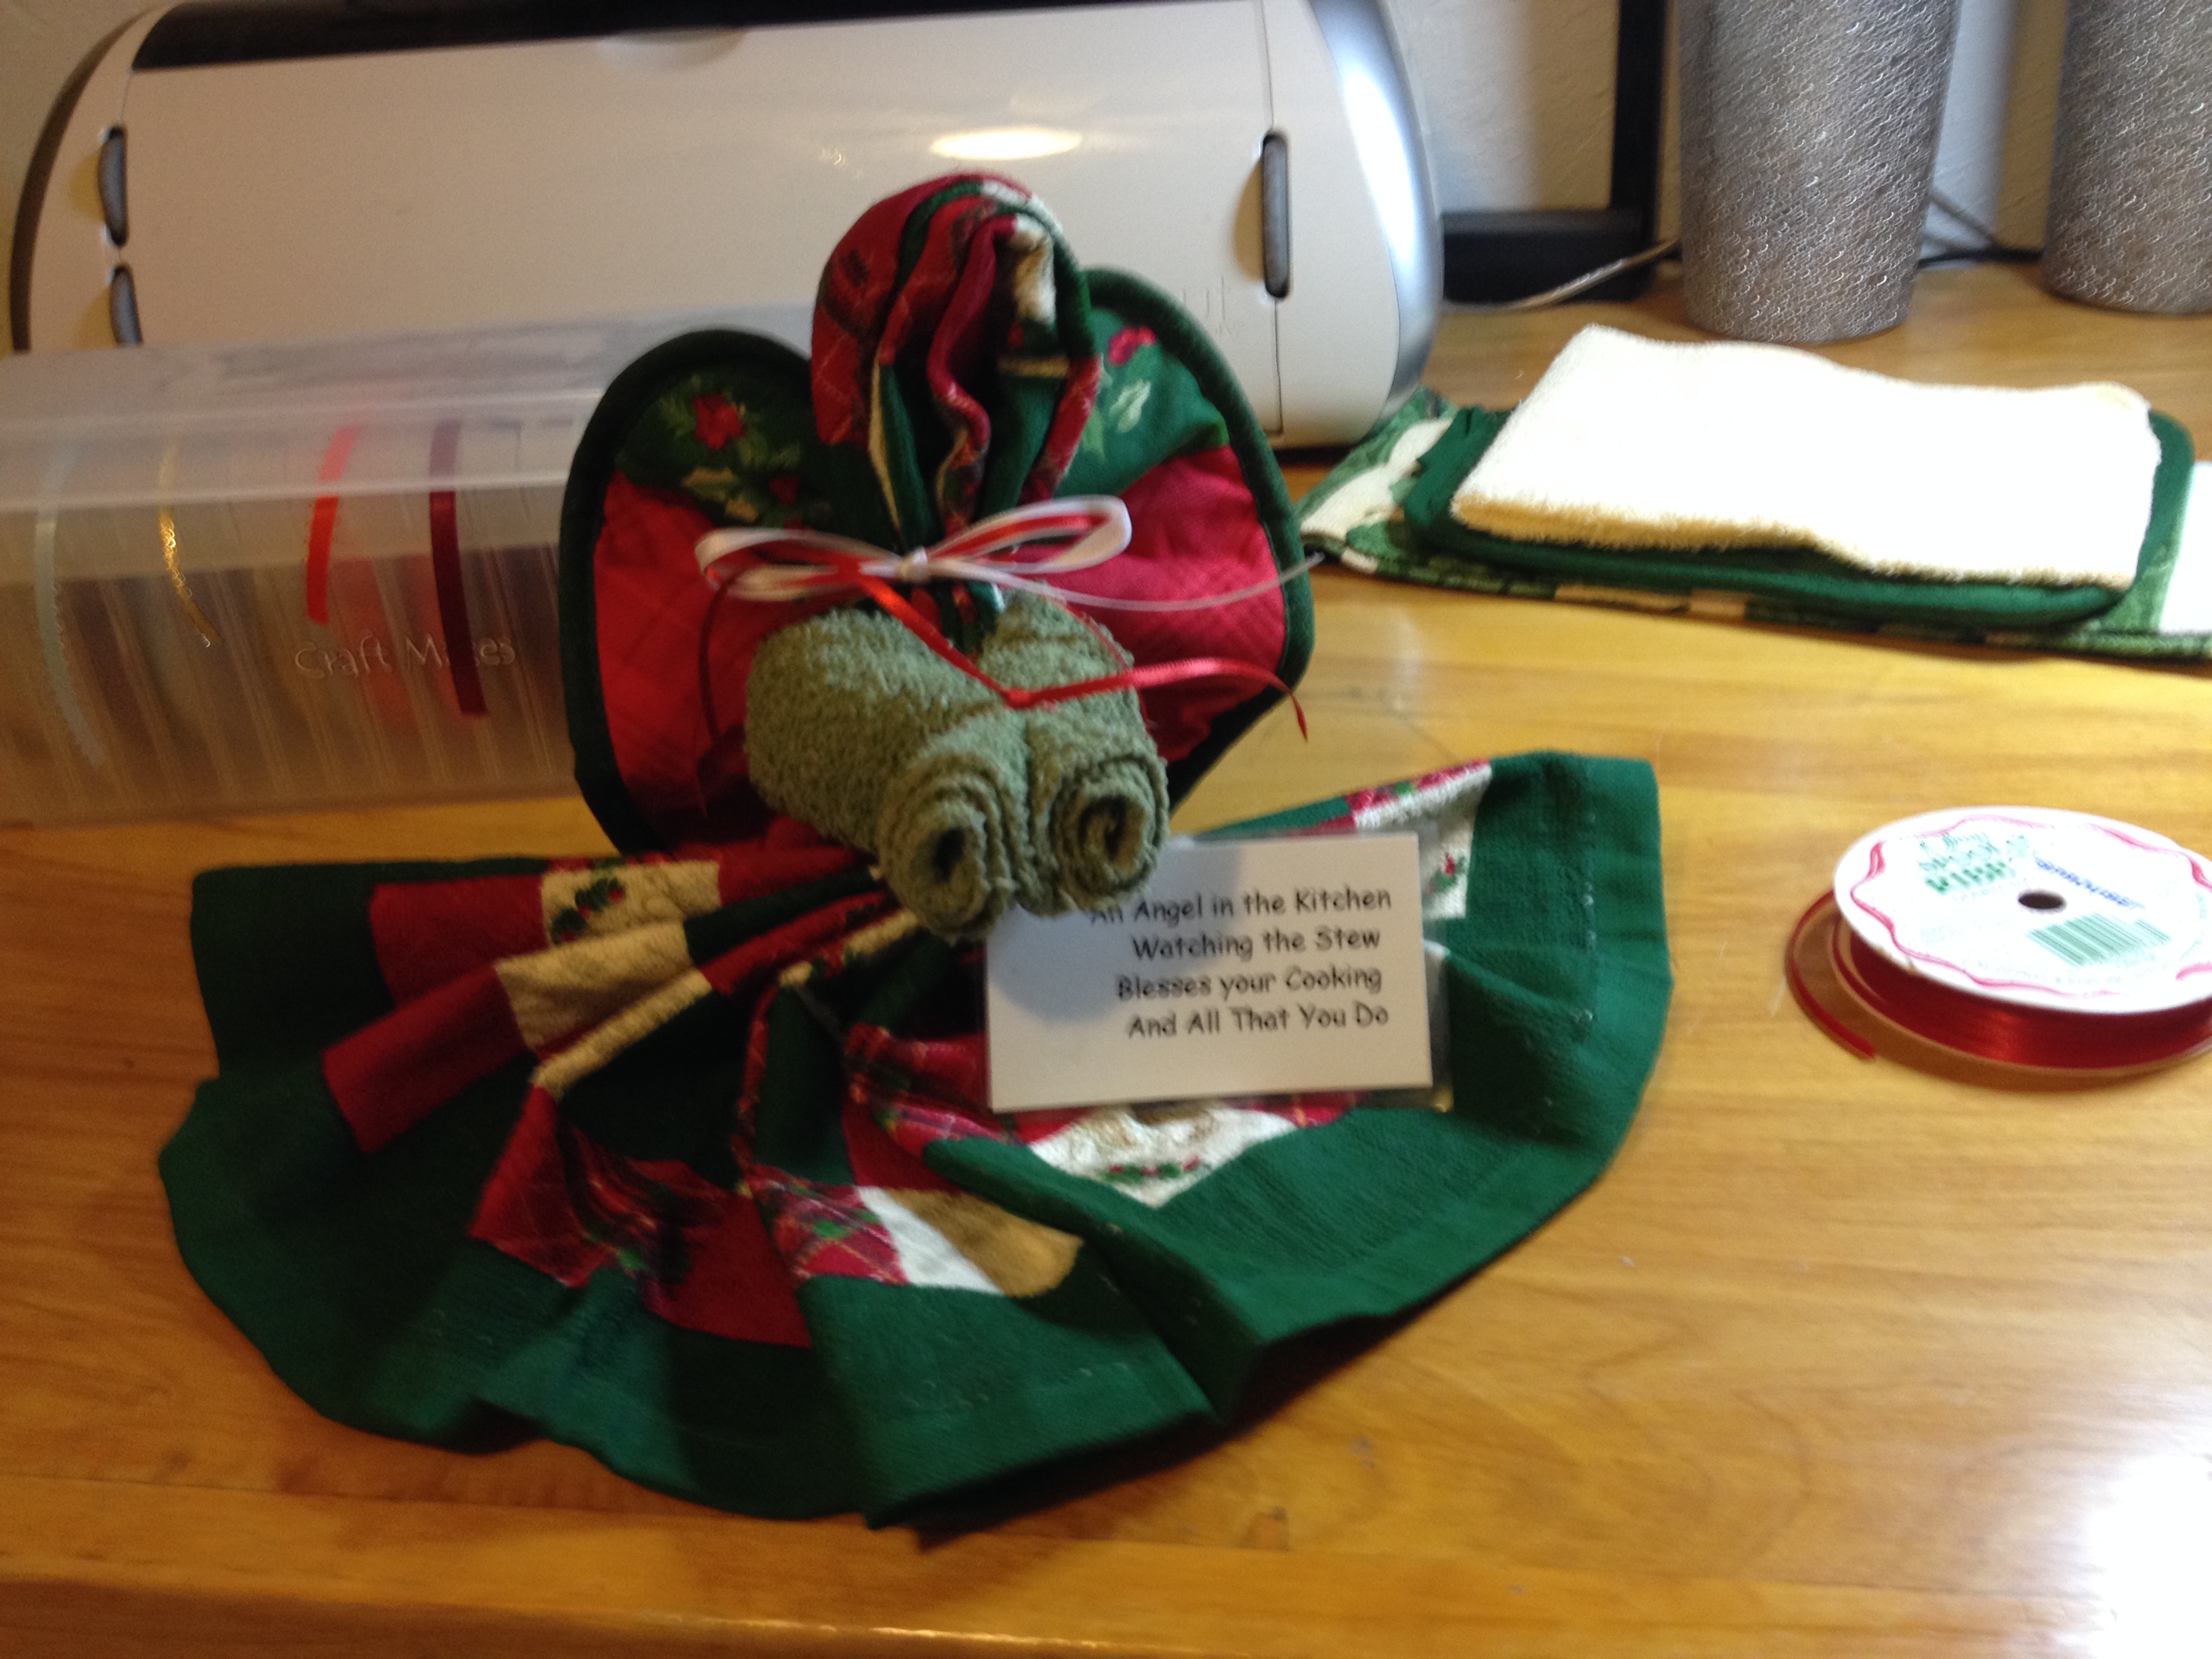
Finishing touches, I tied ribbons around her neck to hide the wire. I used two ribbons 1/4″ and 1/2″, two different colors, tied into a bow. Attached the card with a single 1/4″ ribbon around her wrist.
I hope you enjoy making and sharing these little angels. The original travelled across the country to find a California home, and inspired many copies.
Enjoy,
Debbie
