Meet Giselle, she’s my muse. I’m currently obsessed with fairies and fairy gardens. She’s my inspiration for a looong blog about her home, and the future homes for her friends. Brace yourself, this is gonna be a long one, with more cuteness than you can stand. Lots of teeny tiny, pretty magical things.

First let’s pick out her a home. Hmmmmm? perhaps a pretty birdcage. Think she would be happy “caught” in a nice white Victorian style. Found this white wire one with a lovely crystal birdie on top at Michael’s, the top opens completely up making working inside easy. Since the bottom had a rather dense border around it, I decided to cut a cardboard circle the width of it to lift her “floor” up to the level of the open bars. This also gave me room to poke items through the bottom, and later the battery pack for something magical….

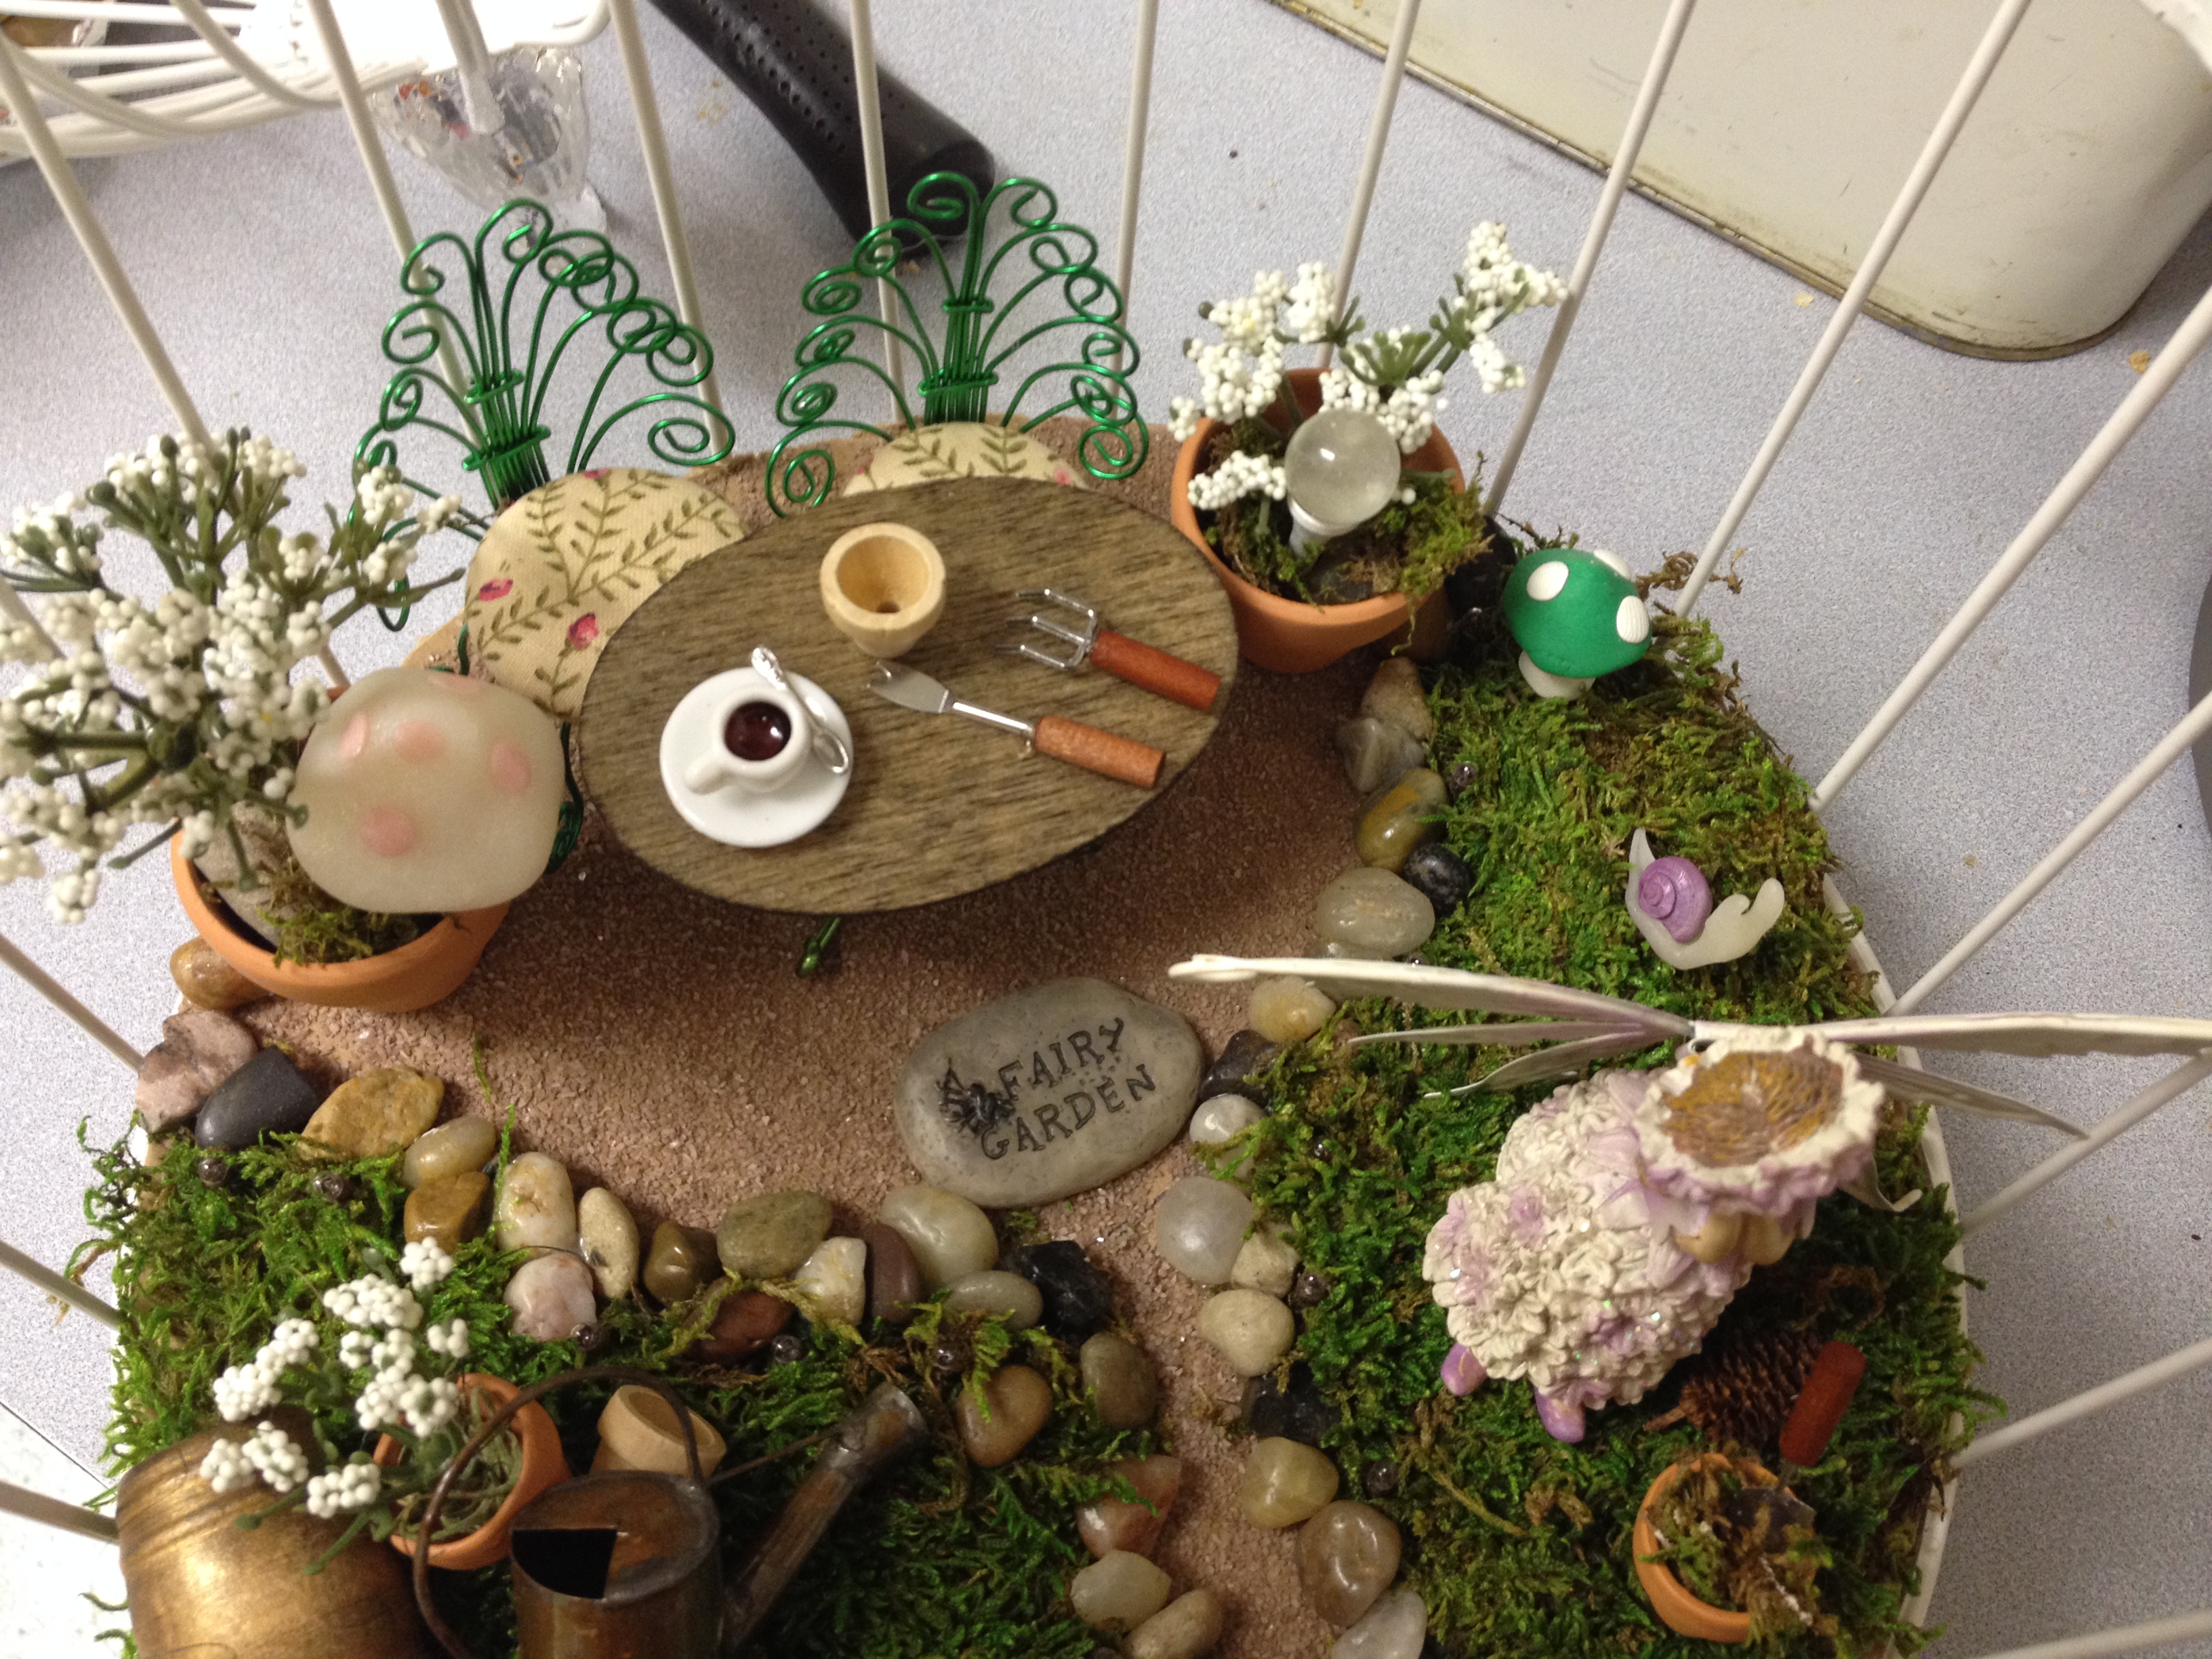
I’ve already been working on items for her place, including a table and some lovely wire chairs. Purchased flower pots and a “pickle” barrel. I’ve been secretly collecting some decor items, as well as crafting items too. I laid them roughly out to figure out how big a patio and path I wanted on her “floor”.

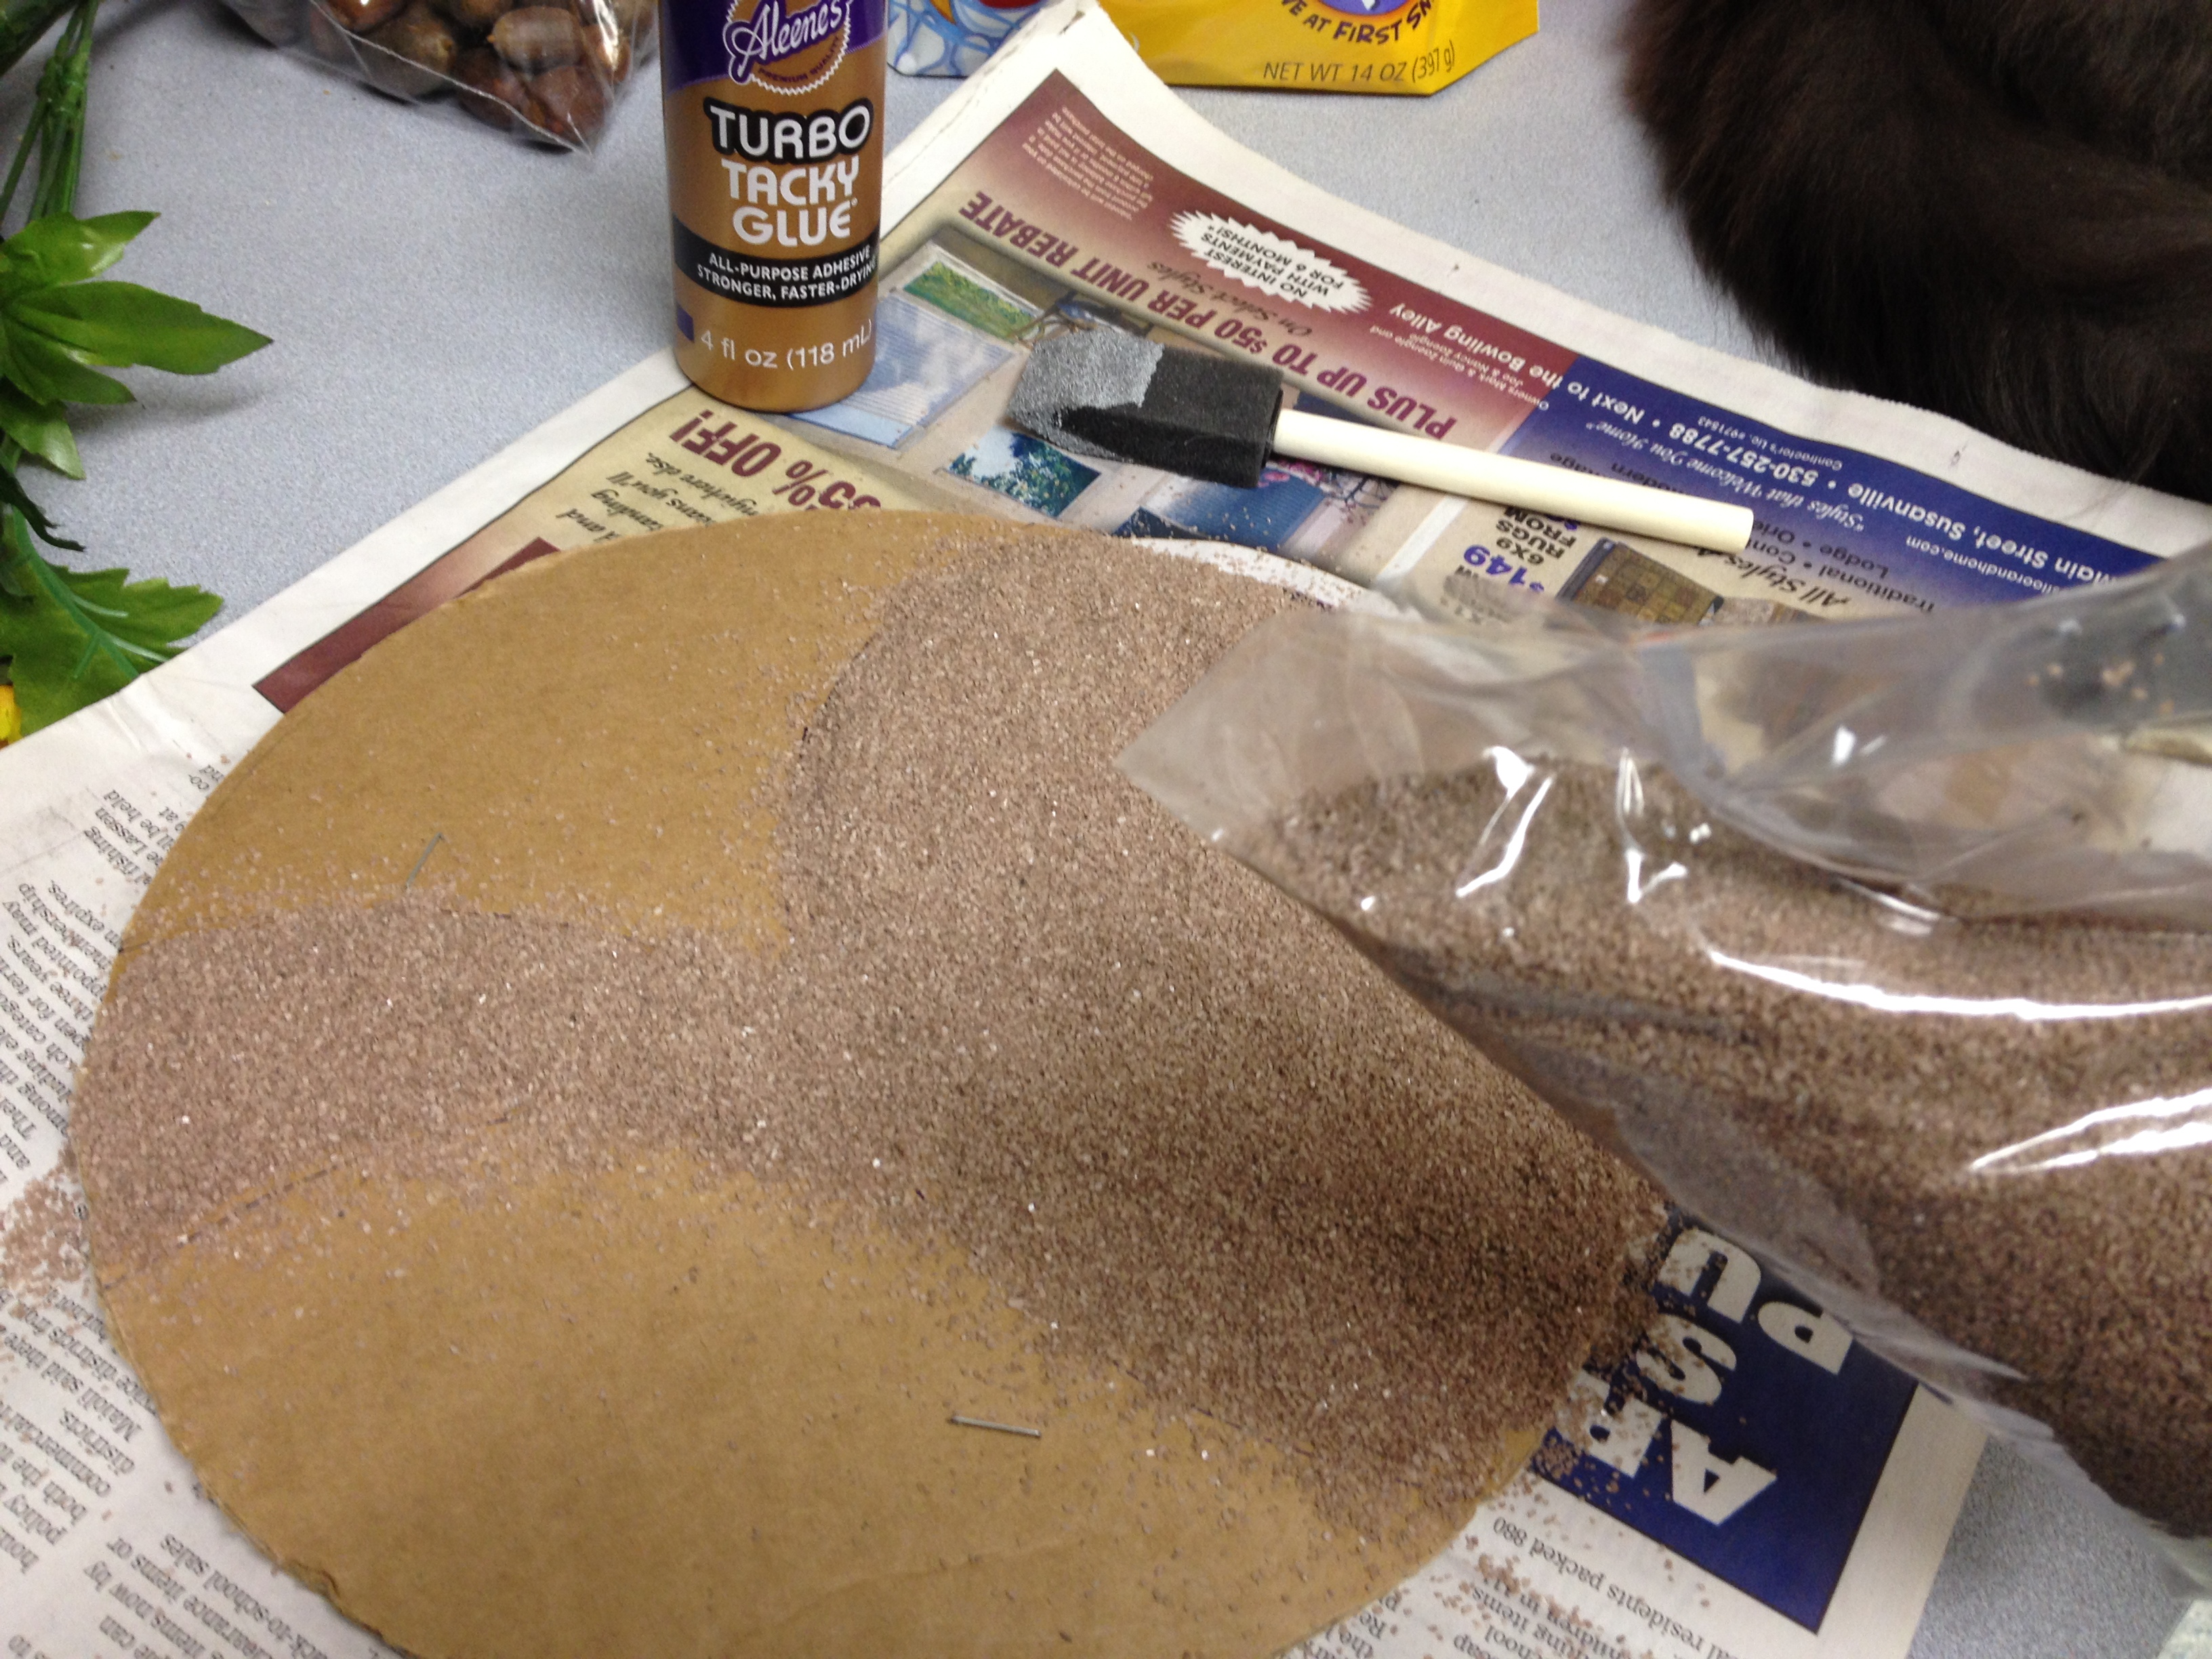
I applied some tacky glue with a paintbrush, and used decorative sand from the dollar store to create the path and patio. Probably could have used sandpaper if I had any, but this was just as easy. Next I added dried moss to the sides, and lined the path with tiny polished stones.

A wonderful friend of mine, makes tiny chairs out of wire. She did these two “peacock” style green wire chairs from a pin I had pinned for inspiration. She originally made the seats of moss, but they didn’t show up well in the space. I toyed with both a flattened acrylic stone, still too light and finally decided to “upholster” two large button covers with a micro rose print for the seat cushions.


The table was crafted using 20 gauge wire table base, and an oval piece of balsa wood. You could also make a nice one from a small slice of wood from a branch. Just watch your scale.


I decided to stain the tabletop a dark walnut. Also used the same stain on the pickle barrels, but top coated them with a gold paint and rubbed off the excess. Using outdoor expoy glue, attached the base to the top after staining. You could paint, stain, mosaic, or leave natural your table top. Whatever you and your muse decide
Since its early morning, I gave her a cup of coffee, some purchased gardening tools, and a teeny tiny pot to plant. You can glue these on or use miniature wax to stick them to the table.

Thought she needed some “friends” so I took a few seashells, and a little “transparent” Fimo clay to create a bunch of snails to live with her. I made a slimy body with antenna, pushed the shell into the back, and baked according to package directions.

So many great ideas on pinterest, saw this cutie. Wire shepherds hook, with a teeny tiny birds nest made out of an acorn top. I got this, acorns, check, moss, check, teeny tiny eggs made with clay (baked with the snails) check….

How ’bout some mushrooms? of course! Just out of the oven as well, baked escargot, Mushrooms and eggs….Hubby thought I was talking about dinner. Imagine his surprise when he peeked in the oven!

I put the mushrooms on toothpicks. that way I could poke them into the ground. I have several red & white glitter clay, and pink and white marbled. (In already planning a second outdoor home).

Golf tee plus marble…equals gazing ball! Mushroom, rocks and moss….


Final touch, lights!! set of 20 super tiny battery-powered lights! Magical!!! Pushed up from the bottom, batteries not included, but worth the last-minute revamp of her floor.

You can find some fabulous miniatures online, and the craft stores and some garden centers are now carrying many super cute items for fairy gardens, but follow my motto: don’t buy what you can make! She has a friend waiting for an outdoor home. I have a leaky bird bath perfect for her future home. This is going to be a group craft with my friends, so well post as soon as we get them done!
Enjoy,
Debbie