
OK, so the conversation started, “Do you have any ‘old’ balls lying around?” followed by an uncomfortable silence. Wait! that’s not how I meant that. Let me try again, do you have any old, bowling balls? Yes, after he stopped laughing, and told me I made his day…..Mr. bowling alley gave me two cracked, unusable old balls! FOR FREE!!! Score!!! So, since we all know I spend too much time on Pinterest, I saw this idea, and these were so cute, I had to find a couple of ‘old balls’ to make my own super cute ladybugs for my garden.
Supplies needed:
Old unused bowling balls (got mine free for making him laugh so hard)
black spray paint
red and white outdoor craft paint
16 gage craft wire black
two wooden knobs approx 1″
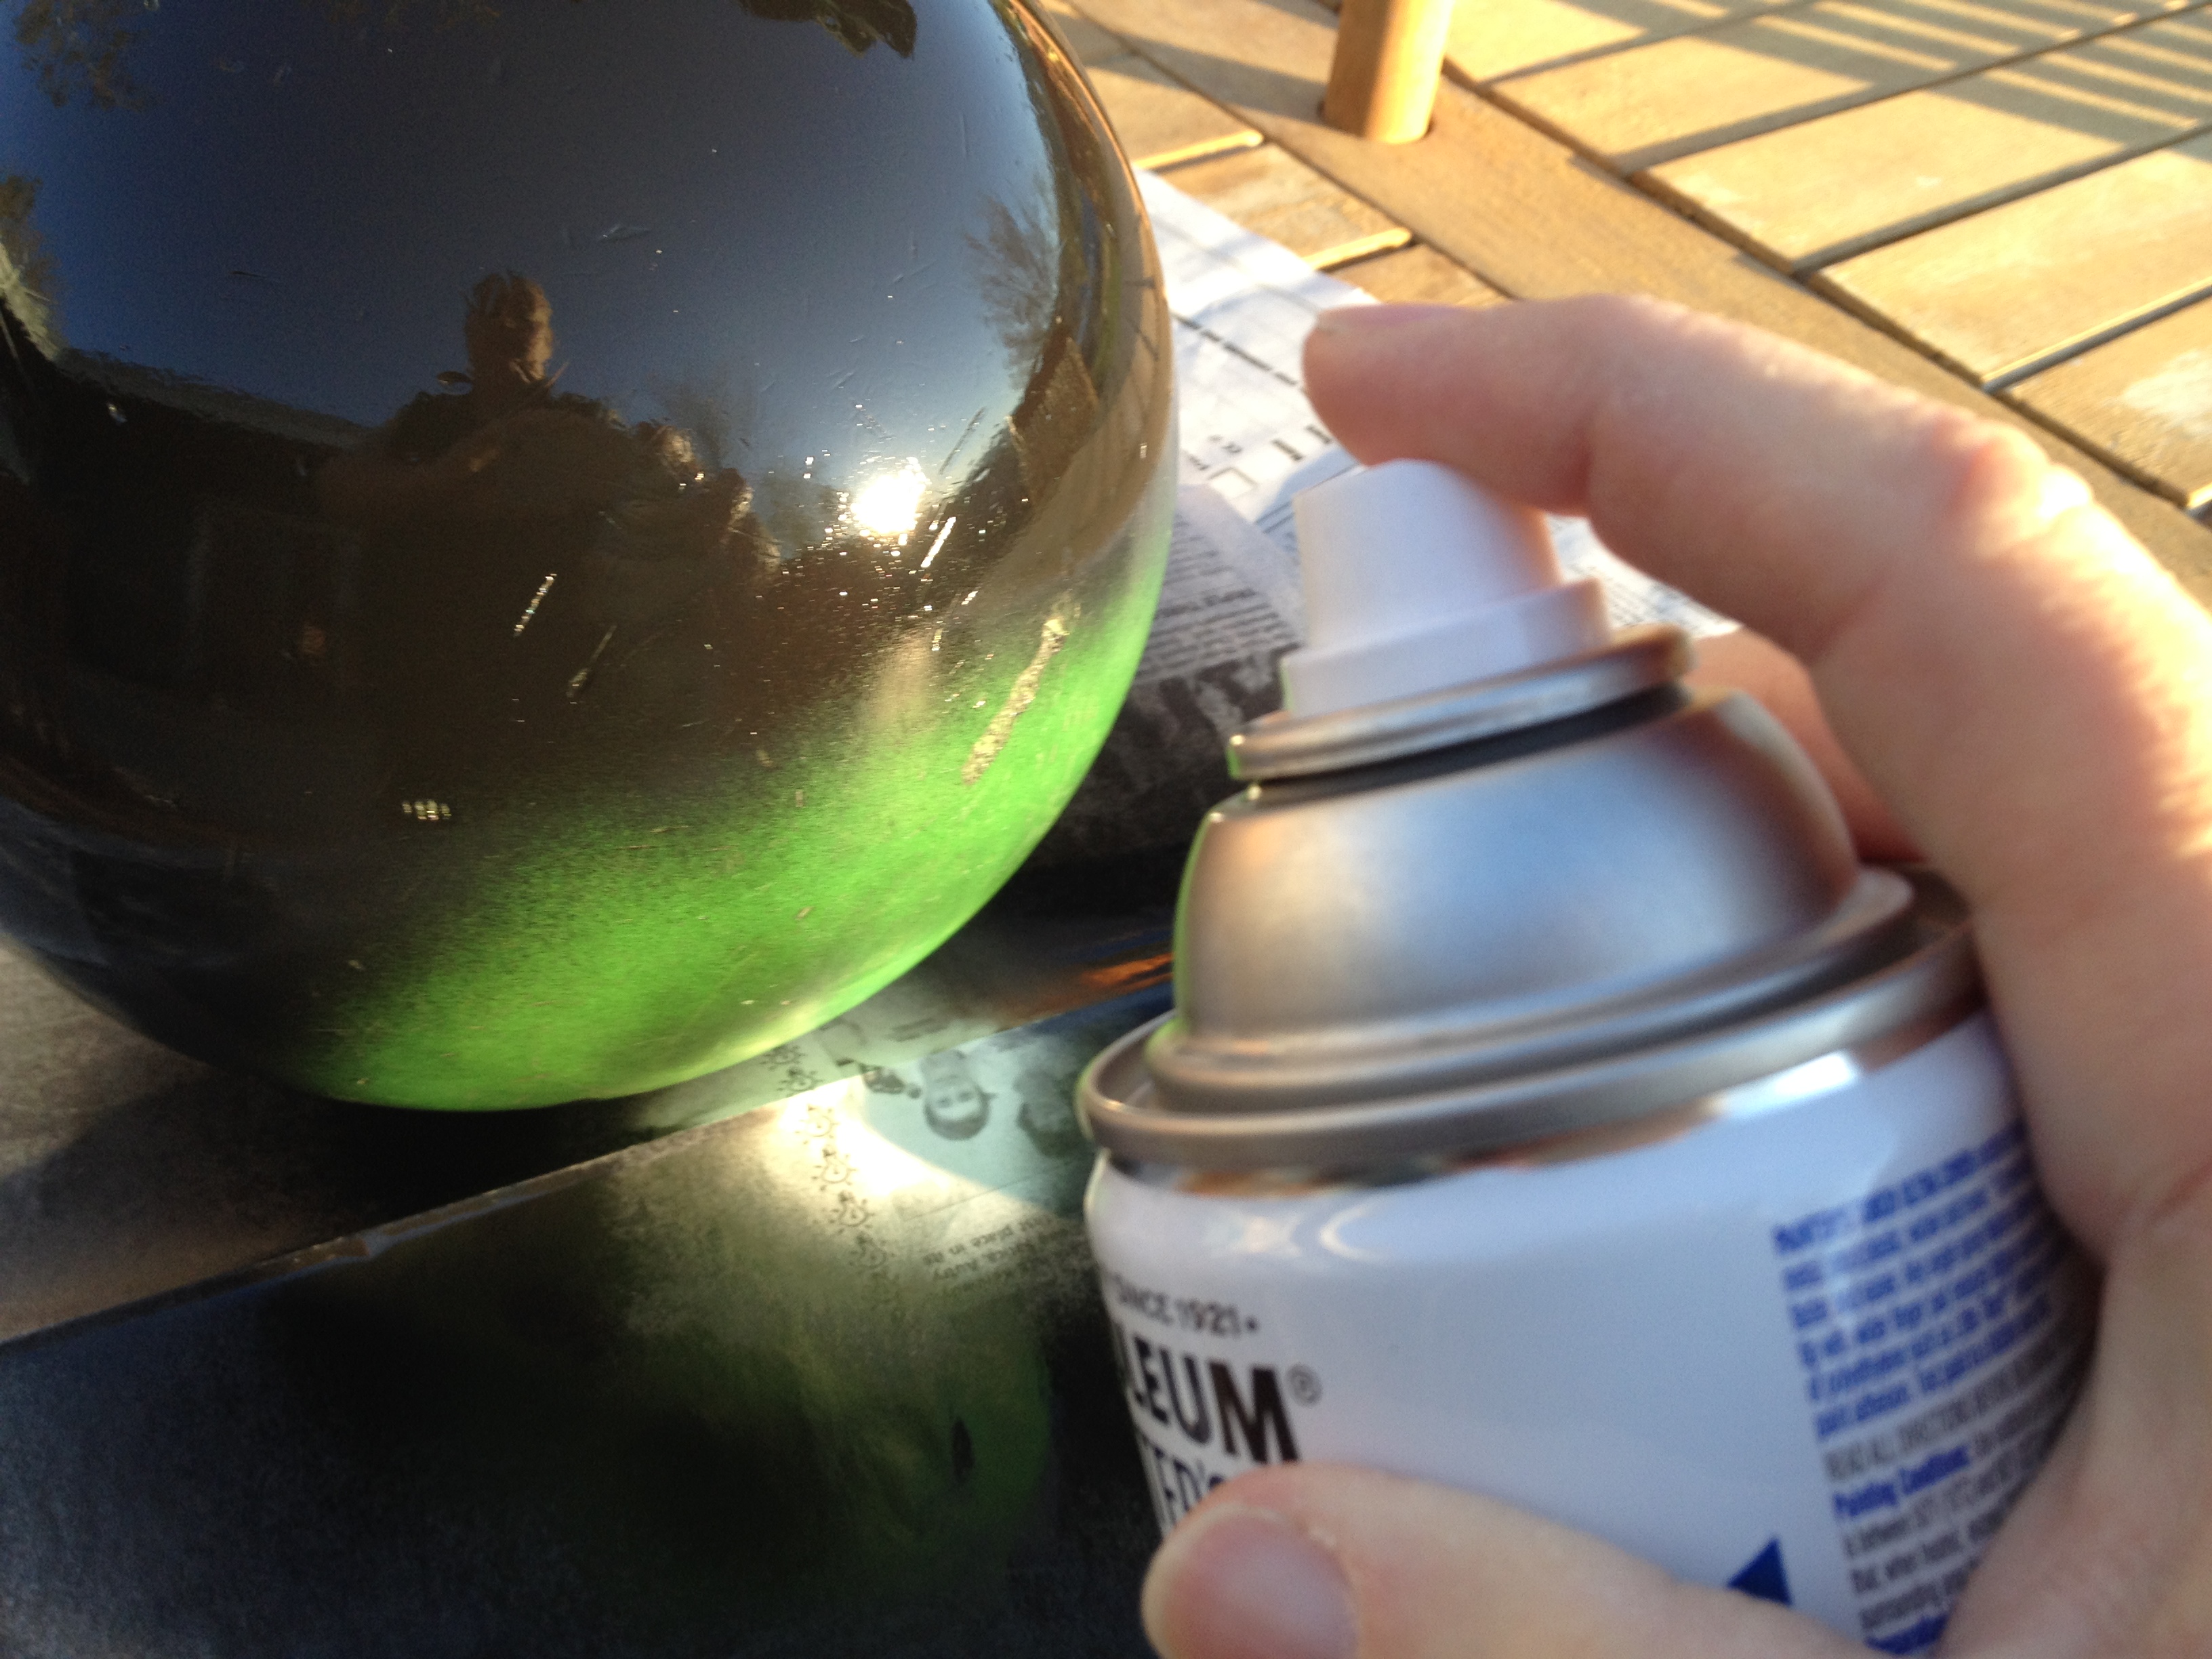
Started by spray painting the bowling ball black. Not as easy as you might think. First it rolled in the newspaper wet, and stuck to the paper. Had to scrub it off, and repaint. Do a couple of light coats, and you wont have to sand down the runs of paint I did. (ugh!)
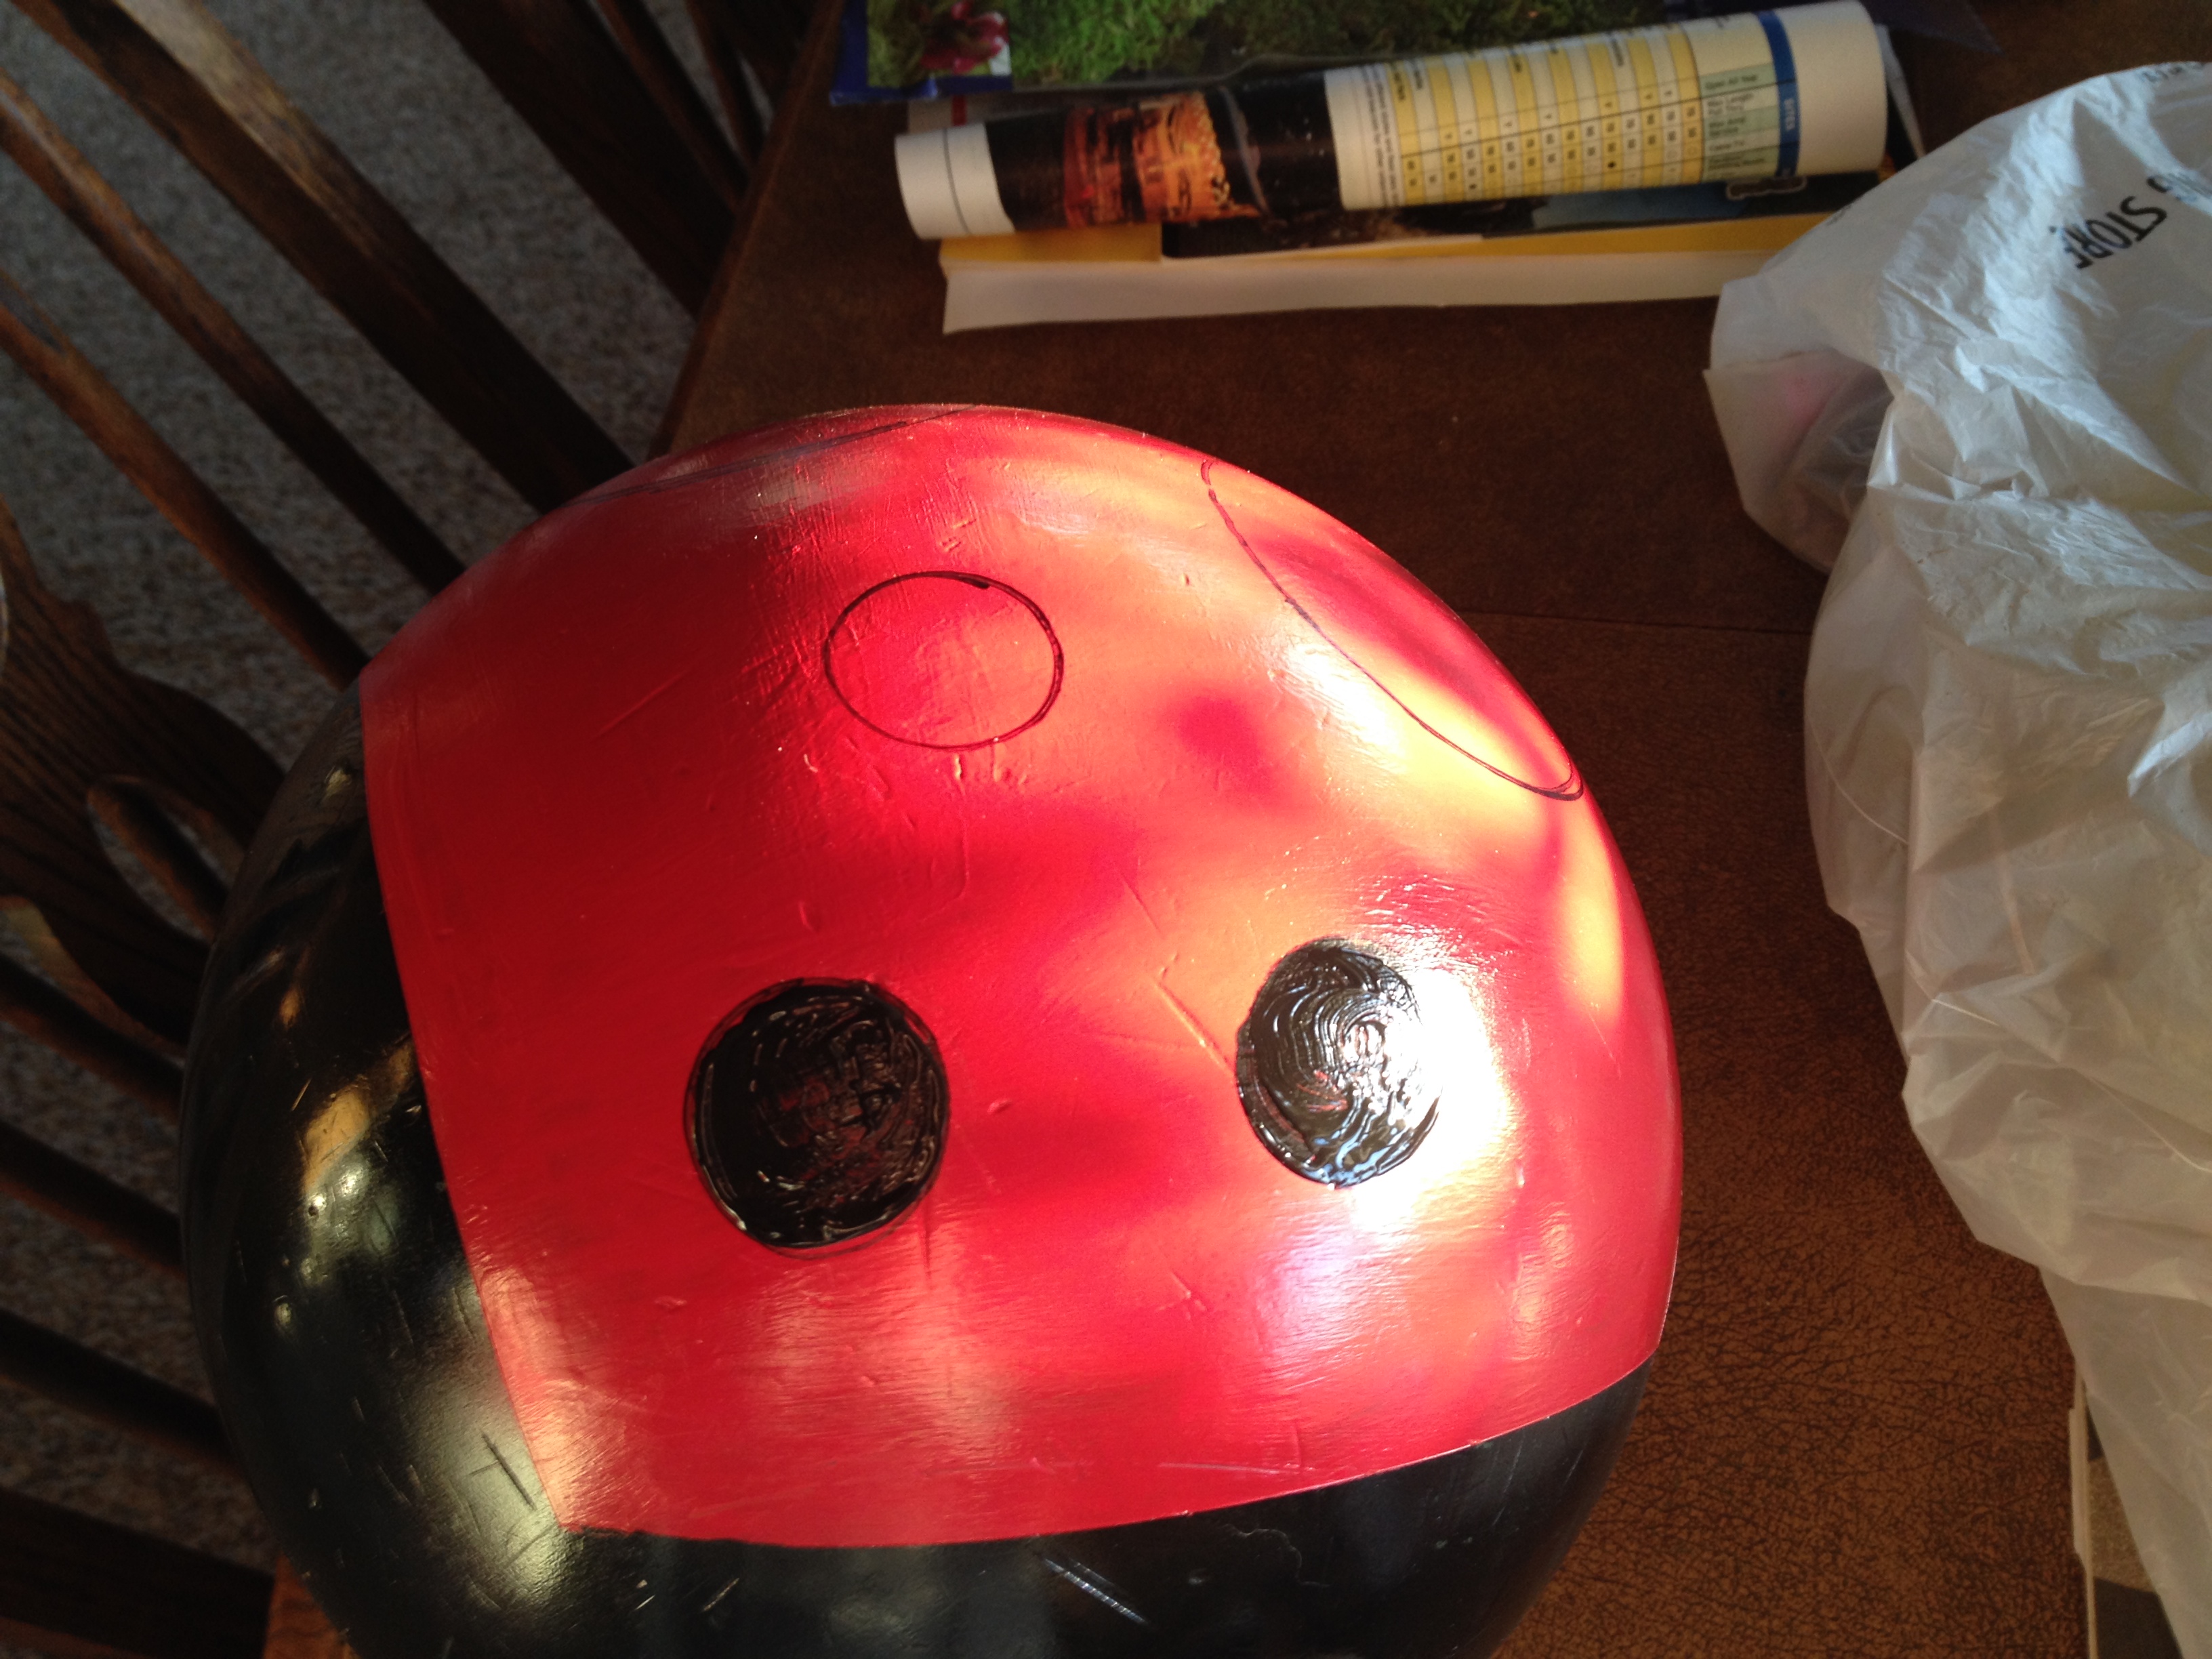
I ran electrical tape down the center of the ball to section it in half. Since I planned to use the finger holes for his antenna, it was easy to place the tape between the holes and around the ball. Then I taped around the bottom about 1/4 of the way up to mark the area for his shell (wings). I also taped 1/4 of the way around the “face” area to stay black. Then I painted the red “wings” with a brush. I used the roll of electrical tape to draw circles on either side, and the inside of the roll to mark the smaller dots. (Genius right?) It did take a couple of coats of red to cover the black, then couple coats of black for the dots, but since it’s going to be in the weather and under the sprinklers, the thicker the paint the better.

I placed the eyeballs slightly touching each other using the electrical tape to draw the circles and a silver sharpie (tough to see lines on black background) and did several coats of white letting it dry between each one. I used a penny to outline the pupils. Intentionally off set them so he looked kinda cartoonish. (Yep, that’s my style, funky). I found holding it in my lap worked best, between the weight and the fact you’re attempting to work on a round surface, it was a little harder to paint than I expected.
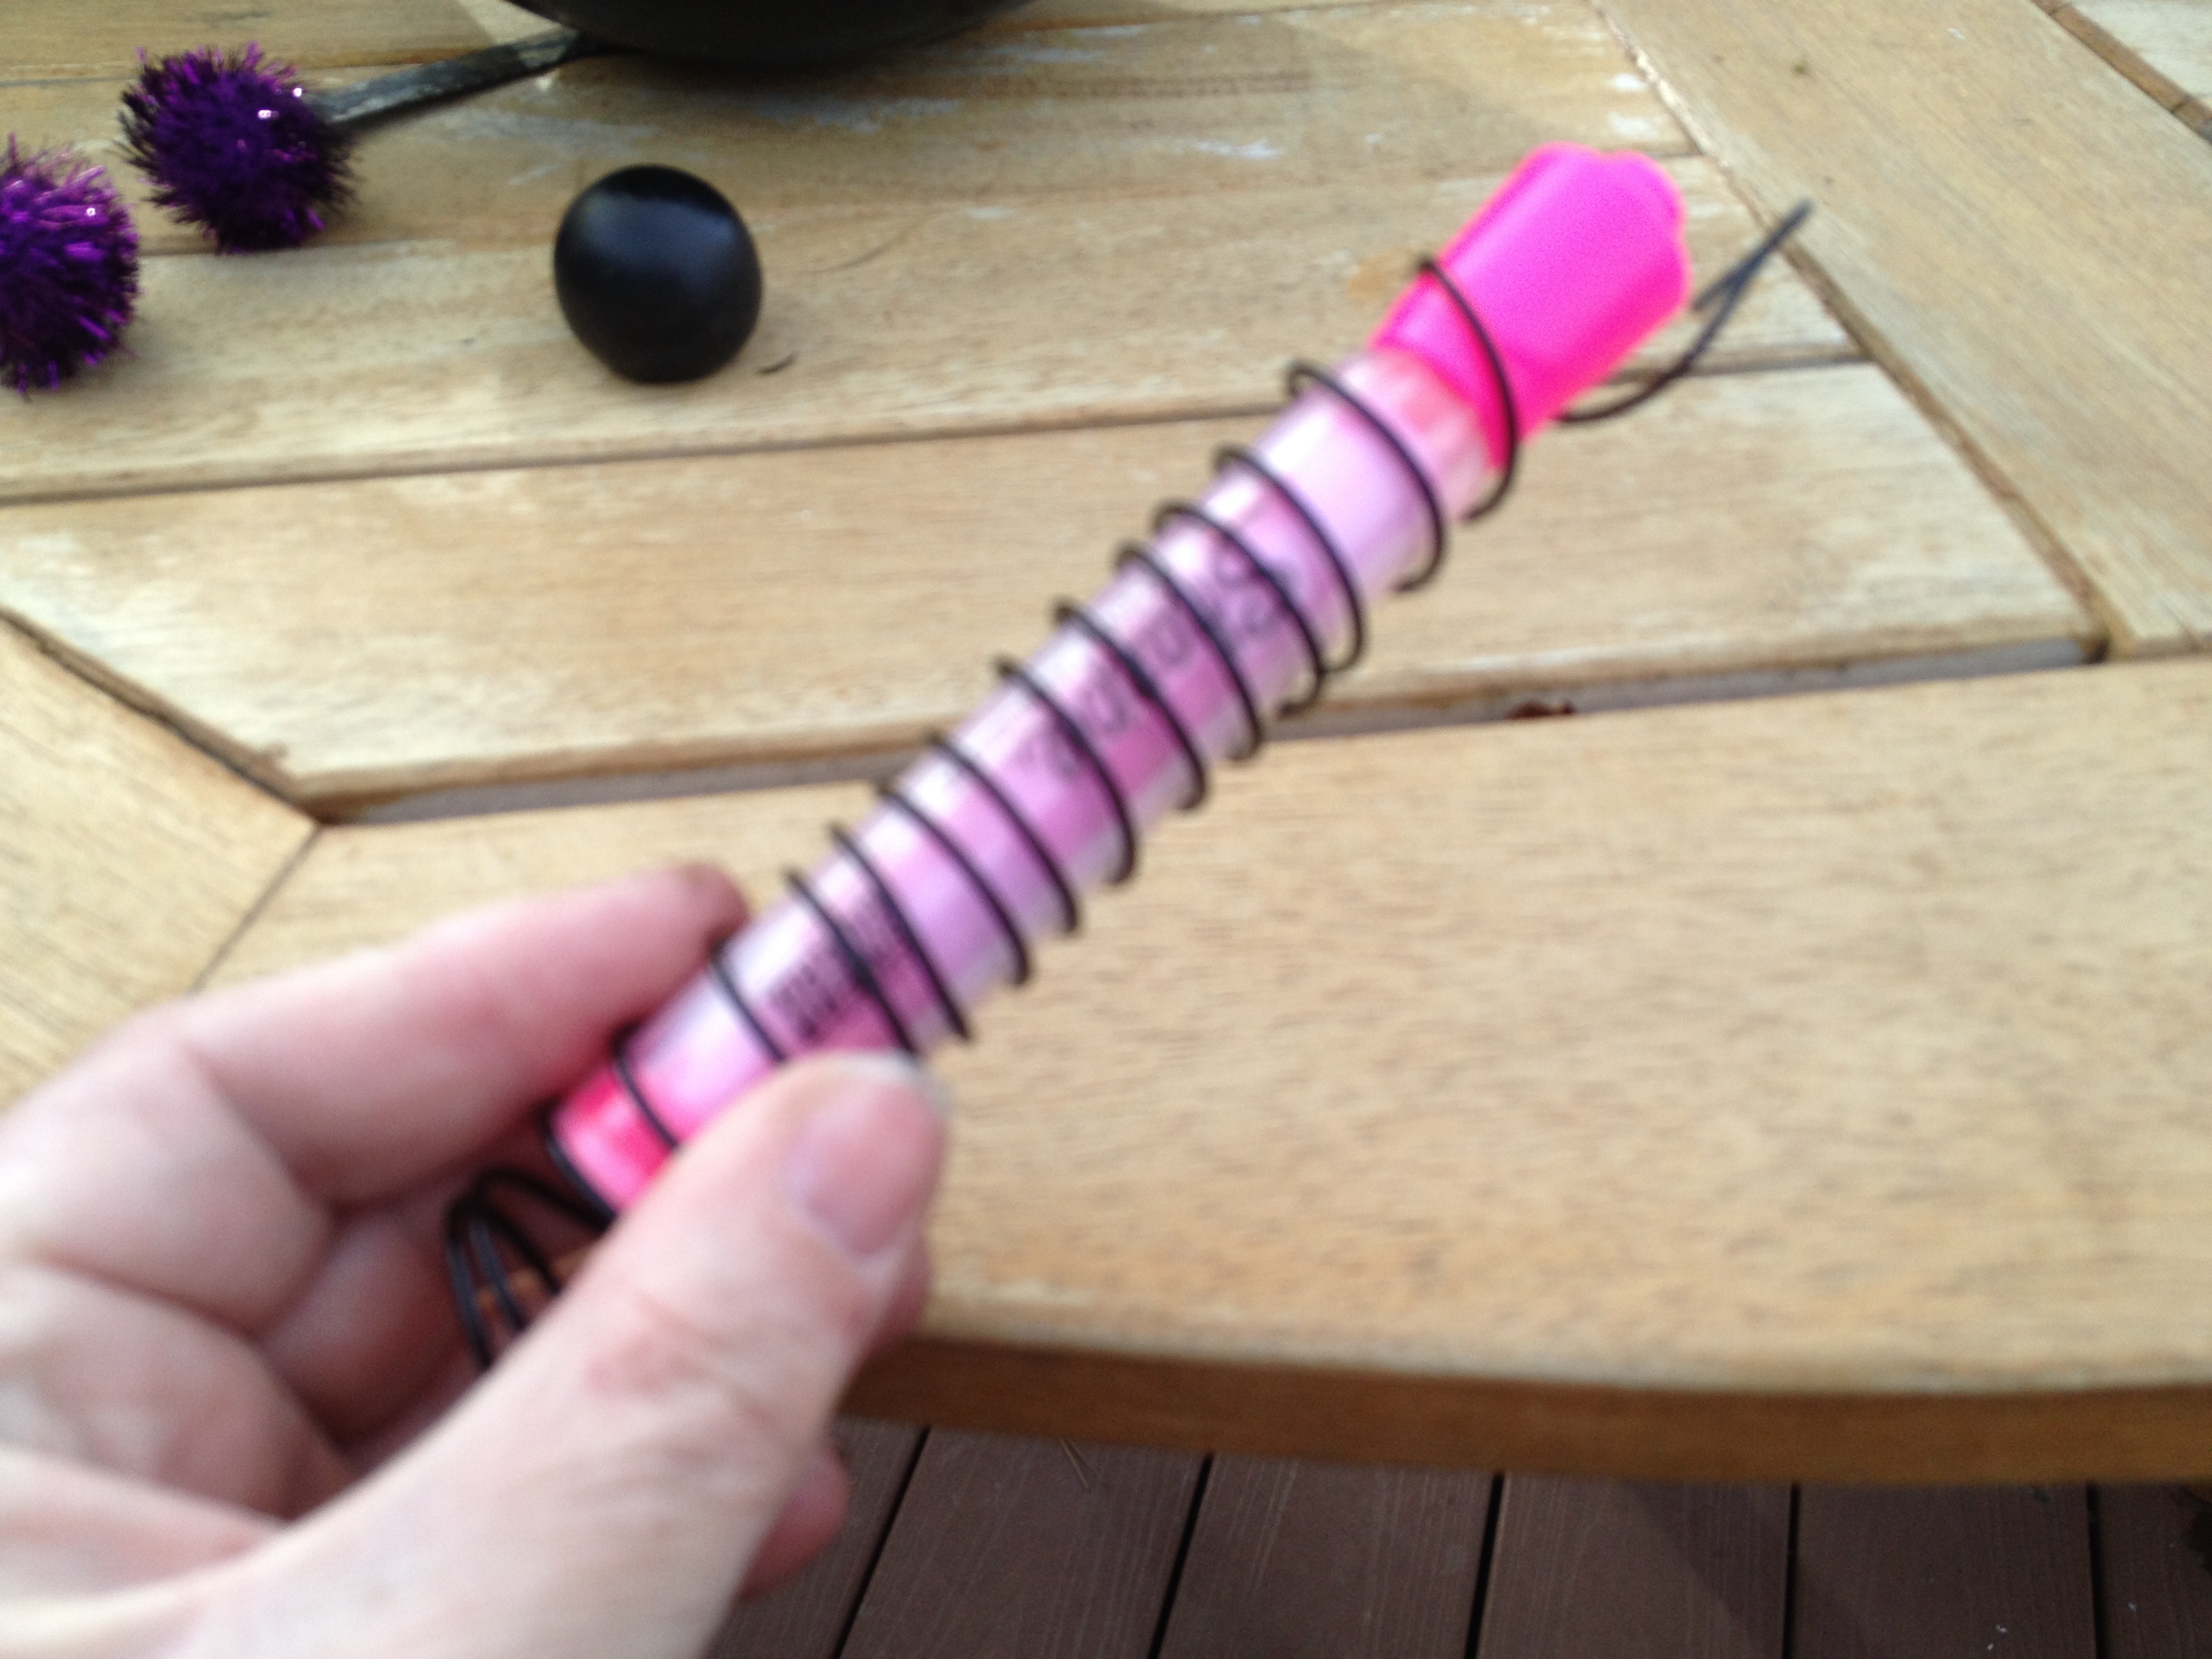
Next I made his antenna out of the black wire. I just unrolled the package and cut it in half. I wrapped it around whatever was handy, in this case a hi liter. The size fit into the finger holes and I wanted a “springy” looking antenna. I painted the knobs (balls) black and inserted the wire into the holes on the bottom of them. then put them into the finger holes of the ball.
 I
I
I did spray them with clear gloss sealer to help them last longer. Don’t know if this really works, but seemed like a good idea.

Viola!! Ready for his new home!!
I have gotten 3 more ‘old balls, so I’m going to do a bumble bee, pink and purple bugs next. Stay tuned for more photos when they’re done drying!! And as always…

Enjoy,
Debbie
