Mrs. Butterworth’s project

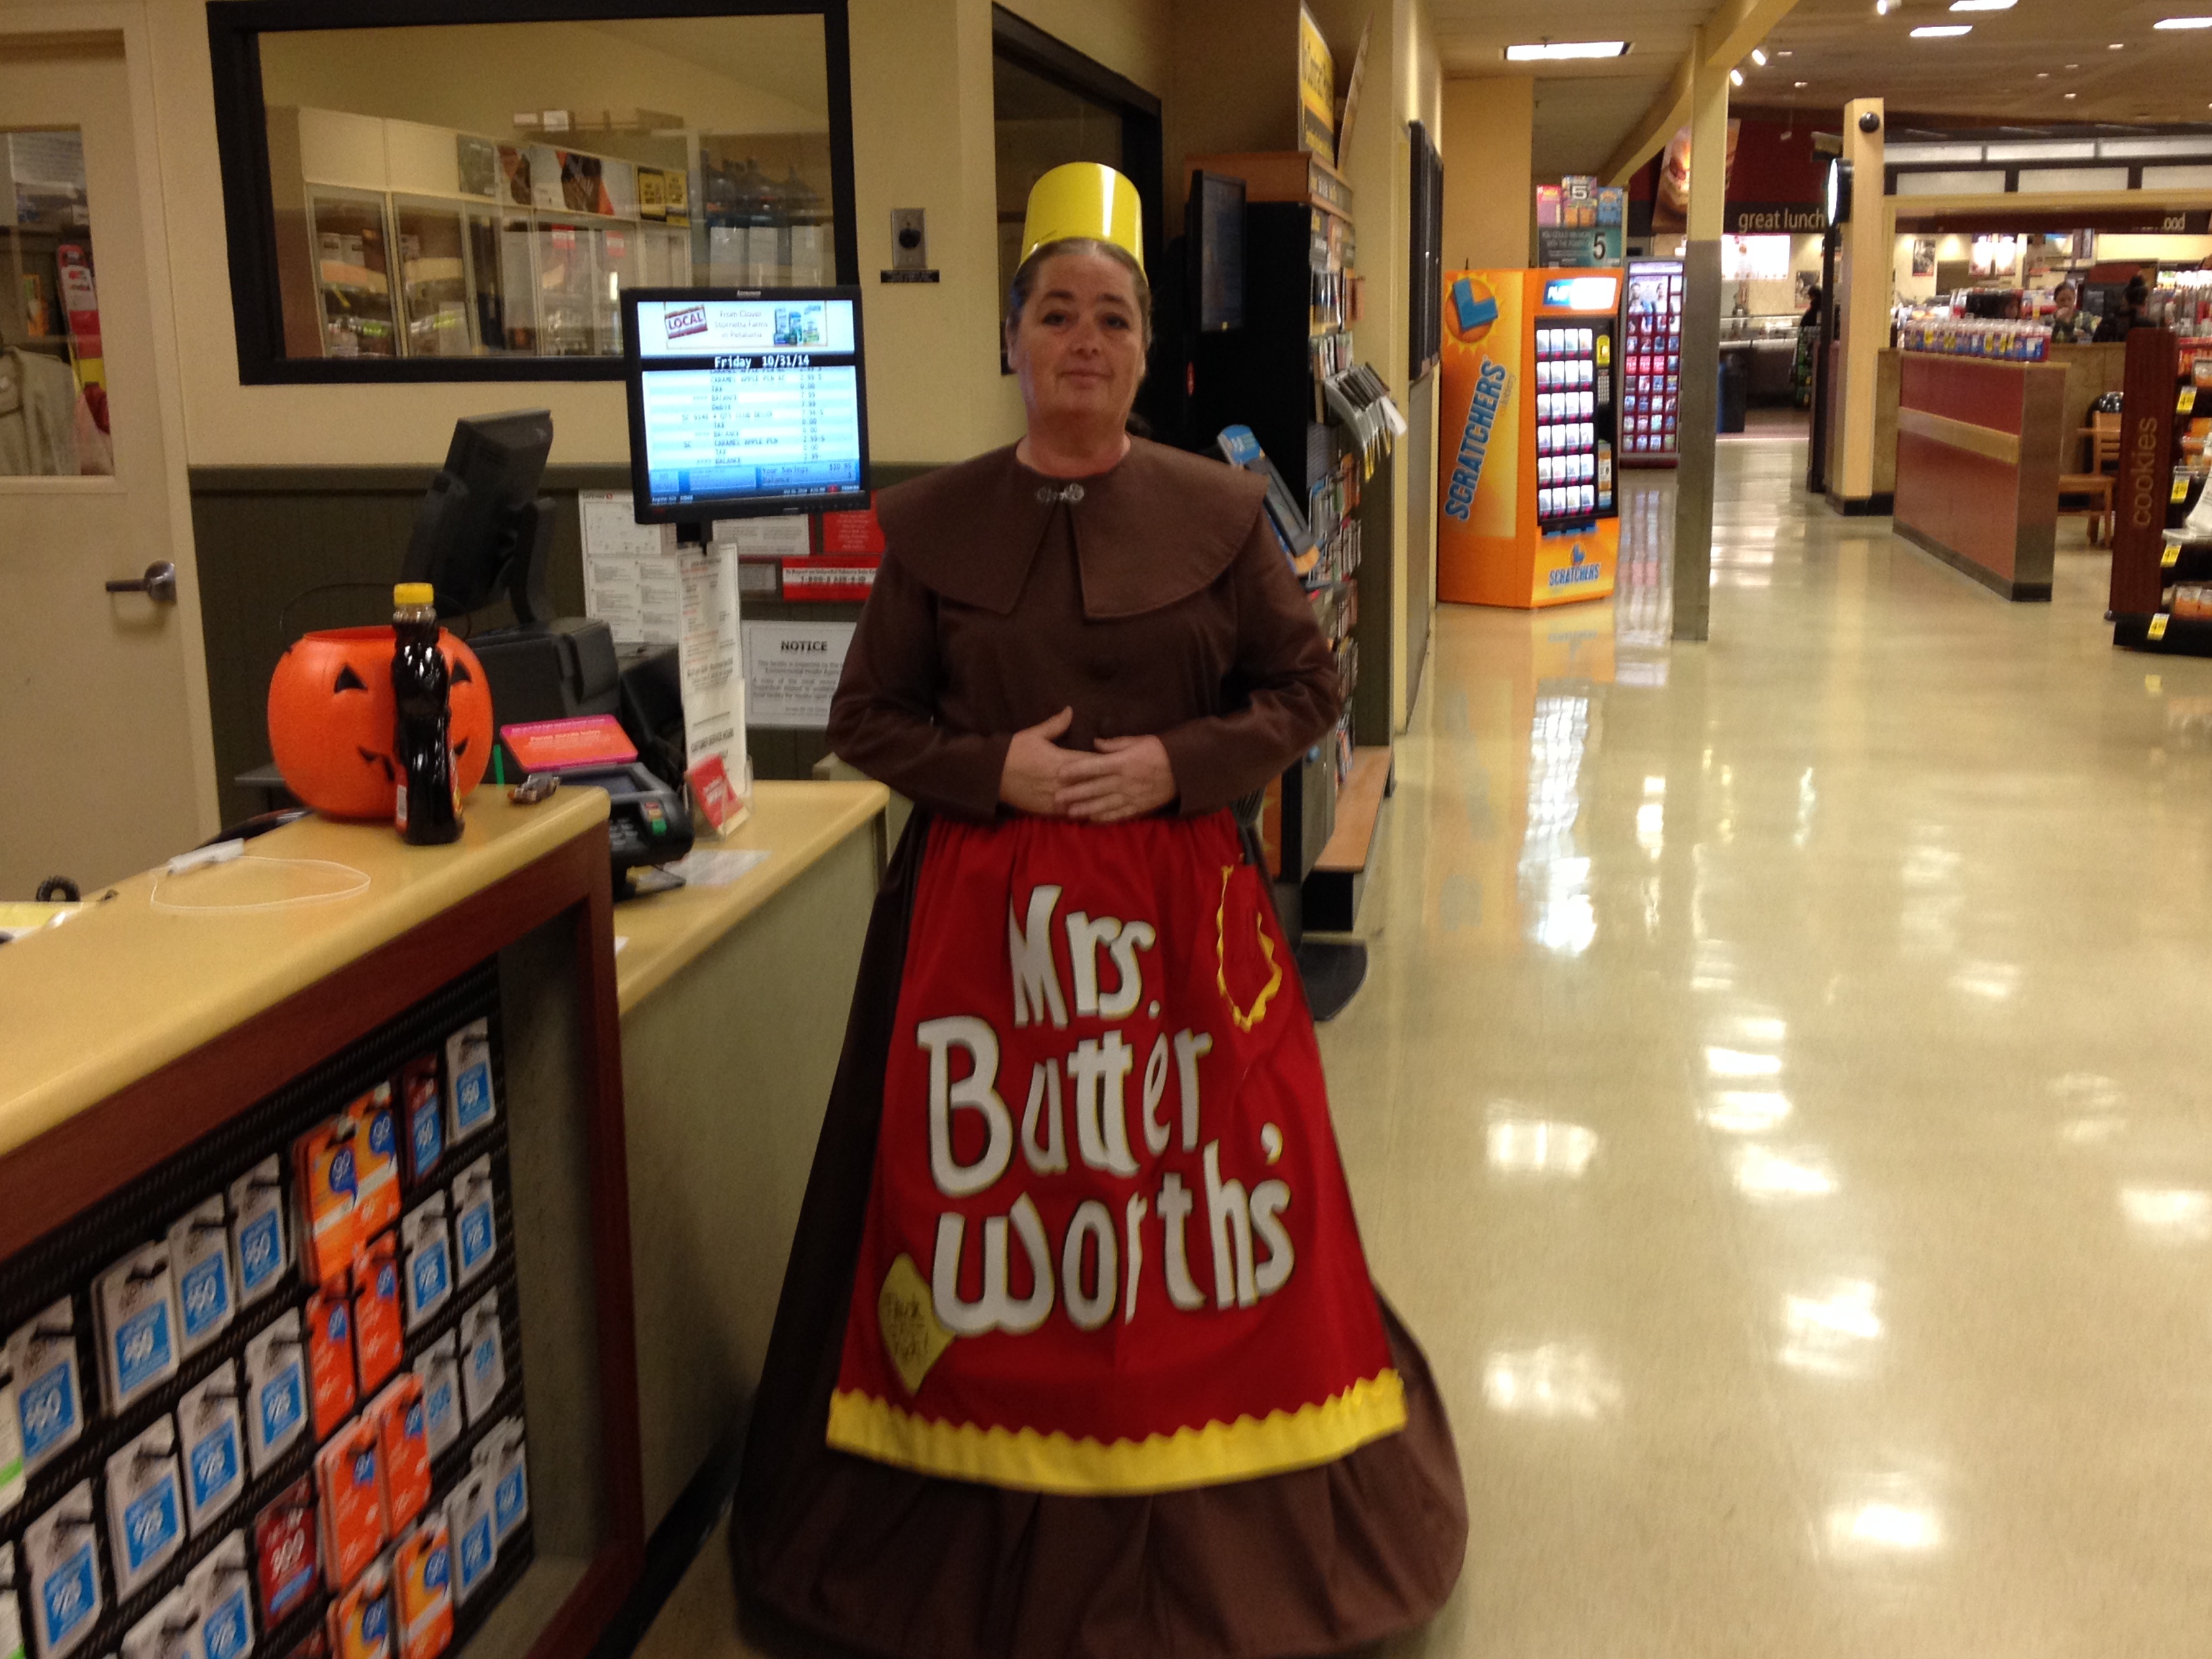
So I thought I’d share a sneak peek of my costume this year. I’ve been hard a work in the sewing room with my new bestie Helga, and I have to admit it’s coming out great!

 IMG_1503

First, a little inspiration… I do work for a major grocery chain, so it seems inevitable that at some point,

a food related costume is appropriate. the key is trying to make sure its PC appropriate for work.

This blog is going to be mostly inspirational rather than informational.

Not sure you want to recreate it, but the creative process would be the same with any idea.

Supplies Used:

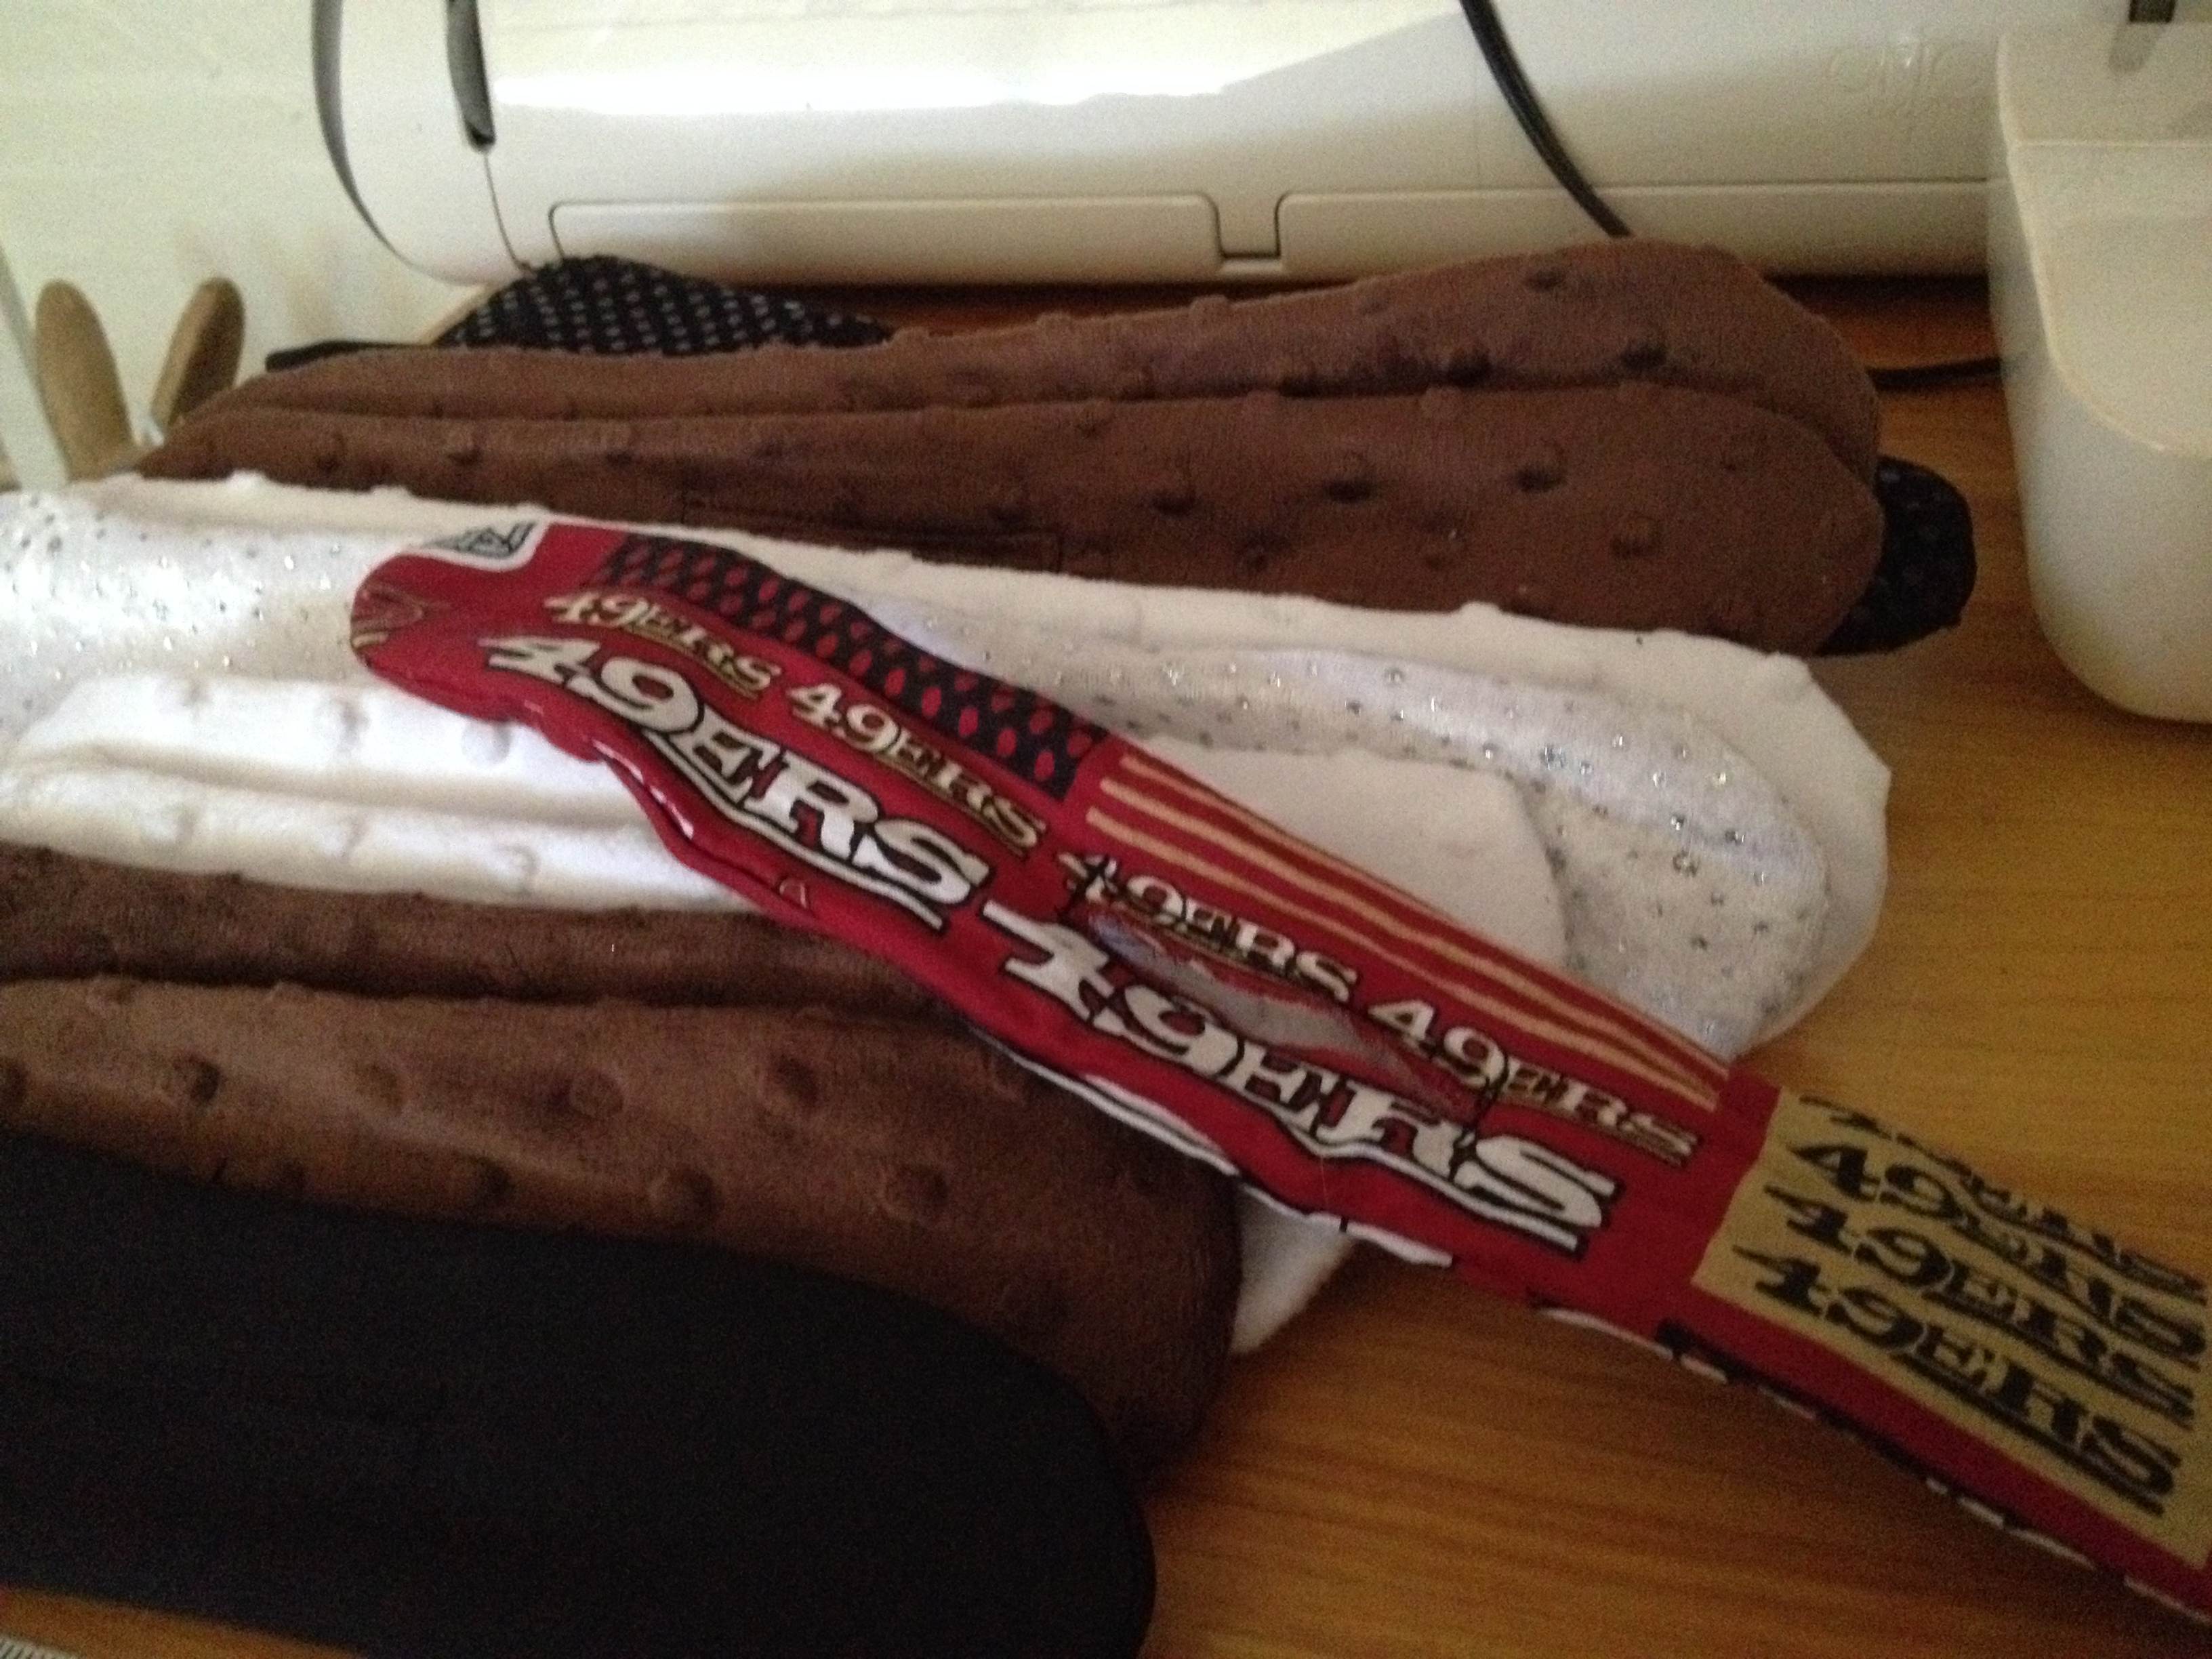
6 yards mahogany brown cotton fabric

1 yard each red, yellow and white cotton fabric

2 pkgs heat and bond iron on fabric adhesive

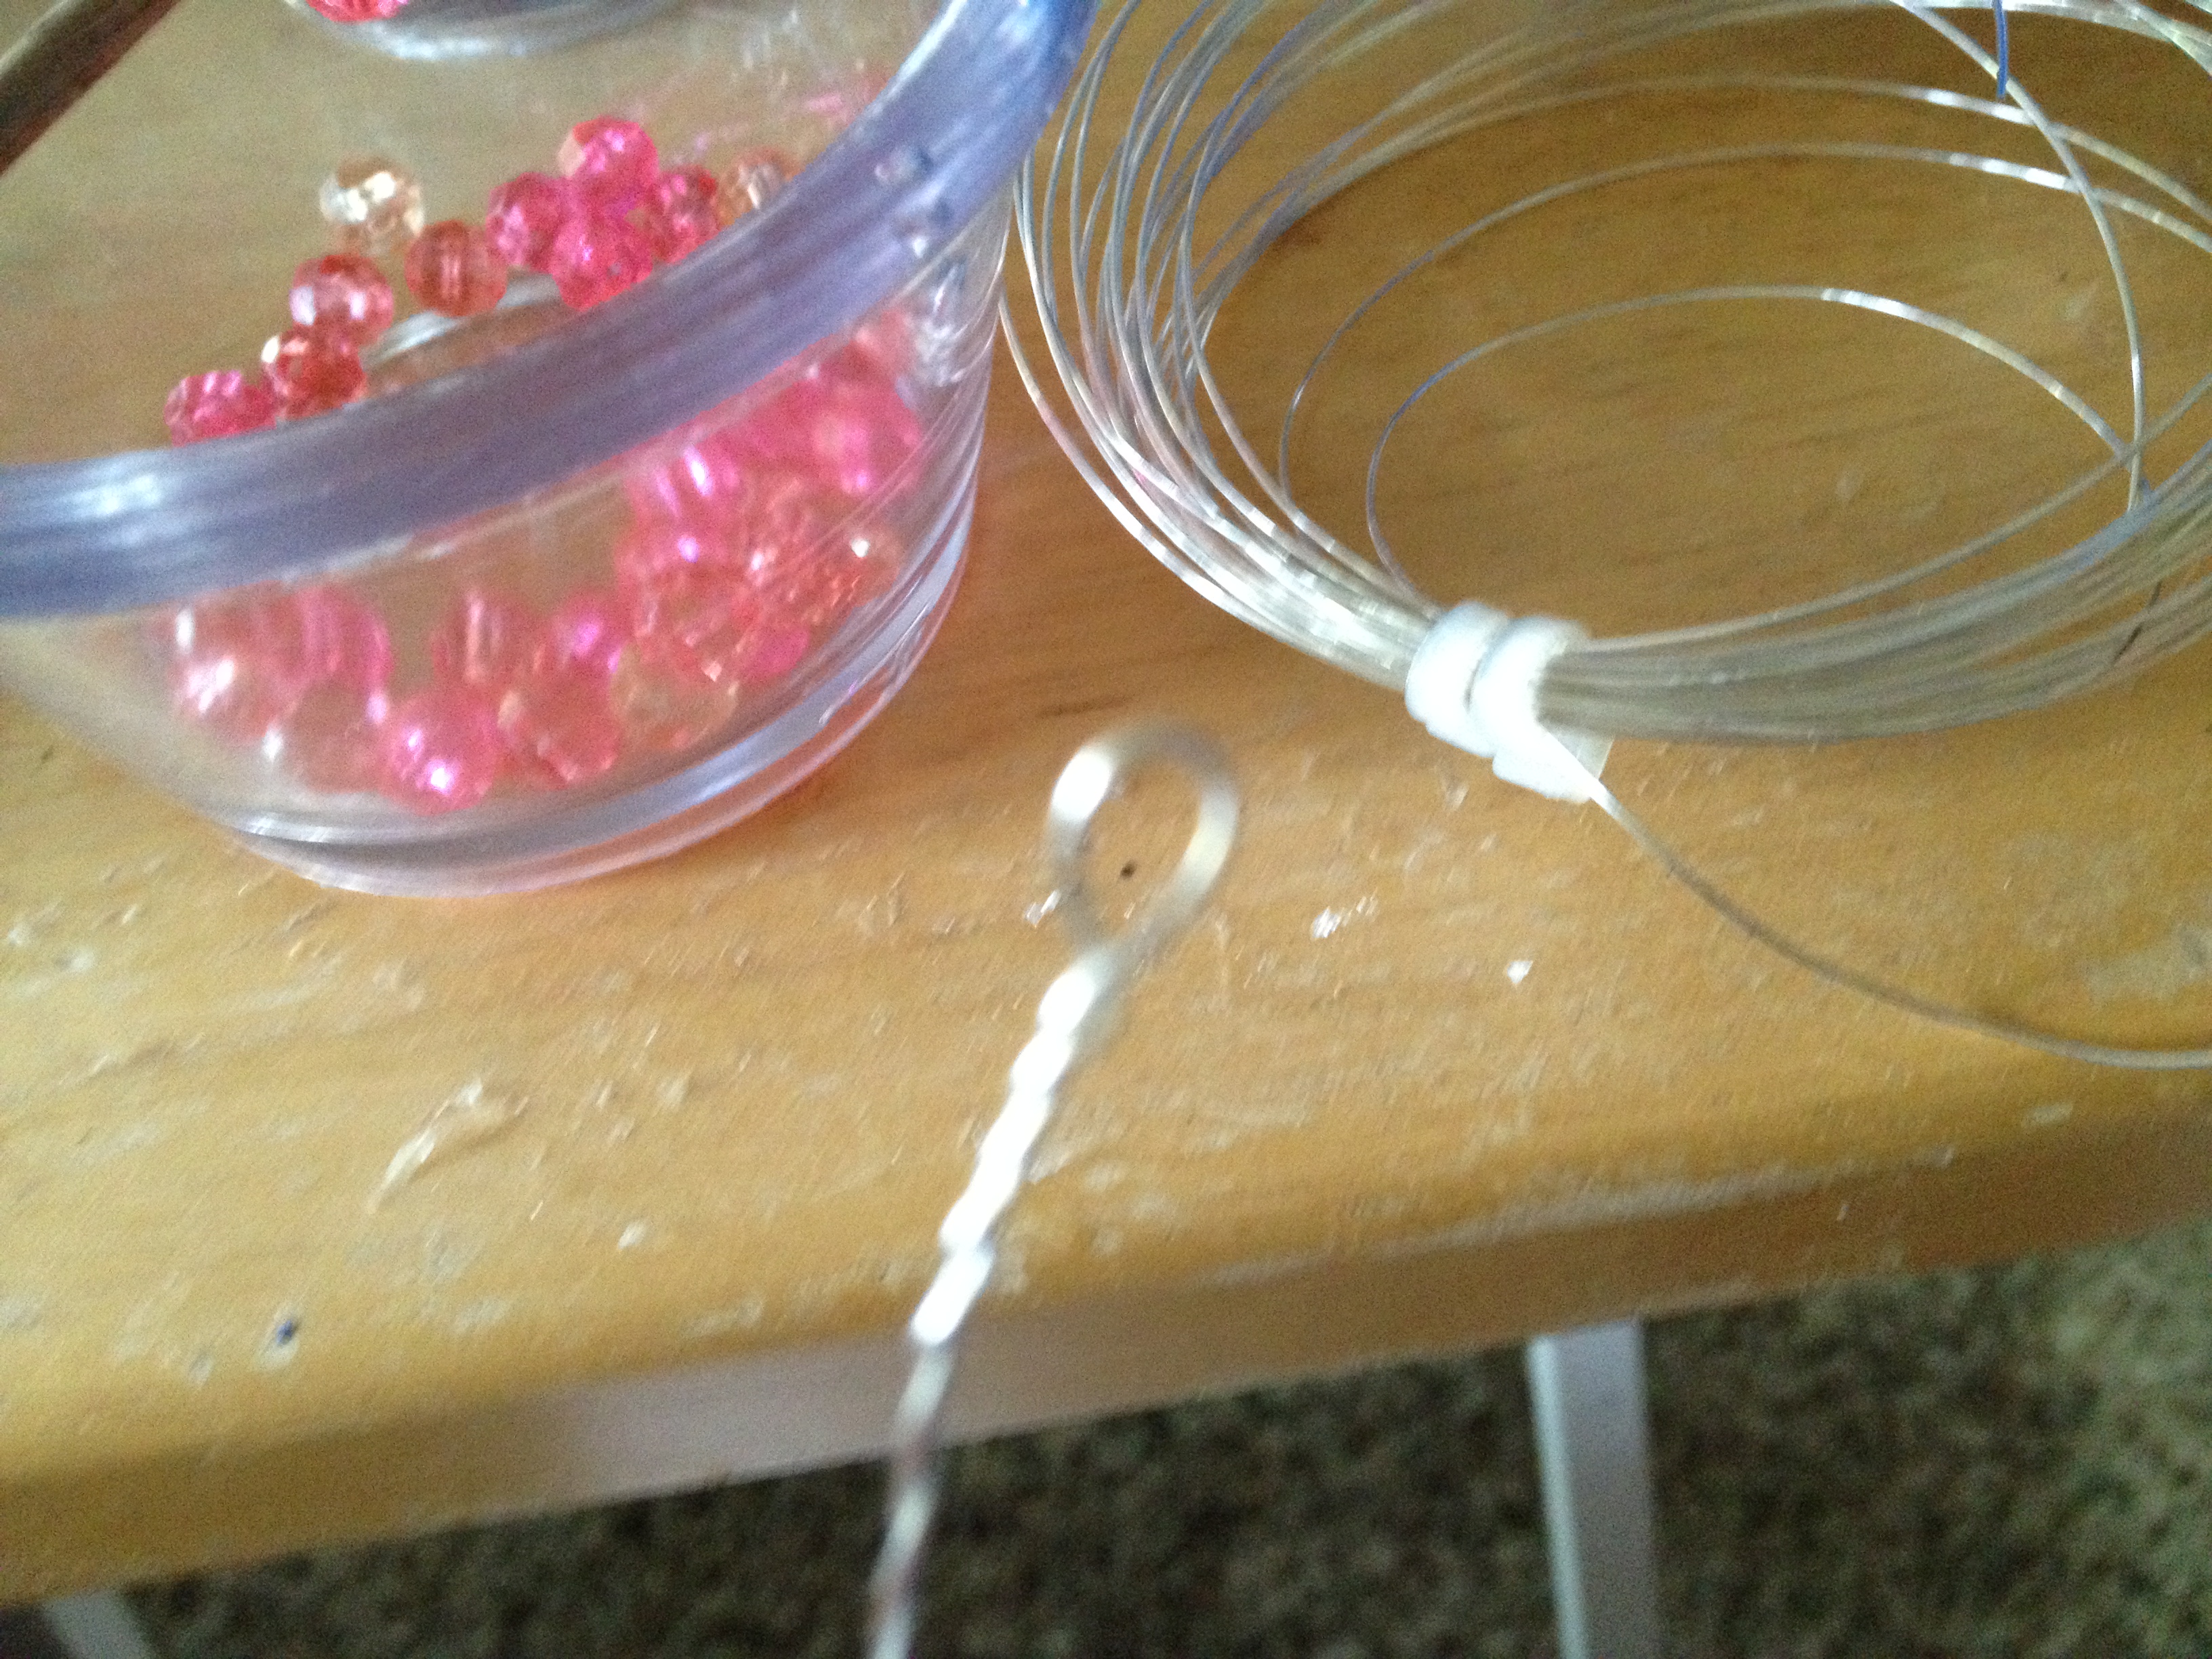
1 bailing wire for skirt hoop

clasp, frog or tie for collar

21″ zipper

Large yellow rick rack

Sinplicity pattern #3723, pilgrim dress

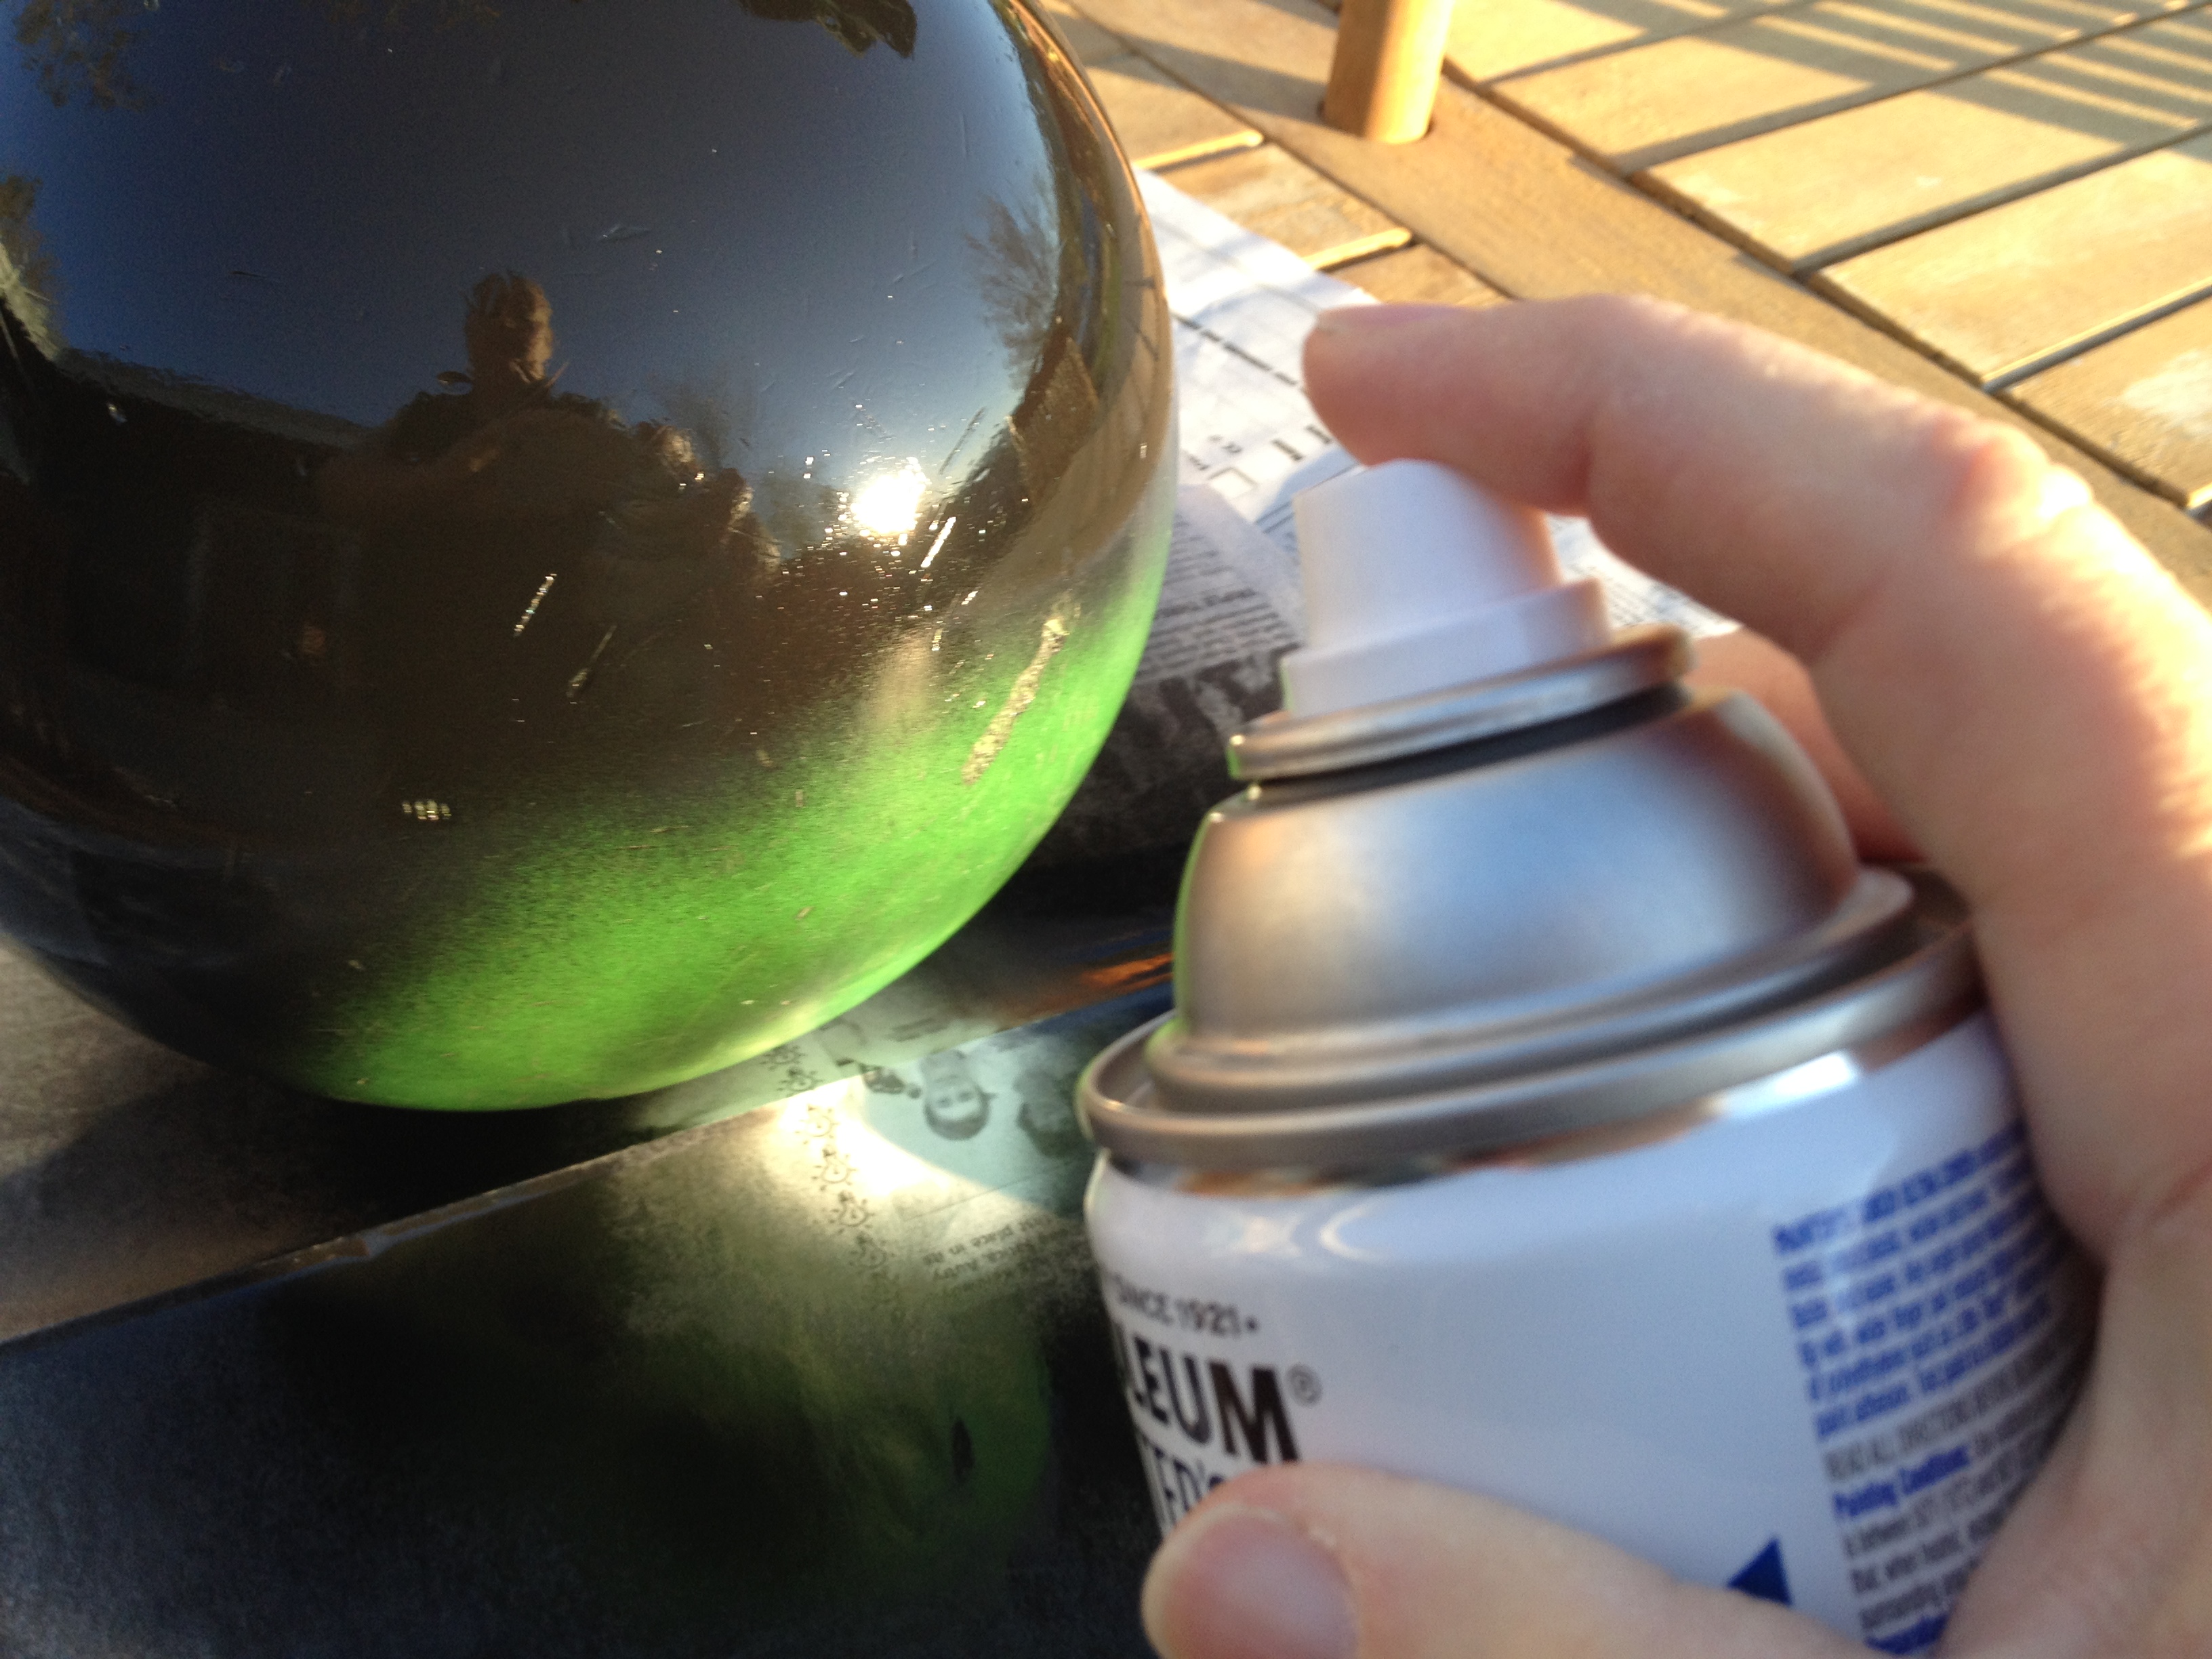
2 1/2 quart paint bucket (or your head size)

yellow spray paint

fine tip sharpie marker

IMG_1493

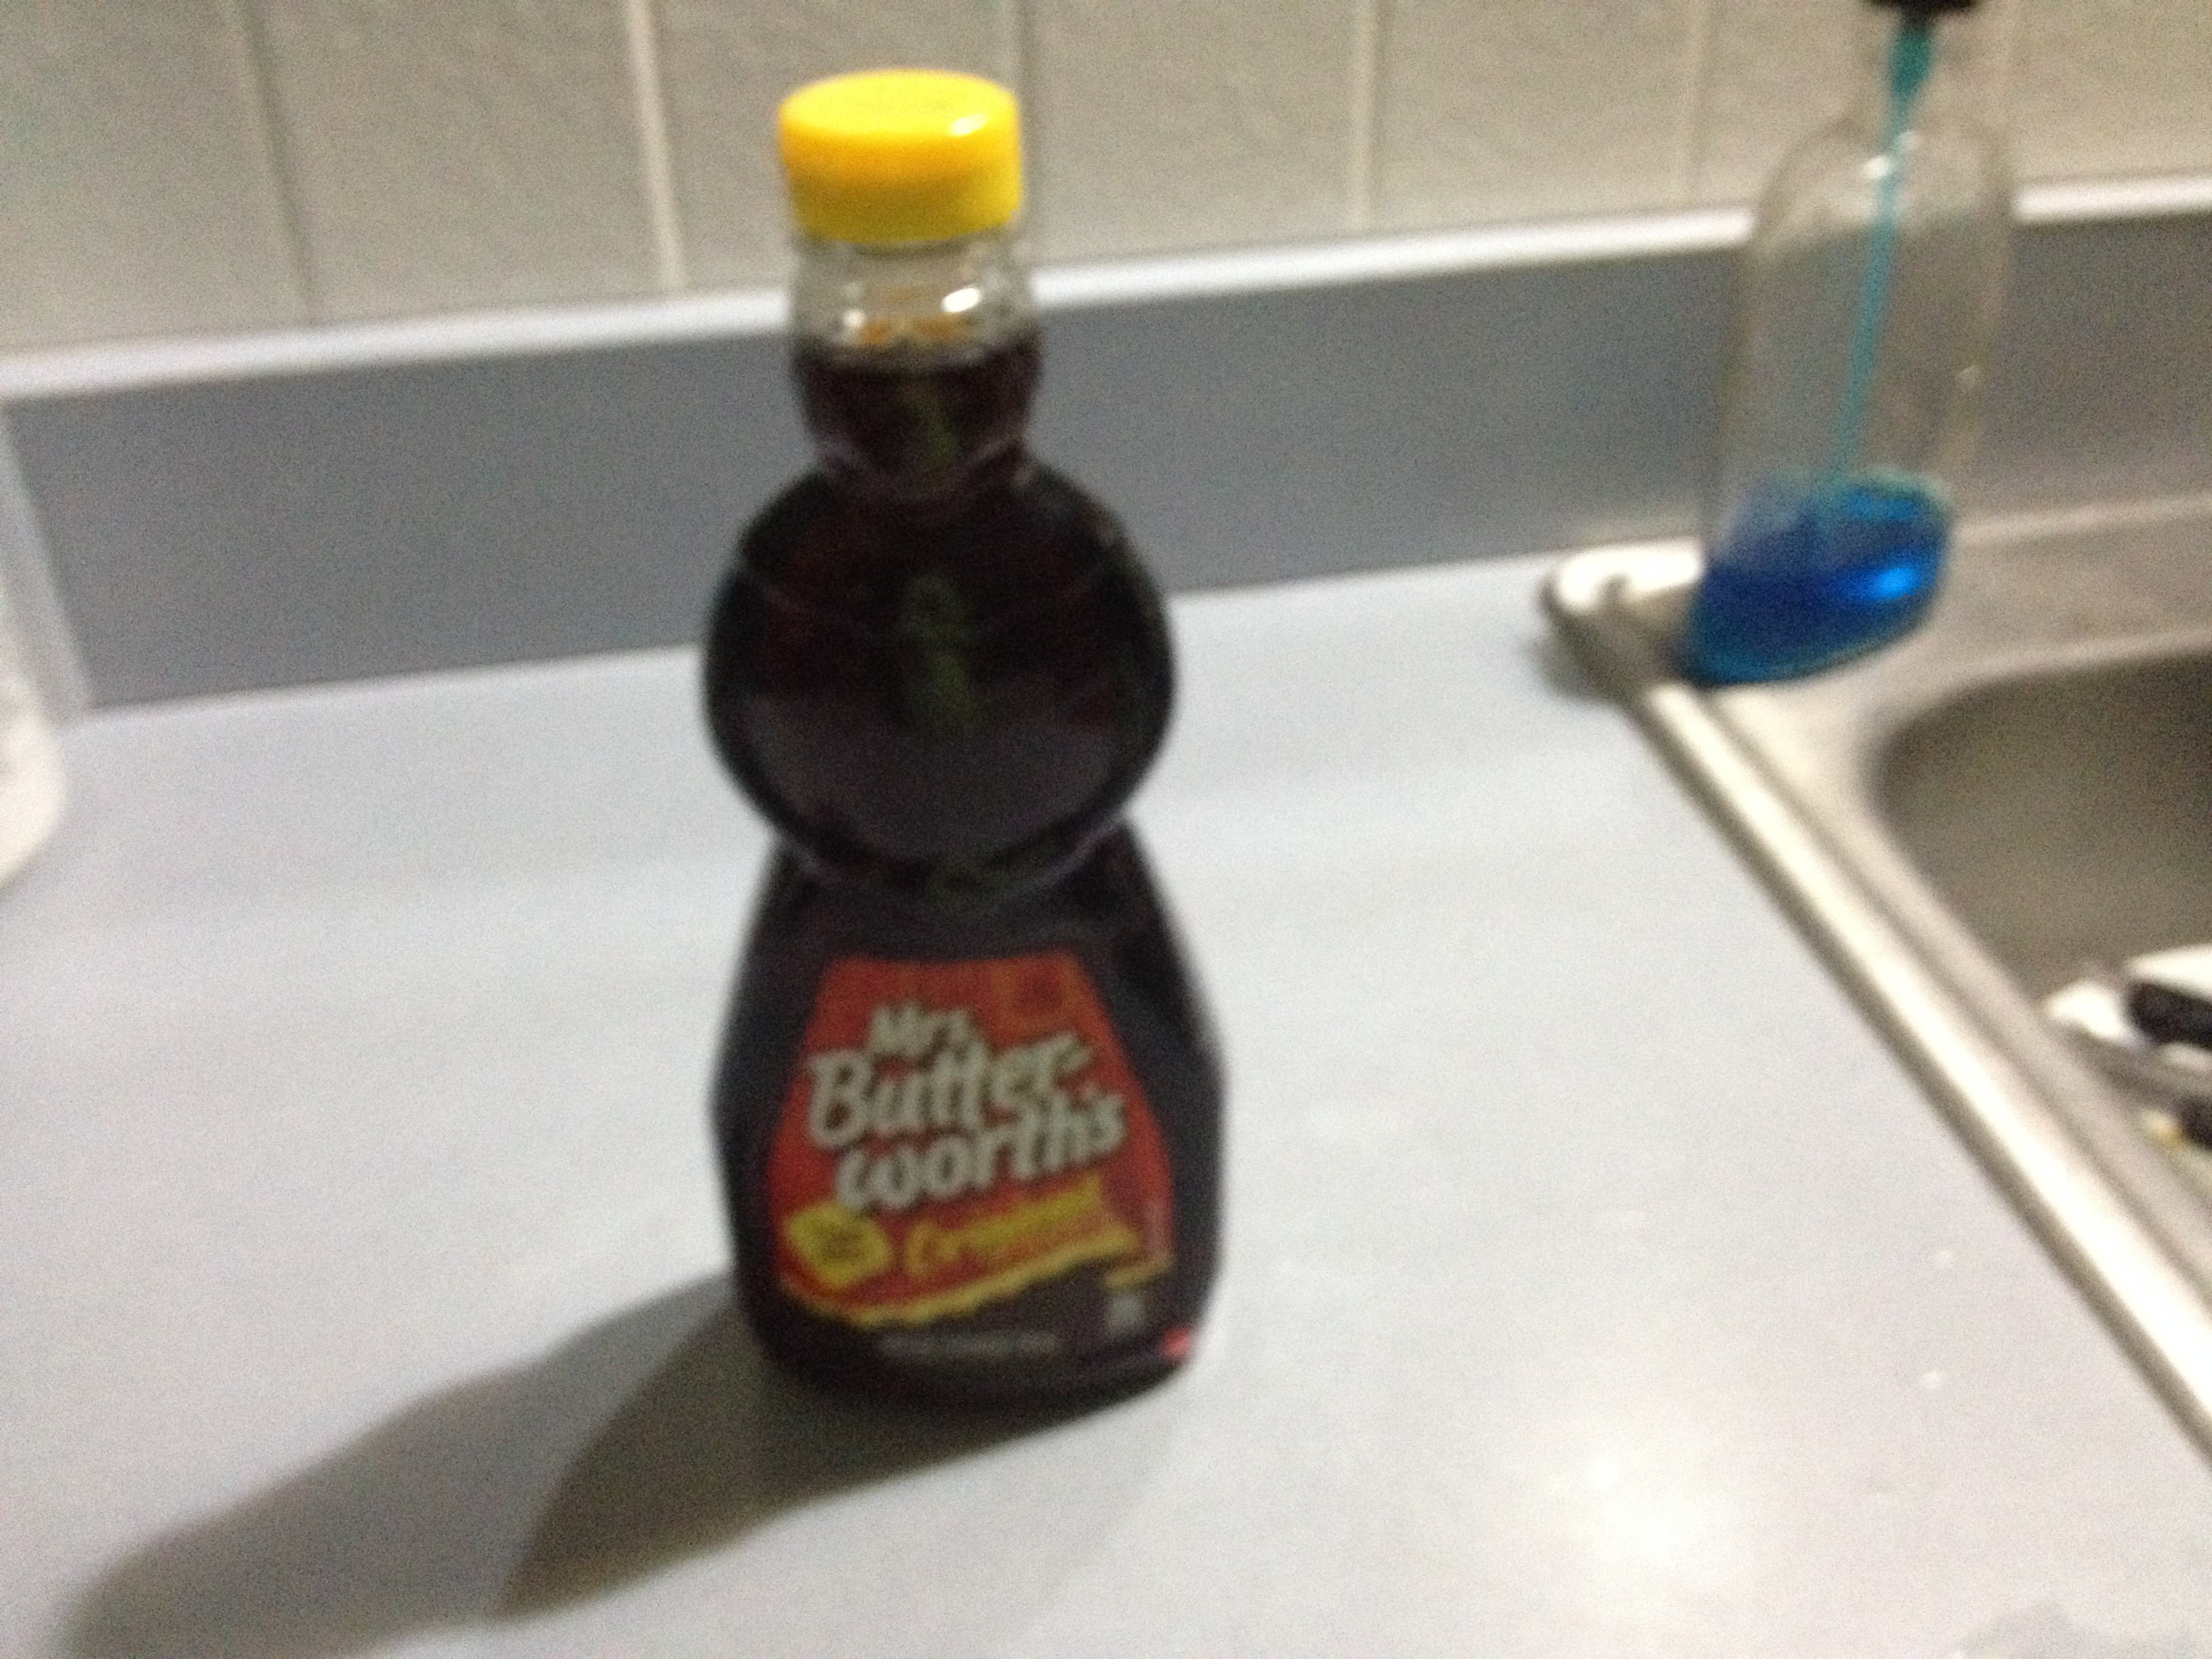
Started with a little inspiration, the bottle.

IMG_1494

Found a patter similar to the dress shape/silhouette, used the one with the collar and make it according to directions with all brown fabric.

IMG_1488

In order to get the bottom to stay out, I stole a bailing wire from work, and inserted it into the hem of the dress. Instant hoop skirt.

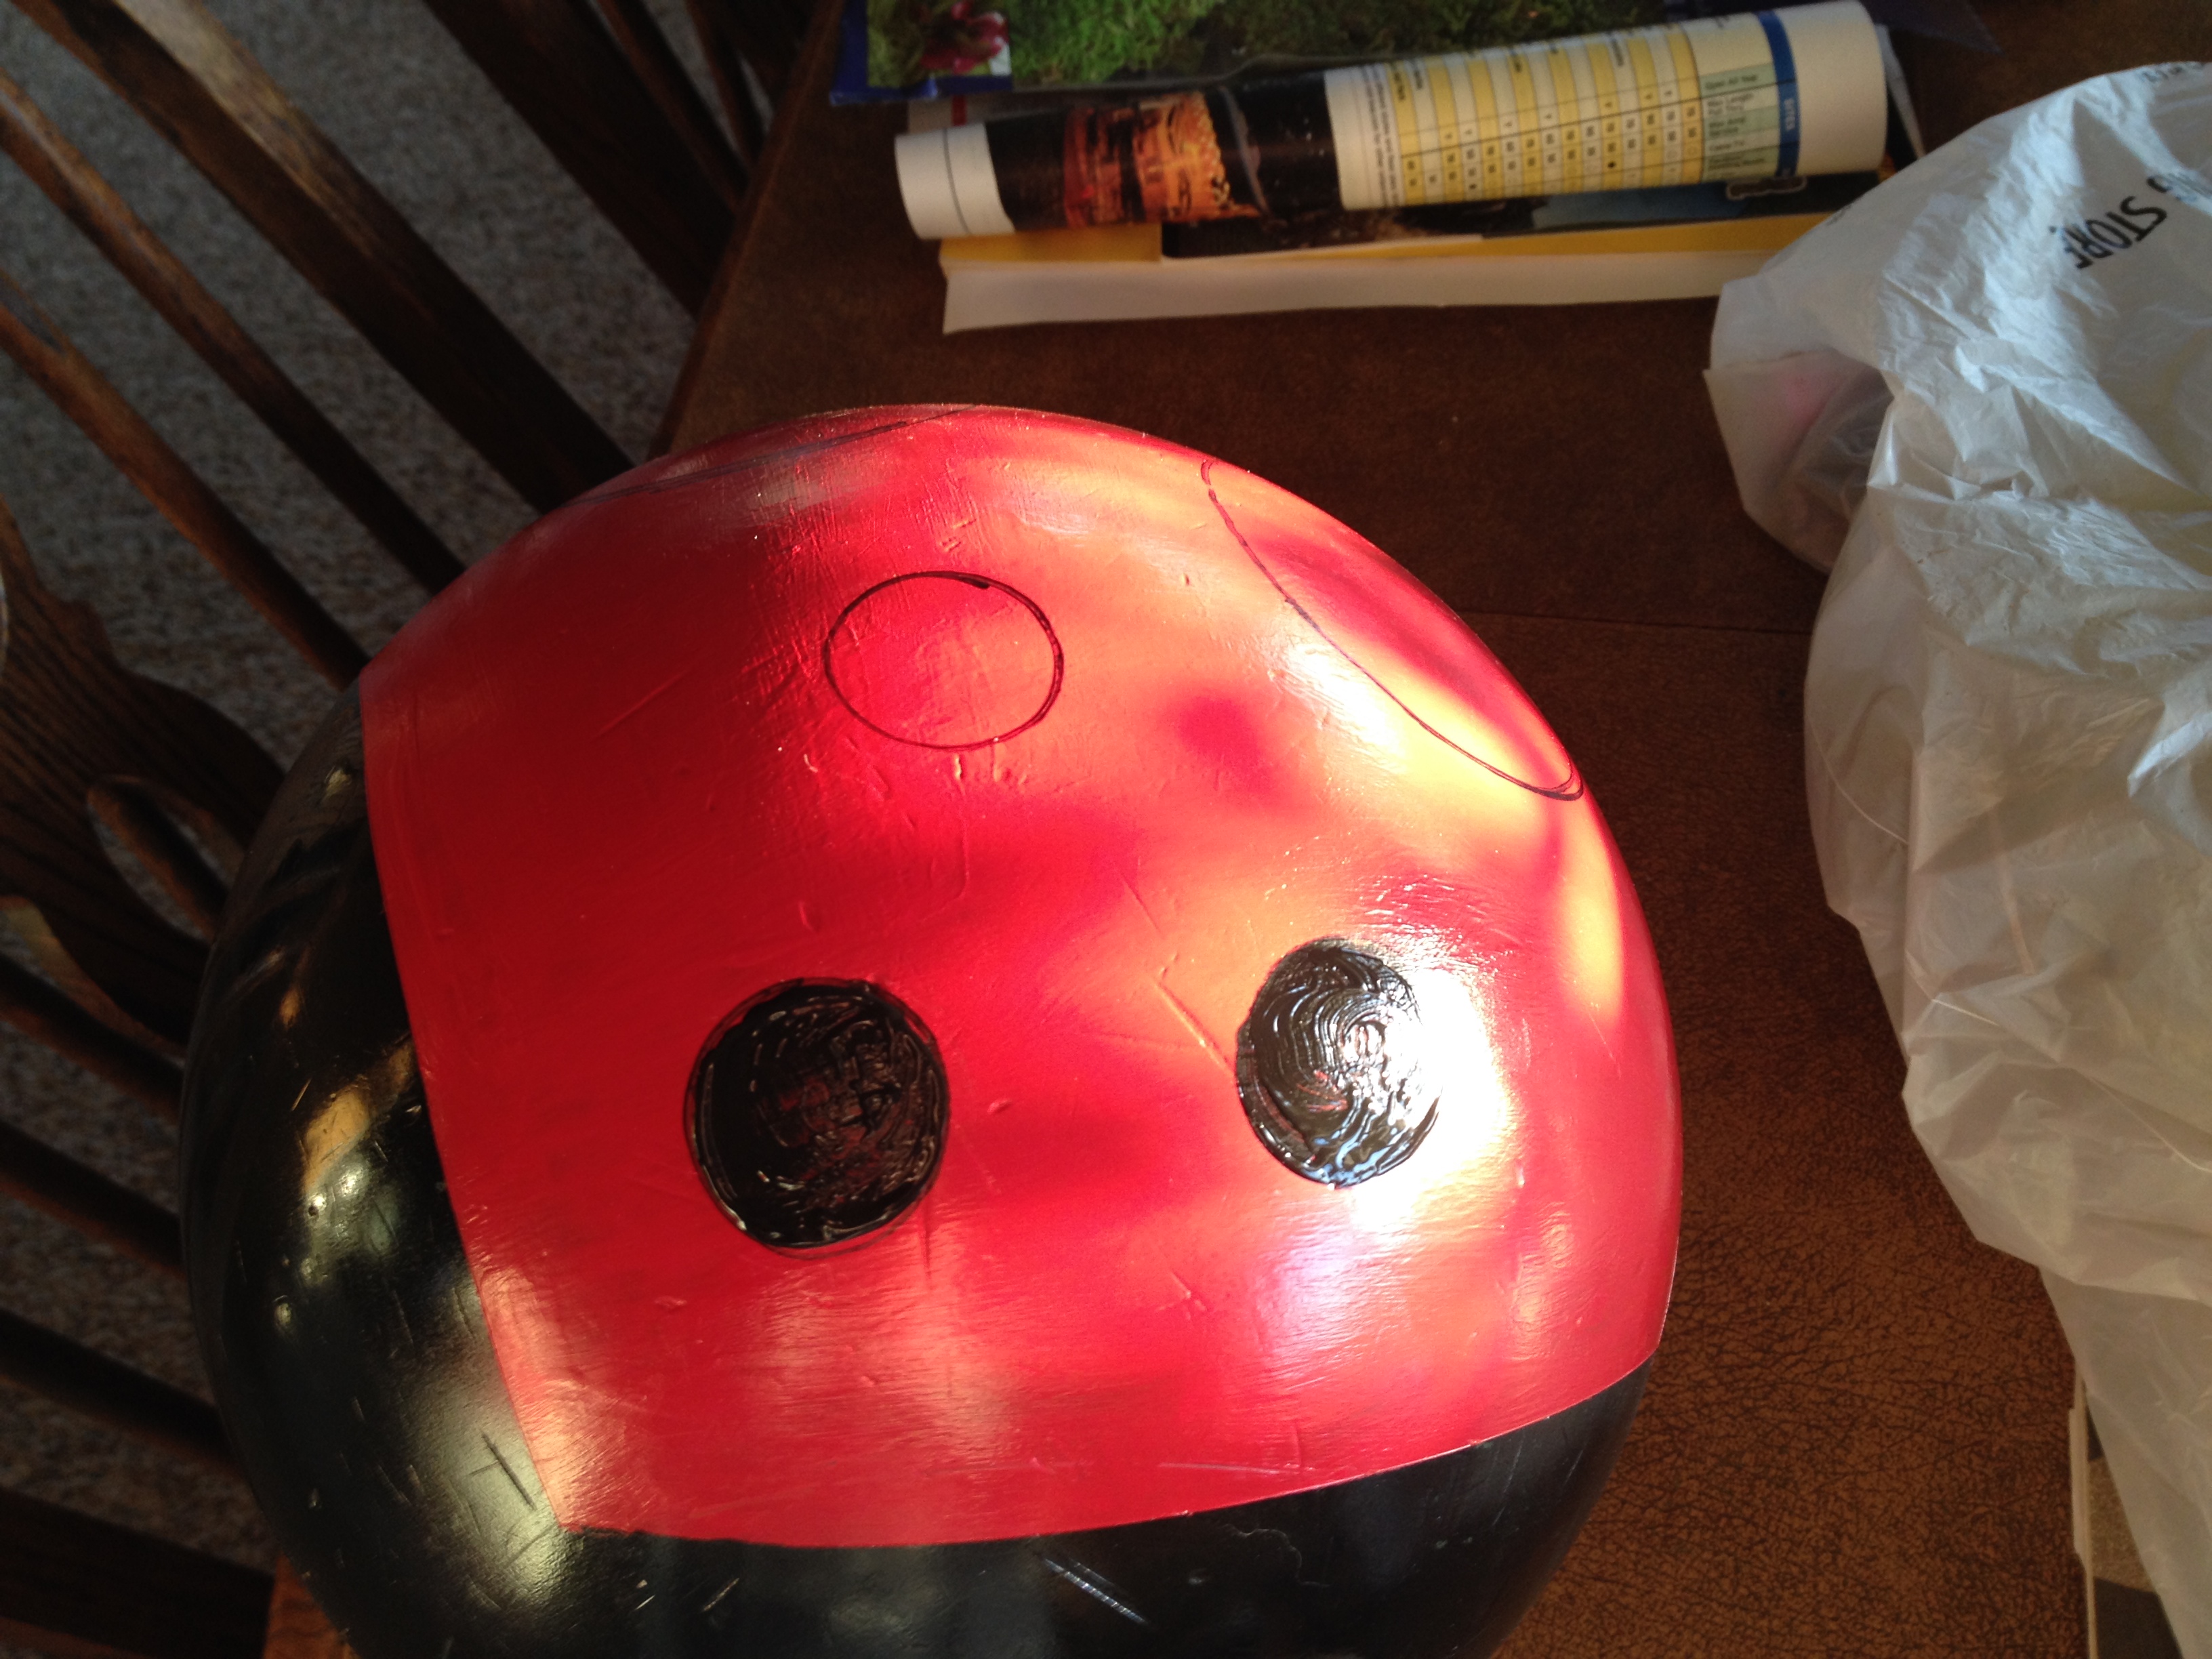
And then it was on to the “cap”.

IMG_1480

This bucket turned out to be too round, so I found a more straight sided paint bucket. Spray painted it with two coats of yellow and then wrote “twist to open” on the rim.

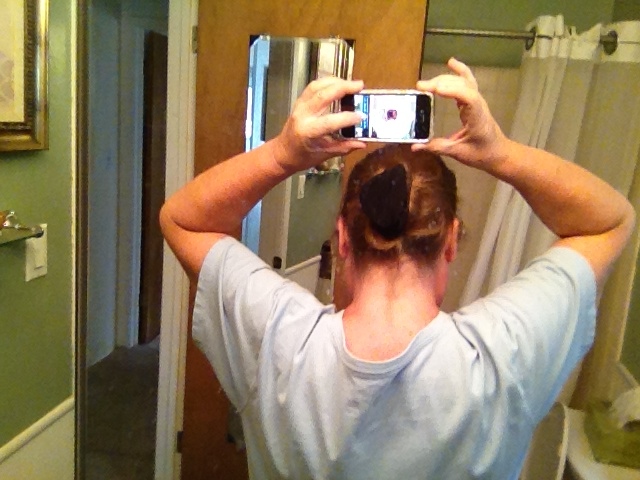
It was slightly too small to sit down on my head so I secured it with bobby pins on the sides and put elastic through the sides and ran it under the hair bun I had in the back.

IMG_1489

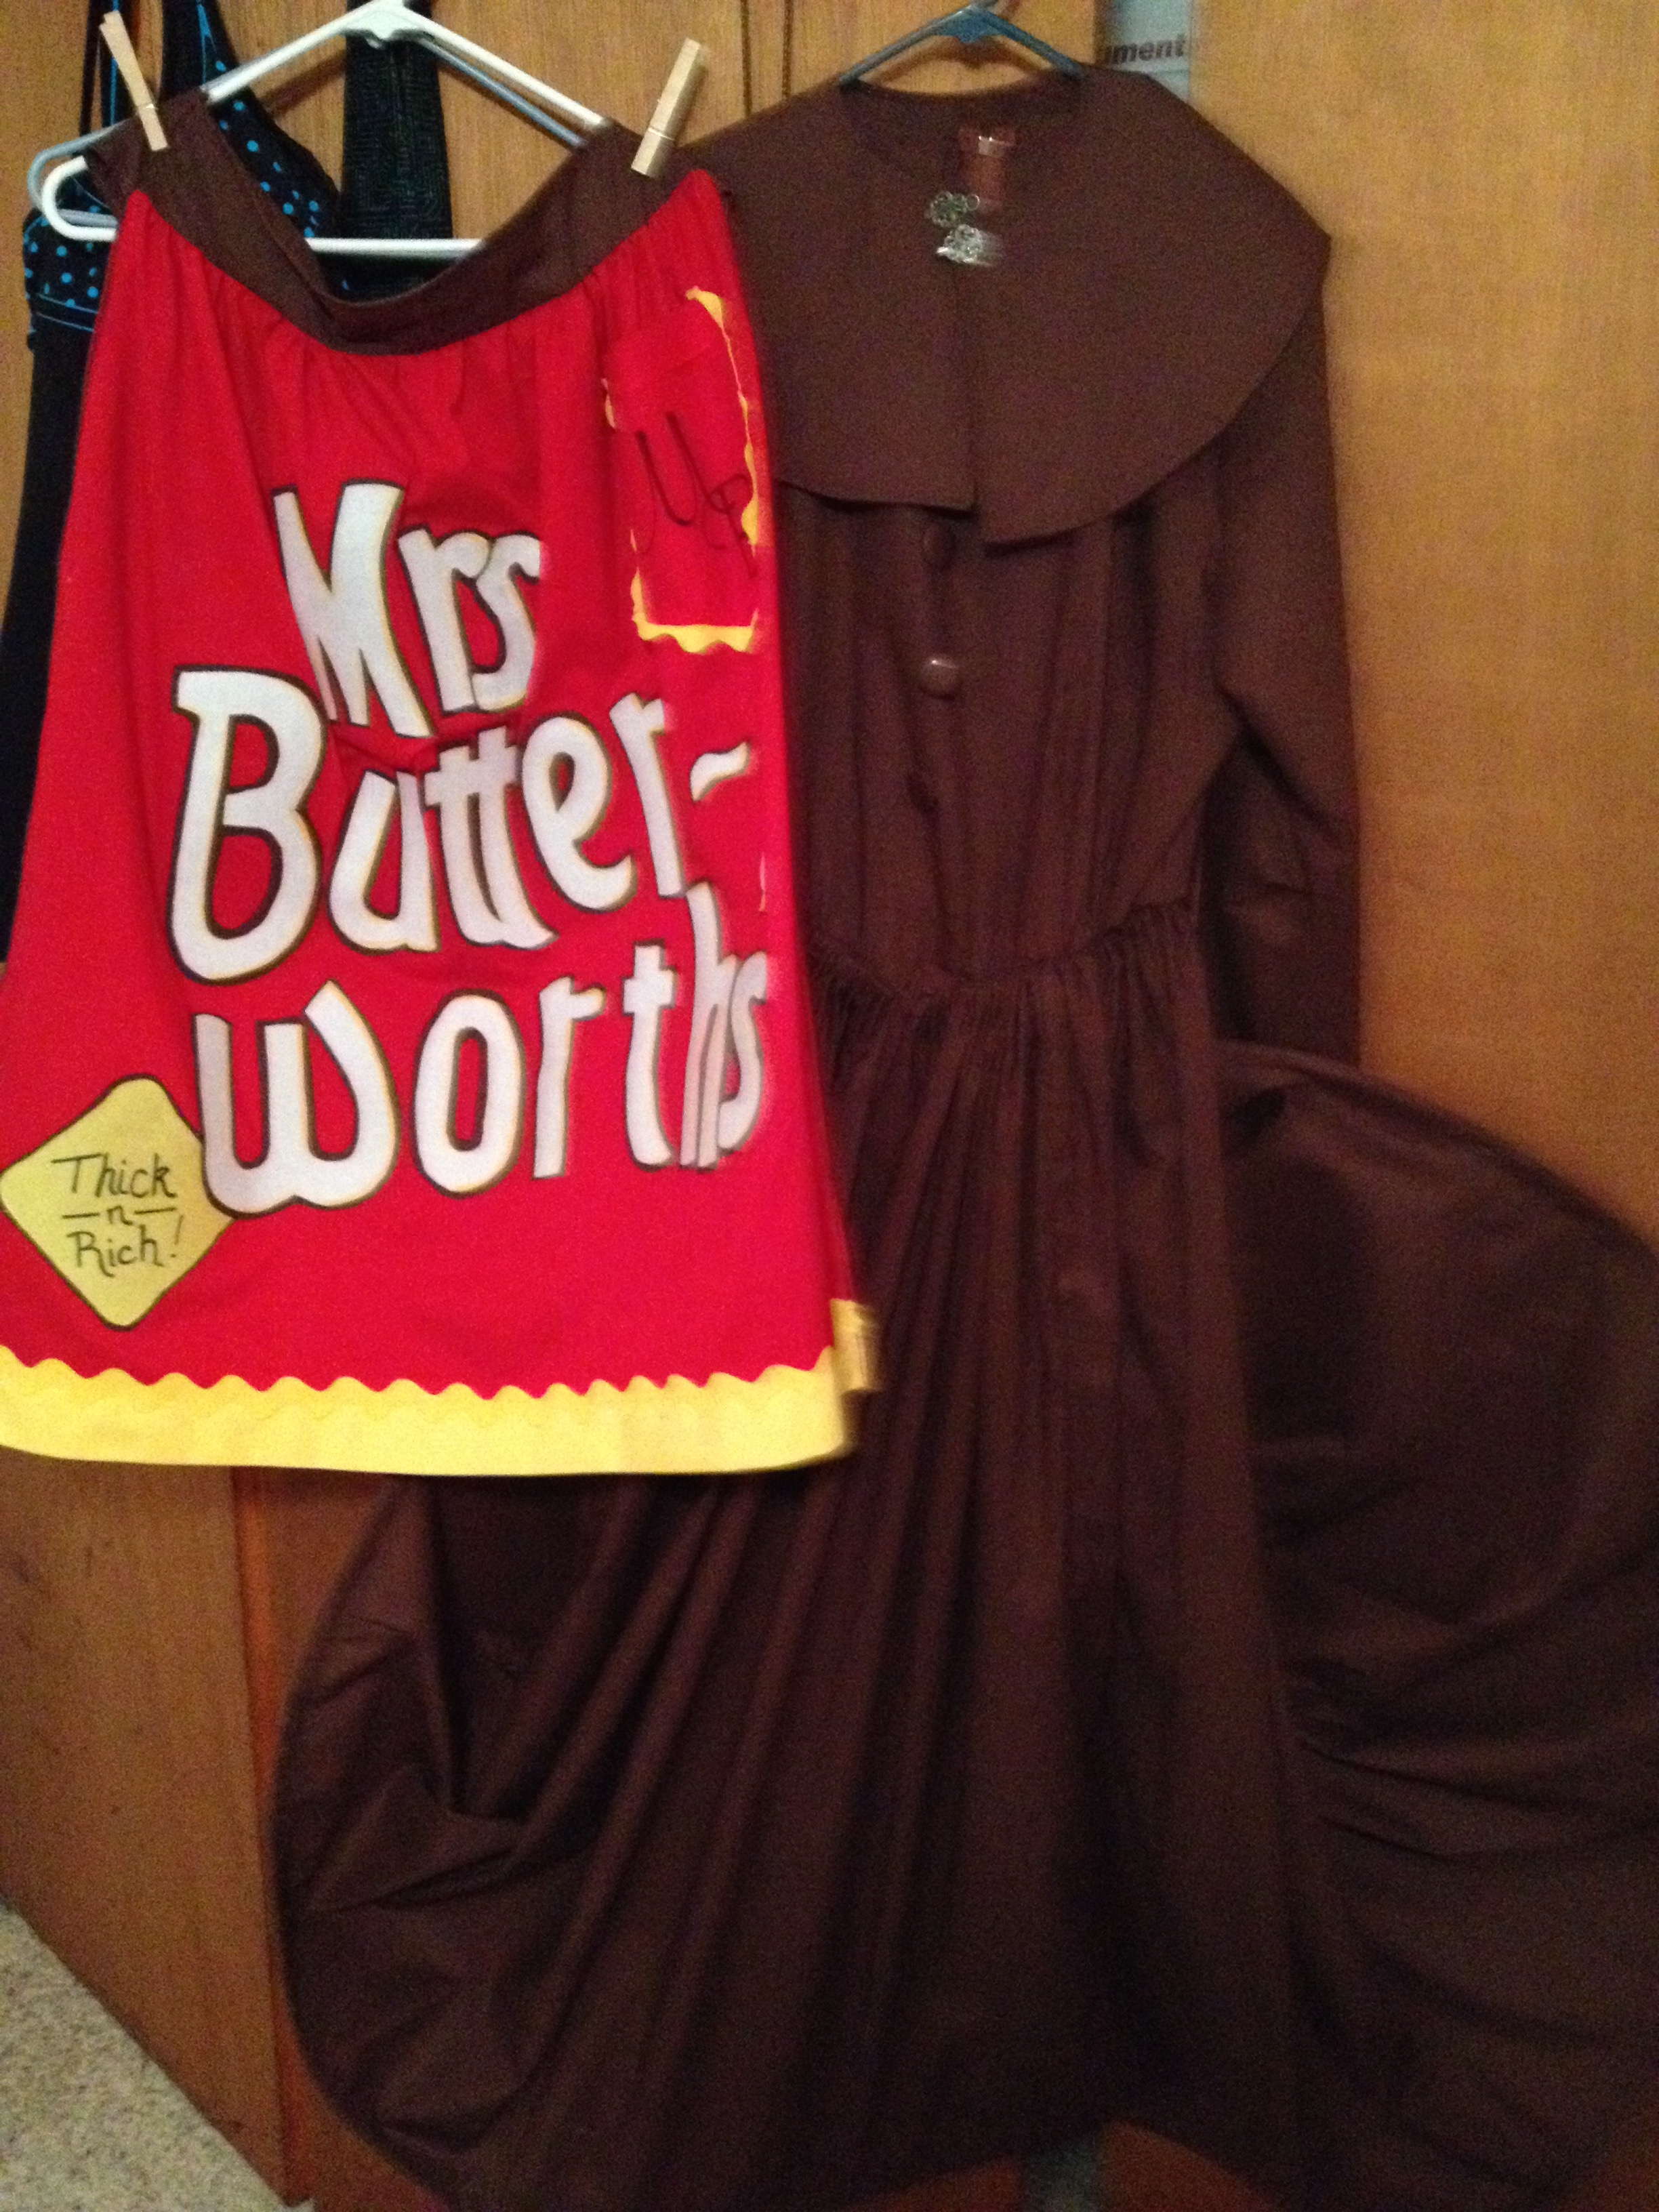
I spent the most time on the apron. made a basic flat apron (the one in the pattern was too gathered so I used the ties and trimmed down the body.

The ties were the same brown as the dress, the base was bright red, and bottom yellow. I used the large rick rack to make the edge “wavy” and around the pocket.

I used a sharpie marker to put the “MB” monogram on the pocket.

The letters were harder. I’m sure there is an easier way, but for me, I first drew them out on plain white computer paper.

I searched for a font that might work, but none of them seemed to be just right.

I also have a cricket dye cutting machine, but didn’t have any cartridges either. Did learn that if you lay out your design and photograph it, you can get a better look at the overall shape.

I realized I had made some of the too fat. Much easier to toss out the paper, than spend all that time cutting fabric multiple times.

IMG_1490

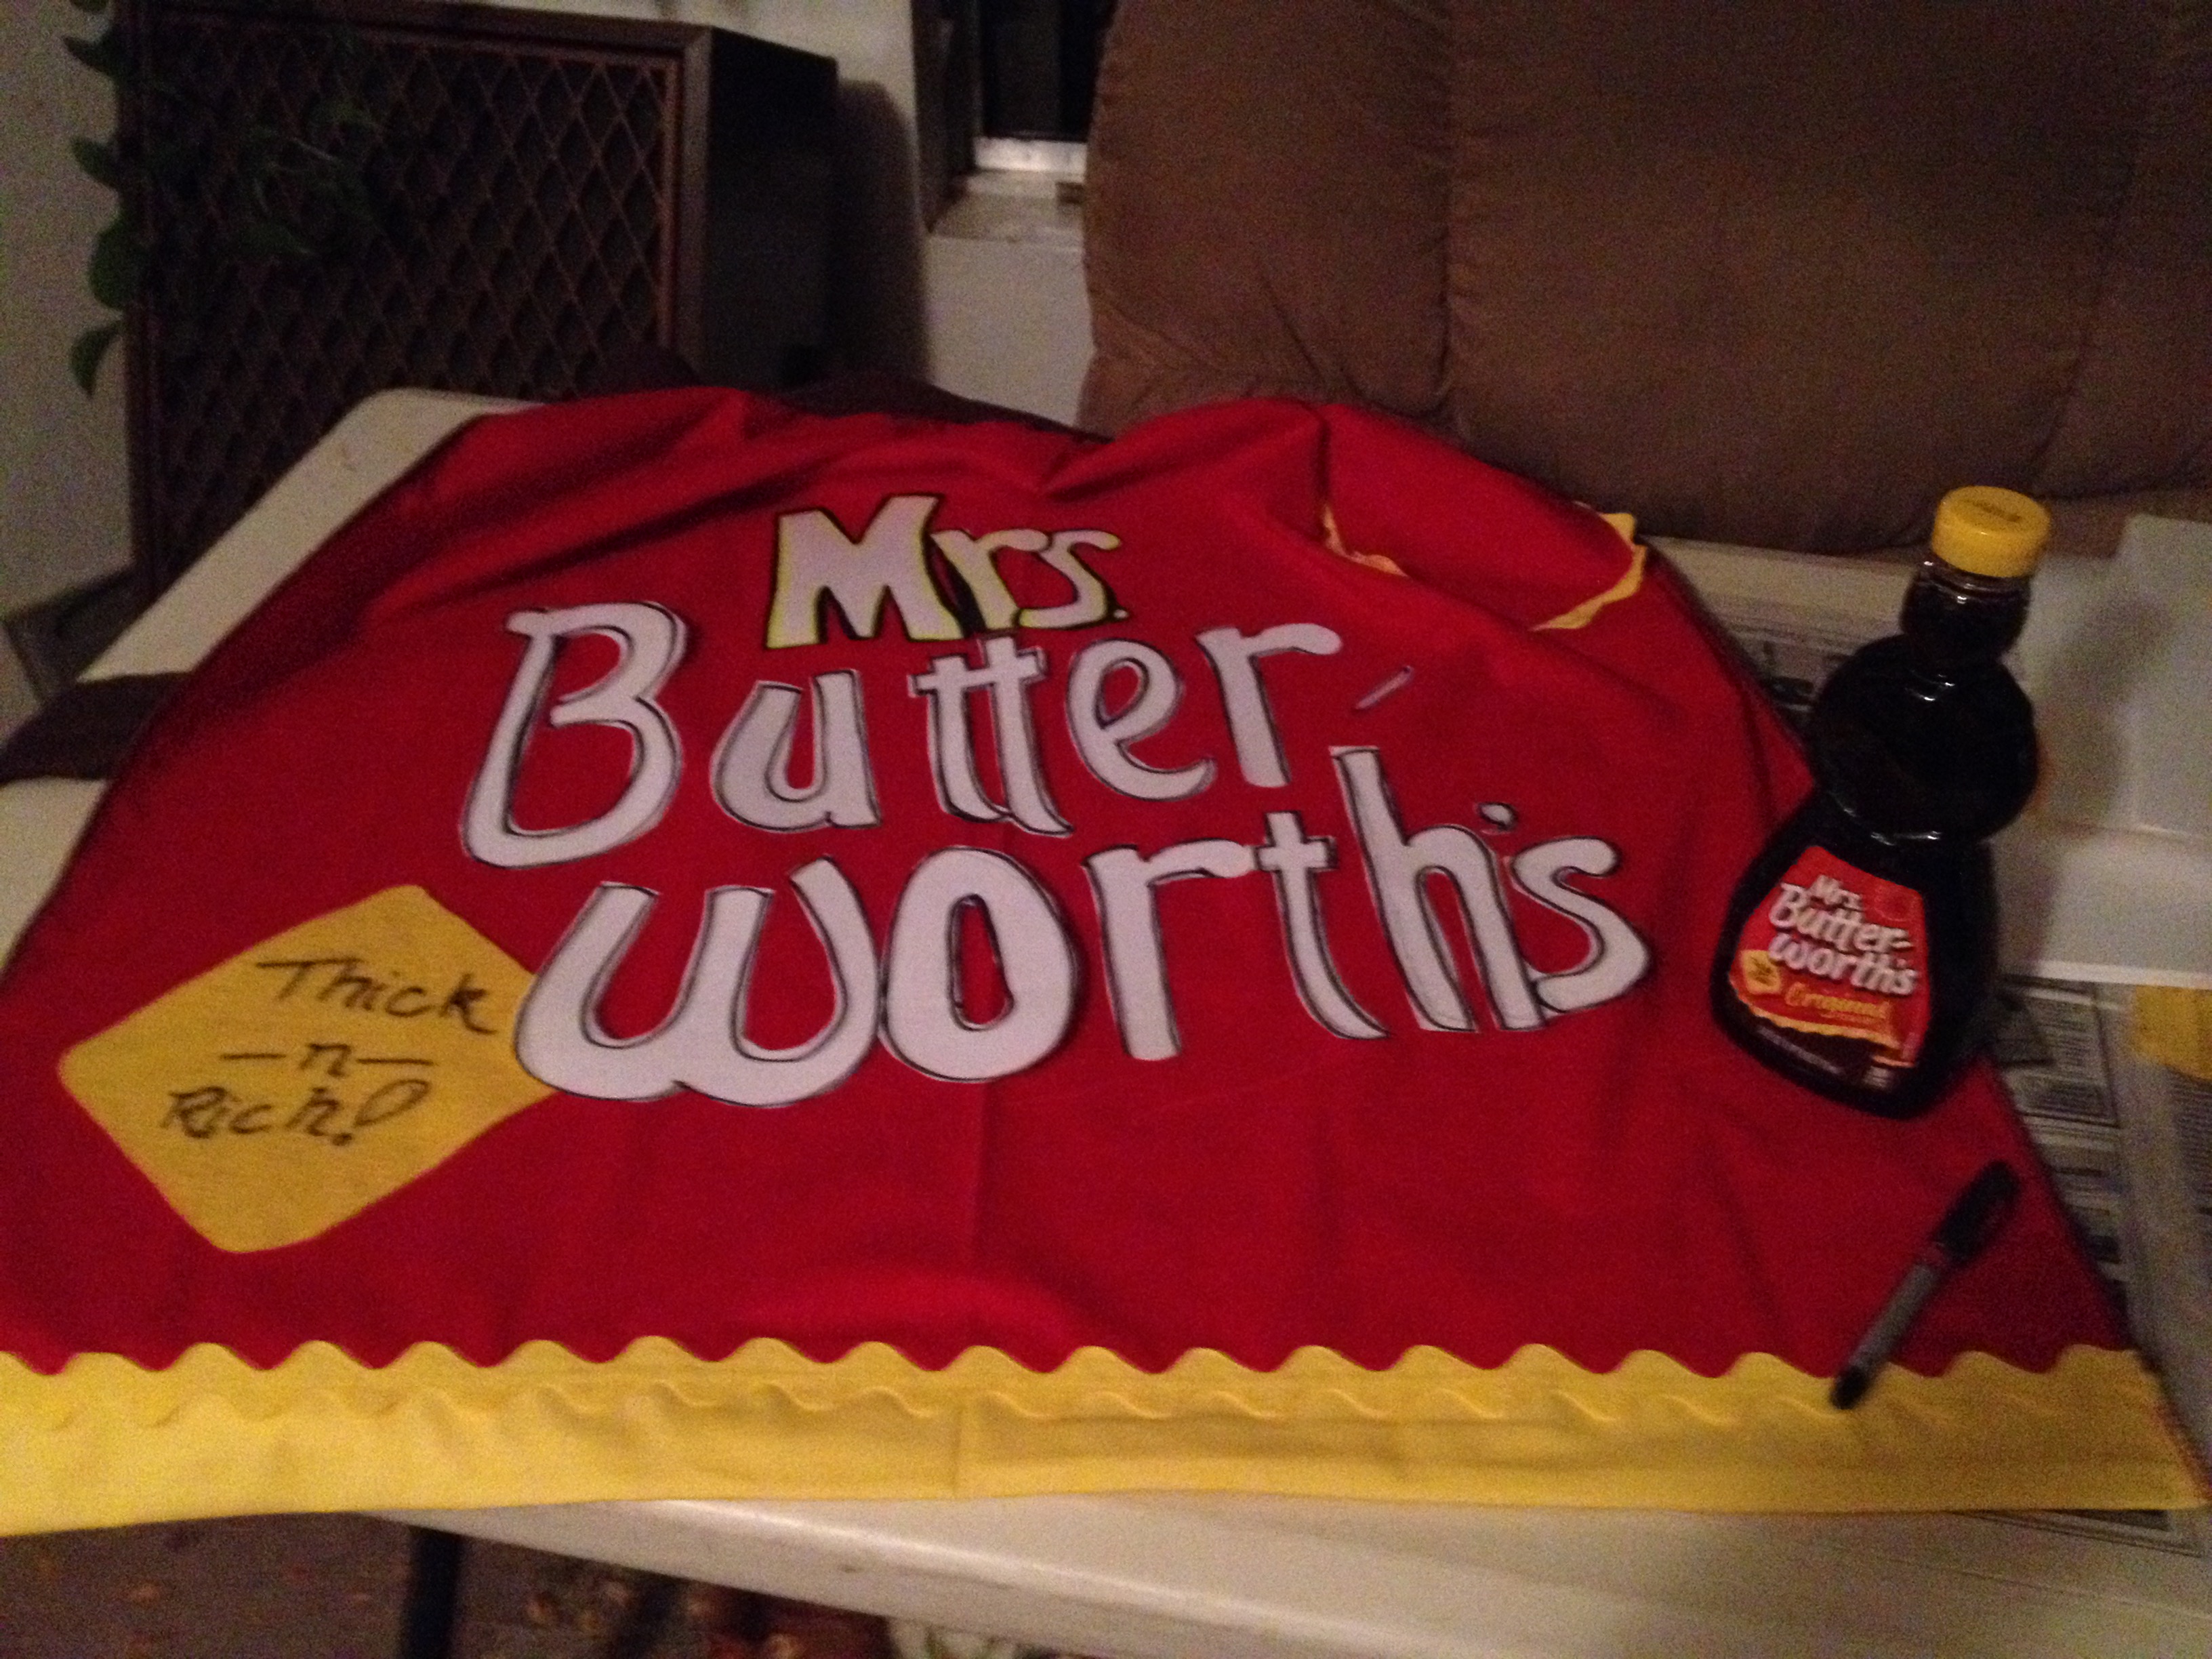
Once I was happy with them, I cut them out of white fabric, put the double-sided adhesive behind them, and bonded them to the brown fabric.

cut around them 1/2″ or so and again placed another layer of adhesive on the back of the brown fabric.

I made the “pat” of butter out of yellow, backed it with brown, did the lettering with a sharpie and placed all the letters BEFORE the final pressing.

You can’t really move them, so making sure they’re spaced is crucial. I actually pinned them since they insisted on moving around on my ironing board.

IMG_1501

I used a brown bun maker, put some gold glitter on my cheeks, put some leggings under (its cold here, and I hadn’t made a underskirt) and off to work I went.

Driving was fun with the hoop behind my head, and the “cap” hitting the ceiling of my car, but….I got so many compliments, it was totally worth it!

I hope you feel inspired to do you own thing, this one I was really proud of!

Enjoy,

Debbie

Easy Glitter Cupcake Ornament

IMG_1461

Ok, we’re good friends by now, and you know, I’m completely obsessed with Christmas and glitter.

So this post shouldn’t come as a complete surprise. I’ve seen some pretty cute cupcake style ornaments for the tree,

but let’s take it up a notch.

IMG_1455

Supplies needed:

70mm glitter non-breakable ornaments. I choose brown (chocolate cake), red (red velvet cake),

gold (yellow cake), and copper (spice cake)

vintage printed cupcake liners

plastic holly leaves with red berries

Snow Writer, dimensional glitter pen and spread (wasn’t sure which look I wanted)

Hot glue and glue gun

IMG_1456

Gather up your supplies, the “lobby” store already has them out, the others will be stocking them soon.

Start by hot gluing the ornament into the cupcake liner with the top up, or slightly tilted (your call).

I used two liners and put a drop of glue in the bottom one to make them thicker.

I let it stand a couple of minutes to cool off.

IMG_1458

Using the tip of the snow writer, frost your cupcake and let it “drip” down the sides. This stuff dries hard, but will run a little when you put it on.

IMG_1459

I wrapped the holly stem around the hanger top, and put a little “frosting” over the stem.

Set them aside for the “frosting to harden. (2-3 hours)

IMG_1461

Ta Da!! Yummy cupcakes that sparkle and shine!!

Perfect for that candy/sweets tree I’m planning. And I didn’t even have to turn on the oven!

Enjoy!

Debbie

No Sew “Quilted” Ornament

IMG_1411

So I’ve seen so many of these beautiful ornaments on Etsy and Pinterest. I thought i’d take a stab (pun intended) at it.

They’re surprisingly easy once you get going, but my thumb sure got sore quickly!

 IMG_1374

Supplies / tools needed:

styrofoam balls 2 1/2″ I started with the traditional “crunchy” kind and then tried the smoother more dense kind.

tip:  I have to admit, the denser ones were harder to push the pins into especially once you were to row 3-4.

1 solid color and 1 pattern ribbon flat, non wired edge 5/8″ wide

2 complimentary color ribbons 1/8″ wide

tip: the sheer, and wired ribbons were more difficult to work with and didn’t give the same look

Sequin pins or applique pins (they are shorter and sharper)

Eye hooks or wire for creating hanging loop

scissors

IMG_1375

I began by cutting short 2″ – 2 1/2″ strips of each color

24 strips of color A (inside color)

32 strips of color B (second color and extra to wrap around ball)

IMG_1388

Find the starting point, this will be the center of design.

You can mark the other side by measuring around the ball and dividing in half for placement.

Pin the center of the first ribbon, place the pin near the top holding the ribbon right side down.

Next fold down, and pin each side.

Be sure to fold over the center pin head so you can’t see it, and pin below the bottom edge of the ribbon underneath it.

Turn the ball around and put the second one directly opposite it. Then fill both sides the same way (4 ribbons used)

IMG_1380

On this one, I used the patterned ribbon first, and then begin the second row. Place the center of the second color 1/2″ below the point of center pieces.

Place one ribbon at each point, then place one at the space between each point (8 new points)

IMG_1381IMG_1383

This way, they overlap one up, one down, one up….etc.

IMG_1384

Work the third row the same way, starting with the lower points (4 of them, and then layering the next 4 last) using the contrast ribbon.

The fourth row is the same with the solid ribbon. Trim the edges so that it covers half of the ball.

Turn the ball over and locate the center point, and repeat the four rows above.

tip: try to line up the points with the other side, it just looks better when you’re done.

IMG_1385

IMG_1386

Since this one finished with the solid green ribbon, I cut a piece to wrap around and hide all the loose ends. I trimmed them to lay flat and put two pins in the ribbon,

wrapped it around, and finished it with 3 pins and folded back the raw edge.

IMG_1400

I decided to add a sequin and head pin to the center of each side.

IMG_1402

An eye hook and a couple 1/8″ ribbon bow for hanging….

IMG_1401

Ta Da!!! couple sore thumbs and fingers, but a really pretty,no-sew, quilted ornament!!

IMG_1412IMG_1411IMG_1409

Careful, they’re addictive, and the color combos are endless!!

Enjoy!!

Debbie

Rock Candy Ornament

IMG_1395

So it’s September already, and I’ve decided that Christmas in July didn’t happen, and August was a blur….. time to start making holiday stuff and I’m already behind! i was thinking this year Id make a candy/cookie/sweets themed tree this year. Seems I have to start somewhere, so the idea is usually first, and the how-to later.

Lets get started with a super easy one.

Supplies needed:

wooden beads

12″ dowels

16 gauge wire

mixed plastic faceted beads

hot glue/glue gun

white/wood glue

IMG_1389

I started by separating the beads by color. One of those zen OCD tasks that completely relaxes me, until the dogs bump my table and I find myself crawling around on the carpet picking them all up.

IMG_1396

Cut the 12″ dowels in half and glue a wooden bead with  the wood glue on the bottom of each.

IMG_1391

Next cut a 3″ piece of wire and twist a small eye on the end, then I wrapped the wire around the top of the dowel to make a hanging loop.

Tip: You could also use ribbon or colored wire but I prefer mine to disappear in the tree.

IMG_1393

Using the hot glue gun, begin adding the beads about half-way up the stick and cover completely over the wire and the top of the dowel. Be careful when using the hot glue, you can get burnt in a second. Make sure to slide them around randomly so they’re not straight rows. I stacked extra beads toward the top to give it more of a taper look like the candy has.

Tip: after you have made several of these, use your blow dryer to vaporize the “spider” strings the glue gun leaves behind.

IMG_1395

So the first bag of beads yielded 7 finished ornaments, looks like its back to the store for more beads. I have to laugh, hubby thought they were real!

So enjoy your day crafting!

Debbie

EZhair Bun Maker (top secret!!)

So I did it again, I’m a  bad, bad, bad crafter. I bought something at a craft fair to “steal” the secret. Shhhh, I’ll share it with you, only if you keep it a secret!

IMG_1367

It’s the amazing “wonder bun, EZ bun, Bun easy… what ever it’s called, it’s genus!! Since it is mid-august, and its way too hot for long hair, you need any easy solution for your hair besides cutting it all off!  Years ago I had a couple of these thingys, but the holes stretched out, and I forgot how much I loved them. Until this past summer on our road trip, and I found them again in the Marketplace. I was so thrilled, I paid $20 bucks for two of them. Yes, twenty of my hard-earned bucks!! Well you know me by now, as soon as I got home I began “deconstructing” them to figure out what gauge wire, type fabric, size and began customizing them for me. (and you) hint: if you use it on wet hair, you get really nice curls when it’s dry!! Try it at the beach, and you’ll be party ready by night!

Materials Needed:

Cute fabric, stretchy worked best, but I also did a few with cotton (go 49ers!)

Think I might do some seasonal ones too!

12 gauge craft wire, it needs to be stiff but flexible

wire cutters

thread to match or compliment

sewing machine

IMG_1341

I experimented until I figured out the best measurements.

For adults cut fabric 16″ X 4″, children and those of us with really fine hair 10″ X 4″ rectangles. (cut 2). I used the rotary cutter and mat to cut multiples, because I can’t make one of anything!

Don’t worry about cutting the ends round, you can do this after you sew them, before you turn them.

I worked production line style once I figured out the dimensions. Sssshhh, there’s the original on top, just place the right sides together, and sew down the edges and “round” out the corners.

IMG_1321IMG_1322

I sewed about a dozen of each color, then trimmed the corners off. Fold them in half and cut a slit down the middle 4″ hole for adult, 3″ hole kids/fine hair.

IMG_1325

Use this opening to turn right side out.

Now to make the “magic” part. It took some shopping around, but finally found the correct gauge of wire. I found it sold as floral wire, 12 gauge coated. (it’s pliable but stiff enough to hold its shape.)

Cut the wire at 32″ for adults, and 24″ kids/fine hair and twist together to form a large oval shape. Make sure its tied/twisted securely, you are sewing it inside and don’t want it to come untied.

IMG_1326IMG_1327

Insert the wire into opening, and stitch it shut. If you have a “fancy” machine you could do a long button hole, but I just topstitched it shut. You won’t see it anyway, your hair goes through it, but neatness counts!!

IMG_1328IMG_1329

And Voila! easy, wonder, EZ bun maker.

IMG_1365

So to use it, you just gather up your hair into a pony tail, low if you’re adding a hat, or high if you’re going for naughty librarian. Give it a twist a couple of times to tighten the hole. pull down about 2/3 to 3/4 of the hair length, and begin rolling up.

IMG_1354IMG_1355

Wow. trying to take a selfie is harder than it looks!

Continue rolling the hair until up against the scalp, but not too tight.

Bring the ends together, and twist to secure. You can tuck them on top, or hide underneath the bun.

IMG_1356

I think I need one more hand…..

IMG_1357

Ta Daaa!! it’s a bun!!

IMG_1363

Here’s my 49er one too! You can do a double bun, just use two makers and roll half your hair at a time. You can do a half bun by only rolling the top and sides of your hair and leaving the lower portion out. Or try a pony bun by rolling the bottom half of your hair, and placing the top portion through the bun before you twist it closed. Since I don’t have a photographer on hand, and two hands aren’t enough to shoot properly, and for more professional styling instructions, please go online to youtube!

Enjoy

Debbie

Too Cool Pool Stools

IMG_1353

I think I fell asleep watching Flea Market Flip or Junk Gypsies… and the next morning I spotted a couple of plain, wooden stools on our local “needs” Facebook page, and felt the need to “fix “them up. Besides she only wanted $10 for the pair, how bad could they come out?

IMG_1344

They came as basic as you could get, still had a little lunch spilled on the tops. So sanding commenced once the food was removed. These have a particularly tough shiny coating on them that if you don’t get it all off, the new paint won’t stick or will be different sheen. It’s a really good upper body workout, and by the time I was done, I gave myself 60 mins activity on my fitbit!

IMG_1345

Started with the legs, taped the bottom to keep a clean edge. Not sure why because its underneath the top, but seemed like the right thing to do?

IMG_1346

Think the gloss black was the perfect choice for the legs, classic style.

IMG_1347

The red on top is the same color as the accent wall in the game room. Wish I had extra, but alas, had to ask the hardware store to mix another batch. Its called rhubarb and dries much darker. You can use any color combination that matches or compliments your room.

IMG_1348

I used a couple 3″ wooden circles to outline the pool balls. I base painted them with pearl sheen white and used a quarter to draw the number circles.

IMG_1350

I thought they look good, but not great? It seemed like something was missing? Oh yeah, gold! since we have a loosely based 49er color scheme in the game room, I needed to add some gold.

So I painted the band around with metallic gold. Sparky!!

IMG_1353

Viola!! Red, Gold and black, Pool table inspired, too cool pool stools, for the Game room!!

You never know where inspiration and opportunity will combine….keep your creative eye out!!

Enjoy!

Debbie

Snowflake Christmas Tree Skirt

IMG_1335

I know it’s barely August, but I was inspired to make a new tree skirt this year for my christmas tree. Since I was trapped in the truck during my “awesome” road trip, I had plenty of time to crochet. It’s one of my favorite parts of traveling. I found a 12 point star pattern online, and decided to work it into a snowflake pattern for under my tree.

IMG_1153

Materials Used:

2 1/2 skeins White  (Hobby Lobby super soft – I love this yarn) (color A)

2 skeins White/sparkle (Hobby Lobby Metallic – I love this yarn) (color B)

2 skeins Yarn Bee Fetching pewter (color C contrast)

Hook size I 5.5mm

Since I do my Holiday dining room entirely of white/silver snowflakes the color was as important as the pattern. You can use whatever colors complement your decor. I’m planning on a blue/red/white one for my BFF who has a “Cubs” tree for her honey each year.

The pattern is fairly simple, you can change yarns whenever you like, keeping the basic stitch in mind, and do as many rows will fit your needs. I have my tree on a platform that is 36″ in diameter, so my finished skirt is approx. 45″ across, with each point measuring 24″ long. I kept adding rows until I had the size I wanted. You can do less, or more just follow the pattern once established.

A few pointers as I worked along, establish the “right” side of your work so that when changing colors you begin at the proper side. When you’re keeping with the same color, you can simply turn and work back. But if you’re adding a new color you want to start on the “right” side. Working in the back loops of the “right” side makes a nice edge for the color change. (If you look closely, you can see I didn’t figure this out soon enough) If you use different styles/types of yarn it will also make the lines cleaner between them. Once I was finished, I decided to “edge” the entire piece in the metallic pewter yarn. See the inner ring of the beginning, it was all white until I put the final edge completely around.

IMG_1154

Note: The pattern I started with was somewhat confusing, so I decided to modify it for us basic crocheters.

Shell = *2dc, ch 2, 2dc* (makes the point of the snowflake, adding 1 st to dc total between)

P-st = *dc, ch2, dc* (makes the point, without adding dc to the count)

Row 1: using color A (plain white) *(chain 5, dc in 4th ch from hook, dc in 5th ch) repeat 11 more times (makes 12 “bumps” ) with 2-dc, and 3 ch spaces each. (24 st) Mark as the right side….

IMG_1153

Row 2: pull yarn up in the ch3 space, chain 2, (counts as dc) dc, ch2, 2dc, in the same space. *2dc, ch2, 2dc* repeat in each of the 11 bumps. turn. (48 st)

Row 3: slip st in next st, ch 3, *2dc, ch2, 2dc* in the ch2 space, dc in next st, skip 2 sts, dc in next st, *shell* in the ch2 space, dc in next stitch, repeat 11 times, skip last stitch turn (72 st)

Row 4: sl st in next st, ch3, dc in next st, (counts as 2dc) *shell* in the ch2 space, dc in next 2 stitches, skip 2 stitches, *shell* in the ch2 space, repeat 11 times, skip last stitch turn (96 st)

Row 5: We’re going to start the “ripple” portion of the skirt working in all dc, skip first stitch, dc in each of next 2 sts. P-st in the ch2 space, dc next 3 sts, (sk 2 st, dc in next 3 st, p-st in ch sp, dc in next 3st) 11 times. (96sts) finish off. (I changed to pewter)

Note: when you’re working a color change row, remember to work in the back loops except when working the *shell* or *P-st* in the ch2 spaces. 

IMG_1266

Row 6: Remember to start on the right side (color c) skip first stitch, join color C in back loop of next st, ch 3, (counts as dc) dc in back loop of next 2 sts, *shell* in the ch 2 sp, dc in back loop of next 3 stitches, (sk 2 sts, dc in back loop of next 3, *shell* in ch2 space, dc in back loop of next 3 sts) 11 times skip last stitch. finish off (120 st)

Row 7: Remember to go back to the right side again (color B) skip first st, join color B in back loop of next st, ch 3, (counts as dc) dc in back loop of next 3 st, *shell* in ch2 sp, dc in back loop of next 4 sts, (sk 2 sts dc in back loop of net 4 sts, *shell* in ch 2 sp, dc in back loop of next 4 sts) 11 times. turn (144 sts)

Row 8: skip first stitch, chain 3 (counts as dc) dc next 5 st, P-st in ch2 space, dc next 5 std, (skip 2st, dc 5 st, P-st in ch 2 sp, dc 5 st) 11 times skip last stitch, turn (144 st) no increase on the P-st rows.

Row 9: slip stitch in the first stitch, ch3 (counts as dc) dc in next 4 sts, *shell* in the ch2 space, dc in next 5 std, (skip 2, dc in next 5, *shell* dc next 5) 11 times, skip last stitch,  (168st) finish off.

Note: So, the gist of this pattern repeats with every third row. Shell rows add one to the count of dc worked between the points and dips, but the third row is worked with a P-st no increase.

Row 10: Remember to start on the right side, and work in the back loops if you are changing colors (color C) skip first st, join color C, chain 3 (counts as dc) dc next 5 dc, *shell* in ch2 space, sc next 6 sts, (skip 2 sts, *shell* in ch 2 space, dc net 6 sts,) 11 times. skip last stitch. finish off. (192 sts)

IMG_1337

Row 11: (color A) skip first st, chain 3, (counts as dc) dc next 7 sts, P-st in ch 2 space, dc in next 7 sts, (sk 2, dc 7 sts, P-st, dc next 7) 11 times, skip last st, turn (192 sts)

Row 12: slip stitch first stitch, ch 3, dc next 6 sts, *shell* in ch2 space, dc next 7 sts, (sk 2, dc in next 7 sts, *shell* in ch 2 space, dc next 7 sts) 11 times.  turn (216 sts)

Row 13: *shell* row, 8dc finish off

Row 14: (color C) *P-st* 9dc finish off

Row 15: (color B) *shell* 9 dc turn

Row 16: *shell* 10 dc turn

Row 17: *p-st* 11 dc finish off

Row 18: (color C)*shell* 11 dc finish off

Row 19: (color A) *shell* 12 dc, turn

Row 20: *P-st* 13 dc, turn

Row 21: *shell* 13 dc, turn

Row 22: *shell* 14 dc, finish off

Row 23: (color C) *p-st* 15 dc, finish off

Row 24: (color B) *shell* 15 dc, turn

Row 25: *shell* 16 dc, turn

Row 26: *P-st* 17 dc, turn

Row 27: *shell* 17 dc, finish off

Row 28: (color C)*shell* 18 dc, finish off

Row 29: (color A) *P-st* 19 dc, turn

Row 30: *shell* 19 dc, turn

Row 31: *shell* 20 dc, turn

Row 32: *P-st* 21 dc, turn

Row 33: *shell* 21 dc. finish off

Row 34: (color C) *shell* 22 dc when you come to the end of the row, *shell* on the corner, then dc along the edge in each of the ch3 spaces and each row. work *shell* around the corners and dc in each space around the top, around the corner and back down to row #33. finish off.

My color pattern was white for the first 5 rows, single row of pewter, 3 rows sparkle, pewter, 4 rows white, pewter, 4 sparkle, pewter, 5 rows white, pewter around the entire outside edge. You can certainly do any combination of rows, yarn textures, have fun!! Use up those scraps, or do it entirely of the same color and sew on some buttons, charms, or tassels. I think mine needs some snowflake crystals on the ends of each point. Hmmmm, think I need a trip to the bead store!

As Always, Enjoy,

Debbie

Trailer Trash Bucket

IMG_1142

So I happened upon this funny idea for a trash bucket for my R.V. and couldn’t resist making it.

We always seem to have a collection of empty buckets with us,

for trash, recycling and pinecones…. so why not decorate them? Right?

Supplies Needed:

Bucket from the bakery at the store (Free)

sketch paper

permanent markers

stickers, letters, outdoor paint

IMG_1127

It started with a blank canvas.

IMG_1128

Sketched a few ideas. Some made it, some not…. figured out simpler lines were easier on a round surface.

IMG_1129

Used a little goo gone to remove the bakery sticker. Washed the bucket inside and out.

IMG_1130

I outlined the trailer with a marker, and if you put the original inside the bucket,

and hold it up to the light, you can trace it onto the front of the bucket with the marker.

I figured out that an ink pen just wouldn’t write on this surface.

IMG_1131

Kinda like a coloring book page, put the bold lines down first, then add the details later.

IMG_1135IMG_1136

I did cheat a little bit, used scrapbook letters for the “Trailer Trash” and some tiny pinecone stickers too.

IMG_1134IMG_1141

Traced a cutout of a moose kissing a moose….think I’ll add a heart between their noses.

You can decorate in any style that suits your decor. The next one will have some bears on it.

As Always, Enjoy!!

Debbie

Fabulous Fairy Gardens II

IMG_1065

Well. I almost hate to admit how much fun I’ve had making this miniature fairy garden. As a grown adult, playing with teeny tiny miniatures has been soooo relaxing. I started with one for the house, see previous post, and now I’ve moved outdoors. This is Giselle’s sister Genovese. She has just moved in her new place on my deck. I had an old unused half wine barrel, already lined and filled with dirt. Since gardening really isn’t my calling, crafting is….so in the spirit of magic, lets take a tour!


IMG_1045

I cannot totally recall the order of things, I’ve been making and remaking items for a couple of months now. The house was the biggest part. I purchased a wooden birdcage style house from the craft store. decided to paint it copper, bronze and antique gold. The roof seemed to need more “nature” so I glued sheet moss to it. And a super cute owl from a friend.

IMG_1061

Might be hard to see, but she hung a chandelier made from a fishhook from the center beam. Nearly made the kind clerk at the sporting goods store cry when I told him what I was buying it for.

IMG_1050IMG_1034

Added a few beads, kept the barbs exposed, and decided to lose the shiny lure in exchange for more beads.

IMG_1051

I made some super inexpensive furniture from a wooden puzzle, and stained them to match the house. A small bed, table, rocking chair and a cabinet with open shelves. (I bought the mugs, beer, chips and dip online). Made the mice from polymer clay (super easy) and cut a piece of tapestry fabric for a carpet.

IMG_1052

So Homey!! I’d move in, all the comforts of a cabin in the woods. I decided to raise the floor level above the dirt in the barrel because I have a mix of real plants and artificial and will need to water them and don’t want to flood her nice place. I used rounds of wood in back and sides. Took advantage of the area to place a mousey.

IMG_1062

I used a sample piece of flooring to make a porch for her and her bicycle to rest on. I also serves to lift the front of the cabin as well.  You can get sample pieces free, as well as carpet for your house.

IMG_1053

I did pre-plan the placement of the house first. Centered and slightly backed up in the space. I put a solar light behind her house to light it at night. Then planted the Gardenia tree, a Kale tree, and a couple low, slow growing herbs. peppermint and pineapple sage. *This was in honor of Grandma Marino, every year when we’d visit her garden she would take the kids out, crush the leaves and make them smell them.  I wanted to have some items in my garden that would be interactive also.

IMG_1047

Last years kale plant, (on clearance) became this years tree for fairies! The Shepard’s hook was wire from the craft room, made a bird’s nest in an acorn cap, added some beads and polymer clay eggs. The toadstools were crafted out of polymer clay, as were the snails. The tiny seashell came from a lake nearby and a crafty friend dyed them pretty blue and purple. I purchased the crates online, and make the fruits and vegis from polymer clay.

IMG_1056

Tiny buckets from the craft store, filled with polymer clay loaves of bread, more clay mice (She loves all of Gods creatures) and a miniature bear with gazing ball on top of a wood round. The sheet moss is a good ground cover, if kept wet, will stay in place easily, I did tack it down with a couple of garden staples.

IMG_1054

Teeny Tiny baked pies in bottle caps cool in the shade. Garden tools made of clay and wooden dowels. Terra cotta pots planed with berries, and flowers.

IMG_1057

Sand from the dollar store, makes a nice path, with the teeny rake its a teeny zen garden to rake into swirls and lines too. A seashell slug has hidden himself in a pot.

IMG_1060

Not quite finished, there will be a pond in an abalone shell, once I mange to make it over to pick it up from my BFF. The Frog seems depressed that I haven’t get his area done yet.

IMG_1063

So come on in, stay a while, relax……

And as always,  Enjoy,

Debbie


Lucky Ladybug Garden Ball

IMG_0972

OK, so the conversation started, “Do you have any ‘old’ balls lying around?” followed by an uncomfortable silence. Wait! that’s not how I meant that. Let me try again, do you have any old, bowling balls? Yes, after he stopped laughing, and told me I made his day…..Mr. bowling alley gave me two cracked, unusable old balls! FOR FREE!!! Score!!!  So, since we all know I spend too much time on Pinterest, I saw this idea, and these were so cute, I had to find a couple of ‘old balls’ to make my own super cute ladybugs for my garden.

Supplies needed:

Old unused bowling balls (got mine free for making him laugh so hard)

black spray paint

red and white outdoor craft paint

16 gage craft wire black

two wooden knobs approx 1″

IMG_0945

Started by spray painting the bowling ball black. Not as easy as you might think. First it rolled in the newspaper wet, and stuck to the paper. Had to scrub it off, and repaint. Do a couple of light coats, and you wont have to sand down the runs of paint I did. (ugh!)

IMG_0964

I ran electrical tape down the center of the ball to section it in half. Since I planned to use the finger holes for his antenna, it was easy to place the tape between the holes and around the ball. Then I taped around the bottom about 1/4 of the way up to mark the area for his shell (wings). I also taped 1/4 of the way around the “face” area to stay black. Then I painted the red “wings” with a brush. I used the roll of electrical tape to draw circles on either side, and the inside of the roll to mark the smaller dots. (Genius right?) It did take a couple of coats of red to cover the black, then couple coats of black for the dots, but since it’s going to be in the weather and under the sprinklers, the thicker the paint the better.

IMG_0967

I placed the eyeballs slightly touching each other using the electrical tape to draw the circles and a silver sharpie (tough to see lines on black background) and did several coats of white letting it dry between each one. I used a penny to outline the pupils. Intentionally off set them so he looked kinda cartoonish. (Yep, that’s my style, funky). I found holding it in my lap worked best, between the weight and the fact you’re attempting to work on a round surface, it was a little harder to paint than I expected.

IMG_0947

Next I made his antenna out of the black wire. I just unrolled the package and cut it in half. I wrapped it around whatever was handy, in this case a hi liter. The size fit into the finger holes and I wanted a “springy” looking antenna. I painted the knobs (balls) black and inserted the wire into the holes on the bottom of them. then put them into the finger holes of the ball.

IMG_0952I

I did spray them with clear gloss sealer to help them last longer. Don’t know if this really works, but seemed like a good idea.

IMG_0970

Viola!! Ready for his new home!!

I have gotten 3 more ‘old balls, so I’m going to do a bumble bee, pink and purple bugs next. Stay tuned for more photos when they’re done drying!! And as always…

IMG_1001

Enjoy,

Debbie